

Page 1

Elegant Furniture And Lighting Inc.
USER GUIDE ? LED LIGHTED MIRROR
USER GUIDE LED LIGHTED CABINET
MRE8011
23.5x30x5.5 inch
IF IN DOUBT ABOUT FITTING THIS PRODUCT, PLEASE CONSULT A QUALIFIED ELECTRICIAN
Page 1
Page 2
PLEASE READ THE INSTRUCTIONS BEFORE SET UP AND INSTALLATION
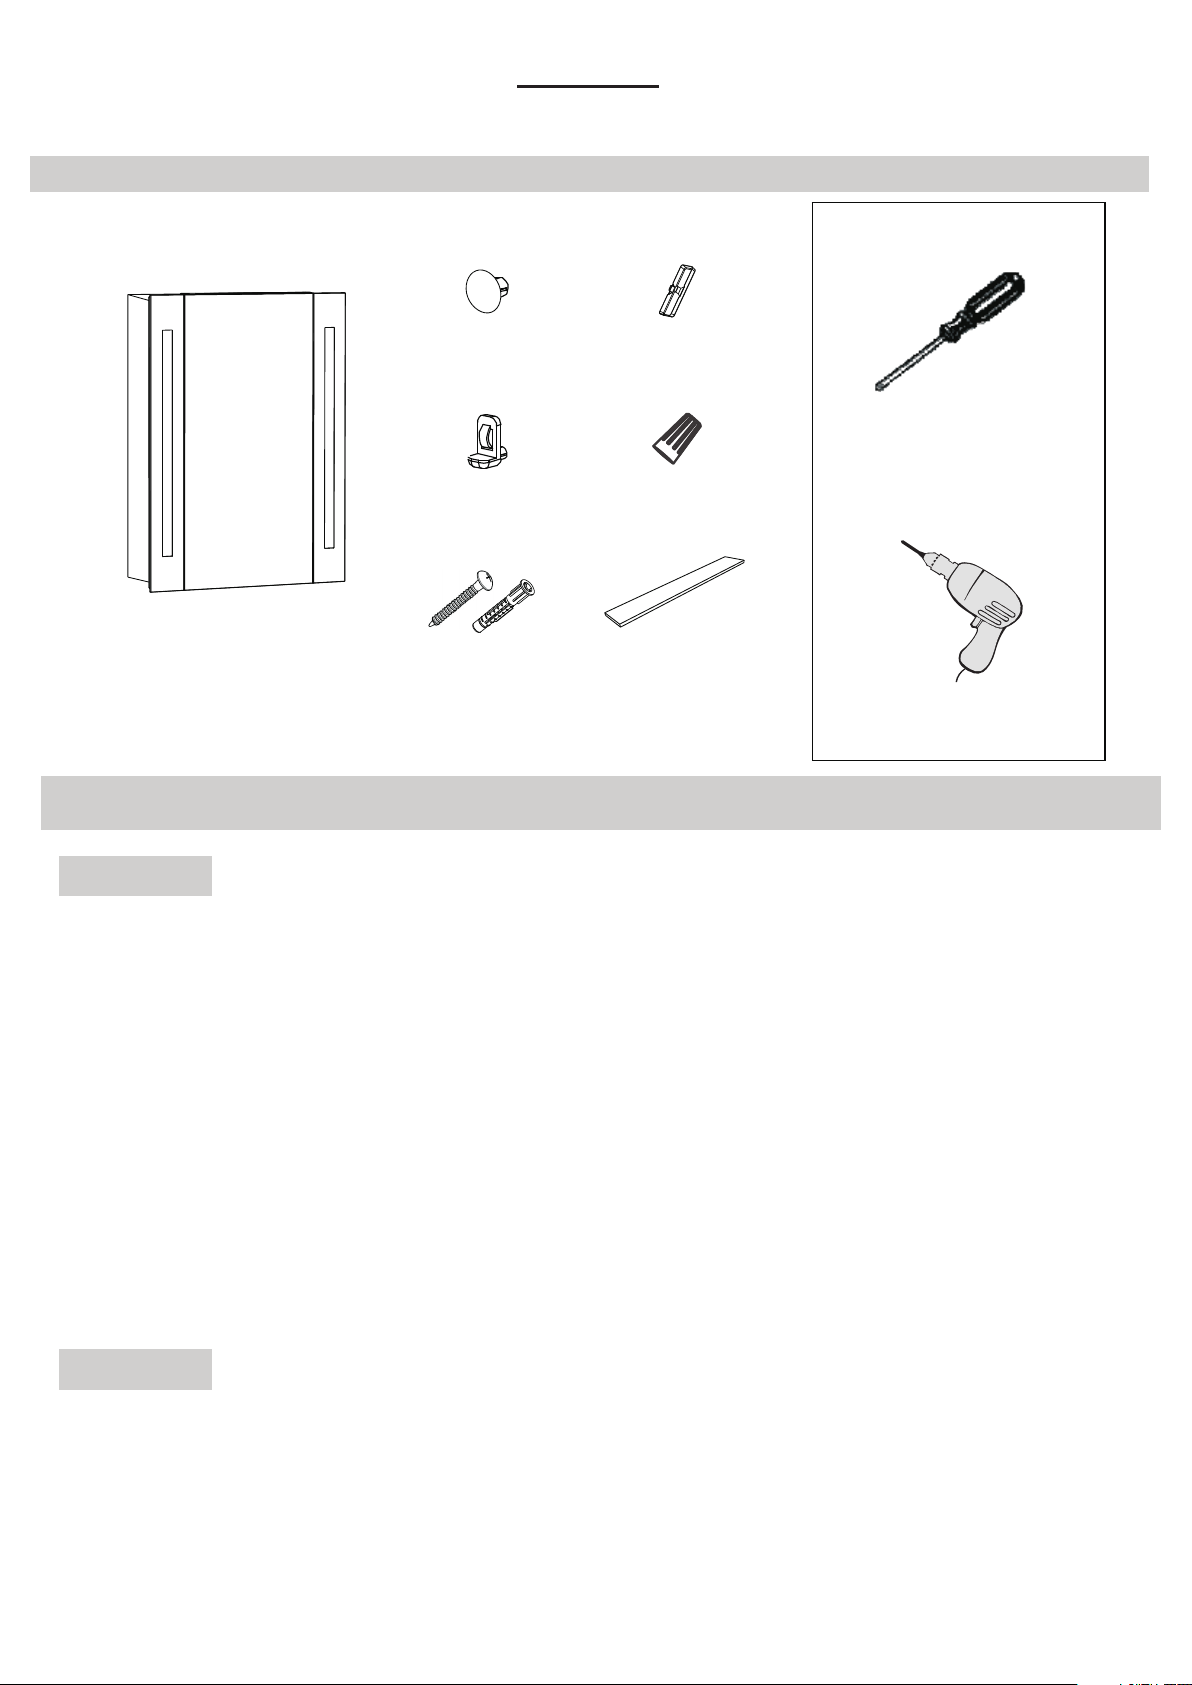
C O M P O N E N T P A R T S A N D F I T T I N G S
IMPORTANT
Cabinet x1
Safety Warning
M01 M04
Silicon plug x 20
(Included in pack)
M02
Glass shelf bracket x 8
(Included in pack)
M03
Screw & Wall plug x 4
(Included in pack)
Hinge cover x 2
(Included in pack)
M05
Wire nut x 3
(Included in pack)
M07
Glass shelf x 2
(Included in pack)
Suggested Tools:
Screw driver
Drill
Safety:
• We suggest you spend a short time reading the instruction leaflet.
• Carefully check that you have all the parts before beginning assembly.
• Keep small parts and fittings out of children's reach and keep children well away from construction
area, as the unassembled product contains small parts, which could present a choking hazard.
• We suggest you retain these instructions for future reference.
• This appliance can be used by adults ONLY.
• If the supply cord is damaged, it must be replaced by the manufacturer, its service agent or similarly
qualified persons in order to avoid a hazard.
• Note that this is a hardwired installation and does not come with a power switch. Your electrician
must install the hardwired mirror to an electrical junction box to connect to a room light switch to
turn off or turn on the mirror.
Note that this mirror does not come with a dimmer.
Caution:
• In order to avoid overheating, do not cover the mirror.
• Switch off the mains supply and remove the appropriate fuse or switch off the appropriate circuit
breaker before commencing installation
• Make sure that there is no danger that the cord or extension cord is inadvertently be pulled or cause
anyone to trip when in use.
Page 2
Page 3

Assembly User Instruction/
Please read all instructions carefully.Before you proceed to install, make sure that the power supply is
turned off and remains off until i nstallat ion is compl ete.
Please note that each part has been assigned a number and proceed in a numerical order.
STEP1. Mark the position of the hanging screw. STEP2. Fix the screw.
STEP3. Contact the wires.
STEP4. Hang up the cabinet on the wall
Page 3
Page 4

Assembly/User Instruction
Assembly/User Instruction
Assembly User Instruction/
Door Adjustment
Tur n the assig ned screw c lockwise ca n move
the mi rror door tow ards the ca binet;
Tur n the assig ned screw c ounterclo ckwise
can mo ve the door a way the cabin et.
Hinge Adjustment
Hinge cover
Fixing Glass Shelves
Tur n the assig ned screw clo ckwise ca n move
the mi rror door right;
Tur n the assig ned screw cou nterclo ckwise ca n
move t he door lef t.
silicon plug
M01
glass shelf
M02
bracket
M04
Choose a suitable location for the glass shelves,
then put the plugs and brackets into the holes
accordingly. Incline the glass shelf to fix inside
the cabinet, press the shelf to make it stably
stuck onto the bracket .
Page 4
Page 5

Installation Dimensions:
C
B
A
D
E
MODEL
MRE8011
Elegant Furniture And Lighting Inc.
500 550 E.Erie Avenue philadelphia, PA 19134 Toll Free: 1 888 388 3390 Tel: 215 423 8880 - - - - ( ) -
www.elegantlighting.com
A(inch) B(inch) C(inch)
23.5
30
Page 5
5.5
D(inch) E(inch)
19.7 26
 Loading...