

Electro-Voice BP-300, HT-300 User Manual
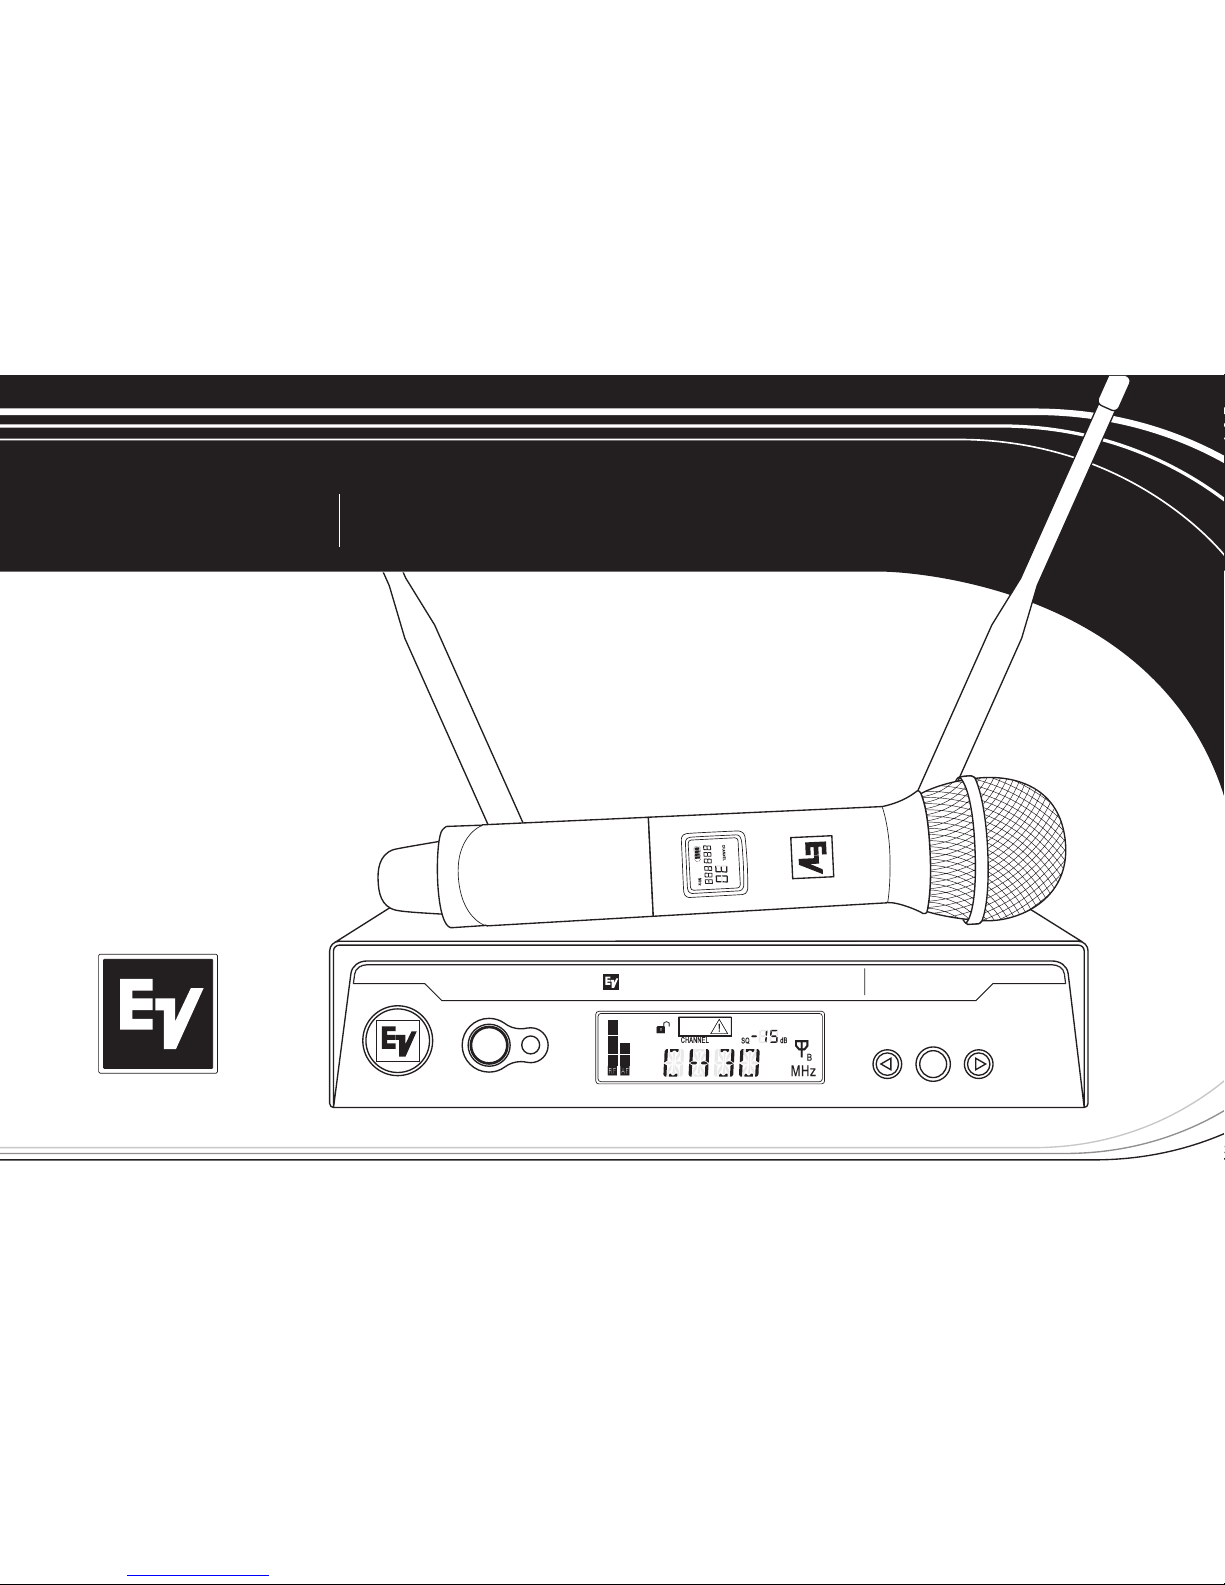
R300
UHF WIRELESS MICROPHONE
USER GUIDE
EZsync
ClearScan
Electro-Voice
R
300
SET
SYNC

2

3
TABLE OF CONTENTS
1. Quick System Setup
• Receiver . . . . . .. . . . . . . . . . .. . . . . . . . . . .. . . . . . . . . . . . . . . .. . . . . . . . . . .. . . . . . . . . . .. . . . . . . . . . .. . . . . . . . . . .. . . . . . . . . . . . . . . .. . . . . . . . . 4
• Transmitter . . .. . . . . . . . . . . . . . . .. . . . . . . . . . . . . . . .. . . . . . . . . . . . . . . .. . . . . . . . . . .. . . . . . . . . . .. . . . . . . . . . .. . . . . . . . . . . . . . . .. . . . . . . . . 5
• Systems Operation .. . . . . . . . . . . . . . . .. . . . . . . . . . . . . . . .. . . . . . . . . . . . . . . .. . . . . . . . . . .. . . . . . . . . . .. . . . . . . . . . .. . . . . . . . . . . . 6
2. Detailed Component Descriptions
• Receiver . . . . . .. . . . . . . . . . .. . . . . . . . . . .. . . . . . . . . . . . . . . .. . . . . . . . . . .. . . . . . . . . . .. . . . . . . . . . .. . . . . . . . . . .. . . . . . . . . . . . . . . .. . . 7-14
• Handheld Transmitter . . . . . . . . . . . . . .. . . . . . . . . . .. . . . . . . . . . .. . . . . . . . . . .. . . . . . . . . . .. . . . . . . . . . .. . . . . . . . . . . . 15-16
• Bodypack Transmitter. . . . . . . . . . . . . . . . .. . . . . . . . . . .. . . . . . . . . . .. . . . . . . . . . .. . . . . . . . . . .. . . . . . . . . . . . . . . .. . . . 17-19
3. Guidelines For Best Performance . . . . . . . . . .. . . . . . . . . . . . . . . .. . . . . . . . . . .. . . . . . . . . . . . . . . .. . . . . . . . . . .. . . . . . . . . . .. . 20-21
4. Troubleshooting Guide . . . . . . . . . .. . . . . . . . . . . . . . . .. . . . . . . . . . . . . . . .. . . . . . . . . . .. . . . . . . . . . .. . . . . . . . . . .. . . . . . . . . . . . . . . .. . . . . 22-23
5. Specifications . . . . . . . . . . . . . .. . . . . . . . . . .. . . . . . . . . . .. . . . . . . . . . .. . . . . . . . . . . . . . . .. . . . . . . . . . .. . . . . . . . . . .. . . . . . . . . . .. . . . . . . . . . .. . . . 24-25
6. Certifications . .. . . . . . . . . . . . . . . .. . . . . . . . . . .. . . . . . . . . . . . . . . .. . . . . . . . . . .. . . . . . . . . . .. . . . . . . . . . .. . . . . . . . . . .. . . . . . . . . . . . . . . .. . . . . . . . . . .. . . 26
7. Service and Warranty . . . . . . . . . . . . . . . . . . . . . . . . . . . . . . . . . . . . . . . .. . . . . . . . . . .. . . . . . . . . . .. . . . . . . . . . .. . . . . . . . . . .. . . . . . . . . . .. . . . . . . . . 27
8. Components and Accessories . . . . . . . . . . . . . . . . . . . . . . . . . . . . . . . . . . . . . . . . . . . . . . . . . . . . . . . . . . . . . . .. . . . . . . . . . .. . . . . . . . . . .. . . 28
9. Appendix A Compatible Channel Groups . . . . . . . . . .. . . . . . . . . . .. . . . . . . . . . . . . . . .. . . . . . . . . . .. . . . . . . . . . .. . . . 29-31

4
01
QUICK SET-UP: RECEIVER
1. Do not connect the receiver to any other equipment yet!
2. Connect the two Antennas to the receiver.
3. Install the blades into the power supply, plug it into the back of the receiver,
and into an outlet.
4. Press the POWER switch. Display will light up.
5. Press and hold the button until CLEARSCAN scrolls across the screen.
6. When CLEARSCAN stops, the receiver will be set to the clearest channel.
7. Turn the receiver off and connect the mixer or other audio system to the receiver
XLR Connector or the ¼ inch Line Level Jack.
8. Set the audio mixer or other system input level to minimum.
9. Press the Power switch button in again.
Receiver “Quick Set-up” is complete.
5
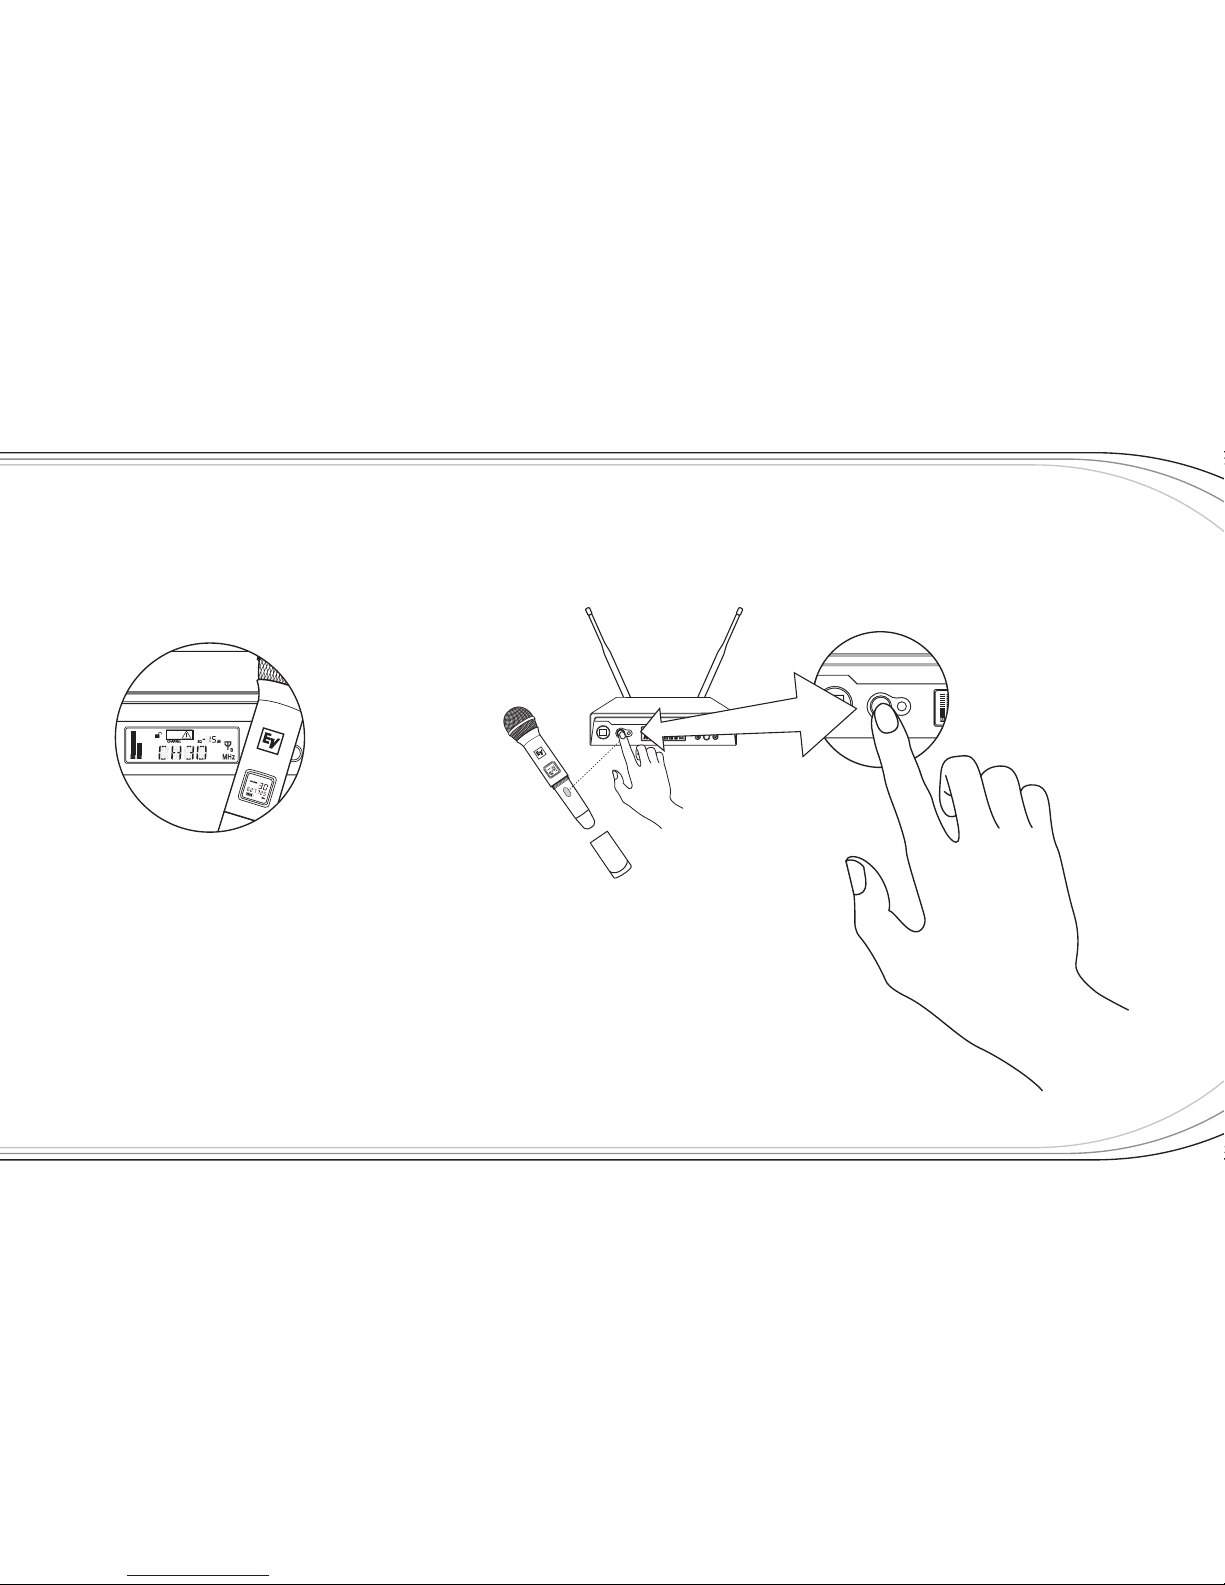
QUICK SET-UP: TRANSMITTER
1. With the Power switch on the transmitter OFF, install two fresh AA batteries into the transmitter.
2. Press the transmitter Power Switch until the display comes on.
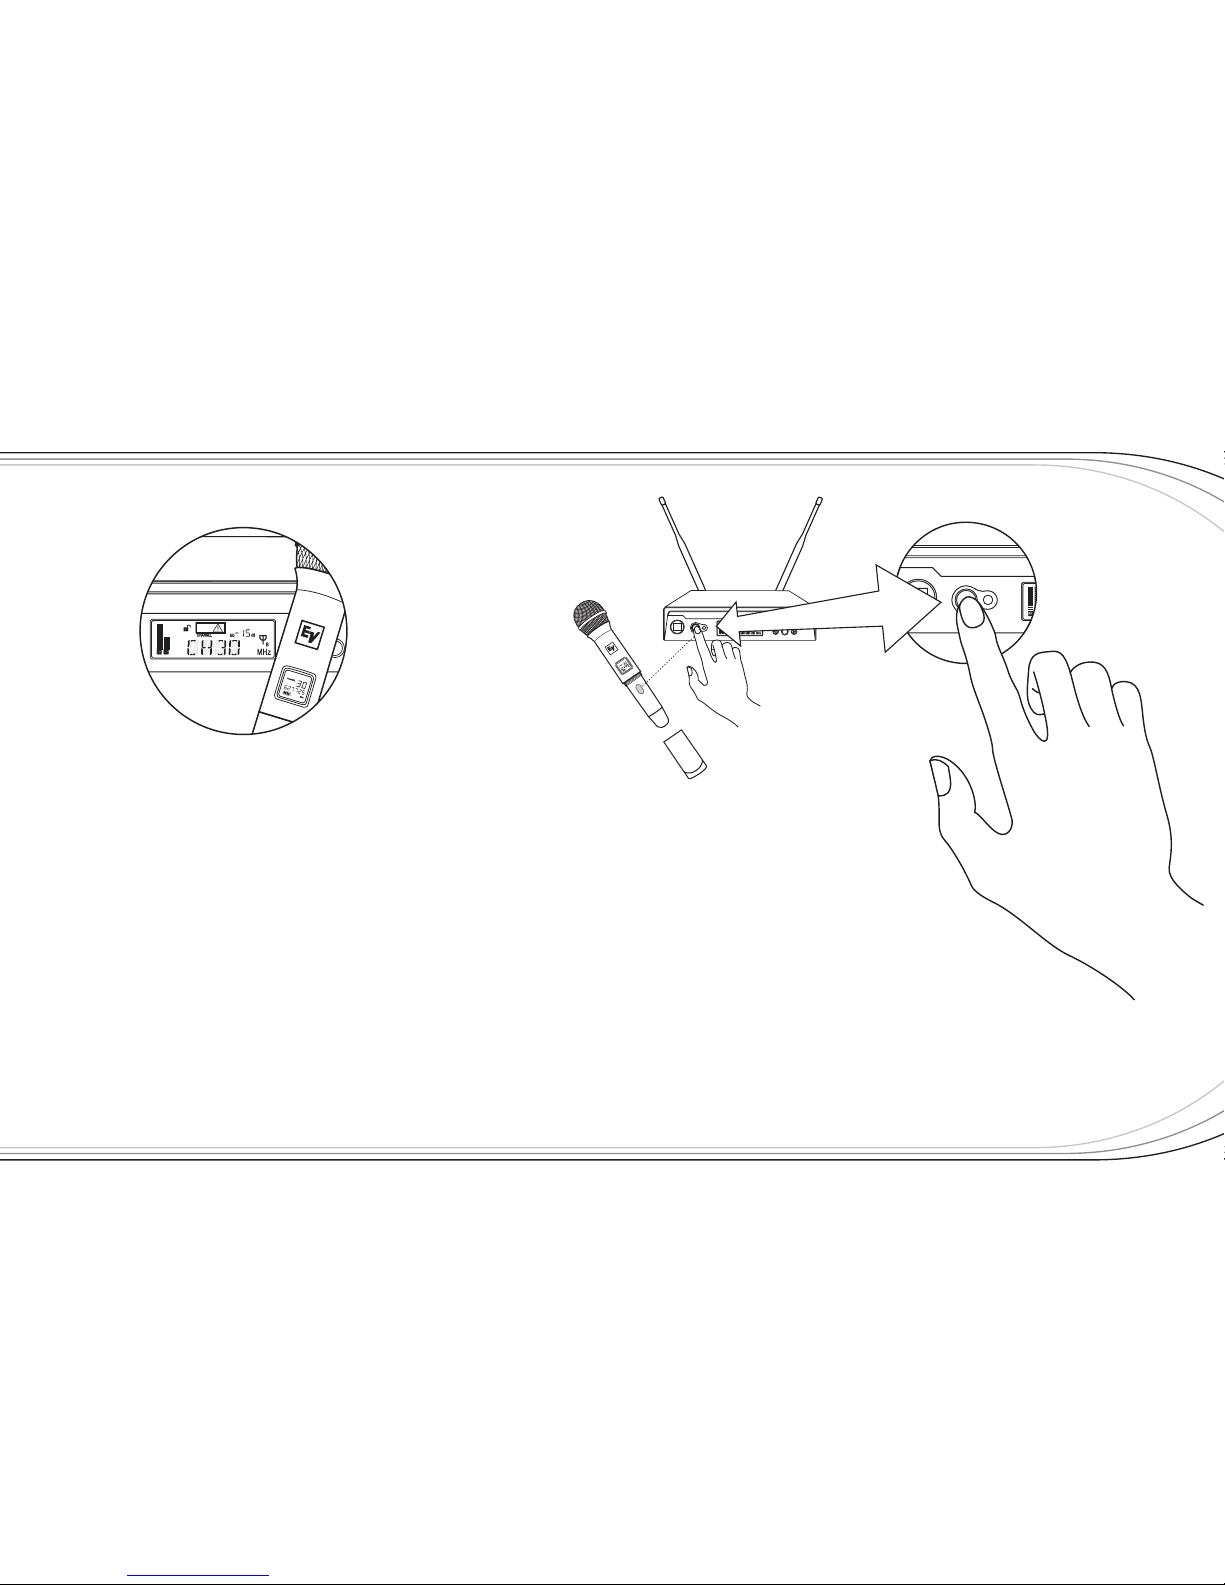
3. Hold the transmitter with the EZsync Port facing the receiver, about a foot (30 cm) away.
4. Press the SYNC Button on the receiver, SYNC will show in the display.
5. Once the channel is set in the transmitter, the display will switch to the main
display and show RF and Audio Levels.
Transmitter “Quick Set-up” is complete.
R300
EZsync
Clear
SYNC
EZsync
R300
ClearScan
SET

6
QUICK SET-UP: SYSTEMS OPERATION
1. Set the mixer/amp gain.
2. Talk or sing into the microphone or play the guitar at a normal volume. You
should hear audio coming out of the system.
3. You may have to adjust the gain (via the control next to the connector on the
receiver back panel) to provide the best input volume for your mixer/amp.
“Quick Set-up” is now complete. Please enjoy your R300 system.
01
7
SYNC
R300
EZsync
Clear
SET
EZsync
ClearScan
Electro-Voice
R
300
ANTENNA B ANTENNA A12V .500mA
MIN MAX
VOLUME
LEVEL
-10dB 0dB
BALANCED OUT UNBALANCED OUT
DETAILED COMPONENT DESCRIPTIONS
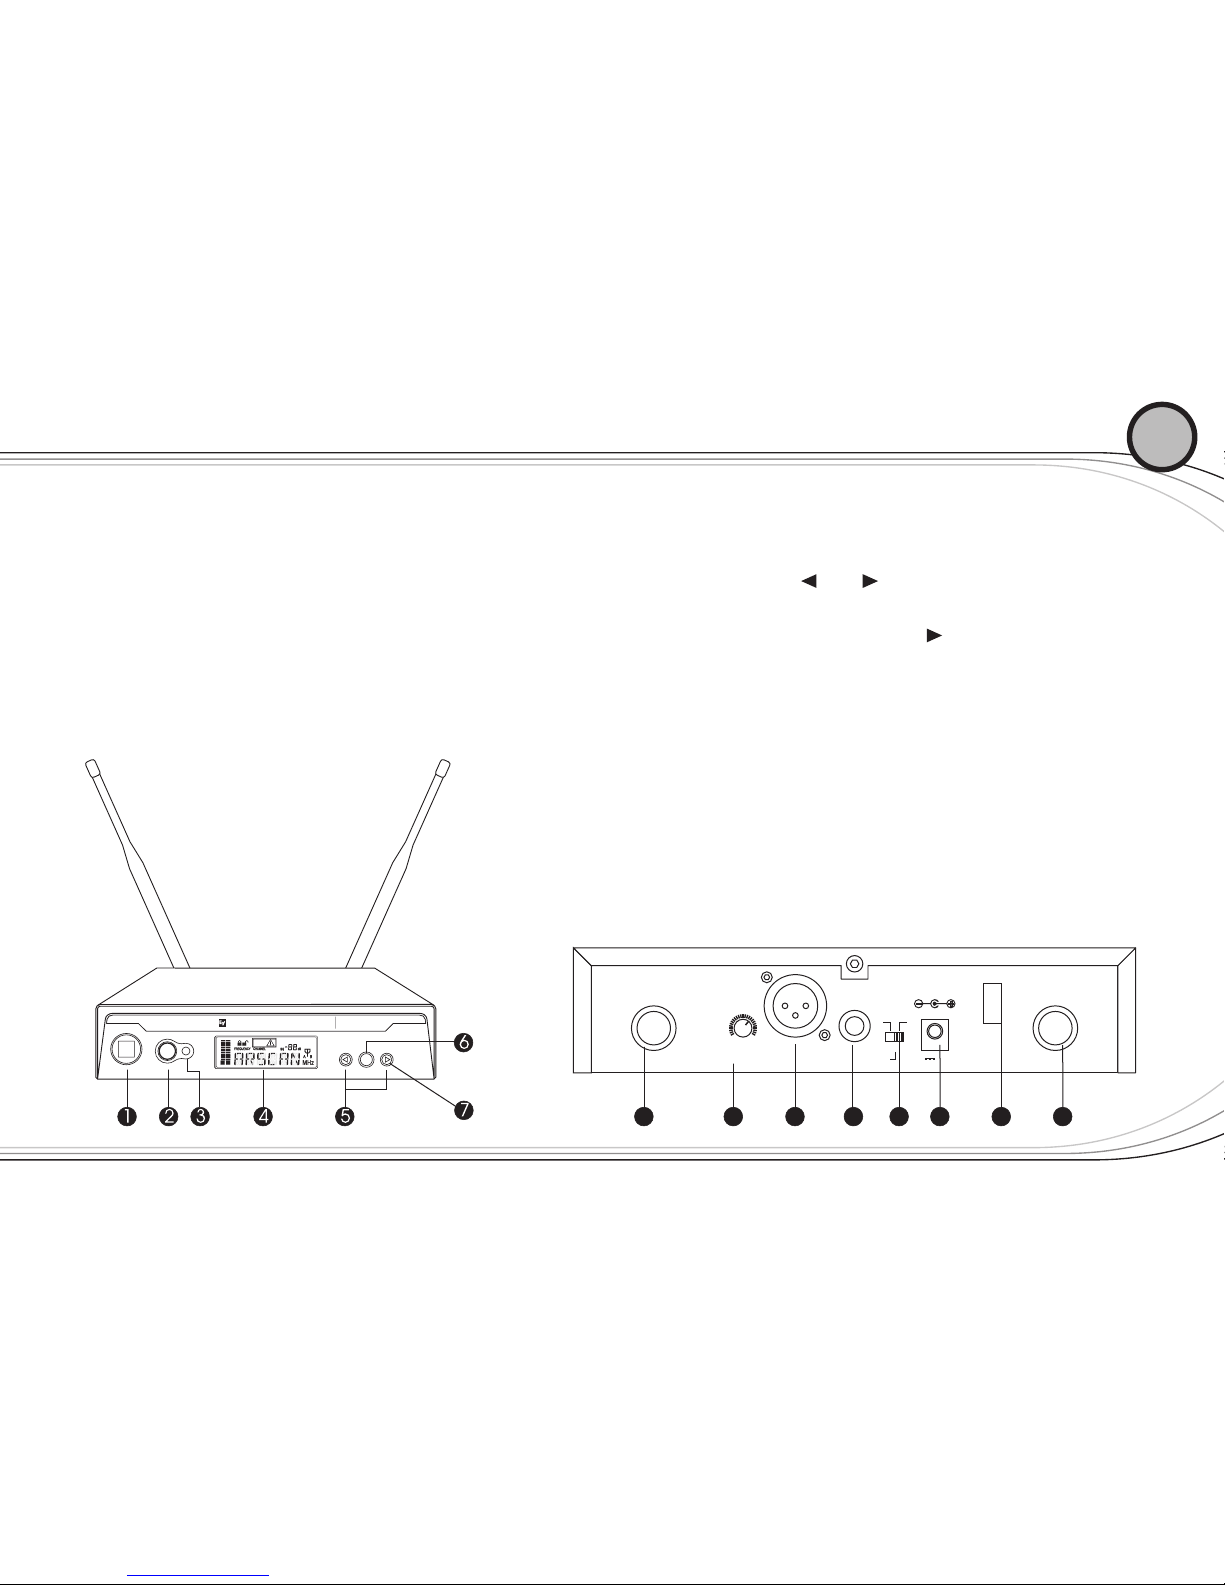
2.1 | R300 Receiver
RECEIVER CONTROLS, CONNECTORS
1. Power ON/OFF
2. SYNC Data Transfer Button
3. Infrared EZsync Window
4. Graphical Display
a. Channel or Frequency Display
b. Diversity Indicator
c. RF Strength Meter
d. Audio Level Meter
e. Lock Indicator
f. Squelch Level Indicator
5. Scroll Down and Up ( and ) Control Buttons
6. SET Control Button
7. ClearScan Control (press and hold button)
8. TNC Antenna Input Connectors (2)
9. Balanced Output Volume Control
10. XLR Balanced Output Connector
11. ¼ Inch Unbalanced Line Level Audio Output Connector
12. Unbalanced Output Level Switch (-10dB or 0dB)
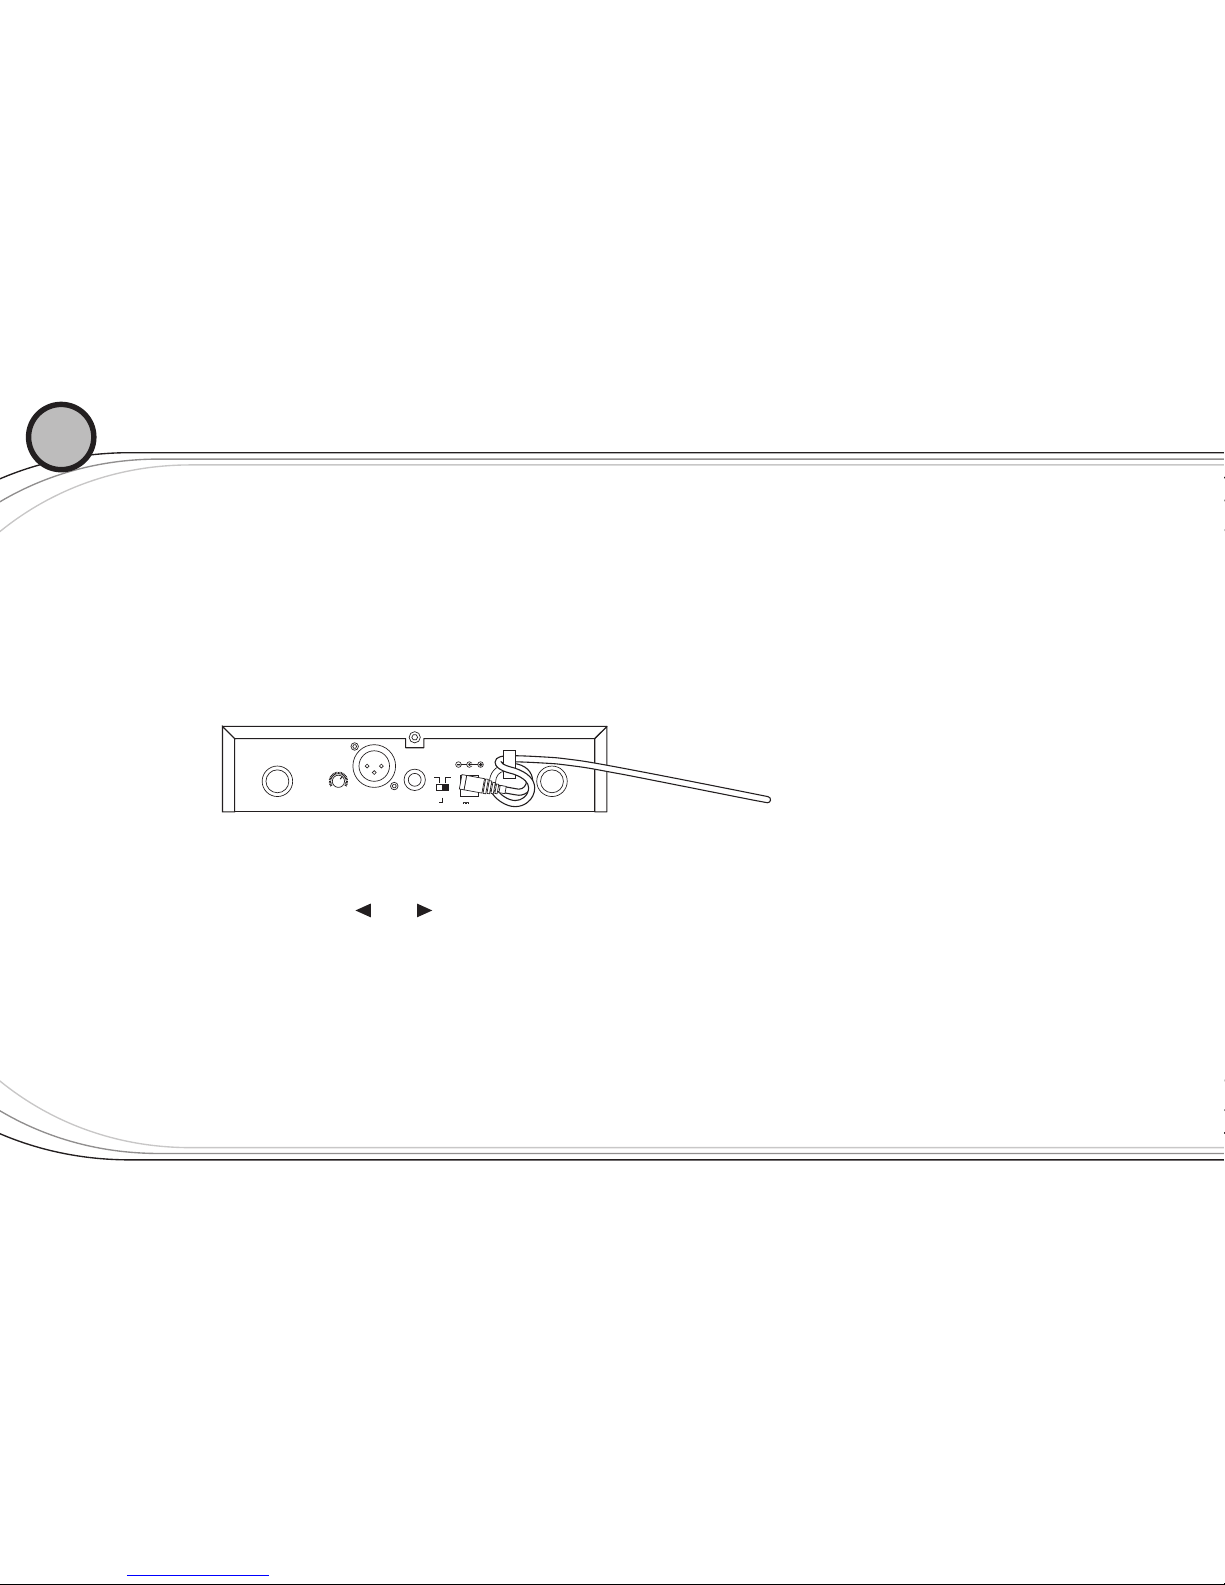
13. DC Power Connector (12V DC, 500mA)
14. Power Cord Retainer
02
8 89 10
11
12 13 14
8
DETAILED COMPONENT DESCRIPTIONS
2.1 | Receiver Setup & Operation
1. Place the receiver and antennas where there is a clear line of sight to the area where the transmitter
will be used. Rotate the antennas to separate them by 90 degrees.
2. Install the appropriate power connection blades into the power supply and connect the
power supply cord to the receiver. Plug the power supply into an AC outlet. Push the power
button to turn the receiver on and confirm that it is on by checking the main display screen.
3. Manual Channel Change
a. The and buttons allow you to scroll through the Channels. When the Channel
you desire is displayed, stop scrolling.
b. After 2 seconds the displayed channel number will start to flash.
c. The number will stop flashing and the new channel is installed.
d. Turn on the transmitter and hold the EZsync port facing the receiver EZSync port,
about a foot (50 cm) away.
02
ANTENNA B ANTENNA A12V .500mA
MIN MAX
VOLUME
LEVEL
-10dB 0dB
BALANCED OUT UNBALANCED OUT
9
e. Press the SYNC button on the receiver to transfer the channel information.
f. The receiver will display SYNC until the data is transferred, then return to the main screen.
g. The transmitter display screen will now show the new channel and frequency.
h. If the channel data was not transferred to the transmitter after 5 seconds, the receiver
will display ERROR. Be certain that the transmitter is On and the EZsync port is facing the receiver
and try again.
i. If the data still does not transfer, try new batteries, or move the unit to a shaded area away from
direct sunlight before trying again.
R300
EZsync
Clear
SYNC
EZsync
R300
EZsync
Clear
SYNC
EZsync
R300
ClearScan
SET

10
DETAILED COMPONENT DESCRIPTIONS
4. ClearScan: This feature automates the process of finding a clear channel.
a. To scan for the clearest channel in a group, press and hold until CLEARSCAN
appears in the display, then release the button.
b. When the scan is complete, the display will show the clearest available channel.
c. Use the SYNC button to transfer the new channel as in step 3.
5. During set up make sure the mixer or amplifier input used for the R300 is muted or
turned down to a minimum level.
6. Plug an audio cable (not supplied) into the 3 pin XLR or ¼ inch output of the R300.
Note: The XLR connector is the preferred connection since the output is balanced and will be
more immune to noise for longer runs of cable although either can be used with good results.
Set the balanced output level on the back panel to 12 o’clock (midway in the range) to start and
adjust later if necessary. If the ¼ inch unbalanced output is used, start with adjustment switch in
the -10dB setting.
02
 Loading...