

Electrovision E304CF, E304CG User Manual
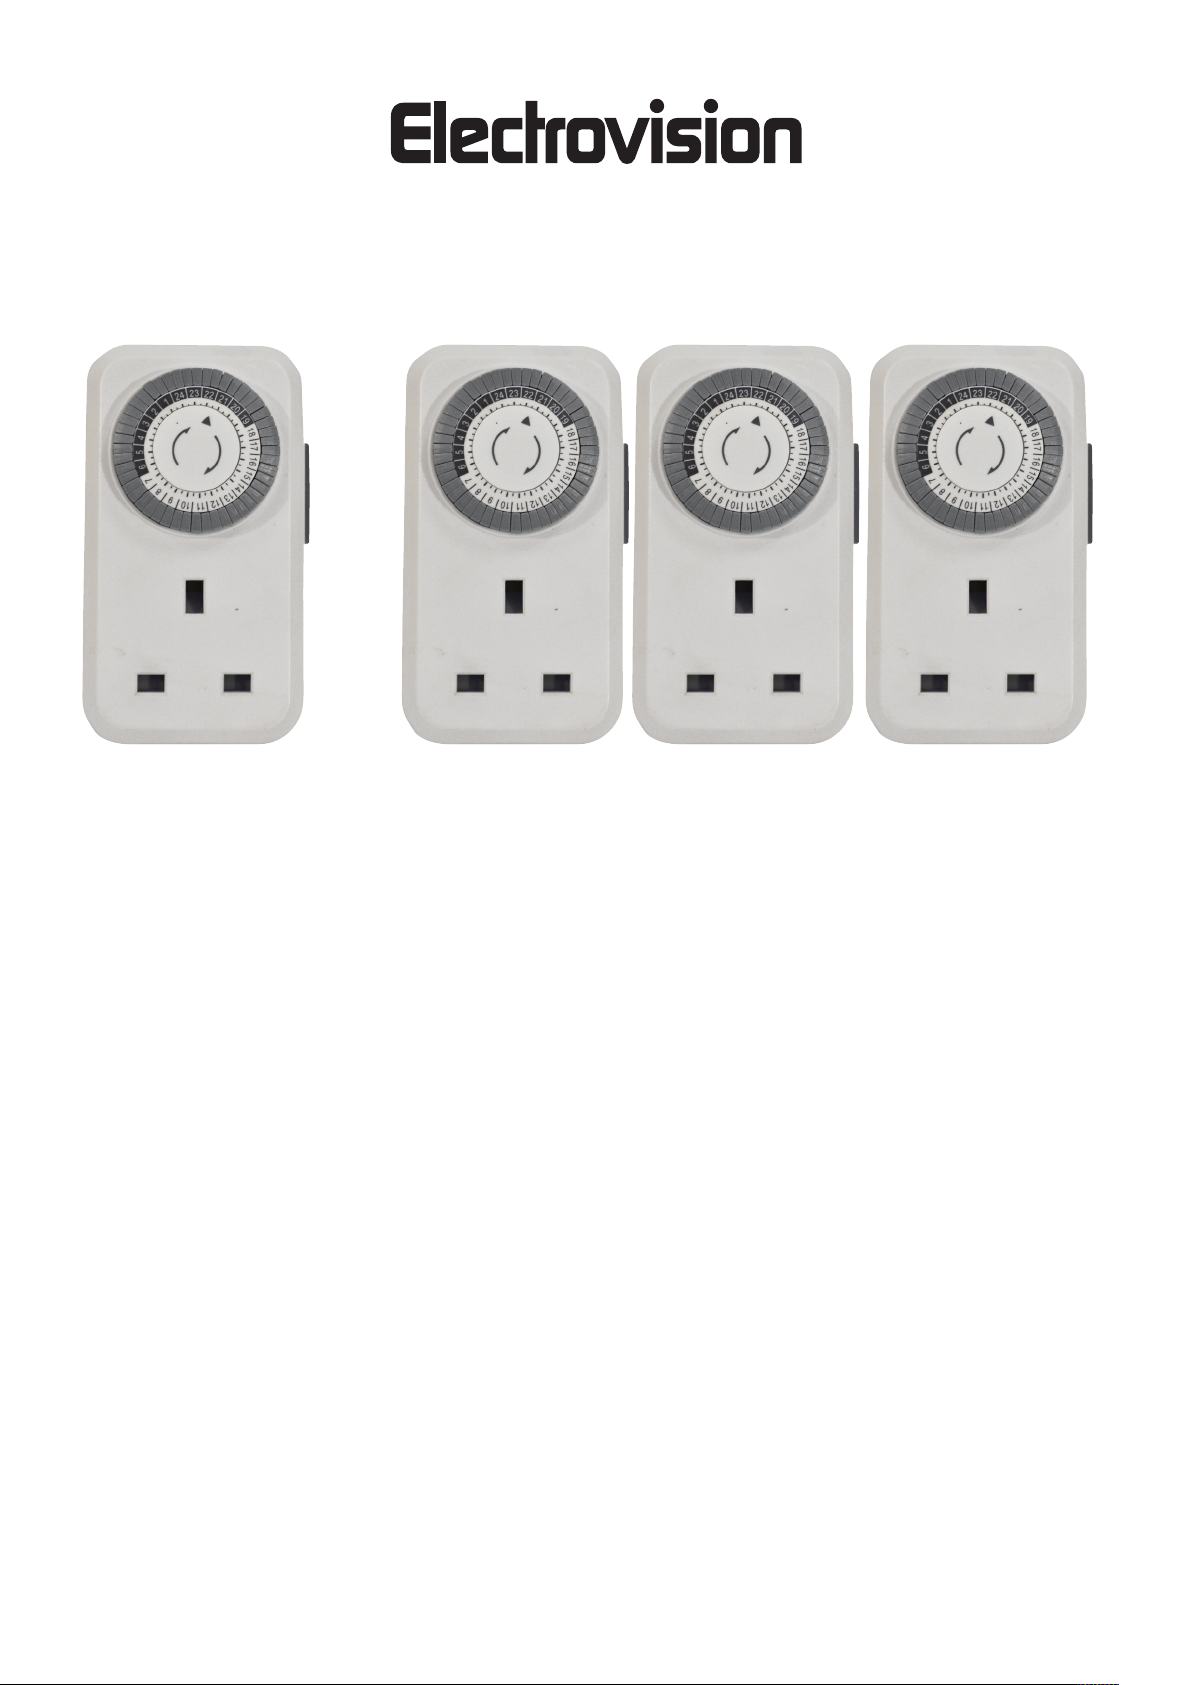
E304CF & E304CG
Mechanical 24 Hour Segment Timer
E304CF
(Single Unit)
E304CG
(Pack of 3)
User Manual
These instructions should be read carefully and left with the user of the product for future reference
BEFORE USE
Inspect the product for any signs of damage. If the product is damaged, DO NOT use it, and contact your supplier immediately.
PRODUCT SAFETY
• Keep away from children.
• Children shall not play with the timer
• Cleaning and user maintenance shall not be made by children.
• Do not use in close proximity to gas appliances
• Do not cover when in use.
• Do not use the product in locations where paint, petrol or other flammable liquids or gases are used or stored. Risk of fire and explosion.
• Do not use this appliance in the immediate surroundings of a bath, a shower or a swimming pool. Risk of Electric Shock.
• This unit is for indoor use only.
• Do not leave this product unattended when in use.
• Disconnect from the mains when not being used.
• There are no user serviceable parts.
• Clean only with a dry cloth when unplugged from the mains supply
• Do not immerse in water or other fluids.
• Must not be used with heating products such as fan heaters or convector heaters.
• Do not exceed the maximum wattage of 3000W
OPERATION AND FUNCTIONS
With unit disconnected from the mains supply follow the instructions below.
Notes: The timer uses a 24 hour format and is spilt into 48 segments each representing 30 minutes.
Segment pulled up switches the unit off
Segment pushed down switches the unit on
Minimum on time is 30 mins
Minimum off time is 30 mins
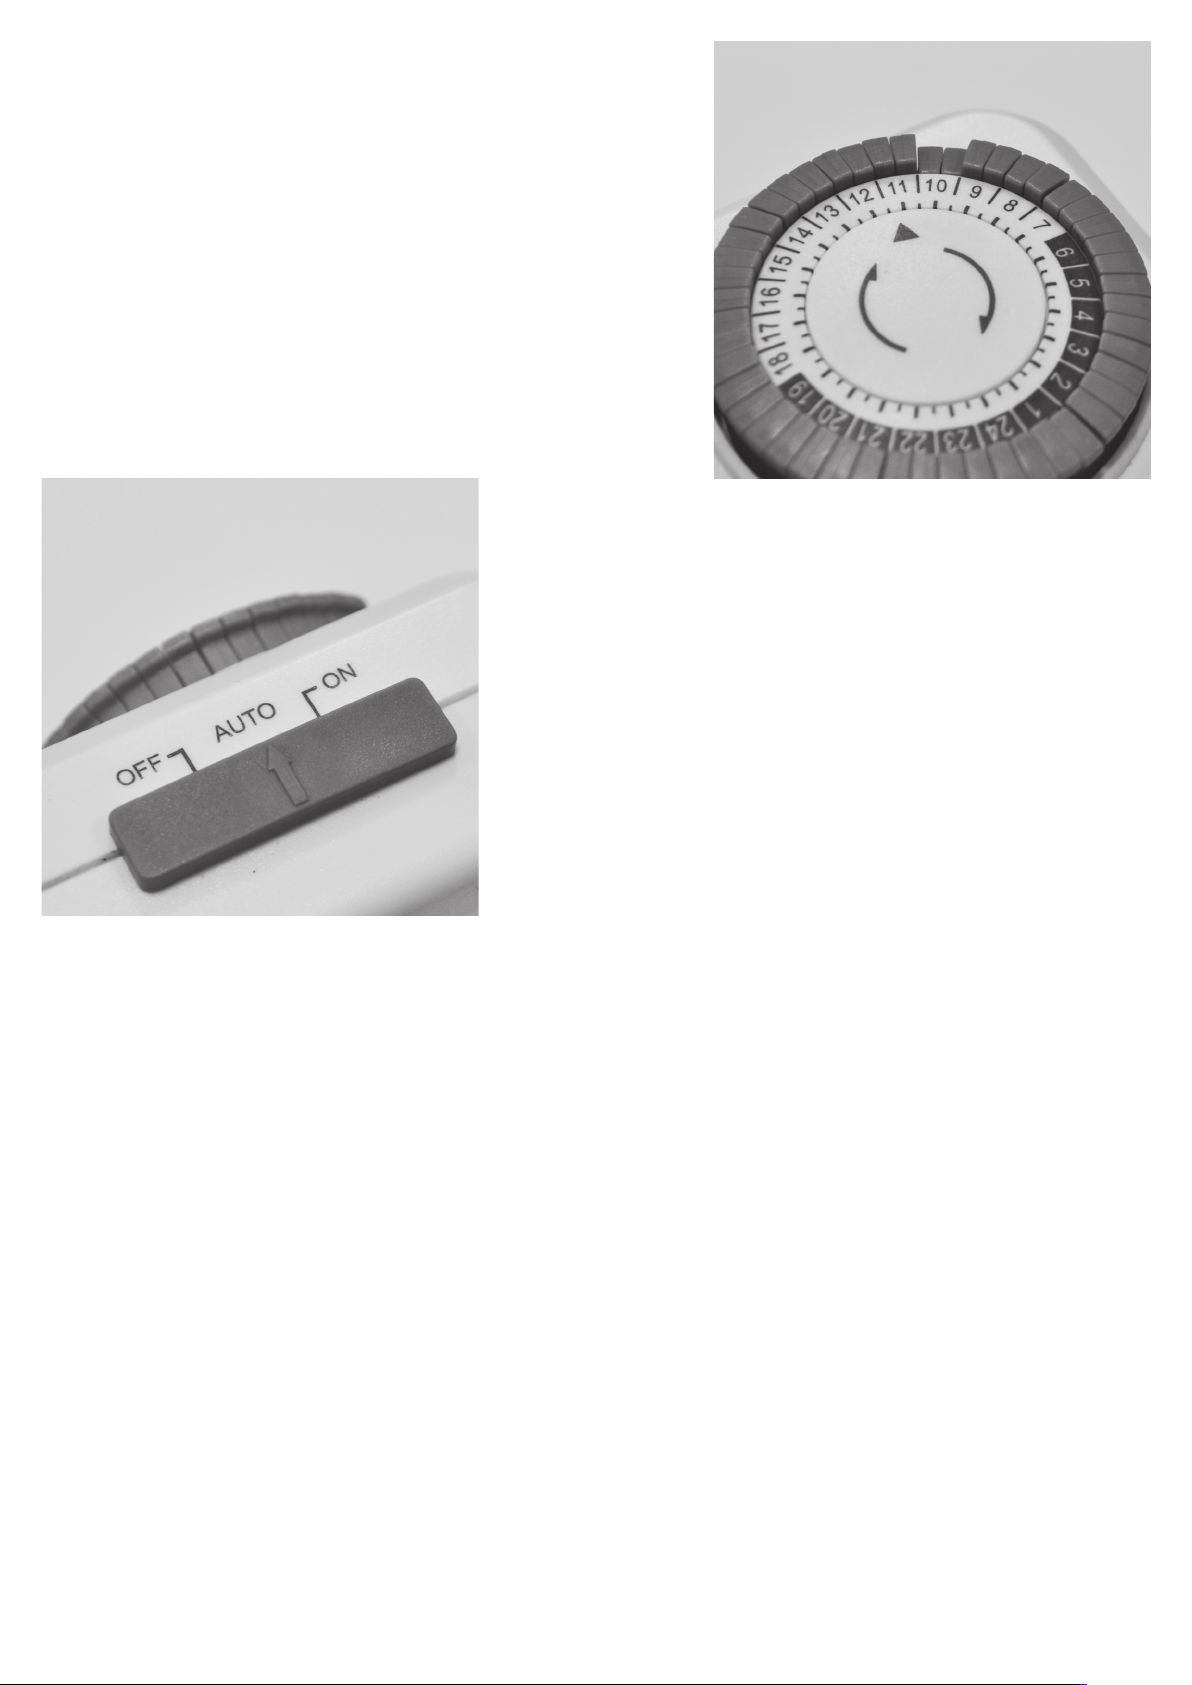
SETTING THE TIMER
Making sure all the segments are pulled up (normally off position) select the time
you would like the unit to switch on and push this segment down using a small flat
bladed screwdriver or similar tool. Working anti-clockwise push down further
segments stopping when you have reached the time you would like the product to
switch off. The example opposite (fig.1) shows the timer switching on at 10 and
switching off at 11. Further settings can be made using the same procedure. On
the side of the product is a three position switch marked as below. To make the
timer work the side switch must be set to “Auto”.
fig. 2
SETTING THE SWITCH ON THE SIDE OF THE PRODUCT (see fig. 2)
On = Switches the unit on and overrides the timer.
Off = Switches of the unit and overrides the timer
Auto= Uses the timer settings to switch the unit on and on.
fig. 1
SETTING THE CLOCK
Rotate the clock face until the correct time matches up with the arrow on the clock face. It is best to set the time on the hour for the best
results. PLEASE NOTE THE CLOCK ONLY WORKS WHEN PLUGGED IN, The example above (fig. 1) shows the clock set to 11 O’clock.
The unit can now be plugged in and used.
SPECIFICATIONS
Voltage 230V @ 50 Hz
Power: 3000W Max
Amps : 13A
Electrovision Ltd., Lancots Lane, Sutton, St Helens, Merseyside WA9 3EX www.electrovision.co.uk
 Loading...