

Electro-mech LX7406 Owner's Manual
Model LX7406
Owner's Manual
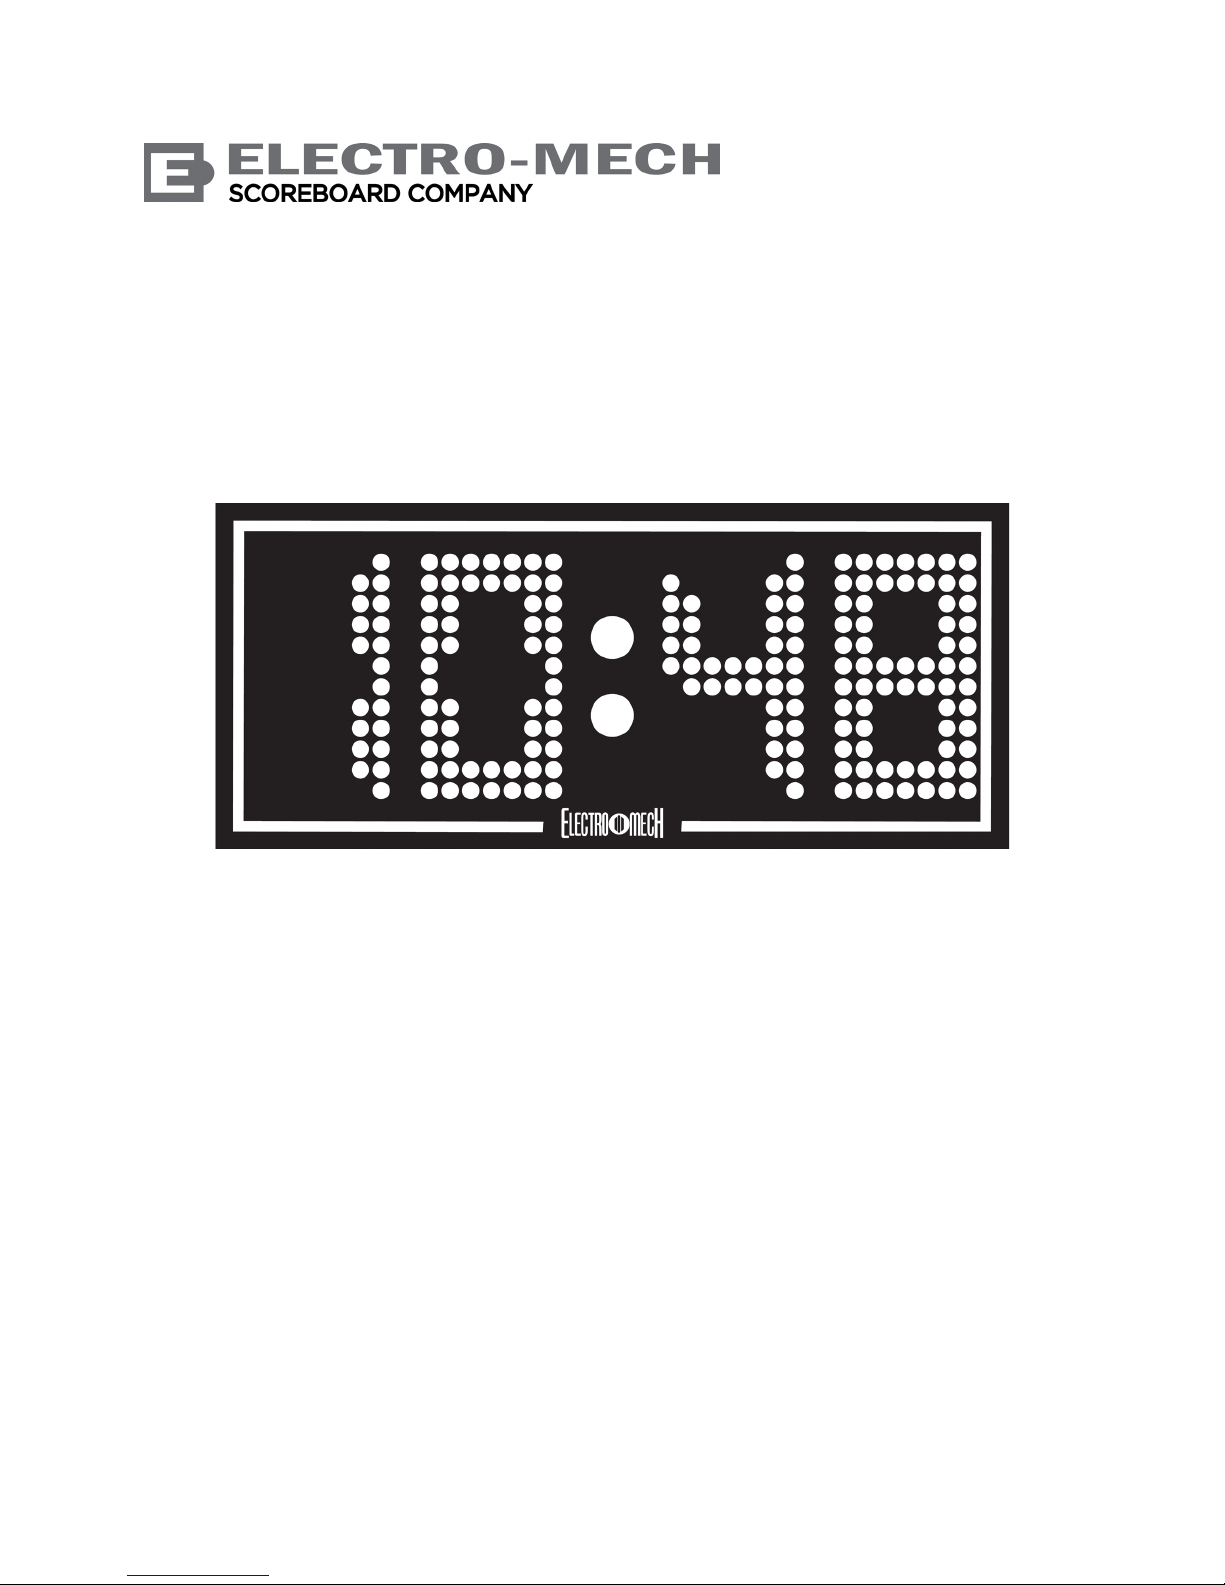
Indoor Locker Room Clock
The purpose of this manual is to explain how to install and maintain the Electro-Mech
Model LX7406 Indoor Locker Room Clock. Operation of the clock is covered in the
manual that ships with the control console for the main scoreboard display.
Original Filename: LX7406_Owner
Document Version: 1.6
Document Date: February 21, 2019

LX7406 Owner's Manual Revised February 21, 2019
TABLE OF CONTENTS
Best Practices for Personal Safety and Product Care ..................................................... 3
Product Specifications ..................................................................................................... 4
Planning Your Scoreboard Installation ............................................................................ 6
Electrical Installation........................................................................................................ 8
Mechanical Installation .................................................................................................. 12
Testing, Operation, and Ongoing Care.......................................................................... 14
Maintenance .................................................................................................................. 15
Limited Warranty Statement .......................................................................................... 21
Page 2 800.445.7846 · www.electro-mech.com

Revised February 21, 2019 LX7406 Owner's Manual
BEST PRACTICES FOR PERSONAL SAFETY AND PRODUCT CARE
Thank you for choosing Electro-Mech products for your athletic facility. We hope you
will be pleased with the performance and appearance of your locker room clock. The
information in this document will help you maintain the equipment in its best condition.
Receiving Your Locker Room Clock
A locker room clock cabinet typically ships in a cardboard box. It is important to inspect
the packaging for damage when the cabinet arrives ─ before signing any paperwork
telling the trucking company that you have received the clock in good condition. If
damage has occurred to the packaging, then damage may have occurred to the clock.
Where you find dents, scrapes, or holes in the packaging, peel back the cardboard to
expose the cabinet. Make notes on the paperwork provided by the trucking company
before accepting delivery. If the damage appears to be severe, refuse the shipment.
Contact Electro-Mech as soon as possible if you suspect shipping damage.
We recommend keeping the locker room clock cabinet in its packaging until the day of
installation. It is important to keep the box dry while the clock is inside. Wet cardboard
can adhere to the surface and damage the finish.
Conditions of Installation and Use for an Indoor Locker Room Clock
This locker room clock display is designed for installation and use in a dry environment.
Do not attempt to install or operate a locker room clock outdoors or in a wet location.
An indoor locker room clock display is typically attached to a locker room wall.
Accordingly, the cabinet includes keyhole slots for hanging the display on lag bolts.
(This document uses the term "lag bolt" to generically represent whatever fastener is
best suited for the type of structure on which the clock display will hang – bolts, hooks,
nails, etc.) Whatever method you choose for hanging the display, it is important to
make sure the wall and other materials can support the weight. Vibration may also be a
factor in selecting mounting techniques for locker room clocks.
In its standard configuration, the locker room clock display receives power through its
detachable power cord, which should plug into a 120 VAC electrical outlet. When the
display is not in use, you should disconnect it from power. For this reason, we
recommend installing a dedicated disconnect switch within sight of the locker room
clock display. In the "off" position, the switch should isolate all load-carrying conductors
(not the ground). This will help protect the locker room clock electronics from nearby
lightning strikes and other power fluctuations that might otherwise travel along the
power cables.
www.electro-mech.com · 800.445.7846 Page 3

LX7406 Owner's Manual Revised February 21, 2019
PRODUCT SPECIFICATIONS
General Description:
• Model LX7406 is an electronic scoreboard designed for permanent installation
indoors. The purpose of Model LX7406 is to display timing information in the
locker room during games or practice.
Standard Package Includes:
• One scoreboard cabinet
• One detachable power cable for standard configurations
* Note: For configurations with concealed wiring, attach power and data
cables to terminal blocks inside the cabinet.
• One stereo plug tip
Cabinet Dimensions and Weight:
• 23 in (W) x 10 in (H) x 4 in (D), 12 lb
Cabinet Construction and Finish:
• The cabinet is formed from sheet aluminum and finished with black enamel paint.
Optional vinyl accent striping is available in eighteen standard colors.
Overview of LED Display Circuit Boards:
• Red LEDs (light emitting diodes) mounted on PCBs (printed circuit boards) form
all lighted digits. The illuminated PCBs are mounted behind the face of the
scoreboard cabinet. The face allows the epoxy shells of the LEDs to protrude,
maximizing viewing angle while providing impact-absorbing protection from
contact with stray balls and other flying objects. The LEDs may be dimmed to
reduce glare during night games. They are rated for 100,000 hours of use.
Display Features:
• 4-Digit Period Clock, 6 inches tall, shows Time in MM:SS up to 99:59, counts up
or down, can show Tenths of Seconds during the final minute of a down-counting
Period, can show HH:MM in Time of Day Mode
Additional Standard Scoreboard Features:
• All serviceable components accessible from the front of the cabinet
• Integrated keyhole slots for hanging the display
Page 4 800.445.7846 · www.electro-mech.com

Revised February 21, 2019 LX7406 Owner's Manual
Optional Equipment and Features:
• Data cable for hard-wired installations
• ScoreLink RF communications system for wireless data transmission
* Receiver must be positioned with line of sight to transmitter
• MP-series control console
• Hard carrying case for control console and accessories
Power Requirements:
• The LX7406 locker room clock requires one circuit providing 0.3 amps, 120 VAC,
60 Hz.
• The detachable power cord shipped with standard configurations must be
plugged into a standard (NEMA 5-15R) power receptacle.
• Electro-Mech recommends installing a dedicated breaker to control power to the
locker room clock.
Mounting Requirements:
• Locker room clocks are designed to be mounted on a wall. The cabinet includes
two keyhole slots in the back to accept lag bolts with a maximum shaft diameter
of 3/8 inches.
• Lag bolts should be spaced 18 inches apart from center to center.
Safety Listing, Support, and Warranty Information:
• All LX-series scoreboard displays are ETL Listed to UL Standard 48 for Electric
Signs.
• Electro-Mech offers technical support at no charge over the phone or via the
Internet for the life of the product.
• The standard limited warranty covers factory labor on parts returned to ElectroMech within five years of the scoreboard's date of invoice.
• Additional support plans are available.
• The complete standard warranty statement is included near the end of this
document available.
www.electro-mech.com · 800.445.7846 Page 5

LX7406 Owner's Manual Revised February 21, 2019
PLANNING YOUR SCOREBOARD INSTALLATION
A good plan is important to the success of any project, and installing a locker room
clock is no exception. An important first step in planning for your locker room clock is
determining the optimal location. Key factors here are visibility and accessibility.
By "accessibility" we mean the ease with which you can get people, equipment, cabling,
etc. to the locker room clock display during installation, as well as ease-of-access for
future service. If you position a clock so that using a lift or ladder to reach it is
impractical, you will almost certainly add cost to the installation and to service calls.
By "visibility" we mean the ease with which players, coaches, and/or the scoreboard
operator can see the display. Most locker room clock displays are mounted on locker
room walls or other structures. Because every sports facility is unique, there is no onesize-fits-all way to describe the perfect locker room clock location. We can tell you that
the vertical placement of a clock should be high enough to give players and coaches a
clear line of sight over the heads of others but low enough to prevent them from
straining their necks. For safety, you will want to keep the bottom of the cabinet at least
eight feet above the floor (to prevent people from smacking their heads against it).
For some indoor facilities, it is important to make sure people cannot – accidentally or
intentionally – interfere with the locker room clock display or cables connected to it. It is
advisable to keep the display away from direct exposure to showers or other sources of
moisture.
If you are planning for the construction or renovation of a new facility, then you will likely
have more options for locating your locker room clock. In addition, you may be able to
choose helpful positions for electrical outlets, plan for conduits, and control other details
that will make installation, operation, and service easier. Your scoreboard sales rep
should be able to answer questions and offer advice that will help you with these plans.
If you are adding this locker room clock to an existing facility, your options may be more
limited. In some cases, we can modify the clock cabinet to meet special needs. An
obvious example would be accommodating power entry through the back of the cabinet
rather than via the standard power cable on the side. These sorts of details must be
worked out prior to the release of a scoreboard order. Your sales rep can guide you
through the process.
The sections that follow in this document primarily discuss the details of the mechanical
and electrical installation of a single room clock. If your project includes multiple clocks,
scoreboards, or other electronic displays, please check with your scoreboard sales rep
to make sure you have any project-level documentation you may need.
Page 6 800.445.7846 · www.electro-mech.com

Revised February 21, 2019 LX7406 Owner's Manual
Before You Spend Your Time and Money...
Please keep in mind that the dimensions and other details referenced throughout this
document are specific to the standard configuration of this particular locker room clock
model. Before purchasing materials, running cabling, etc. you should verify with the
factory that you have the right documentation for your unique project.
It is possible that a government agency, such as your local city council, will require a
building permit or other documentation and approval forms related to the installation and
operation of your shot clock displays. In some cases the installation plan may require a
stamp from a locally licensed Professional Engineer (P.E.).
www.electro-mech.com · 800.445.7846 Page 7
 Loading...