

Electrolux E32AR85PQSF, E32AR85PQSE, E32AR85PQSD, E32AR85PQSB, E32AR85PQSA Owner’s Manual
Use _ Care Guide
Guia de Uso y Cuidado
Guide d'utilisation et d'entretien
R_[ri_rateur
ICON _
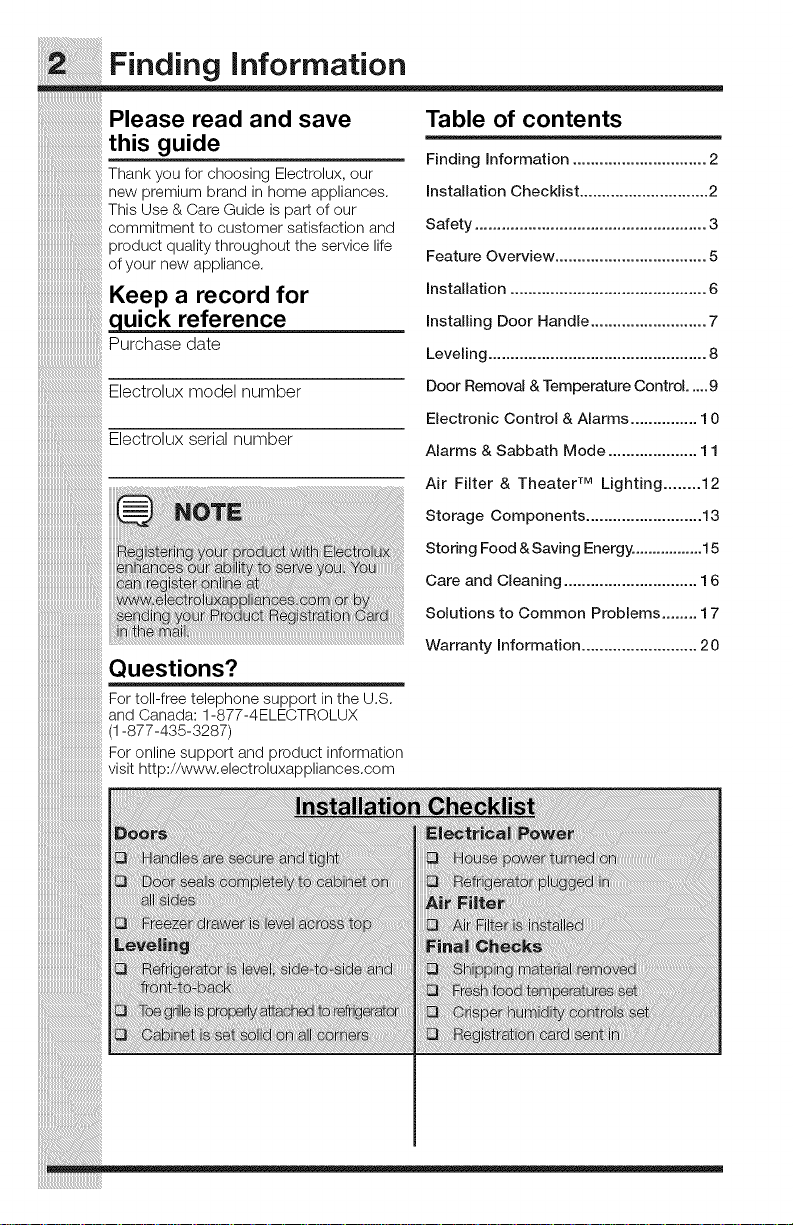
Please read and save
this guide
Thankyou forchoosing Electrolux, our
new premium brand in home appliances.
This Use & Care Guide is part of our
commitment to customer satisfaction and
iiiiiiiiiiiiiiiiiiiiiiiiiii!i_:_:_:_:_:_:_:_:_:_:_:_:_:_:_:iof your new appliance.
product quality throughout the service life
'_iiiKeep a record for
iiiiiiiiiiiiiiiiiiiiiiiiiiiiiiiiiiiii__quick reference
..........................................Purchase date
iiiiiiiiiiiiiiiiiiiiiiiiiiiiiiiiiiiiiiiiiiiii
Electrolux model number
Electrolux serial number
Questions?
For toll-free telephone support in the U.S.
and Canada: 1-877-4ELECTROLUX
(1-877-435-3287)
For online support and product information
visit http://www.electroluxappliances.com
Table of contents
Finding Information .............................. 2
Installation Checklist ............................. 2
Safety .................................................... 3
Feature Overview .................................. 5
Installation ............................................ 6
Installing Door Handle .......................... 7
Leveling ................................................. 8
Door Removal & Temperature Control ..... 9
Electronic Control & Alarms ............... 10
Alarms & Sabbath Mode .................... 1 1
Air Filter & Theater TM Lighting ........ 12
Storage Components .......................... 13
Storing Food & Saving Energy. ................ 15
Care and Cleaning .............................. 16
Solutions to Common Problems ........ 17
Warranty Information .......................... 20
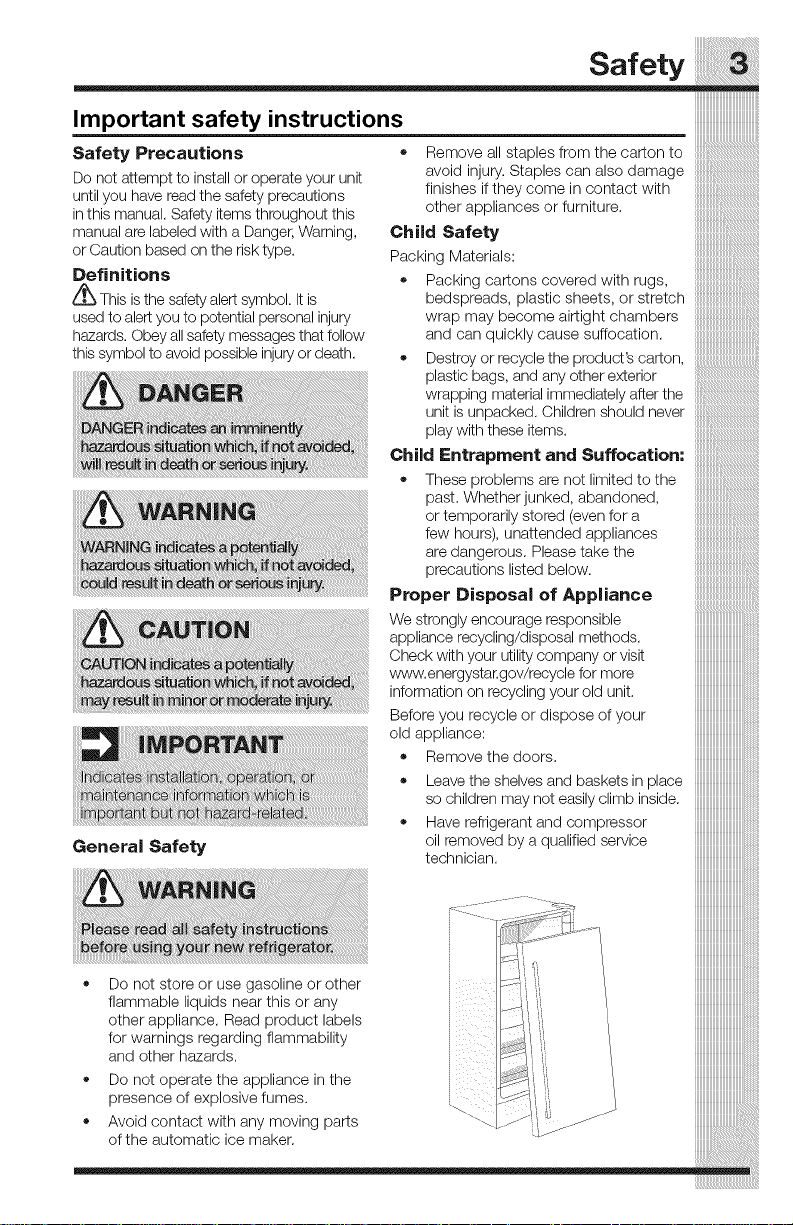
Important safety instructions
Safety Precautions
Do not attempt to installor operate your unit
until you have read the safety precautions
in this manual. Safety items throughout this
manual are labeled with a Danger, Warning,
or Caution based on the risk type.
Definitions
_! This isthe safety alert symbol. Itis
used to alert you to potential personal injury
hazards. Obey all safety messages that follow
this symbol to avoid possible injuryor death.
General Safety
Safety
• Remove all staples from the carton to
avoid injury. Staples can also damage
finishes if they come in contact with
other appliances or furniture. ,...................................................................
Child Safety ..................................................................
Packing Materials: .............................................................
Packing cartons covered with rugs,
bedspreads, plastic sheets, or stretch
wrap may become airtight chambers
and can quickly cause suffocation.
• Destroy or recycle the product's carton,
plastic bags, and any other exterior
wrapping material immediately after the
unit is unpacked. Children should never
play with these items.
Ch,dEntrapmentandSu ecat on"
= These problems are not limited to the ...............................................
past. Whether junked, abandoned,
or temporarily stored (even for a
few hours), unattended appliances
are dangerous. Please take the
precautions listed below.
Proper Disposal of Appliance .........................................
We strongly encourage responsible
appliance recycling/disposal methods.
Check with your utility company or visit
www.energystar.gov/recycle for more
information on recycling your old unit.
Before you recycle or dispose of your
old appliance:
• Remove the doors.
• Leave the shelves and baskets in place
so children may not easily climb inside.
Have refrigerant and compressor
oil removed by a qualified service
technician.
• Do not store or use gasoline or other
flammable liquids near this or any
other appliance. Read product labels
for warnings regarding flammability
and other hazards.
Do not operate the appliance in the
presence of explosive fumes.
Avoid contact with any moving parts
of the automatic ice maker.
iill_iii_i_ill
i_iiiii_i!i_
JJ

ii ii! ! Safety
......................................................................................Electrical information
iiiiiiiiiiiiiiiiiiiiiiiiiiiiiiiiiiiiiiiiiiiiiiiiiiiiiiiiiiiiii i1 !i!iiiiiiiiiiiiiiiiiiiiiiiiiiiii
iiiiiiiiiiiiiiiiiiiiiiiiiiiiiiiiiii_:_
iiiiiiiiiiiiiiiiiiiiiiiiiiiiiiiiiiiiii_:_
iiiiiiiiiiiiiiiiiiiiiiiiiiiiiiiiiiiiiiiiii_
iiiiiiiiiiiii i
iiiiiiiiiiiiiiiii i iii_i i i
The unit must be plugged into its own Grounding type wall receptacle
dedicated 115 Volt, 60 Hz, AC-only
non-GFCI electric outlet. The power
cord of the appliance is equipped
with a three-prong grounding
plug for your protection against
electrical shock hazards. It must
be plugged directly into a properly
grounded three-prong receptacle,
The receptacle must be installed in
accordance with local codes and
ordinances. Consult a qualified
electrician. Do not use an extension
cord or adapter plug.
• If the power cord is damaged,
it should be replaced by the
manufacturer, service technician, or a
qualified person.
Never unplug the appliance by pulling
on the power cord, Always grip the
plug firmly and pull straight out from
the receptacle to prevent damaging
the power cord.
To avoid electrical shock, unplug
the unit or switch the breaker that
supplies power to the unit to the off
position before cleaning and before
replacing a light bulb or LED light.
Performance may be affected
if the voltage varies by 10% or
more. Operating the appliance with
insufficient power can damage the
compressor. Such damage is not
covered under your warranty.
Do not plug the unit into an outlet
controlled by a wall switch or pull
cord to prevent the appliance from
being turned off accidentally.
Powercord with
3-Pr0ng grounded plug
not, under *"_
any circumstances, I
cut, remove, |
or bypass the |
grounding prong.j/
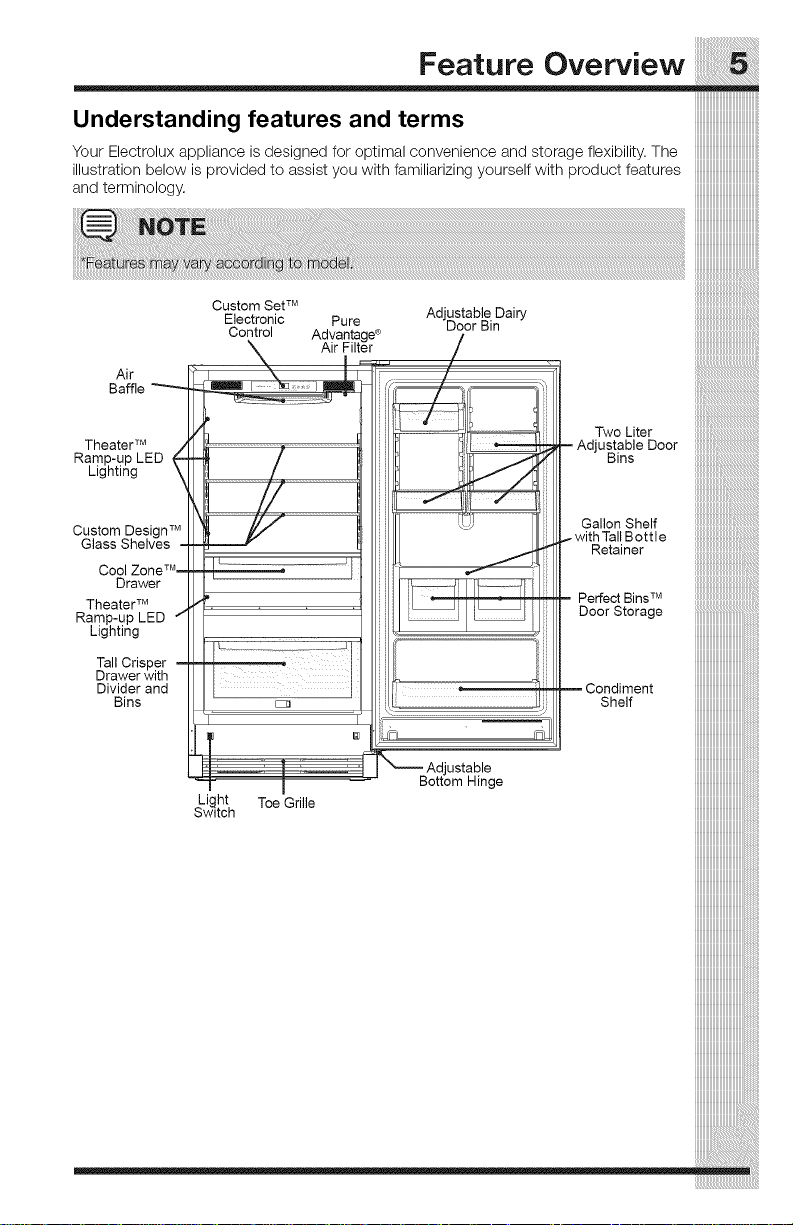
Understanding features and terms
Your Electrolux appliance is designed for optimal convenience and storage flexibility= The
illustration below is provided to assist you with farniliarizing yourself with product features
and terrninology.
Air
Baffle
iiiiiiiiiiiiiiiiiiiiiiiiiiiiiiiiiiiiiiiiiiiii
iiiiiiiiiiiiiiiiiiiiiiiiiiiiiiiiiiiiiiiiiiiii
i!iilliiiiiiiiiiiiiiiiiiiiiiiiiiiiiiiiiiiiiiiiiiiii
i!ii{iiiiiiiiiiiiiiiiiiiiiiiiiiiiiiiiiiiiiiiiiiiii
Theater TM
Ramp-up LED _
Lighting
Custom Design TM
Glass Shelves ,
Cool Zone TM-
Drawer
Theater TM
Ramp-up LED "_
Lighting
Tall Crisper -
Drawer with
Divider and
Bins
Light Toe Grille
Switch
ustable
Two Liter
AdjustobleOeorB,nsii iiiiiiiiii
Gallon Shelf
Retainer
mmmmmmmmmmmm,
mmmmmmmmmmmmh
mmmmmmmmmmmmm
Perfect Bins TM iiiiiiiiiiiiiiiiiiiiiiiiiiiiiiiiiiiiiiii!
Door Storage
Shelf
ge
mmmmmmmmmmmmm,

Installation
Installation
* Allowthe following clearances
for ease of installation,proper
air circulation, and plumbing and
electrical connections:
Sides _/8" (9,5 mm)
Top &Back 1" (25.4 mm)
Allow for trim kit ifit to be installed
with the unit.
ii!i!i!i!i!i!i!i!i!i!i!i!i!i!i!i!i!i!i!i!i!i!i!i!i!i!i!i!i!i!i!i!i!i!i!i!i!i!i!i!!i_!_ii
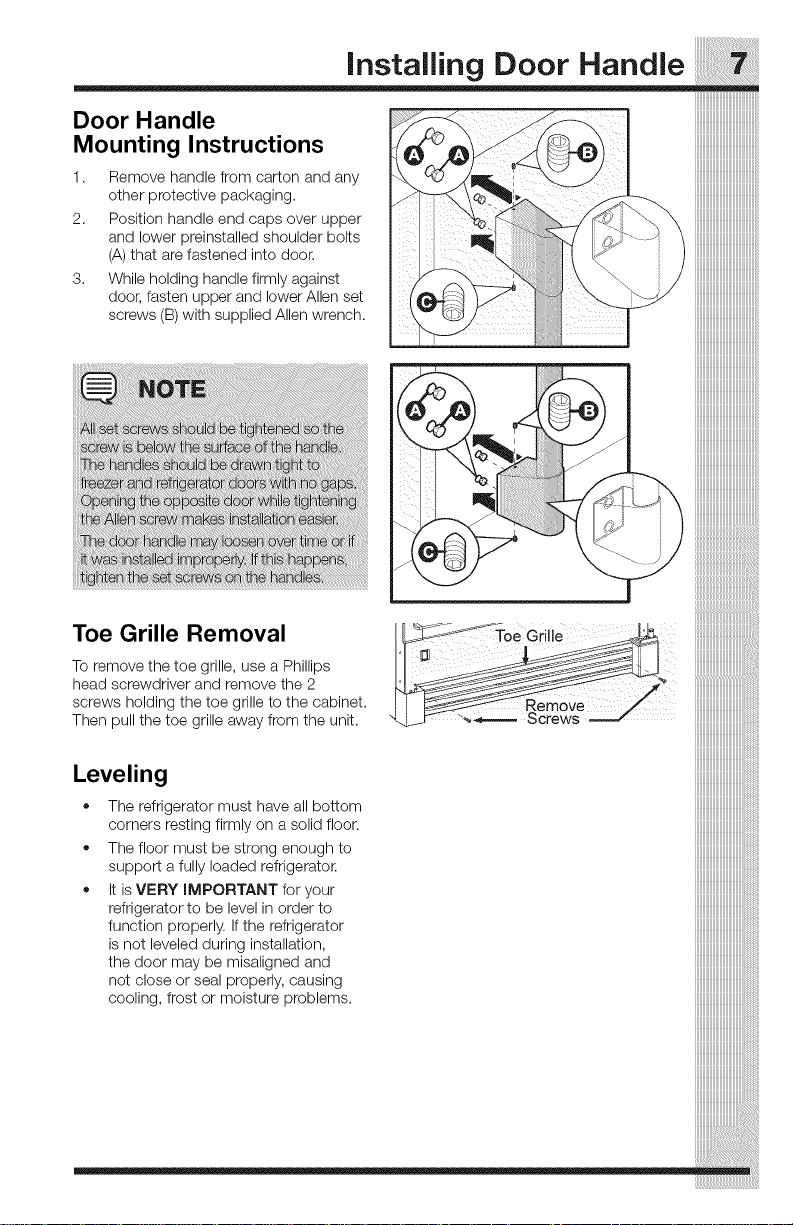
Door Handle
Mounting Instructions
1. Remove handle from carton and any
other protective packaging.
2. Position handle end caps over upper
and lower preinstalled shoulder bolts
(A) that are fastened into door.
3.
While holding handle firmly against
door, fasten upper and lower Allen set
screws (B) with supplied Allen wrench.
Installing Door Handle
iiiiiiiiiiiiiiiiiiiiiiiiiiiiiiiiiiiiiiiii
iiiiiiiiiiiiiiiiiiiiiiiiiiiiiiiiiiiiiiiii
iiiiiiiiiiiiiiiiiiiiiiiiiiiiiiiiiiiiiiiii
Toe Grille Removal
To remove the toe grille, use a Phillips
head screwdriver and remove the 2
screws holding the toe grille to the cabinet.
Then pull the toe grille away from the unit.
Leveling
• The refrigerator must have all bottom
corners resting firmly on a solid floor.
The floor must be strong enough to
support a fully loaded refrigerator.
It is VERY IMPORTANT for your
refrigerator to be level in order to
function properly. If the refrigerator
is not leveled during installation,
the door may be misaligned and
not close or seal properly, causing
cooling, frost or moisture problems.
3rille
 Loading...