

Electrolux E23BC78IPSLA, E23BC78IPSKA, E23BC78IPSH, E23BC78IPSG Owner’s Manual

Use _ Care Guide
French Door Bottom Freezer/Refrigerator
Ouia de Uso y Cuidado
Refrig_rador con cong_dador inferior d_ pu_rta dobl_
Guide d'utilisation et d'entretien
R___frigC_rateur _ portes fran_aises/CongCdateur en bas
_ Electrolux
ICON ®
_i:_i_ii_i_!_!_i@!_!:ii!_!:ii!_!_!ii_!_ii_i!_!!_!i_ii_i!ii_iii@_i_i_i_iii_ii
Finding information
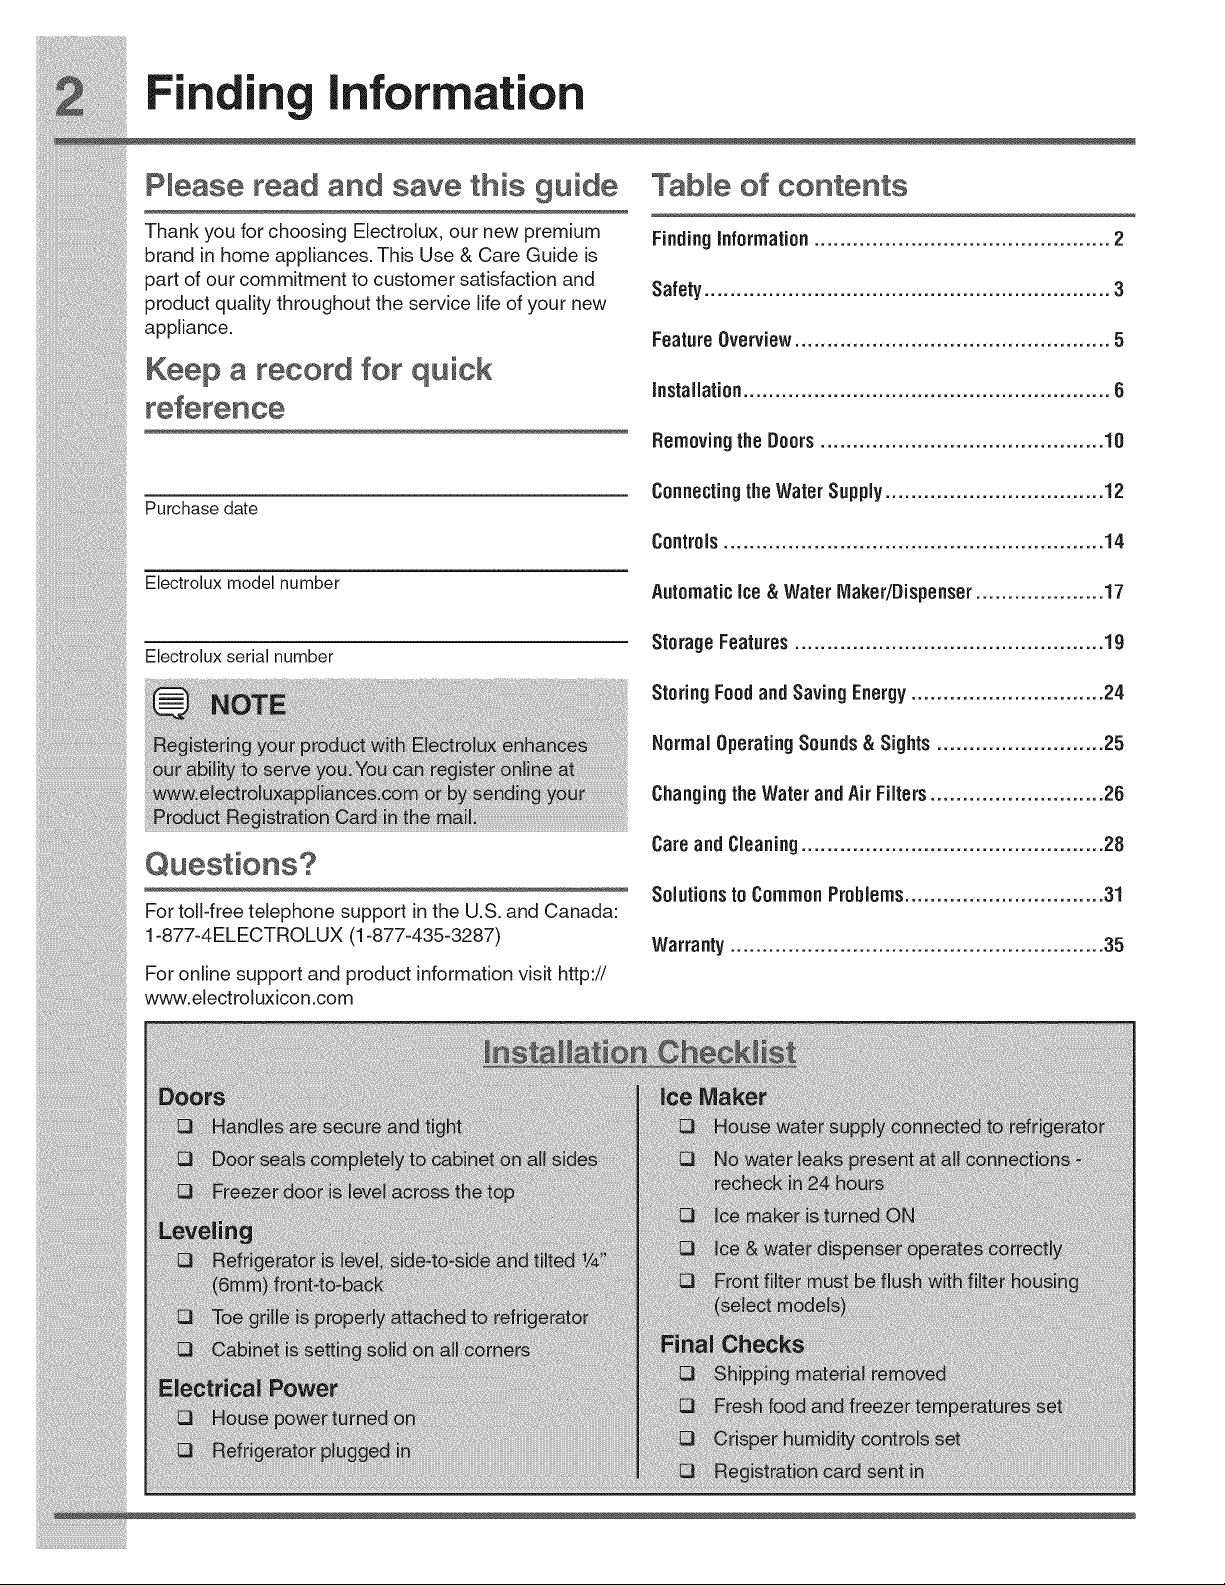
Please read and save this guide Tabmeof contents
Thank you forchoos ng E ectro ux our new prem um Fin in Inf rm i n 2
brand in home appliances.This Use & Care Guide is
part of our comm tment to customer sat sfact on and f
product quality throughout the service life of your new
app ance
• FeatureOverview................................................. 5
[J g 0 at 0 ..............................................
Sa ety ............................................................... 3
;;; Keep a record for quick
_ Instal at on......................................................... 6
reference
Ro.,o_.gt,oDoo,,............................................_0
__ c0..00ti.gt,0w_t0,s.,,_v.................................._2
Purchase date
co.t,o_s..........................................................._4
__ A" rn "i I -W" rlVl k r'Di . r 17
;;;; Sto,_.gFoo_._S_v_.gE.o,gV..............................24
ulo alc ce_ ale a e/ spe se ....................
19
Changingthe Water andAir Filters........................... 26
i!_!_i!i_ii_!i!_!_i!i_ii_!i!_!_i!i_ii_!i!_!_i!i_ii_!i!_!_i!i_ii_!i!_!_i!i_ii_!i!_!_i!i_ii_!i!_!_i@ii_i
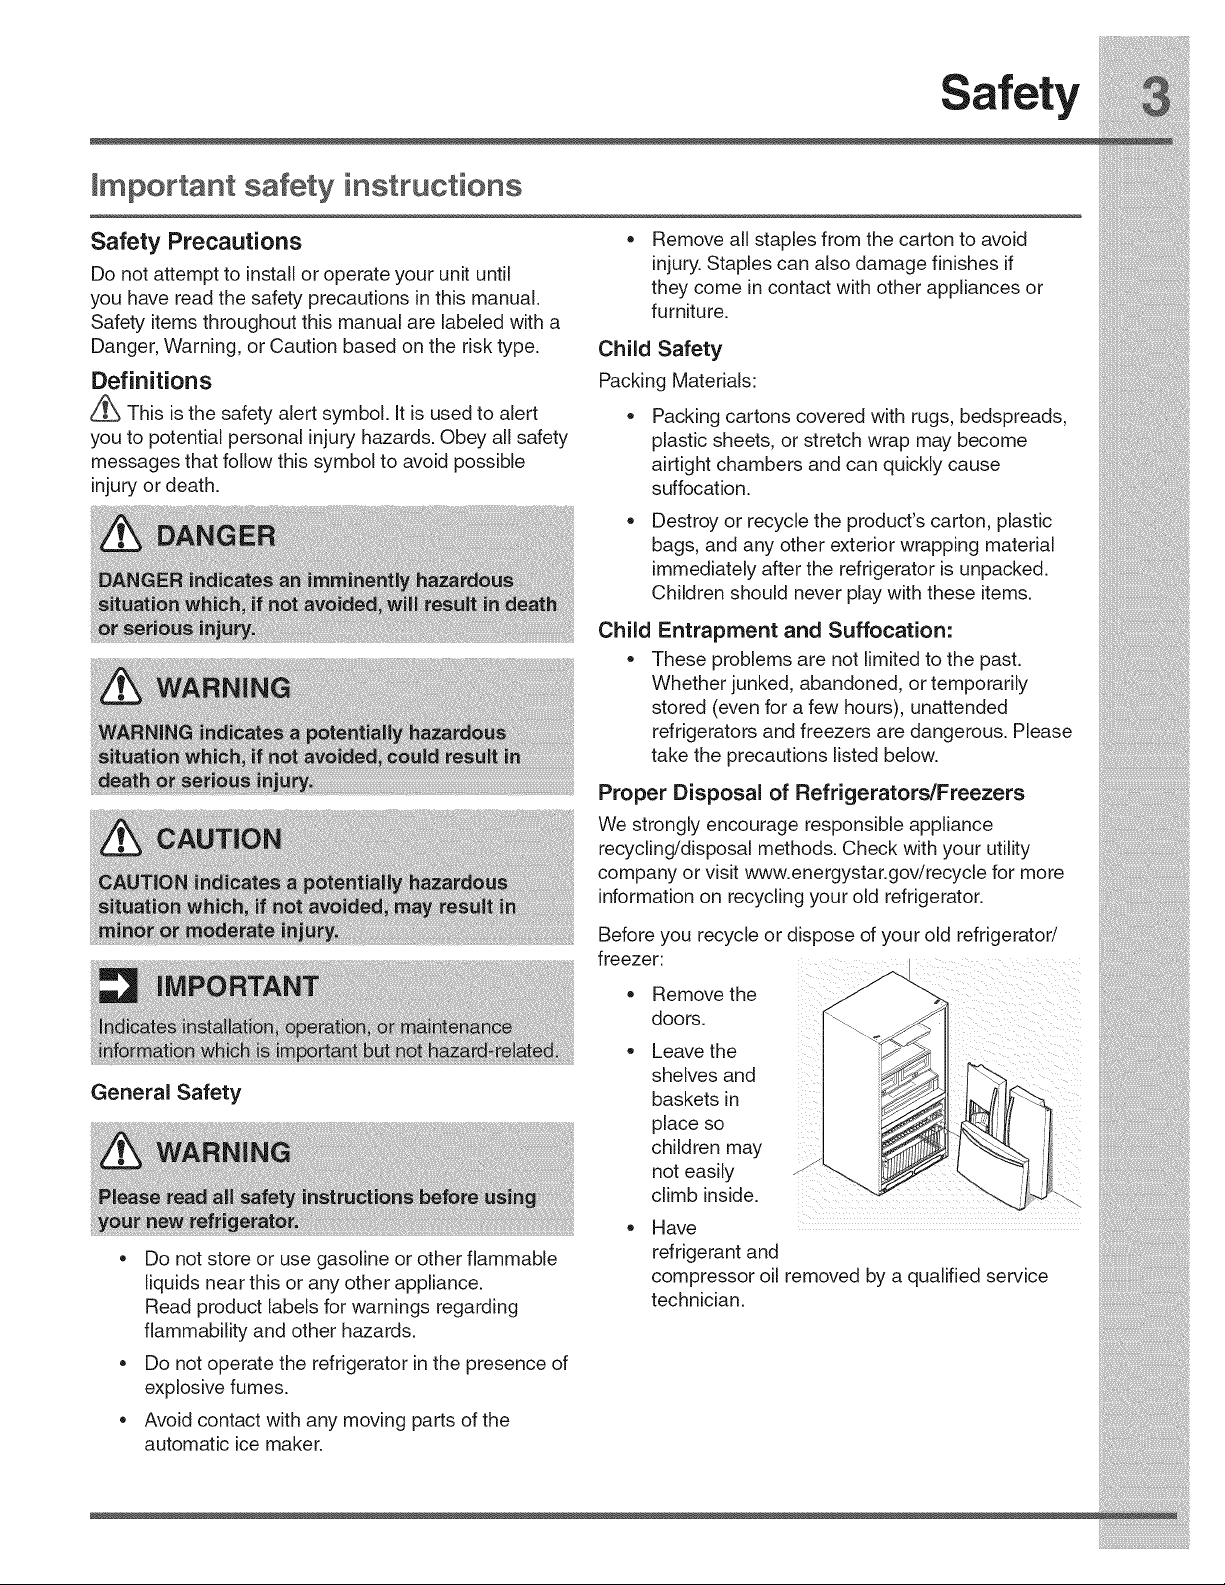
take the precautions listed below.
Proper Disposal of Refrigerators/Freezers
i_i!_!_i!i_ii_!i!_!_i!i_ii_!i!_!_i!i_ii_!i!_!_i!i_ii_!i!_!_i!i_ii_!i!_!_i!i_ii_!i!_!_i!i_ii_!i!_!_i!i_ii_!i!_!_i!i_ii_!i!_!_iii_

Safety
Emectrical information
* The refrigerator must be plugged into its own
dedicated 115 Volt, 60 Hz, AC-only non-GFCl
electric outlet. The power cord of the appliance
is equipped with a three-prong grounding plug for
your protection against electrical shock hazards.
It must be plugged directly intoa properly
grounded three-prong receptacle. The receptacle
must be installedin accordance with local codes
and ordinances. Consult a qualified electrician.
Do not use an extension cord or adapter plug.
, Ifthe power cord is damaged, it should be
replaced by the manufacturer, service technician,
or a qualified person.
= Never unplug the refrigerator by pulling on the
power cord. Always grip the plug firmly and
pull straight out from the receptacle to prevent
damaging the power cord.
, To avoid electrical shock, unplug the refrigerator
before cleaning and before replacing a light bulb
, or LED light.
Performance may be affected if the voltage varies
by 10% or more. Operating the refrigerator with
insufficientpower can damage the compressor.
Such damage is not covered under your warranty.
, Do not plug the unit intoan outlet controlled by a
wall switch or pull cord to prevent the refrigerator
from being turned off accidentally.
Grounding type wait receptacle
:p groundedp ug
:
v ,r C6rd_ the _11 o_let,

!_i_!_i!_!!i_i_!_i_!i!!i!i_i_i_!_!_ii_!_J_:_!_:_!_:_!_:_!i_!_i!!_!i_ii_i_Ji!i_i!i!_!i!_!!ii_i!!_;i_i_!_!i_i_i_i_ii_i_!_!_!_!_!_i_!!
Installation
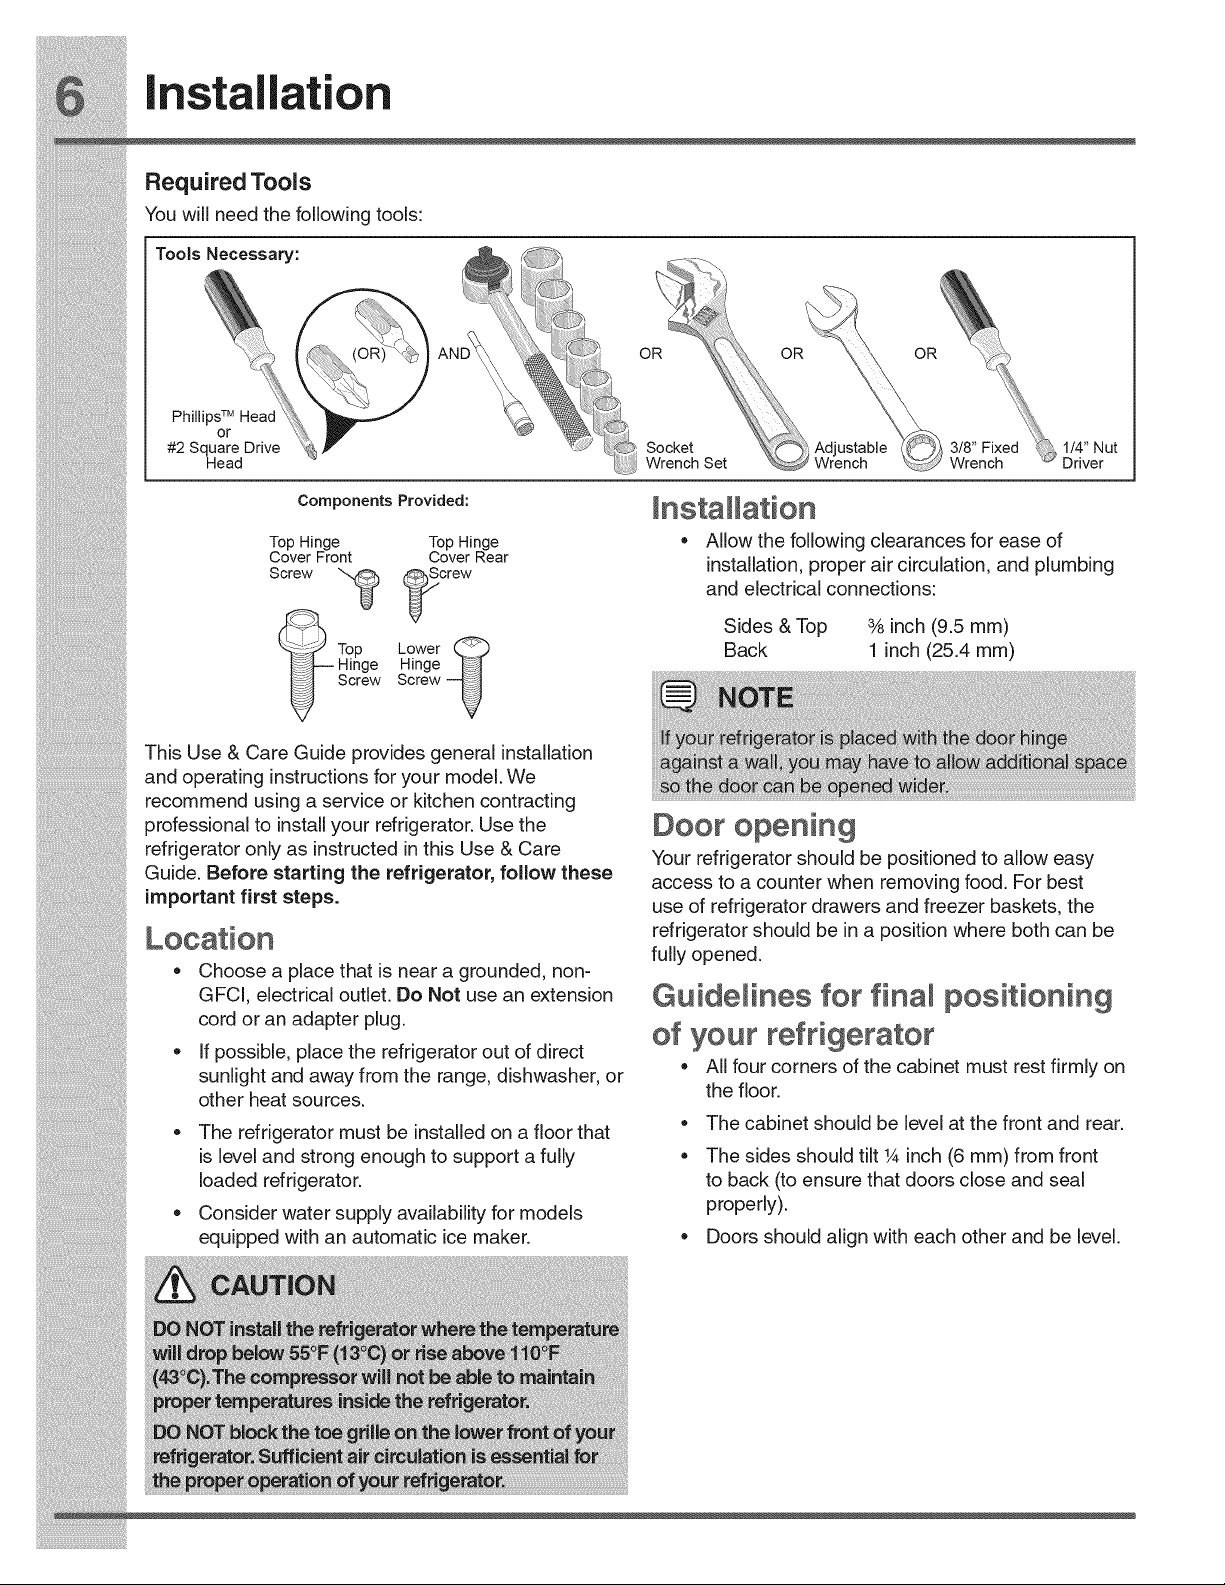
RequiredTools
Youwiiineedthefoliowingtools:
__ o o_ o_
....
S 3/8" Fixed _ 1/4" Nut
Compo°e°t,P,ovded" In t m_ti n
:: TopHinge TopHinge AIIowthefollowingclearancesforeaseof
CoveerFro_ CoverRear Jnstallation, properaircirculation, andplumbJng
..... _j _ andelectricalconnections:
_ • p . ( . )
_-_-_ Top Lower _) Back 1 inch (25.4 mm)
_]----Hinge Hinge _>_
_Screw Screw_J
ThisUse&CareGuideprovidesgeneralinstallation
and operating instructions foryour model.We
" S a a 0
Sides & To 3/8inch 9 5 mm
i!_!_i!i_ii_!i!_!_i!i_ii_!i!_!_i!i_ii_!i!_!_i!i_ii_!i!_!_i!i_ii_!i!_!_i!i_ii_!i!_!_i!i_ii_!i!_!_i!i_ii_!i!_!_i!i_ii_!i!_!_ii_i
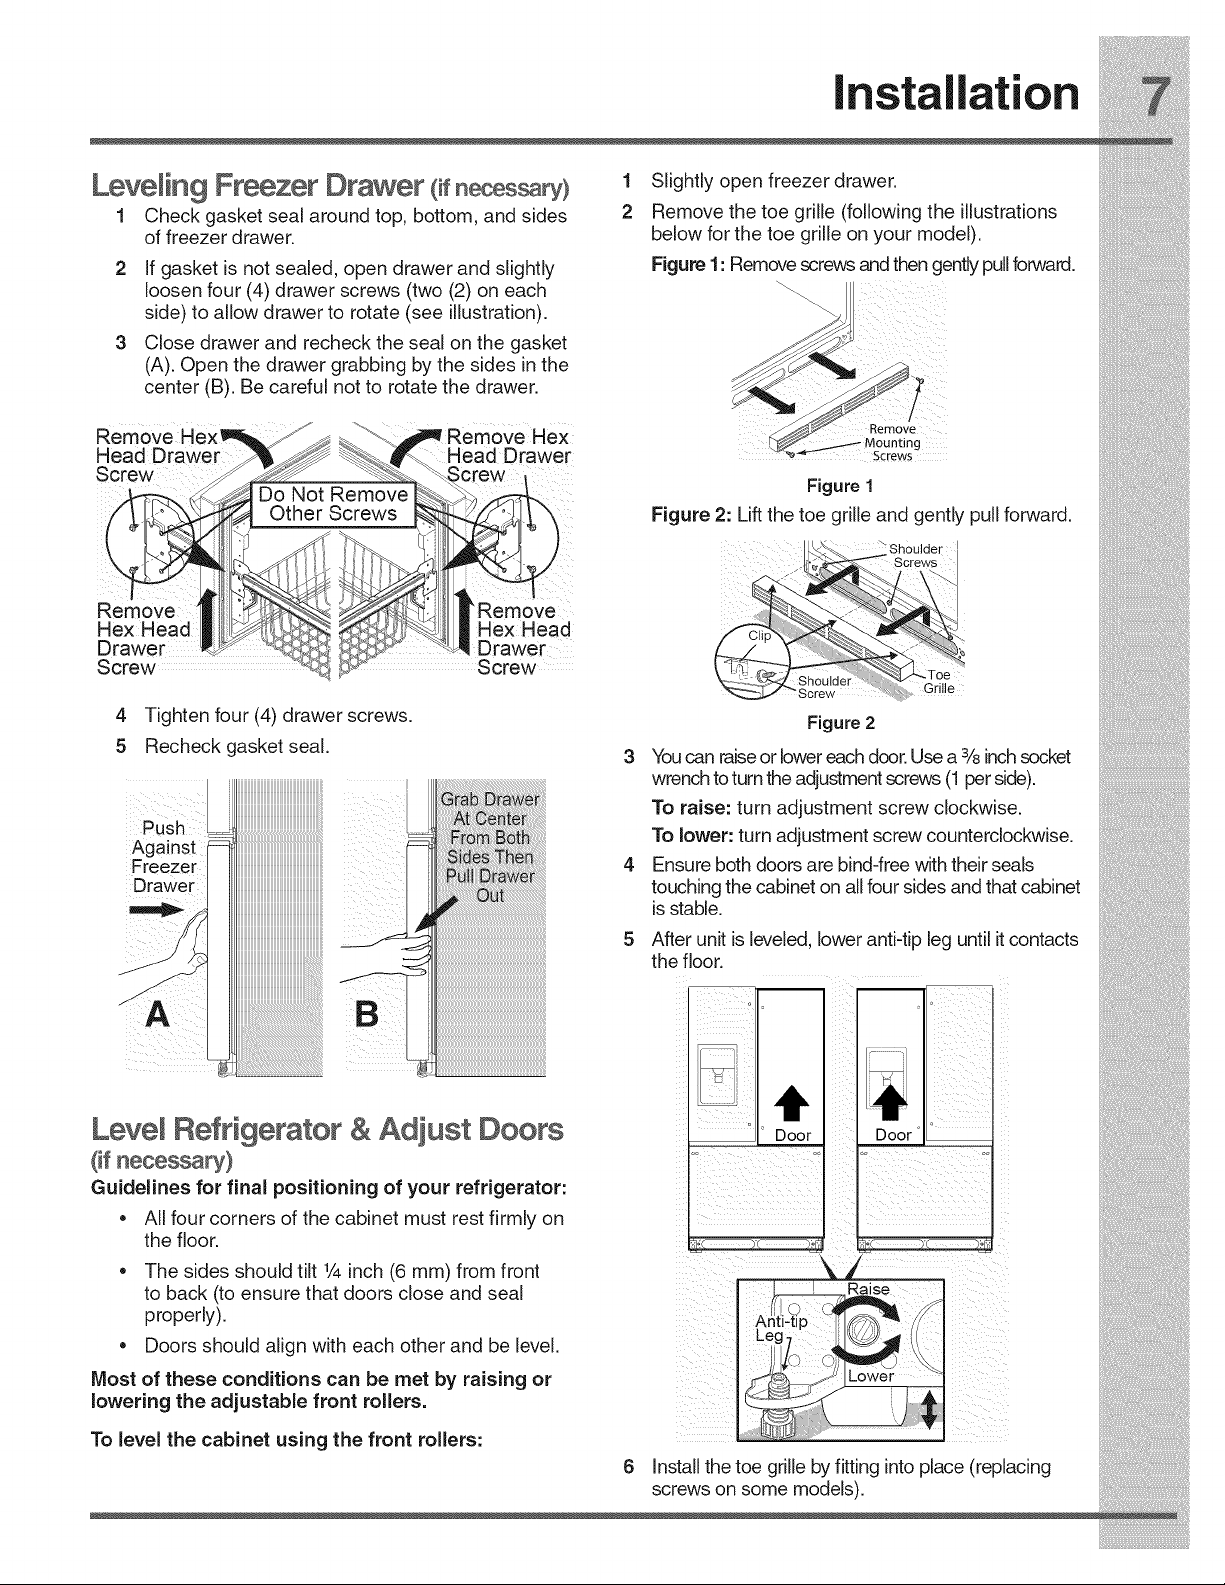
5 Recheckgasketseal.
wrenchtoturntheadjustmentscrews(1perside).
i_i!_!_i!i_ii_!i!_!_i!i_ii_!i!_!_i!i_ii_!i!_!_i!i_ii_!i!_!_i!i_ii_!i!_!_i!i_ii_!i!_!_i!i_ii_!i!_!_i!i_ii_!i!_!_i!i_ii_!i!_!_iii_

Installation
To adjust the door stop:
5 Re-tighten set screw.
Door stop isadjustable between 85 to 145 degrees.
Gire
tope de
aa I
i !i¸¸ _
Door
Lower _ __._ /Stop
_ Screw
6 Ensure door stops in desired location before
resuming normal use.
To level the doors using the adjustable lower hinge
Adjustable Door Stop
1
Open door to provide access to set screw.
2
Loosen set screw.
3
Adjust door to desired location.
i!_!_i!i_ii_!i!_!_i!i_ii_!i!_!_i!i_ii_!i!_!_i!i_ii_!i!_!_i!i_ii_!i!_!_i!i_ii_!i!_!_i!i_ii_!i!_!_i!i_ii_!i!_!_i!i_ii_!i!_!_ii_i
(select models):
1 Remove all food itemsfrom door bins on door
being adjusted.
2 Open doors to 90 degrees.
3 Loosen or remove set screw.
Vuelva a
apretar el
tomillo de
fijaci6n
Re=tightenSet Screw
i!_!_i!i_ii_!i!_!_i!i_ii_!i!_!_i!i_ii_!i!_!_i!i_ii_!i!_!_i!i_ii_!i!_!_i!i_ii_!i!_!_i!i_ii_!i!_!_i!i_ii_!i!_!_i!i_ii_!i!_!_ii_i

Re-tighten SetScrew
Set Screw (where applicable)
To adjust the flipper mullion:
1 Loosen the set screw located on the flipper
mullion hinge.
Flipper
Mullion
Set
crew
Fli
Hinge
i_i!_!_i!i_ii_!i!_!_i!i_ii_!i!_!_i!i_ii_!i!_!_i!i_ii_!i!_!_i!i_ii_!i!_!_i!i_ii_!i!_!_i!i_ii_!i!_!_i!i_ii_!i!_!_i!i_ii_!i!_!_iii_
Adjusting Flipper Mullion Screw

!_i_i:!i!!!_ii_ii_ii_ii_!i!!_!i!;i_!i_i!ii!i!i_iiii_iiii:_!_;_ii:i_i_i_i_i;!_i_!_!_!_;_i!_i!_i_!_!_i_i_!!i!:!_!i_!_!_!:!i_!_i_i_
Gettin throu h narrow s aces Toremovetherefr_gerato_doo_-
g g P ,"
Ifyourrefrigeratorwillnotfitthroughanentrancearea, 1 Tracelightlyaroundthedoorstophingeswitha
youcan removethedoors. Checkfirstbymeasuringthe pencil.Thismakesreinstallationeasier.
entrance.
1 Makesuretheelectricalpowercordisunplugged "'----..,r-_---___
fromthewalloutlet. "---....
20penthefreezerdrawerandremovethetoe
gr, e(see" nsta,at on'section)
3 Removeanyfoodfromthedoorshelvesand ___
dosethedoors
1 Removethetwo (2) screwsfrom each coverover
the to door hin es 2 Disconnect the harness by grasping both sides ofthe
• . P. g i . connectorfirmly, depressthelatch, andpullapart.
2 Lift reside edge of hinge cover and tilt back
Front thedooroffofthebottomhingeandsetitaside.
Cover SCrew -. Rear
Top Hinge /- \,4._... Screw
Cover -...., _:::_
Cover
[
Hinge Ground
. Removethetwo(2) screwsfromthetophinge. Lift
i!_!_i!i_ii_!i!_!_i!i_ii_!i!_!_i!i_ii_!i!_!_i!i_ii_!i!_!_i!i_ii_!i!_!_i!i_ii_!i!_!_i!i_ii_!i!_!_i!i_ii_!i!_!_i!i_ii_!i!_!_ii_i

cover.
i_i!_!_i!i_ii_!i!_!_i!i_ii_!i!_!_i!i_ii_!i!_!_i!i_ii_!i!_!_i!i_ii_!i!_!_i!i_ii_!i!_!_i!i_ii_!i!_!_i!i_ii_!i!_!_i!i_ii_!i!_!_iii_
 Loading...