

Page 1
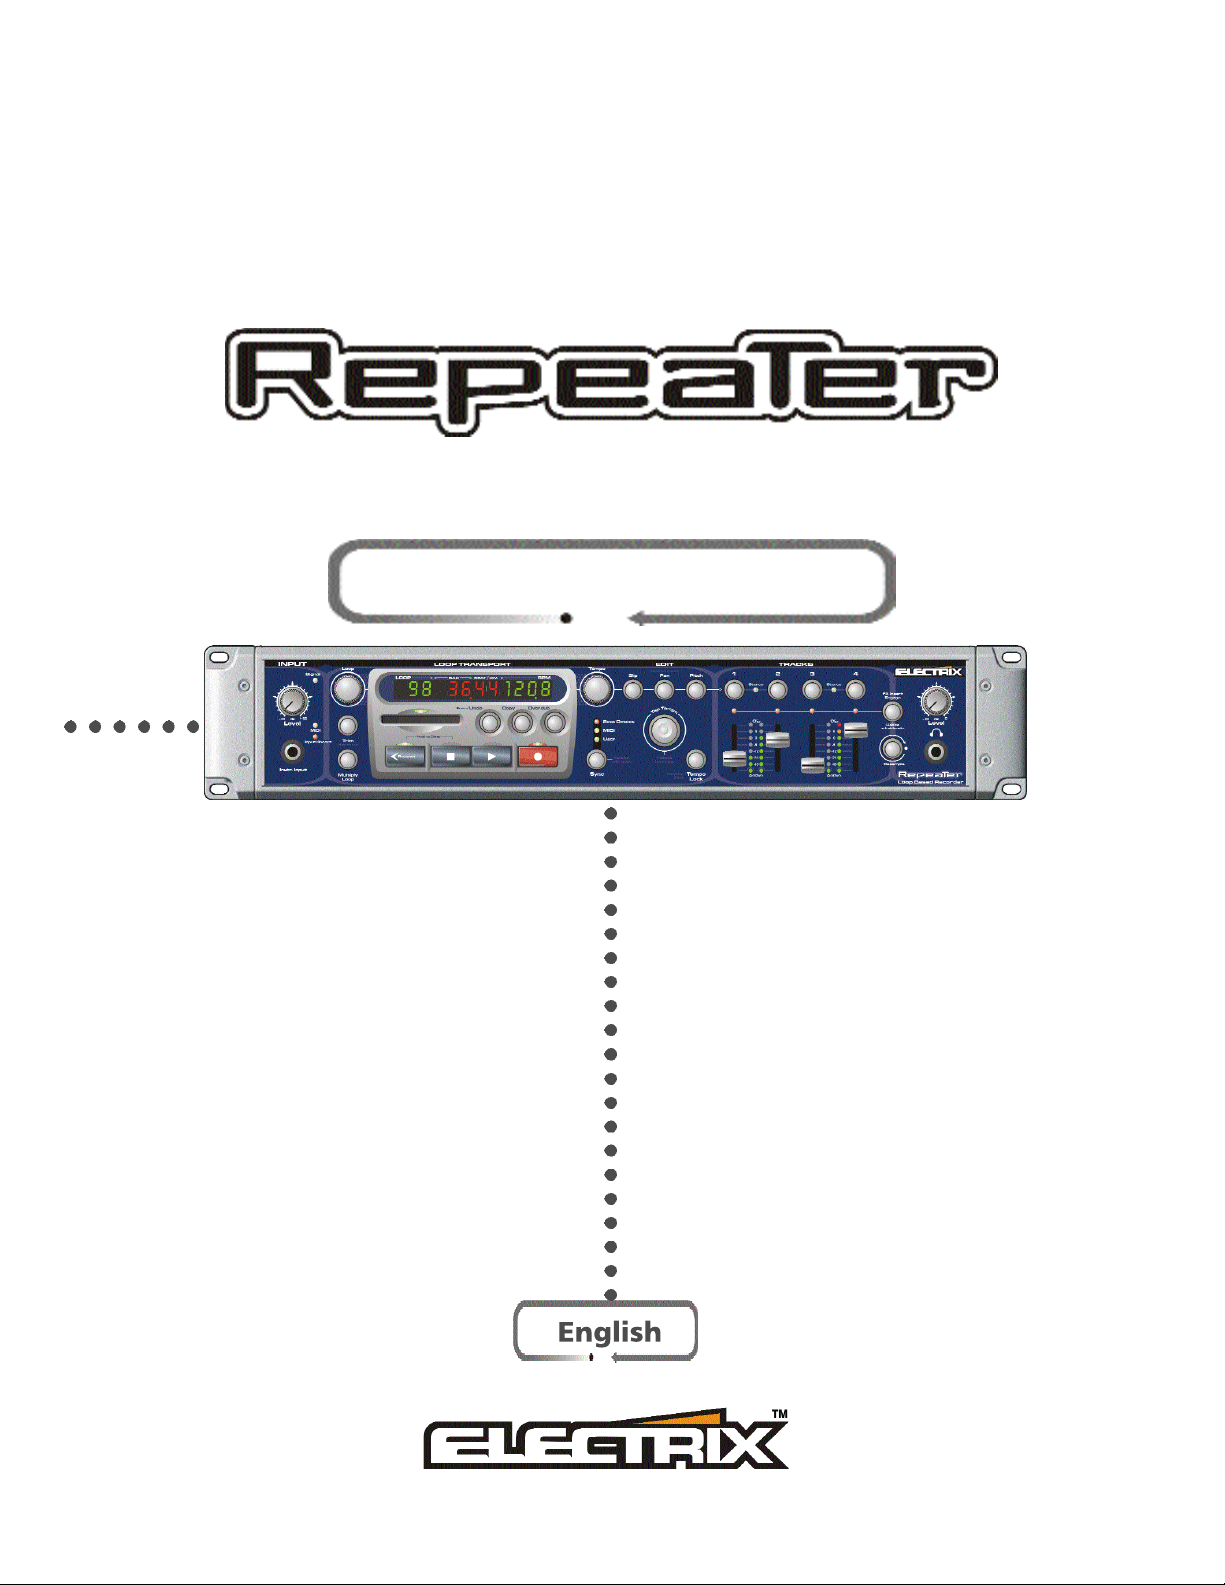
MANUAL ADDENDUM
Loop B ased Digital Recorder
Page 2

MANUAL CHANGES
CHANGES ON PAGE 7 (TEXT CHANGE)...
KEY FEATURES OF REPEAT E R
Compact Flash Cards (CFC) are Repeater's main storage mechanism. They supplement Repeater's internal 8MB of
memory with up to 512MB of additional storage space. Loops on the CFC are in .WAV file format. With the
addition of an inexpensive CFC USB card reader, you can export loops and tracks from Repeater to your PC without any special software.
CHANGES ON PAGE 9 (TEXT CHANGE)...
Tempo Lock - In beat detect mode, activation of the tempo lock feature locks the unit tempo to the currently
2 2
detected beat, allowing only minor variations for tracking. In user mode, activation of tempo lock forces all newly
loaded loops to run at the current user tempo.
CHANGES ON PAGE 12 (TEXT CHANGE)...
USING THE METRONOME
Repeater has a great training feature that will help you to develop a consistent meter with some practice. Repeater
will produce a metronome sound at the current tempo when you press and hold the Tempo Lock button for 1 sec-
ond. While the metronome is playing Repeater will quantize the initial record to the beat of the metronome. To disengage the metronome press and hold Tempo Lock for 1 second. You can set the metronome level by pressing
and holding Tempo Lock while tempo Lock is engaged. Use the Tempo knob to adjust the level while holding
down the Tempo Lock button. When the metronome is active in user sync mode, recordings will be quantized to
the beat as they are in MIDI or Beat Detect sync modes.
CHANGES ON PAGE 15 (TEXT ADDED)...
Input Mute
In some situations it may be desirable that the dry signal is not passed through Repeater and mixed with the track
outputs. To activate this feature, hold down Stop and press the Overdub button. The display will state 'Dry
Muted' or 'Dry unmuted' depending on whether you are activating or deactivating the feature. This feature can
also be accessed via MIDI.
CHANGES ON PAGE 17 (TEXT CHANGED)...
Sampling from Sample CDs
If you need help capturing a loop from a sample CD try using Repeaters ÒSingle Bar CaptureÓ mode. Put Repeater into Beat Detect sync mode,
arm the Audio Trigger by pressing Stop and Record together. Now play the sample. Repeater will start recording automatically when the audio
kicks in. Now press Record near the downbeat of the end of your track, as long as youÕre close Repeater will automatically tweak the loop end
to the nearest transient. DonÕt worry about your loop speeding up when youÕre done. This is because you have now left ÒSingle Bar CaptureÓ and
are in Beat Detect mode. Just put Repeater into user sync mode and hold down the Tap Tempo button to reset to the native tempo of the just-
captured loop.
CHANGES ON PAGE 19 (TEXT CHANGED)...
Audio Triggered Recording
You still have to press record manually to finish the loop recording, but try this on for size:
Page 3
Repeater can begin recording when it hears something, rather than in response to a button being pressed. Here is
how to do it:
¥ Press and hold Stop and then press Record. This puts the
unit into audio triggered mode.
¥ Whilst record is held down the trigger level can be adjusted using
the tempo encoder.
¥ The audio trigger is activated when Record is released. This is
indicated by the record button LED flashing.
¥ The audio triggered record will start when audio is detected above the selected trigger level.
¥ Audio triggered record can be cancelled by pressing the Stop button
Setting up for Trigger Recording
CHANGES ON PAGE 27 (TEXT CHANGED)...
I M P O R TA N T !
Repeater must record or Overdub though the entire length of the ÒVirtual TrackÓ after which it flattens the
track and it is no longer virtual. If you do not record through the entire length of the loop Repeater will automatically keep recording until the end of the loop. During this time the Record LED will flash to indicate that
Repeater is still Recording. If you press Stop during the recording immediately after a Loop Multiply your
overdub will be lost.
You can multiply the loop out by a factor greater than two by pressing and holding the Loop Multiply Button.
Use the Tempo encoder to select the multiplication factor. Release Loop Multiply to execute. If you have multi-
plied the loop further than you wanted, you can multiply the loop by a fraction to get back to where you started, or
to a smaller number of multiples of the original loop. Just rotate the tempo encoder to the left to access the available
fractional multiples of the current loop. Note this is only possible for loops consisting completely of 'virtual' tracks.
CHANGES ON PAGE 28 (TEXT CHANGED)...
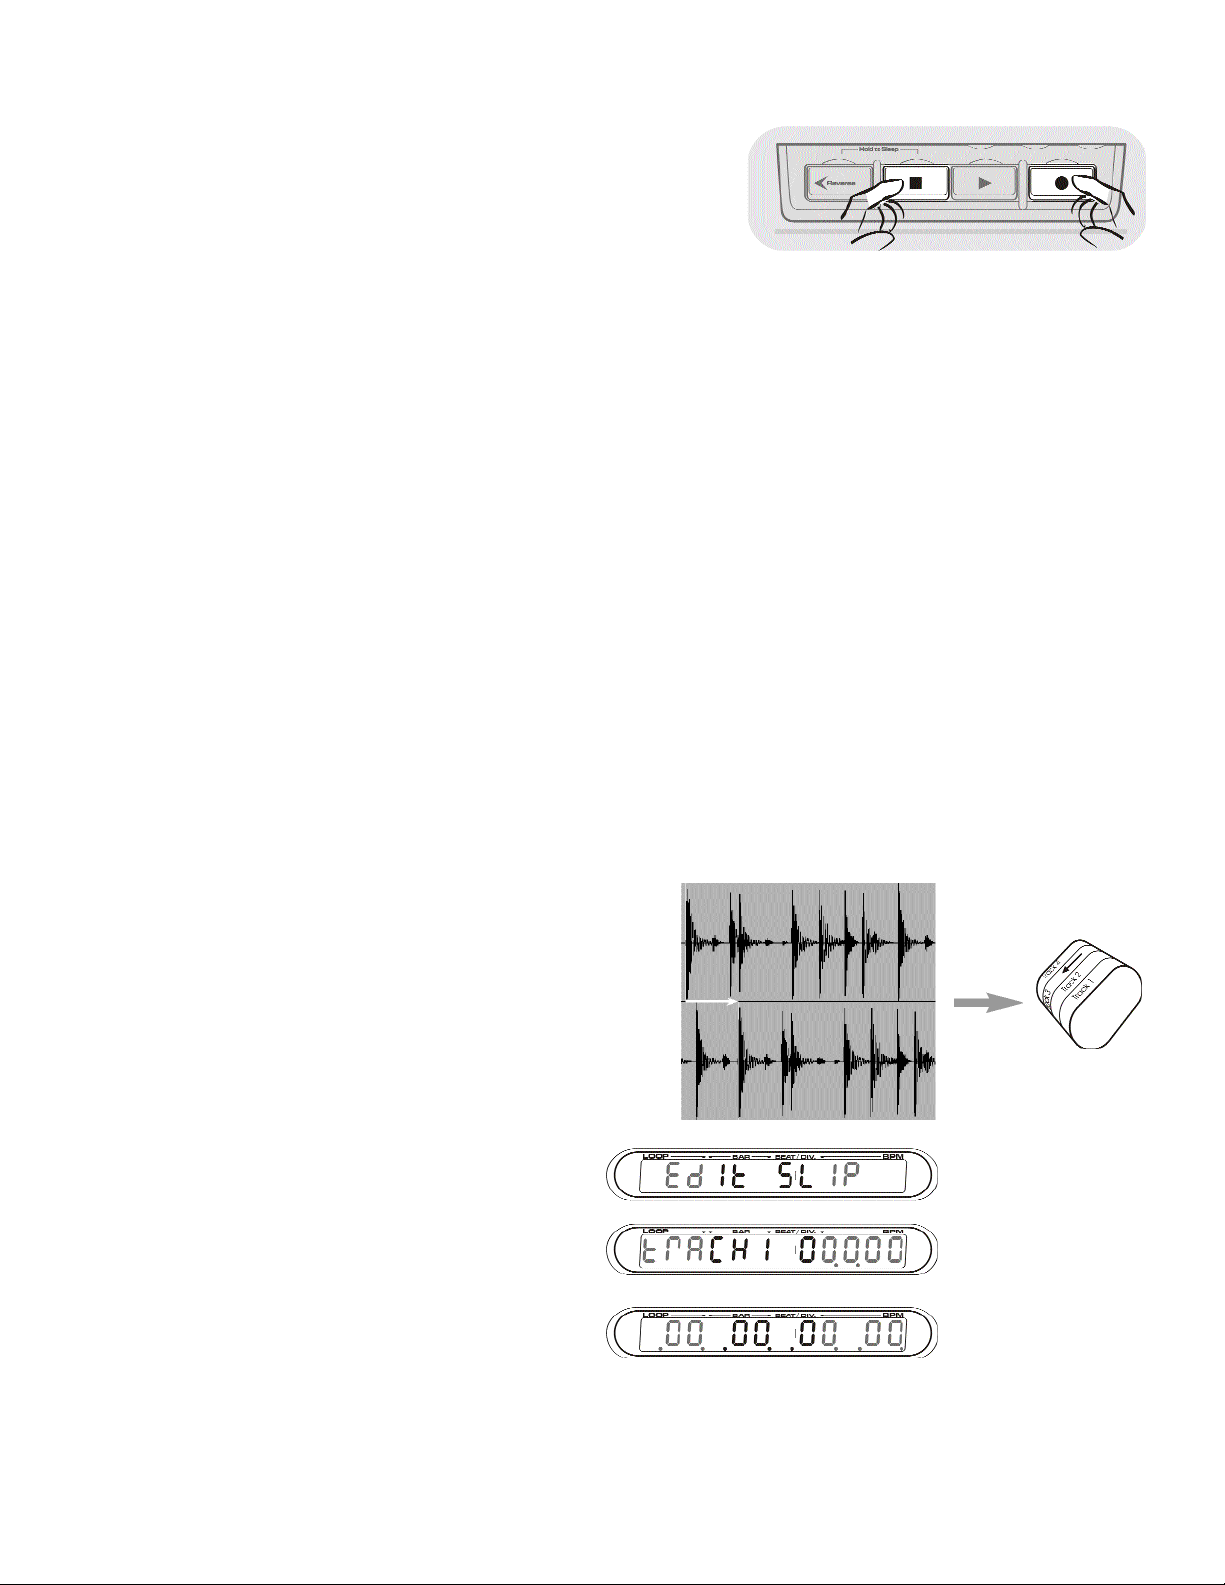
S L I P P I N G
Slipping lets you offset the start position of a loop
or its individual tracks.
¥ Press Slip, and the display will change to show
the slip offset of each active track in beats.
¥You can select/deselect the appropriate tracks
for Slipping by using the Track Select but-
tons. Editing one track at a time displays the
slip amount with a finer resolution.
¥ Use the Tempo knob to set the slip position in
bars/beats/1/100 of a beat, with zero being the
original position. Use the Loop knob to slip
whole beats
Track 1
Track 2
¥Twist the knob quickly to edit in larger steps.
Twist the knob slowly to adjust in finer amounts.
¥ Press Slip again to confirm and exit.
¥ Press and hold Slip to reset to 0 slip.
Page 4

PITCH SHIFT I N G
Y ou can alter the pitch of your tracks by one octave up or two octaves down.
Using a Keyboard to Trigger
¥ Press the Pitch button and the
display will change to show pitch
information in semi-tones for the
selected track(s).
¥ Deselect any tracks you donÕt want
to Pitch Shift using the Track
Select buttons. Editing one track
at a time displays the pitch shift
amount with a finer resolution.
¥ Use the Tempo knob to change
the pitch in cents (100th of semitone) intervals. Use the Loop knob to
shift in semitone increments
¥You can press and hold Pitch to reset to 0.
Pitch
RepeaterÕs Track Pitch Shift can be easily controlled with MIDI note information. All the tracks currently selected
for slip/pan or pitch will be affected.
To control the track Pitch Shift via
MIDI:
¥Connect the MIDI out of your keyboard to the MIDI In on Repeater
¥ Set the MIDI receive channel on the
back of Repeater to match the MIDI
transmit channel on your keyboard
¥ Play monophonically (one note at a
time) to shift the pitch
¥ Middle C will return the track(s)
back to their default key
CHANGES ON PAGE 31 (TEXT CHANGED/ADDED)...
External Flash Memory
CFC memory is non-volatile, and will hold its content forever without the need for power of any kind. CFC memory is designed to work like a hard drive, in fact most computers treat it simply as a hard drive which makes it a
widely compatible storage medium. CFC's come in a variety of sizes; Repeater is compatible with Type 1 CFCs up
to 512MB in size. Some CFCs perform better than others. We tested a number of brands of card before settling
on the brand that we ship with Repeater. This card has been found to provide the performance required to allow
all operations that can be performed through the use of internal memory. Not all cards are so lucky. All CFC cards
should work with Repeater, but there may be speed issues which prevent multiple tracks or stereo recording from
behaving well with some cards. For details of recommended cards to use with Repeater, get the latest information
from our website.
Checking available memory space
To find out how much record time you have left, press and hold the 'copy' button for about half a second. The
display will change to show firstly internal memory remaining, and if a CFC is inserted a further press of copy will
show the amount of CFC memory remaining. A final press will return the display to normal. The space remaining
is displayed in minutes and seconds.
CHANGES ON PAGE 34 (TEXT CHANGED)...
R E P E A TER & MIDI CLO C K
Repeater responds to the following MIDI clock related messages:
System Common Messages:
¥ SPP - Identifies the location of the next timing clock by 1/16 note (6 ticks).
System Real-time Messages:
¥ Start - Regarded as a SPP of 0 and a sequencer start message (0x FA)
¥ Stop - Stops the sequencer (0xFC)
¥ Clock - Sent out 24 times per quarter note (0xF8)
Page 5

Advanced MIDI RT tweaking
In some situations it may be desirable for Repeater to NOT send out MIDI RT start, stop and SPP messages. The
output of these messages can be inhibited/enabled by sending Repeater the Inhibit MIDI RT Control CC message.
When syncing via MIDI, it may be necessary to tell Repeater where the downbeat is. This is done by pressing the
tap tempo button.
CHANGES ON PAGE 35 (TEXT ADDED)...
SELECTING LOOPS VIA MIDI
Repeater uses the MIDI Bank control change messages for remote selection of loops via MIDI. They work as a MSB/LSB
pair. MSB stands for Most Significant Bit and LSB: Least Significant bit - think of it as chapter and verse. MIDI CCs
are limited to 127 values. Using MSB/LSB allows us to utilize banks of 127 to access all of Repeaters 1000+ loops.
Use the Bank Select MSB CC#0 to Select the Bank as follows:
- Bank 0 = Internal 1-16 - Bank 5= External 513-640
- Bank 1= External 1-128 - Bank 6= External 641-768
- Bank 2= External 129-256 - Bank 7= External 769-896
- Bank 3= External 257-384 - Bank 8= External 897-999
- Bank 4= External 385-512
Use the Loop Select LSB to select the loop within the bank. i.e. to select External 387, send CC#0 (Loop select MSB)
at 4, and CC #32 (Loop select LSB) at 3.
There are some other ways of moving between loops too. Try these for size:
¥ Loop select up/down via PC or CC messages.
¥ Direct loop select PC messages.
CHANGES ON PAGE 35 (TEXT CHANGED)...
By lining up a MIDI foot controller with some of the above mentioned parameters it is possible to control a Repeater
entirely with oneÕs feet. May we make a few suggestions:
Name Default PC CC Value ranges and meaning
Track 1 Record Select 0 6 80 0 - 127 64-127 (active)
Track 2 Record Select 0 7 81 0 - 127 64-127 (active)
Track 3 Record Select 0 8 82 0 - 127 64-127 (active)
Track 4 Record Select 0 9 83 0 - 127 64-127 (active)
Track 1 Level/Mute 100 16 16 0 - 127 see Appendix G
Track 2 Level/Mute 100 17 17 0 - 127 see Appendix G
Track 3 Level/Mute 100 18 18 0 - 127 see Appendix G
Track 4 Level/Mute 100 19 19 0 - 127 see Appendix G
Overdub Feedback Level 90 N/A 11 0 - 127 (no feedback - 100% feedback)
Reverse forward 10 84 0 - 127 0-63 (forward), 64-127 (reverse)
Play 0 20 85 0 - 127 64-127 (Press)
Record 0 3 86 0 - 127 64-127 (Press)
Stop 0 21 87 0 - 127 64-127 (Press)
Undo 0 1 89 0-63 (off) 64-127 (Undo) Momentary
Loop Multiply 0 0 102 0 - 127 64-127 (Press)
FX Insert 0 11 103 0 - 16 As per Appendix E
Tap Tempo 0 12 68 0 - 127 64-127 (Press)
Loop Select Up 0 4 96 0 - 127 64-127 (Action)
Loop Select Down 0 5 97 0 - 127 64-127 (Action)
Page 6

CHANGES ON PAGE 37 (TEXT CHANGED)...
MIDI SPECIFICATIONS TABLE
Name Default PC CC Value Ranges and meaning
Track 1 Record Select 0 6 80 0 - 127 64-127 (active)
Track 2 Record Select 0 7 81 0 - 127 64-127 (active)
Track 1&2 Record Select 0 14 90 0 - 127 64-127 (active) Selects stereo pair 1&2
Track 3 Record Select 0 8 82 0 - 127 64-127 (active)
Track 4 Record Select 0 9 83 0 - 127 64-127 (active)
Track 3&4 Record Select 0 15 91 0 - 127 64-127 (active) Selects stereo pair 3&4
Track 1 Level/Mute 100 16 16 0 - 127 see Appendix G
Track 2 Level/Mute 100 17 17 0 - 127 see Appendix G
Track 3 Level/Mute 100 18 18 0 - 127 see Appendix G
Track 4 Level/Mute 100 19 19 0 - 127 see Appendix G
Loop Select MSB 0 N/A 0 Selects Loop in combination with Loop
Select LSB messages see Appendix A
Loop Select LSB 0 N/A 32
Slip Track 1 Beats 0 N/A 20 Slips by beat as per Appendix B
Slip Track 1 MS 0 N/A 52 Slips between beats as per Appendix C
Slip Track 2 Beats 0 N/A 21 Slips by beat as per Appendix B
Slip Track 2 MS 0 N/A 53 Slips between beats as per Appendix C
Slip Track 3 Beats 0 N/A 22 Slips by beat as per Appendix B
Slip Track 3 MS 0 N/A 54 Slips between beats as per Appendix C
Slip Track 4 Beats 0 N/A 23 Slips by beat as per Appendix B
Slip Track 4 MS 0 N/A 55 Slips between beats as per Appendix C
Pan Track 1 64 N/A 24 0 - 127 0(full left), 64 (centre), 127(full right)
Pan Track 2 64 N/A 25 0 - 127 0(full left), 64 (centre), 127(full right)
Pan Track 3 64 N/A 26 0 - 127 0(full left), 64 (centre), 127(full right)
Pan Track 4 64 N/A 27 0 - 127 0(full left), 64 (centre), 127(full right)
Pitch Track 1 Semi 64 N/A 28 ±12 Semitones as per Appendix D
Pitch Track 1 Cents 0 N/A 60 0 - 99 0-99 (cents) [99 - 127 = 99]
Pitch Track 2 Semi 64 N/A 29 ±12 Semitones as per Appendix D
Pitch Track 2 Cents 0 N/A 61 0 - 99 0-99 (cents) [99 - 127 = 99]
Pitch Track 3 Semi 64 N/A 30 ±12 Semitones as per Appendix D
Pitch Track 3 Cents 0 N/A 62 0 - 99 0-99 (cents) [99 - 127 = 99]
Pitch Track 4 Semi 64 N/A 31 ±12 Semitones as per Appendix D
Pitch Track 4 Cents 0 N/A 63 0 - 99 0-99 (cents) [99 - 127 = 99]
BPM & Pitch MSB 64 N/A 14 0 - 127 (-75%+150%) Adjusts the Tempo and Pitch of all
four tracks as a percentage of the current tempo 76
is zero shift
BPM & Pitch LSB 0 N/A 46
Tempo MSB 64 N/A 9 0 - 127 1-240 bpm in 2 bpm increments
Tempo LSB 0 N/A 41 fine increments 0-2 bpm
Overdub Feedback Level 90 N/A 11 0 - 127 (no feedback - 100% feedback)
Overdub/Replace 90 13 105 On/Off Off=replace On=overdub
Reverse forward 10 84 0 - 127 0-63 (forward), 64-127 (reverse)
Play 0 20 85 0 - 127 64-127 (Press)
Record 0 3 86 0 - 127 64-127 (Press)
Stop 0 21 87 0 - 127 64-127 (Press)
Play/Stop N/A 2 88 0 - 127 64-127 (Press)
Undo 0 1 89 0 - 127 64-127 (Press)
Loop Multiply 0 0 102 0 - 127 64-127 (Press)
FX Insert 0 11 103 0 - 16 As per Appendix E
Tempo Lock Off N/A 104 0 - 127 0-63 (off) 64-127 (on)
Page 7

Tap Tempo 0 12 68 0 - 127 64-127 (Press)
Loop Select Up 0 4 96 0 - 127 64-127 (Action)
Loop Select Down 0 5 97 0 - 127 64-127 (Action)
Dry Mute* Off 22 107 0-63 (Off) 64-127 (On)
Erase Loop* N/A N/A 108 Value of 123 erases the current loop
Audio Trigger Record* N/A 23 92 64-86 arm trigger at current programmed
level. Values 87-127 arm the audio trigger
at -40dB to 0 dB respectively
Advance Track Select* N/A 24 109 64-127 (Action)
Tracks 1&2 Level /Mute* N/A 25 110 0 - 127 See Appendix G
Tracks 3&4 Level /Mute* N/A 26 111 0 - 127 See Appendix G
Inhibit MIDI RT Start/Stop Off N/A 112 0-63 (off) 64-127 (on)
Output*
Internal Loop Select PC* N/A 48 - 63 N/A Selects Internal loop 1-16
CFC Loop Select PC* N/A 64 - 127 N/A Selects CFC loop 1-64
* Denotes new options in OS 1.1
CHANGES ON PAGE 41 (TEXT CHANGED)...
CFC States
- Card Ready: Card inserted in socket and socket LEDs off
- Reading from card: Green.
- Writing to card: Red.
- Reading/Writing: Amber.
- Card rejected: Flashing Red
Note: Removing the card whilst reading or writing is in progress can potentially corrupt the file system on the
card. To be safe, ensure the CFC slot LEDs are off before removing the card.
CHANGES ON PAGE 43 (TEXT ADDED)...
Noisy results with Guitar amp inputs or FX loops - Guitar inputs are typically sensitive to low level signals (typi-
cally -20dBu). FX loops are typically designed to operate at or near 'line' level (-4dBu). Repeater is designed to produce
a clean high level signal (typically around +8dBu) suitable for a studio environment. As a result, the output from
Repeater can mis-match with some guitar amps producing a noisy result.
The first step in improving the situation is to try and optimise the levels
in the system to minimise noise. Try adjusting the input level of the guitar amp down so that it will accept a signal from Repeater that corresponds to 0dB or better on the track level indicators without clipping.
Reducing the output of Repeater using the track sliders or input level
control is undesirable as this will reduce the ratio of signal to noise in
the system.
If you cannot achieve a good result by this means, the diagram to the
right shows how to build an in-line attenuator cable that will help
match the output of Repeater to a high-gain input such as a guitar
amplifier.
 Loading...