

ElectrIQ IQ-WIFIRGBWLEDSTR Setup And User's Manual
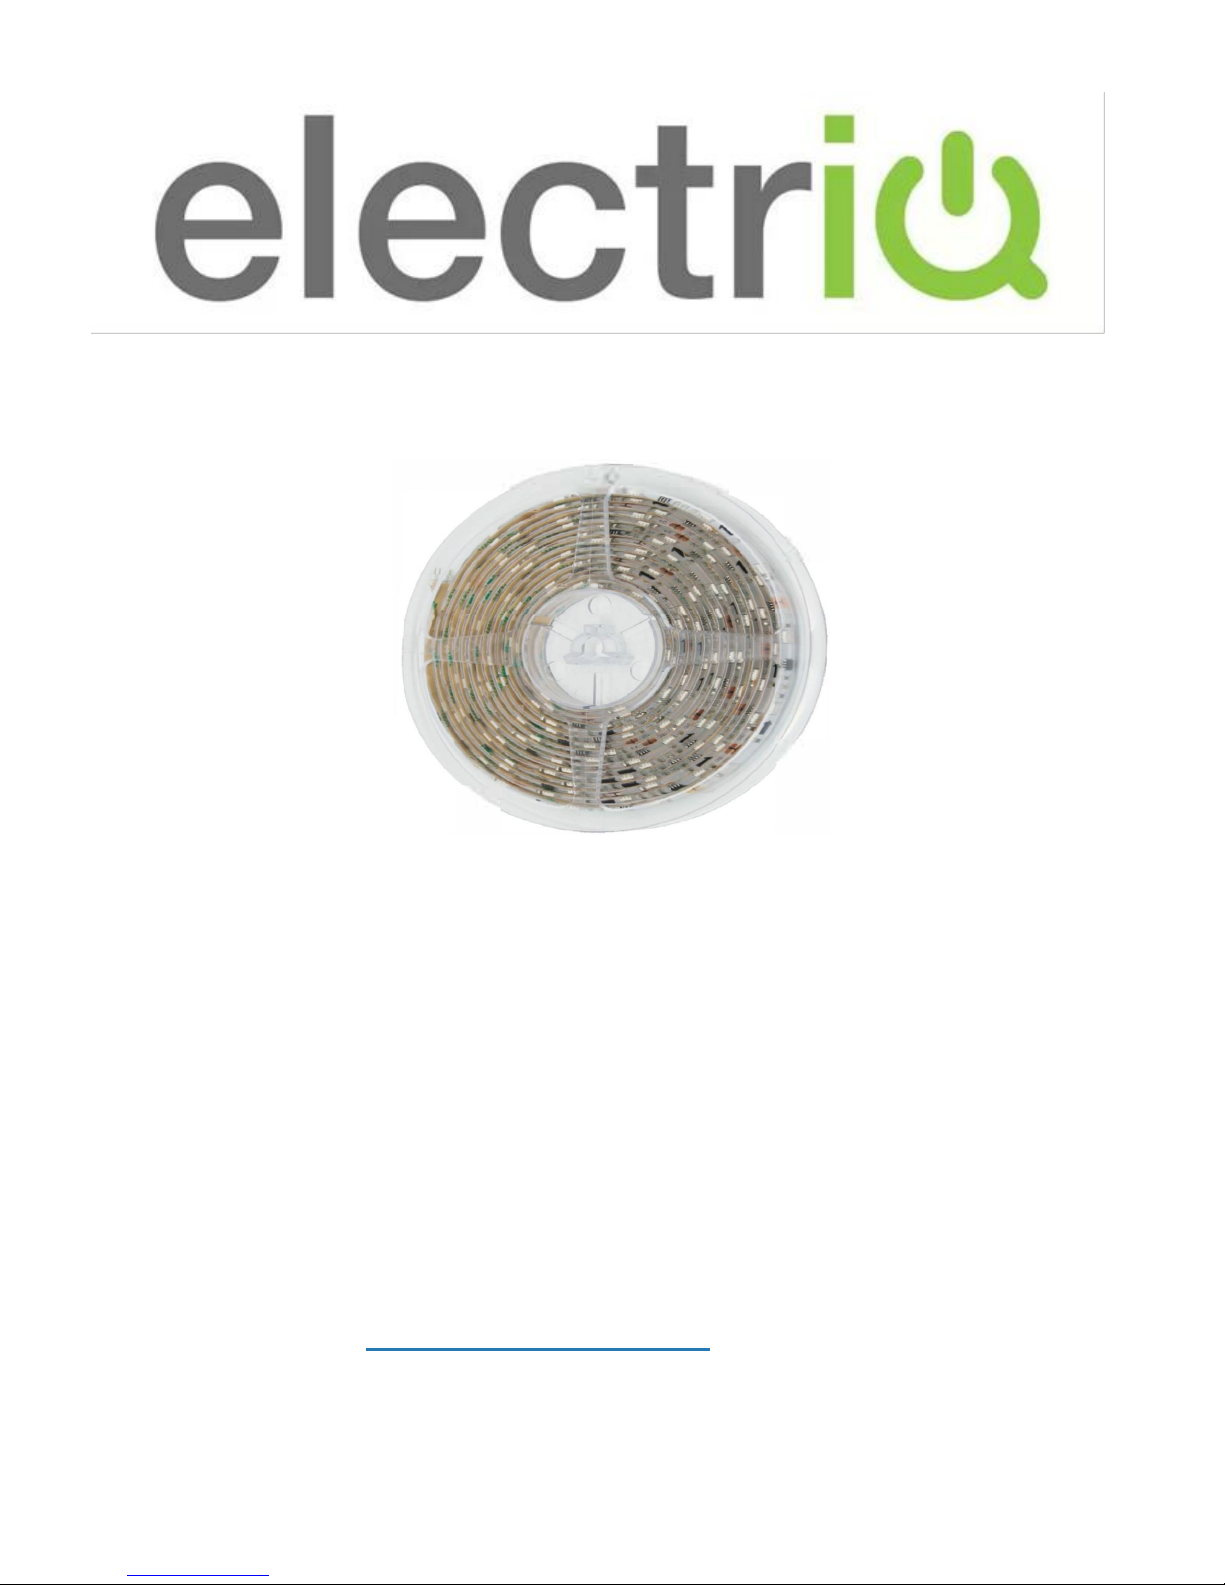
3 Metre WiFi Smart LED Strip
SETUP AND USER MANUAL
IQ-WIFIRGBWLEDSTR
Thank you for choosing electriQ.
Please read this user manual before using this item and
keep it safe for future reference.
Visit our page www.electriQ.co.uk for our entire range of
electricals

IMPORTANT SAFETY INSTRUCTIONS
Read all instructions. All user guidelines must
be read before the device is used.
Retain the instructions for further use.
For indoor use only. Do not position the unit
where it would be subjected to extreme
moisture, temperature, or dust.
Do not use in bathrooms or other humid
places.
Ensure there is no power to the fitting before
installation or removal.
There are no user maintainable parts, do not
attempt to disassemble or repair.
Do not place the device near a heat source, or
expose to direct sunlight.

INTRODUCTION
Thank you for purchasing an electriQ Wifi controlled
LED light strip.
BEFORE YOU START
Ensure your router provides a standard 2.4ghz
connection.
If your router is dual band ensure that both networks
have different network names (SSID). The provider
of your router / Internet service provider will be able
to provide advice specific to your router.
Fit the LED strip as close as possible to the router
during setup. (It can be disconnected and moved
further away from the router following setup)
Once the app has been installed on your phone, turn
off the data connection, and ensure your phone is
connected to your router via wifi.

INSTALLING THE APP
The app can be downloaded to your phone either by
using the QR codes below, or by searching for “Tuya
Smart App” in your chosen app store
IOS Android
POWERING THE LED STRIP
Connect the connector box to
the LED strip, ensuring the
arrow on the connector is to
the left of the strip. Then
connect the power adaptor to
the connector box, before
plugging into a wall socket.
Power Adaptor
Connector Box
LED Strip
Connector
Once installed the app needs to be registered,
following the next steps:
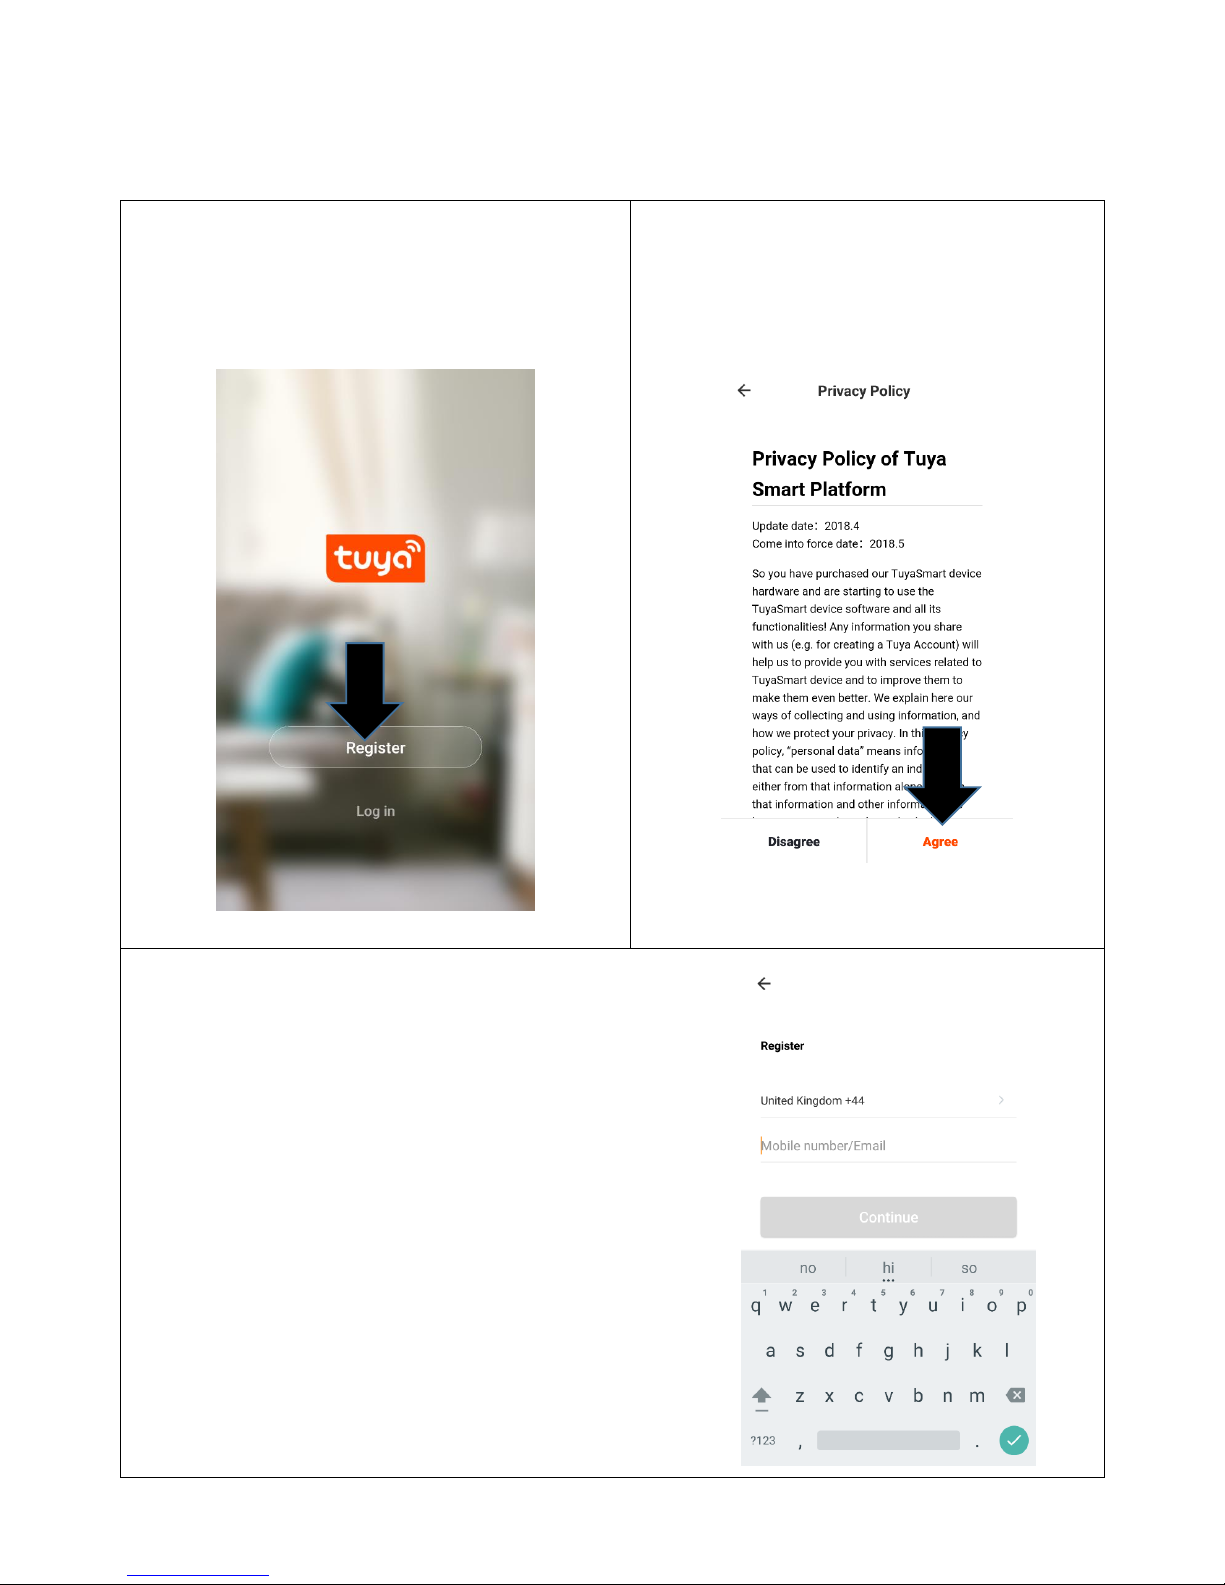
1. Press on the register
button at the bottom of
the screen.
2. Read the Privacy
policy and press the
Agree button.
3. Enter your email address or
phone number and press
continue to register.
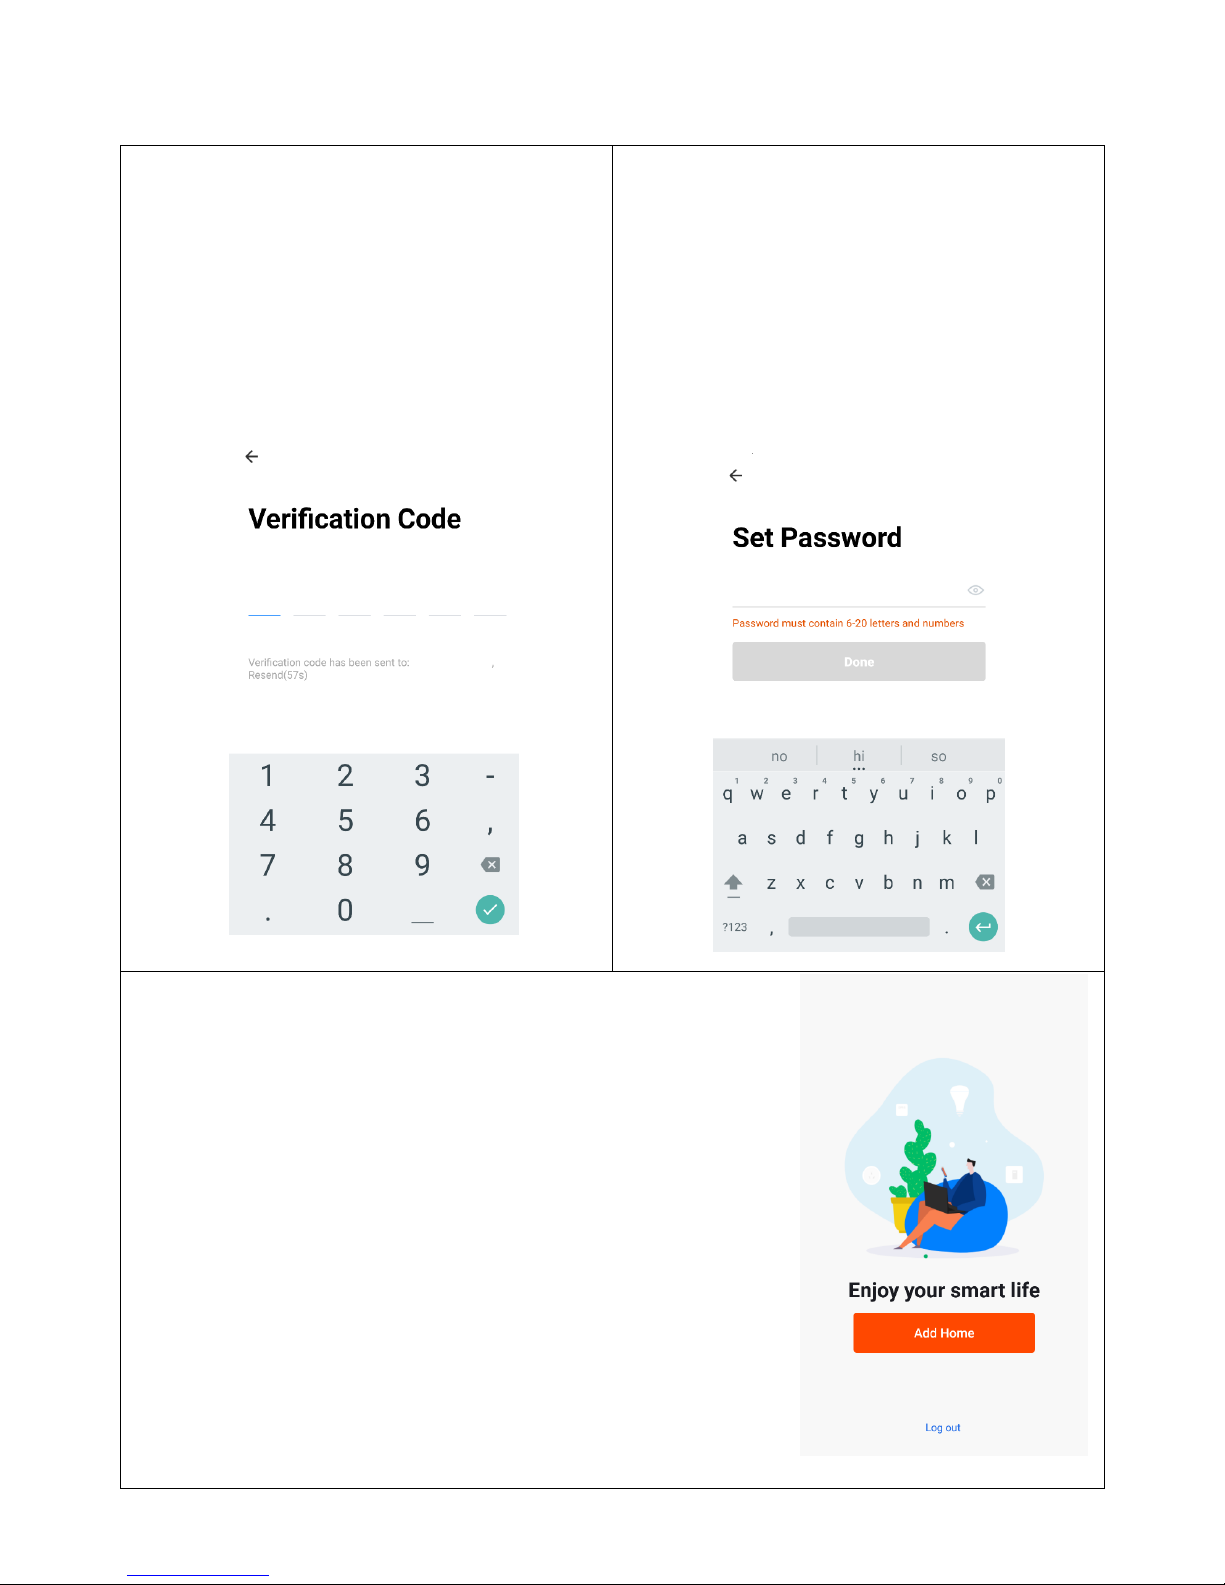
4. A verification code will
be sent by the method
selected in step 3.
Enter the code into
the app.
5. Type in the password
you would like to
create. This needs to
be 6-20 characters,
containing letters and
numbers.
6. The app is now registered. It will
automatically log you in following
registration. You are now ready
to add your bulb to your app.

SETTING UP YOUR HOME WITHIN THE APP
TUYA is designed so it can work with a large number
of compatible smart devices within your home. It can
also be set up to work with multiple devices within
different houses As such during the setup process,
the app requires that different areas are created and
named to allow easy management of all your
devices. When devices are then added, they are
assigned to one of the rooms you have created.
1. Press the
ADD HOME
button.
2. Type in a
name for
your home.
3. Press on the
Location
button to
select the
location of
your home.
4. New rooms
can be
added by
pressing the ADD ANOTHER
ROOM option at the bottom.
5. Untick any rooms that are not
required on the app.
6. Press DONE in the top right
corner.
 Loading...