

Electia C-Fence Quick Start Manual
1 www.electia.se
QUICK START Guide
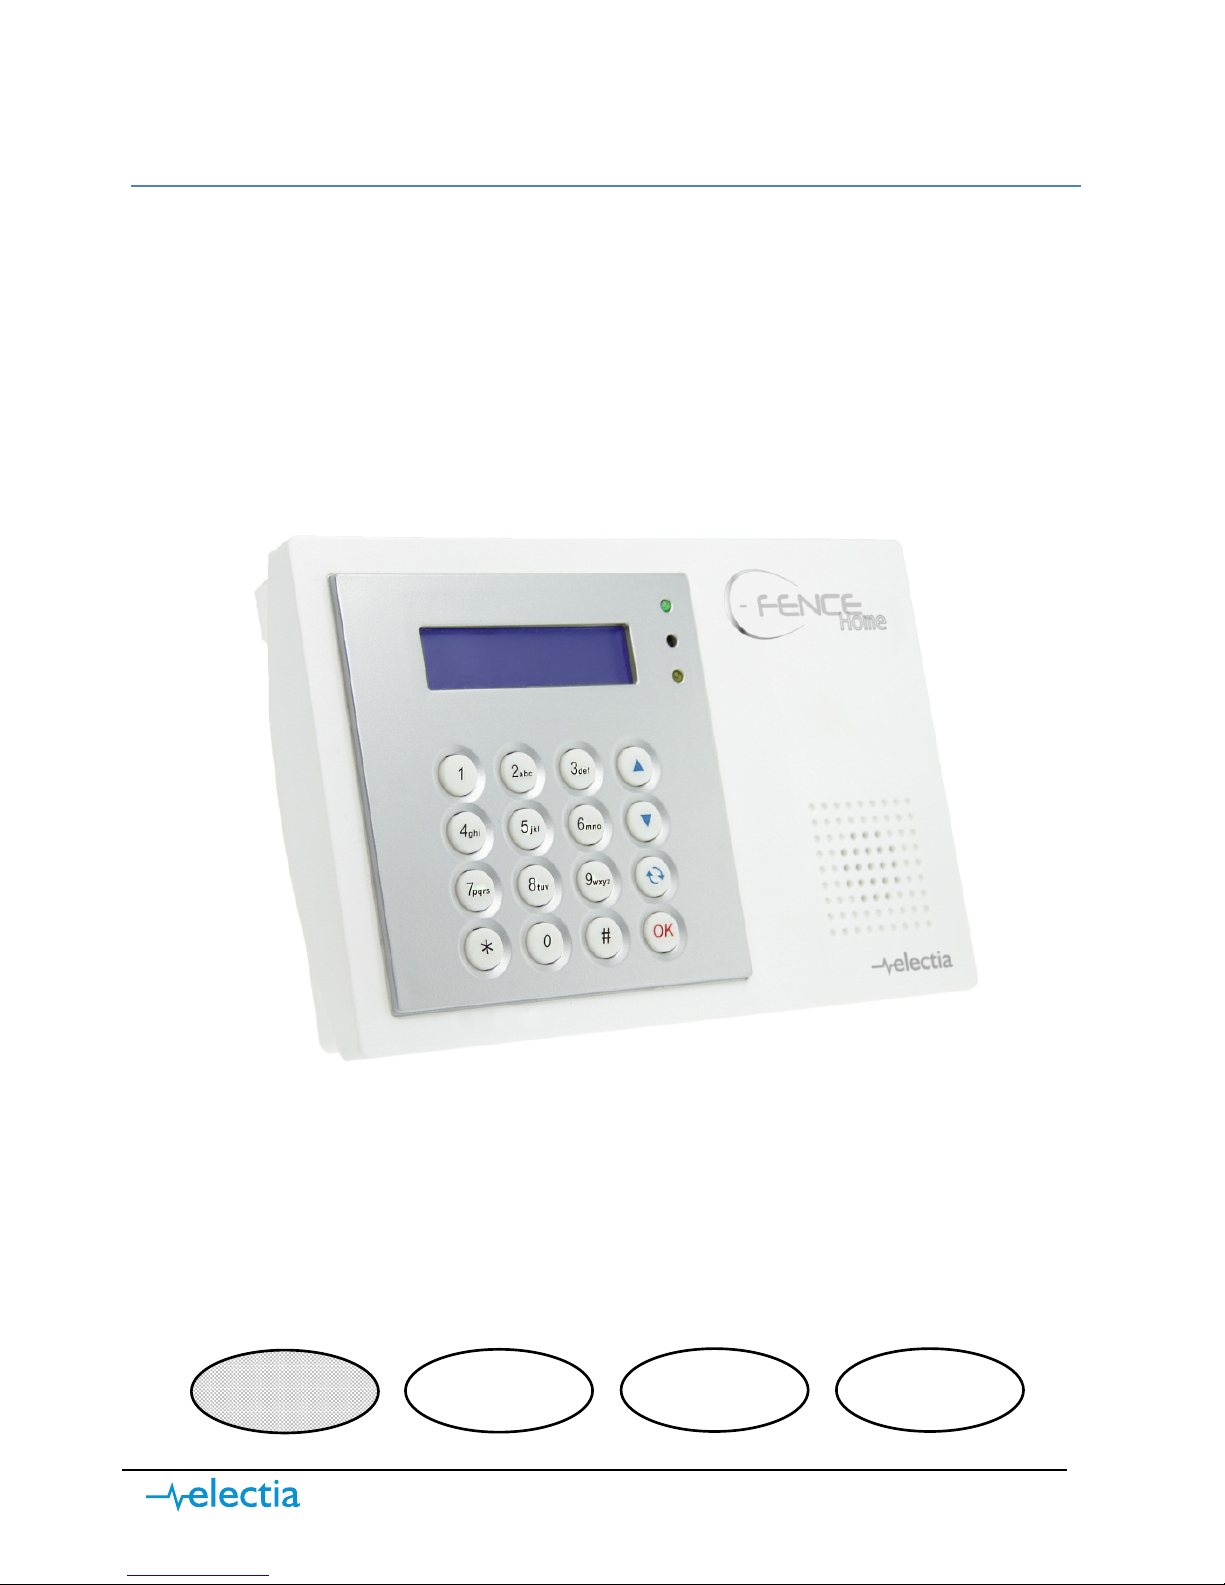
C-Fence Home GSM MMS alarm (Art.no. 36-4508)
ENG
SWE
NOR
FIN
2 www.electia.se
1) Prepare the control panel for start-up
a)
Note! Before installing the
SIM card in the control
panel, disable the PIN lock
of the SIM card using a
mobile phone. (you can
find instructions on how to
do this in the mobile phone
user manual)
b) Install the SIM card in the
main unit.
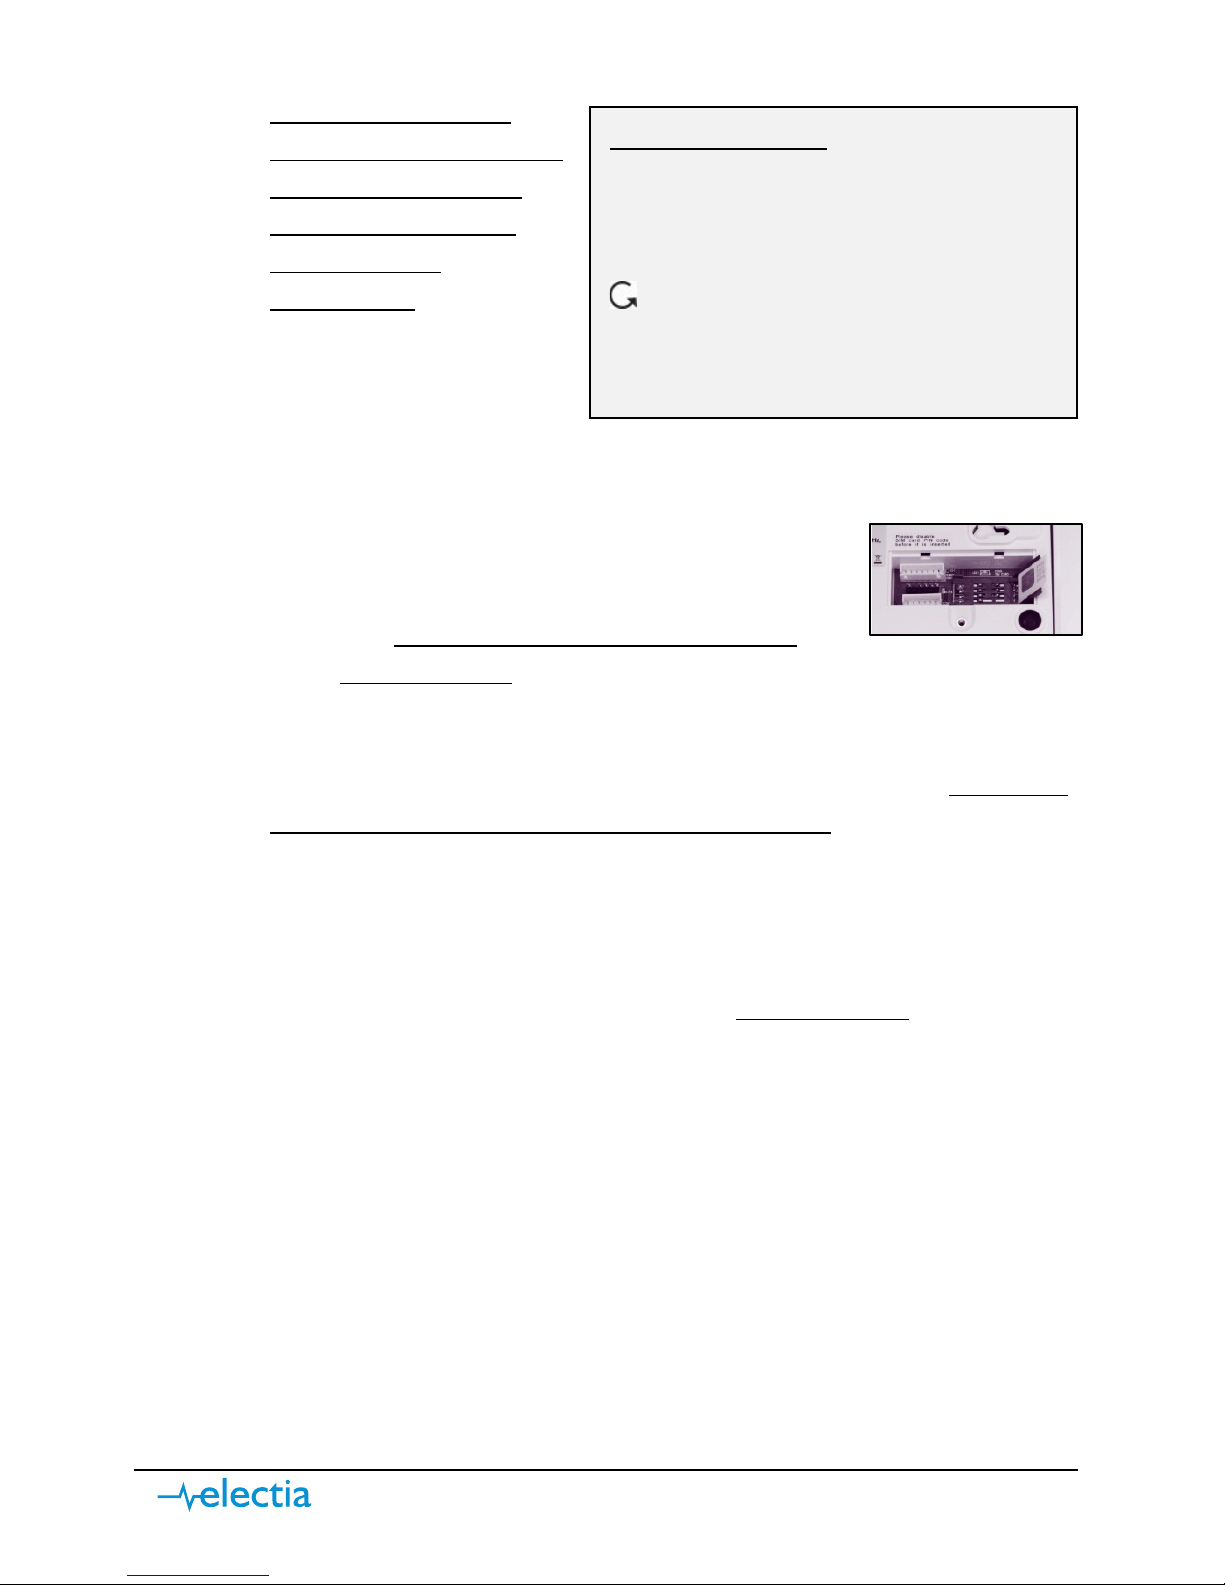
i) Unscrew the cover on the backside of the control panel.
ii) Push the SIM card cover carefully to the right
so that it slants outwards.
iii) Carefully place the SIM card into the slot with
the
angled corner facing outwards and the
chipset facing left, then close the cover again push it carefully to the
left until you hear a click.
iv) Screw back on the SIM card cover.
c) Remove the rubber plug on the back of the control panel and
make sure
that the battery switch is in "On" position (upward).
d) Connect the power adapter to the control panel and then to a wall outlet.
2) Connect an IR camera to the control panel
a) Go to installer mode. Proceed as follows:
i) With the alarm disabled, go to installer mode
by pressing and
holding ”*” for 2 seconds. Then enter the user code ”1234” and
confirm by pressing the ”OK” button.
ii) Now you have to key in the installation code as well, which is preset
to ”7982”. After that confirm by presing the ”OK” button.
b) Use “” “” in the programming menu to move up and down the menu.
c) Select ”Program Menu” in the menu and confirm with ”OK”
d) Select ”Device +/-” and confirm with ”OK”.
e) Select ”Add ZB devices” and confirm with ”OK”.
f) ”Learn ZB Dev., pls push button” appears on the display.
i) Press and hold the button on the front of the IR camera for 12
seconds (until the camera flashes once).
Description of buttons
- Moves upward in the menu
- Moves downward in the menu,
and forward when inputting
text
- Goes back to the menu and
deletes text when inputting
3 www.electia.se
g) The display will now show ”Detected: (OK) ?, IRCamera” , confirm by
pressing ”OK”.
h) ”Select device Zone” will now briefly
appear on the display. Select the zone
to which the camera you have just
connected should be added. Start by
selecting ”Zone 01”and confirm with
”OK”.
i) Now you will see a menu with many
attributes. Select ”Home omit” and press ”OK” (you will find more
information about this in the manual under Devices +/-).
j) ”Installed(OK?), CAM Z01”- appears on the display. Confirm with ”OK”.
k) ”Edit name” appears on the display.
Enter a name here in order to be able
to tell your sensors apart. Press the
digit keys several times to get the
desired letter (see the table) and then
confirm with ”OK”.
l) You will now see ” Learn ZB Dev., pls
push button” on the display again.
Press ” ” to return to the ”Device
+/-” menu.
3) Configure the MMS settings
a) Go to installer mode. Proceed as follows:
i) With the alarm disabled, go to installer mode
by pressing and
holding ”*” for 2 seconds. Then enter the user code ”1234” and
confirm by pressing the ”OK” button.
ii) Now you have to key in the installation code as well, which is preset
to ”7982”. After that confirm by presing the ”OK” button.
b) Use “” “” in the programming menu to move up and down the menu.
c) Select ”Reporting” and press ”OK”.
d) Select ”MMS Settings” and press ”OK”.
e) The settings of the menu you are in may vary depending on your operator
and alarm system. Please visit www.electia.se
for recent settings.
f) Under ”Reporting” you will also find ”GPRS Settings”. These settings are
also available at www.electia.se
.
Key
1 1 , ! ? - ( ) @ /
2 2 A B C Å Ä a b c å ä
3 3 D E F d e f
4 4 G H I g h i
5 5 J K L j k l
6 6 M N O Ö m n o ö
7 7 P Q R S p q r s
8 8 T U V t u v
9 9 W X Y Z w x y z
0 0
␣
/ - & ' . " + :
Symbols
ZONES
Each unit you connect
takes a specific ZONE in the
system. The maximum
number of ZONES/units is

4 www.electia.se
g) Note: Once you have changed your MMS settings, you MUST exit the menu
by pressing ” ” 4 times and then restart the alarm in order for the
settings to take effect. This is done by disconnecting the power supply and
turning off the power switch (under the rubber plug) for 10 seconds.
4) Add MMS and email recipients to camera pictures.
a) Go to installer mode. Proceed as follows:
i) With the alarm disabled, go to installer mode
by pressing and
holding ”*” for 2 seconds. Then enter the user code ”1234” and
confirm by pressing the ”OK” button.
ii) Now you have to key in the installation code as well, which is preset
to ”7982”. After that confirm by presing the ”OK” button.
b) Use “” “” in the programming menu to move up and down the menu.
c) Select ”Reporting” and confirm with the ”OK” button.
d) Select ”MMS TEL/E-MAIL” and press ”OK”.
e) Select an email using “” “” and press ”OK”.
f) Enter a mobile number or an email here (see the table of symbols on the
previous page).
g) Then confirm with the ”OK” button.
h) Press ” ” to return to the main menu.
5) Add telephone numbers for SMS alarms – In case of an alarm, these will be
contacted by SMS.
a) Go to installer mode. Proceed as follows:
i) With the alarm disabled, go to installer mode
by pressing and
holding ”*” for 2 seconds. Then enter the user code ”1234” and
confirm by pressing the ”OK” button.
ii) Now you have to key in the installation code as well, which is preset
to ”7982”. After that confirm by presing the ”OK” button.
b) Use “” “” in the programming menu to move up and down the menu.
c) Select ”Reporting” and confirm with the ”OK” button.
d) Select ”Tel Settings” and press ”OK”.
e) Select ”Tel.Number” and press ”OK”.
f) Select an item from ”1” to ”5” and then press ”OK”.
g) Enter a telephone number, for example ”0701234567” and press ”OK”.
h) If you want to add more numbers, repeat the steps from 5f.
i) To return to the main menu, press ” ”.

5 www.electia.se
6) Set the time and date
a) Go to the user menu. Proceed as follows:
i) With the alarm disabled, go to the user menu
by entering in the user
code ”1234” and confirm by pressing the ”OK” button.
b) Use “” “” in the programming menu to move up and down the menu.
c) Select ”Timer” , then press ”OK”.
d) After that, select ”Date” and press ”OK”.
e) Select the current month using “” “” and then press ”OK”.
f) Select the current date using “” “” and then press ”OK”.
g) Select ”Time” and then press ”OK”.
h) Set the hours using “” “” and then press ”OK”.
i) Set the minutes using “” “” and then press ”OK”.
j) Select ”Year” and then press ”OK”.
k) Set the year using “” “” and then press ”OK”.
l) To return to the main menu, press ” ”.
7) Edit user codes – For personal identification
a) Go to installer mode. Proceed as follows:
i) With the alarm disabled, go to installer mode
by pressing and
holding ”*” for 2 seconds. Then enter the user code ”1234” and
confirm by pressing the ”OK” button.
ii) Now you have to key in the installation code as well, which is preset
to ”7982”. After that confirm by presing the ”OK” button.
b) Use “” “” in the programming menu to move up and down the menu.
c) Select “Program Menu” in the menu and confirm with “OK”.
d) Select ”Gen.Settings” in the menu and confirm with ”OK”.
e) Select ”Code Settings” and confirm with ”OK”.
f) Select ”Pin code” and confirm with “OK”.
g) Now you can use “” “” to select one of the items in order to add or
edit a PIN code. Once you have selected the user you want to edit, press
”OK”.
h) You will see ”Enter new code” on the display. Enter the desired 4-digit code
and confirm with ”OK”.
i) The display now shows ”Repeat new code”. Enter the same code one
more time and confirm with ”OK”.

6 www.electia.se
j) You can now choose if you want a SMS report each time this user code is used
to arm or disarm the system, ”Latch rpt ON” – Reporting ON,
”Latch rpt OFF” – Reporting OFF.
k) ”User Name” will now appear on the display. Select a name for the user to
whom the code belongs. Press the digit keys on the control panel as much
times as necessary to enter the desired letters (see the table). Step forward
with “”, backwards with “” and delete letters with ” ”. Once you have
entered the user name, press ”OK” to confirm.
8) System code – It is recommended to change the default setting in order to
prevent unauthorised access
a) Go to installer mode. Proceed as follows:
i) With the alarm disabled, go to installer mode
by pressing and
holding ”*” for 2 seconds. Then enter the user code ”1234” and
confirm by pressing the ”OK” button.
ii) Now you have to key in the installation code as well, which is preset
to ”7982”. After that confirm by presing the ”OK” button.
b) Use “” “” in the programming menu to move up and down the menu.
c) Then select ”Installer Code” and press ”OK”.
d) Enter the desired 4-digit code and confirm with ”OK”.
e) The display now shows ”Repeat new code”, enter the code one more time
and press ”OK”.
f) To return to the main menu, press ” ”.
Your alarm is now working and when the camera is activated and the
alarm is active, pictures will be sent to the specified numbers and
emails.

7 www.electia.se
Worth knowing
•
Arming the alarm
1. Enter your user code, for example ”1234” and press ”OK”.
2. Use the “” “” buttons to select ”Away Arm” and press ”OK”.
3.
The alarm is now activated!
•
Disarming the alarm
1. Enter your user code, for example ”1234” and press ”OK”.
•
Force the alarm – If you get an error code on any of the connected units but
would still like to arm the alarm.
1. You arm the alarm in the usual manner by entering your user code,
for example ”1234” and press ”OK”.
2. The display will show the unit that has reported an error and you will
see what this error is.
3. Enter your user code one more time, for example ”1234” and press
”OK”.
4. You will be prompted ”Force arm?”, press ”OK” - the alarm is now
activated.
•
Restore the factory settings
1. If something goes wrong during the installation and the alarm is not
working as it is supposed to, you have to restore the factory settings.
Note that you will have to reconfigure all settings from scratch
afterwards.
2. Proceed as follows:
a.
Disconnect the power supply and turn off the battery power
switch.
b. Press down “” at the same time as you connect the power
supply cable.
c. Press “” one more time within 3 seconds.
d. Press the following keys in the following order:
” ” and finish with “OK”.
e. A test menu will appear on the display ” ”. Then the main
unit will be reset and restarted .
Read more about mounting in the respective sensor manual.
You can find information about additional functions and accessories in the manual
of the main unit.

8 www.electia.se
Troubleshooting
•
The alarm doesn’t send any SMS or MMS
1. Make sure the PIN-code is disabled on the SIM-card
How: Install the SIM-card in to a mobile phone, if the mobile
phone starts without PIN-code request it means that the PINcode is disabled.
2. Try to call, send SMS and MMS from a mobile phone with the alarm
panels SIM-card installed into the phone.
•
The panel sends SMS but no MMS upon alarm
1. Try to send MMS from an ordinary mobile phone with the alarm
panels SIM-card installed into the phone.
2. Make sure that all MMS-settings is correct entered (see section 3 in
this manual)
3. Make sure that you have entered correct MMS-recipient (see
section 4 in this manual)
4. Restart the alarm panel (see section 3g in this manual).
•
The yellow LED light is ON (fault indication) – what’s wrong?
The fault indicator will be ON to indicate that someting is wrong, as soon as
all faults are corrected the indicator will go OFF by itself.
1. Enter the error log to display the faults.
How: Enter your code on the alarm panel and hit ”OK”
Then hit ”OK” once more when ”Fault Display” is shown.
Step down with ”” to see current and logged faults.
•
The camera/sensor doesn’t react after I activated the alarm
Note that the camera has a warm-up time of about 1 minute after the alarm
has been activated. Hold about 2 minutes before you try to trigger the alarm.
1 www.electia.se
SNABBSTART-Guide
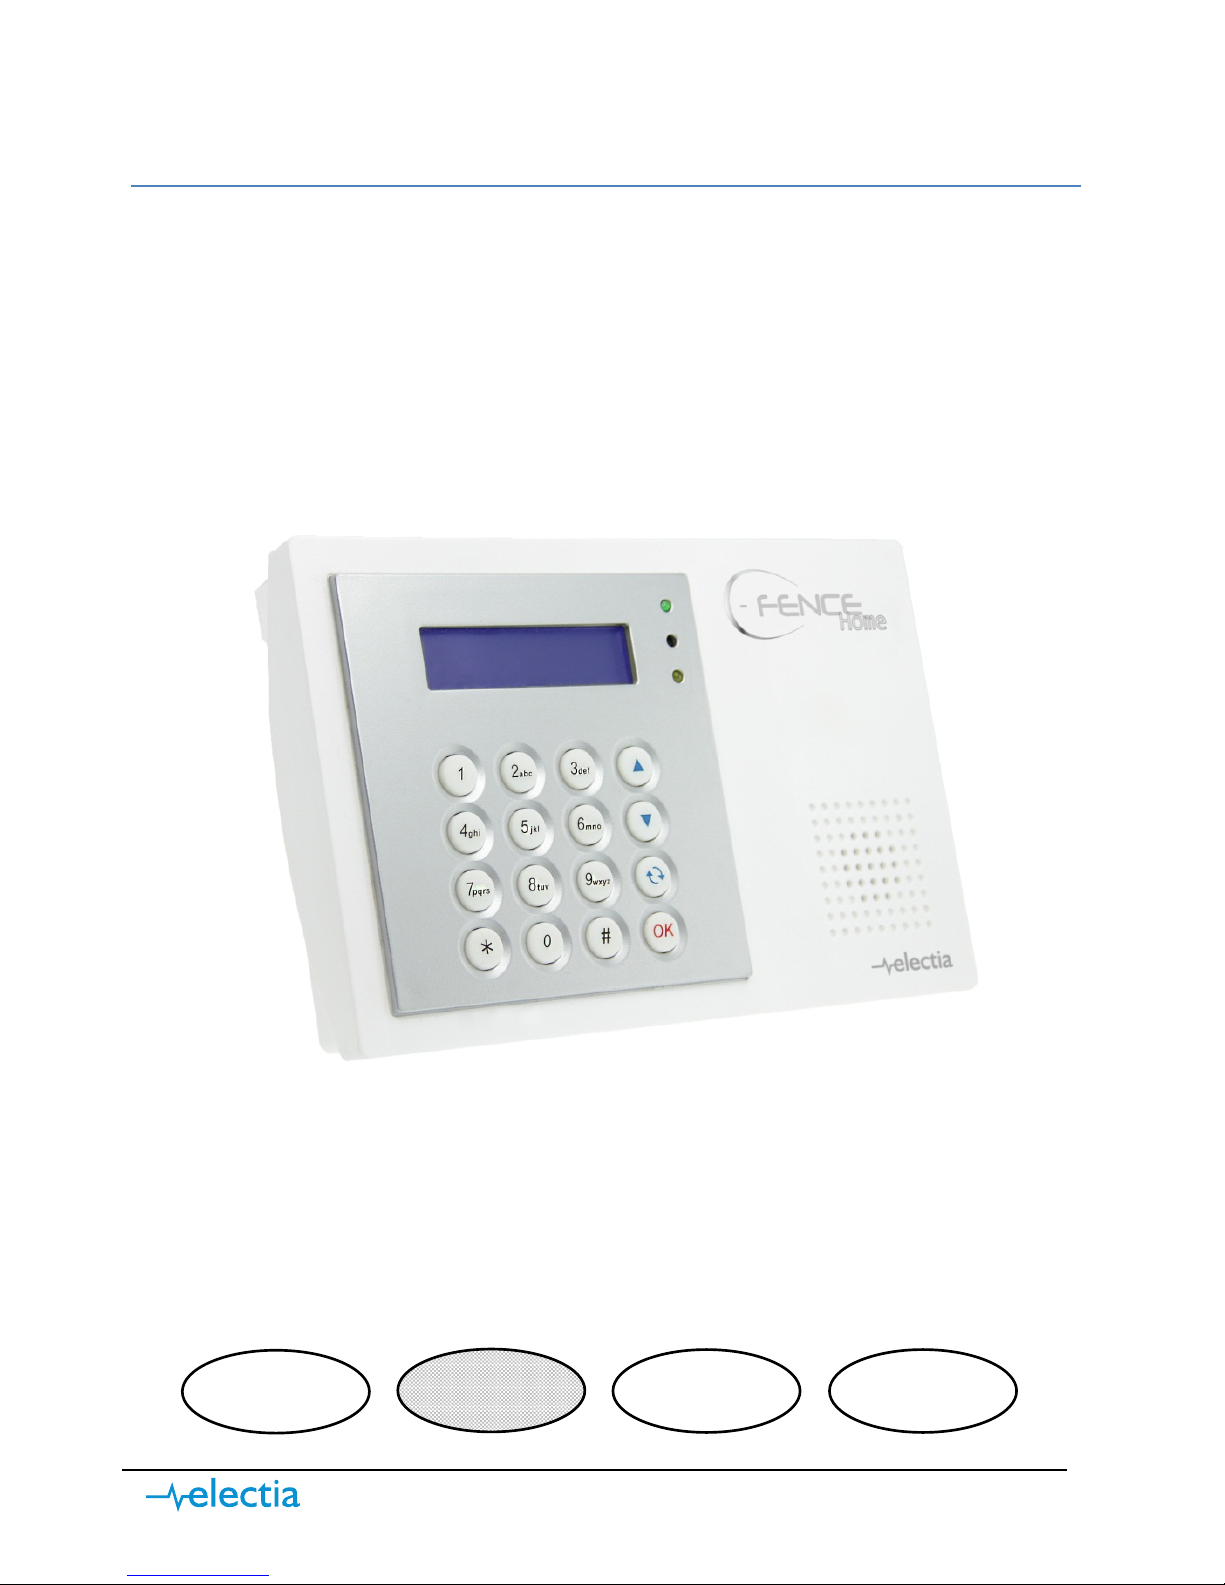
C-Fence Home GSM MMS larm (Art.nr. 36-4508)
SWE
NOR
FIN
ENG
2 www.electia.se
1) Förbereda kontrollpanelen för uppstart
a)
OBS! innan SIM-kortet
monteras i kontrollpanelen
måste PIN-kodslåset på
SIM-Kortet avaktiveras
med hjälp av en
mobiltelefon.
(Instruktioner om hur detta
utförs hittar du i manualen
till mobiltelefonen)
b) Installera SIM-kortet i huvudenheten.
i) Skruva upp täcklocket på baksidan av kontrollpanelen.
ii) Skjut SIM-kortsluckan försiktigt åt höger så att
den kan vinklas utåt.
iii) Skjut försiktigt i SIM-kortet i luckan,
med
kortets kapade hörn utåt och chippet
riktat åt vänster, fäll sedan ner luckan igen och skjut den försiktigt åt
vänster till ett svagt klick hörs.
iv) Skruva tillbaka täcklocket för SIM-kortet.
c) Plocka loss gummipluggen på baksidan av kontrollpanelen och
kontrollera
så att batteriets strömbrytare är i läge ”På” (Uppåt).
d) Anslut strömadaptern till kontrollpanelen och sedan till ett vägguttag.
2) Ansluta en IR-Kamera till kontrollpanelen
a) Gå in i installatörsläget enligt följande;
i) När larmet är AVaktiverat går du in i installatörsläget
genom att hålla
inne ”*” i 2 sekunder sedan anger du användarkoden ”1234” och
bekräftar genom att trycka på ”OK”-knappen.
ii) Nu behöver du även ange Installatörskod-kod som är fabriksinställd
till ”7982”, bekräfta sedan med ”OK”-knappen.
b) I programmeringsmenyn använder du “” “” för att stega upp och ner i
menyn.
c) Markera ”Program Menu” i menyn och bekräfta med ”OK”.
d) Markera ”Device +/-” och bekräfta med ”OK”.
e) Markera ”Add ZB devices” och bekräfta med ”OK”.
f) Nu visar displayen ”Learn ZB Dev., pls push button”.
i) Håll in knappen på framsidan av IR-Kameran i 12 sekunder (eller tills
kamerans blixt blinkar en gång).
Knappbeskrivning
- Stegar uppåt i menyn
- Stegar nedåt i menyn,
och framåt vid textinmatning
- Går tillbaka i menyn samt
raderar text vid inmatning.
OK - Bekräftar val eller inmatning.
 Loading...