

Elec HL Series, MR Series, SR Series User Manual
1
ELEC HL Series DVR User Manual
Welcome
Thank you for purchasing ELEC HL Series DVR. This user manual will help you to install and
operate our DVR with details. Please read this user manual thoroughly in order to get the
most out of ELEC product.
This user manual is applicable to ELEC HL Series DVR. Pictures, images and all other
information hereinafter are for description and explanation only. Slight difference may be
found in the user interface due to upgrade or other reasons. In such case, please refer to the
actual item. Also, the information contained in this user manual is subject to change, without

2
notice, due to upgrade or other reasons. To check the latest version of ELEC HL Series DVR,
please visit our website www.elec.com
Should you have any questions or concerns, please contact our support team by emailing
aomgc@annigroup.com or sending messages to our Skype account: ELEC System Support.
Important
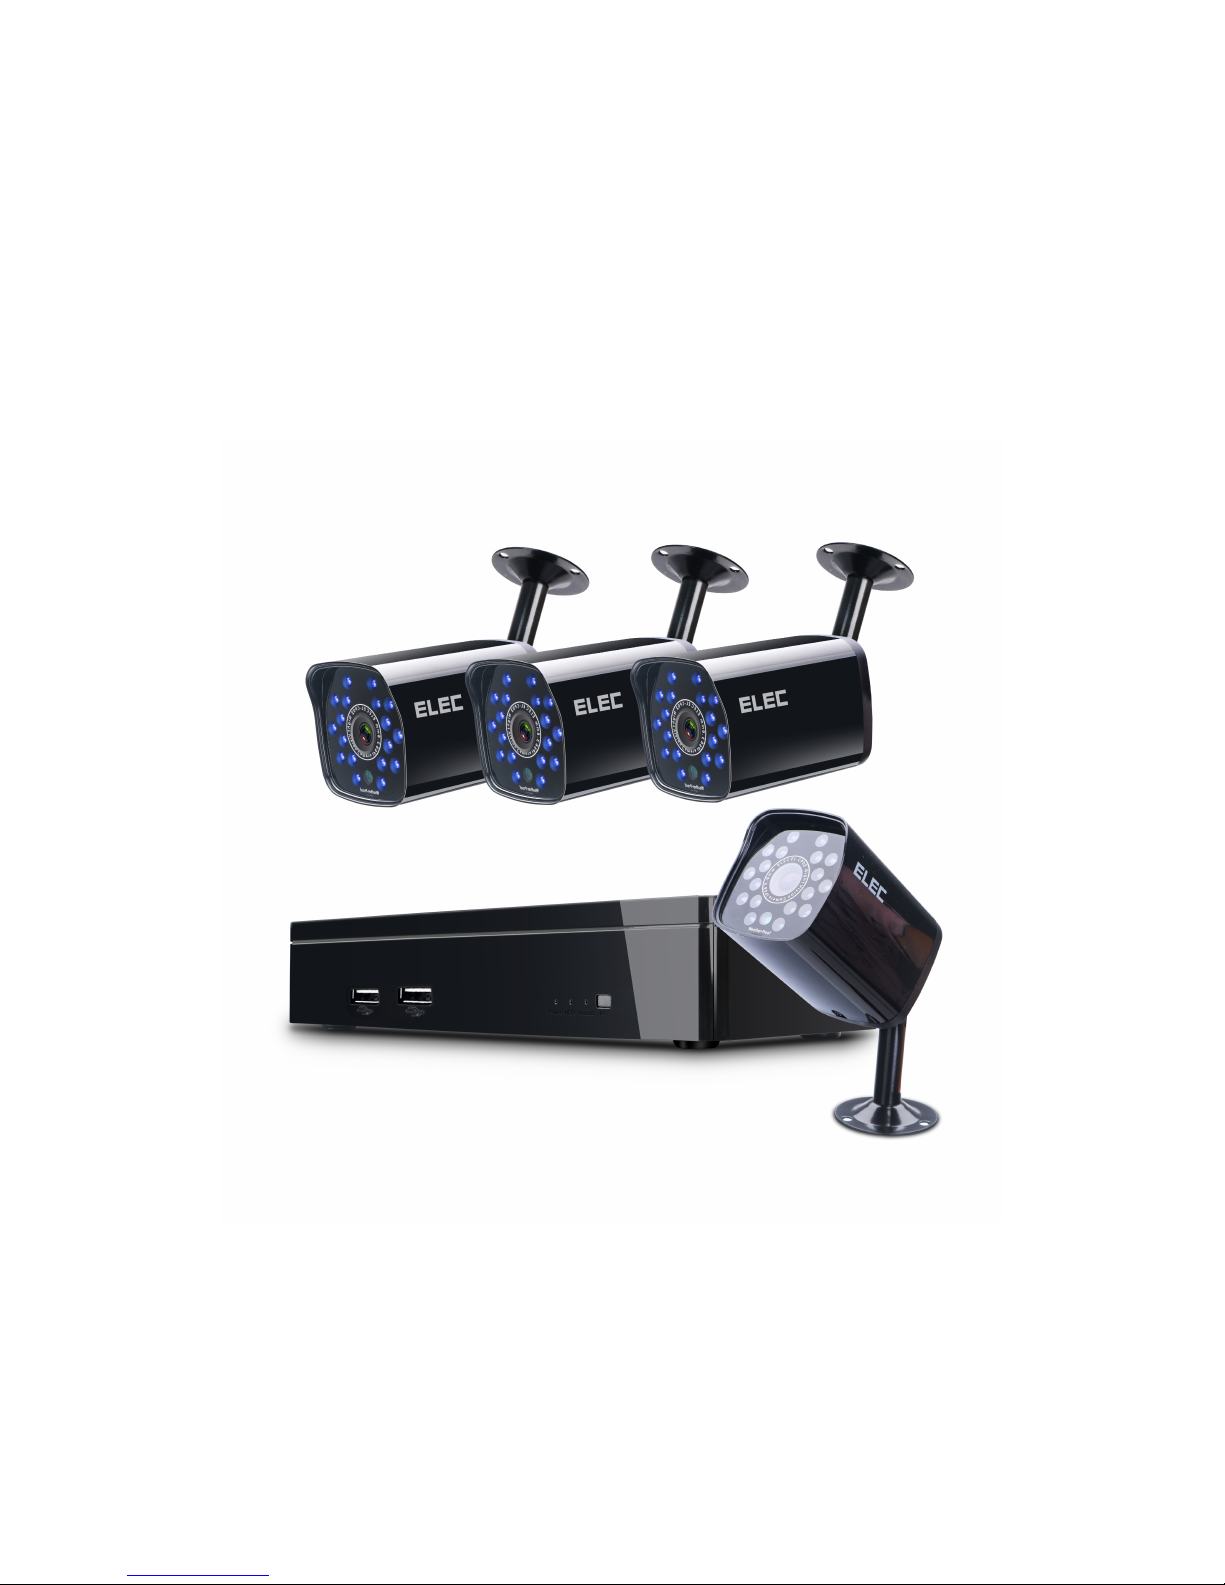
1. When the DVR package arrived, please check it and make sure that you received every
component.
2. The VGA cable and HDMI cable mentioned below are not included in our DVR package.
3. Not all our DVRs come with a hard drive. If the model you ordered doesn't include a hard
drive, please purchase a compatible HDD by yourself.
4. The remote controller is not supported by HL Series DVR.
5. Improper installation or usage may cause severe damage. Please install and operate the
DVR under the guidance of ELEL user manual.
6. The DVR should be placed horizontally instead of vertically.
Warnings
1. Do not connect several DVRs to one power strip as overload could cause overheating or a
fire hazard.
2. Make sure ELEC DVR is working under the rated voltage. For DVR, the rated voltage is 5V.
For cameras, the rated voltage is 12V.
3. Do not place heavy objects on DVR.
4. Do not disassemble, repair, or replace the DVR by yourself since the ELEC company will
not take responsibility that caused by such behaviors.
5. Do not unplug the device while it is running to prevent video loss and other abnormalities.
6. Do not smash, slam, shake the DVR intensively. And keep the device away from magnetic
interference.
7. In order to extend the life of the DVR, please keep it away from water, heat, and dust,
direct sunlight, and put it in a well-ventilated place.
8. Please clean the housing regularly using a dry soft cloth. Use neutral detergent, instead of
alkaline detergents, to clean the housing when the dirt is hard to remove.

3
Table of Contents
Chapter 1. Introduction
..............................................................................................................
4
Chapter 2. Installation
.................................................................................................................
4
2.1 Front Panel
....................................................................................................................
5
2.2 Rear Panel
......................................................................................................................
6
2.3 Proper Cable Connection
..............................................................................................
7
2.4 Soft Keyboard
................................................................................................................
9
Chapter 3. Getting Started
........................................................................................................
10
3.1 Start up DVR
................................................................................................................
10
3.2 Shut Down DVR
...........................................................................................................
10
3.2.1 Standard Shutdown
..........................................................................................
10
3.2.2 Forced Shutdown
..............................................................................................
11
3.3 Reboot
.........................................................................................................................
11
Chapter 4. Startup Wizard
........................................................................................................
11
Chapter 5. Login
........................................................................................................................
12
5.1 Login
............................................................................................................................
13
5.2 Logout
..........................................................................................................................
13
5.3 Account Lockout
..........................................................................................................
13
Chapter 6. Live View
.................................................................................................................
14
Chapter 7. DVR Main Menu Guide
...........................................................................................
14
7.1 Playback
.......................................................................................................................
15
7.1.1 Steps for Playback
.............................................................................................
15
7.1.2 Playback Toolbar Introduction
.........................................................................
16
7.2 Record Mode
...............................................................................................................
17
7.2.1 Digital
................................................................................................................
17
7.2.2 Backup
..............................................................................................................
17
7.2.3 Record
...............................................................................................................
18
7.2.4 HDD Manage
.....................................................................................................
20
7.3 System Info (the upside down exclamation mark of “!”)
............................................
22
7.3.1 HDD Info
...........................................................................................................
23
7.3.2 LOG
...................................................................................................................
23
7.3.3 Version
..............................................................................................................
23
7.3.4 Online User
.......................................................................................................
23

4
7.4 Startup Wizard
............................................................................................................
23
7.5 Alarm Setting
...............................................................................................................
23
7.5.1 Alarm Set
..........................................................................................................
24
7.5.2 Abnormality
......................................................................................................
26
7.6 Setting
.........................................................................................................................
26
7.6.1 General
.............................................................................................................
27
7.6.2 Video
.................................................................................................................
27
7.6.3 Account
.............................................................................................................
30
7.6.4 RS232
................................................................................................................
31
7.6.5 Advanced
..........................................................................................................
31
7.7 Network Setting
..........................................................................................................
33
7.7.1 Network
............................................................................................................
34
7.7.2 Net Service
........................................................................................................
36
7.7.3 Cloud Service
....................................................................................................
41
7.7.4 EMAIL
................................................................................................................
41
Chapter 8. Shortcuts
.................................................................................................................
42
8.1 Vertical Shortcuts
........................................................................................................
42
8.2 Horizontal Shortcuts
....................................................................................................
43
8.2.1 Close Record
.....................................................................................................
44
8.2.2 Playback
............................................................................................................
44
8.2.3 PTZ Setting
........................................................................................................
44
8.2.4 Color Setting
.....................................................................................................
47
8.2.5 Hide
...................................................................................................................
47
Chapter 9. Remote Control
.......................................................................................................
47
9.1 Remote Access on PC
..................................................................................................
48
9.2 Remote Access on Mobile Phone
................................................................................
49
9.3 Remote Control on the Web
.......................................................................................
50
9.4 Remote Control on CMS
..............................................................................................
52
Chapter 10. Appendix
...............................................................................................................
55
Chapter 1. Introduction
ELEC HL DVR is an excellent digital monitoring equipment that’s designed for security
protection. It has embedded the LINUX operating system which is more stable. Armed with
standard H.264 codec and unique spatial and temporal filtering algorithm, ELEC DVR realizes
5
the synchronized video monitoring of high image quality and low data rate. Moreover, its
powerful network service function enormously enhances the network data transmission
capability and remote control ability.
As a safe and protection system, you can expect remote control, recording & playback, and
backup, motion detection, alarm linkage, etc from ELEC HL DVR.
Chapter 2. Installation
Please be acquainted with ELEC HL DVR installation and its components first.
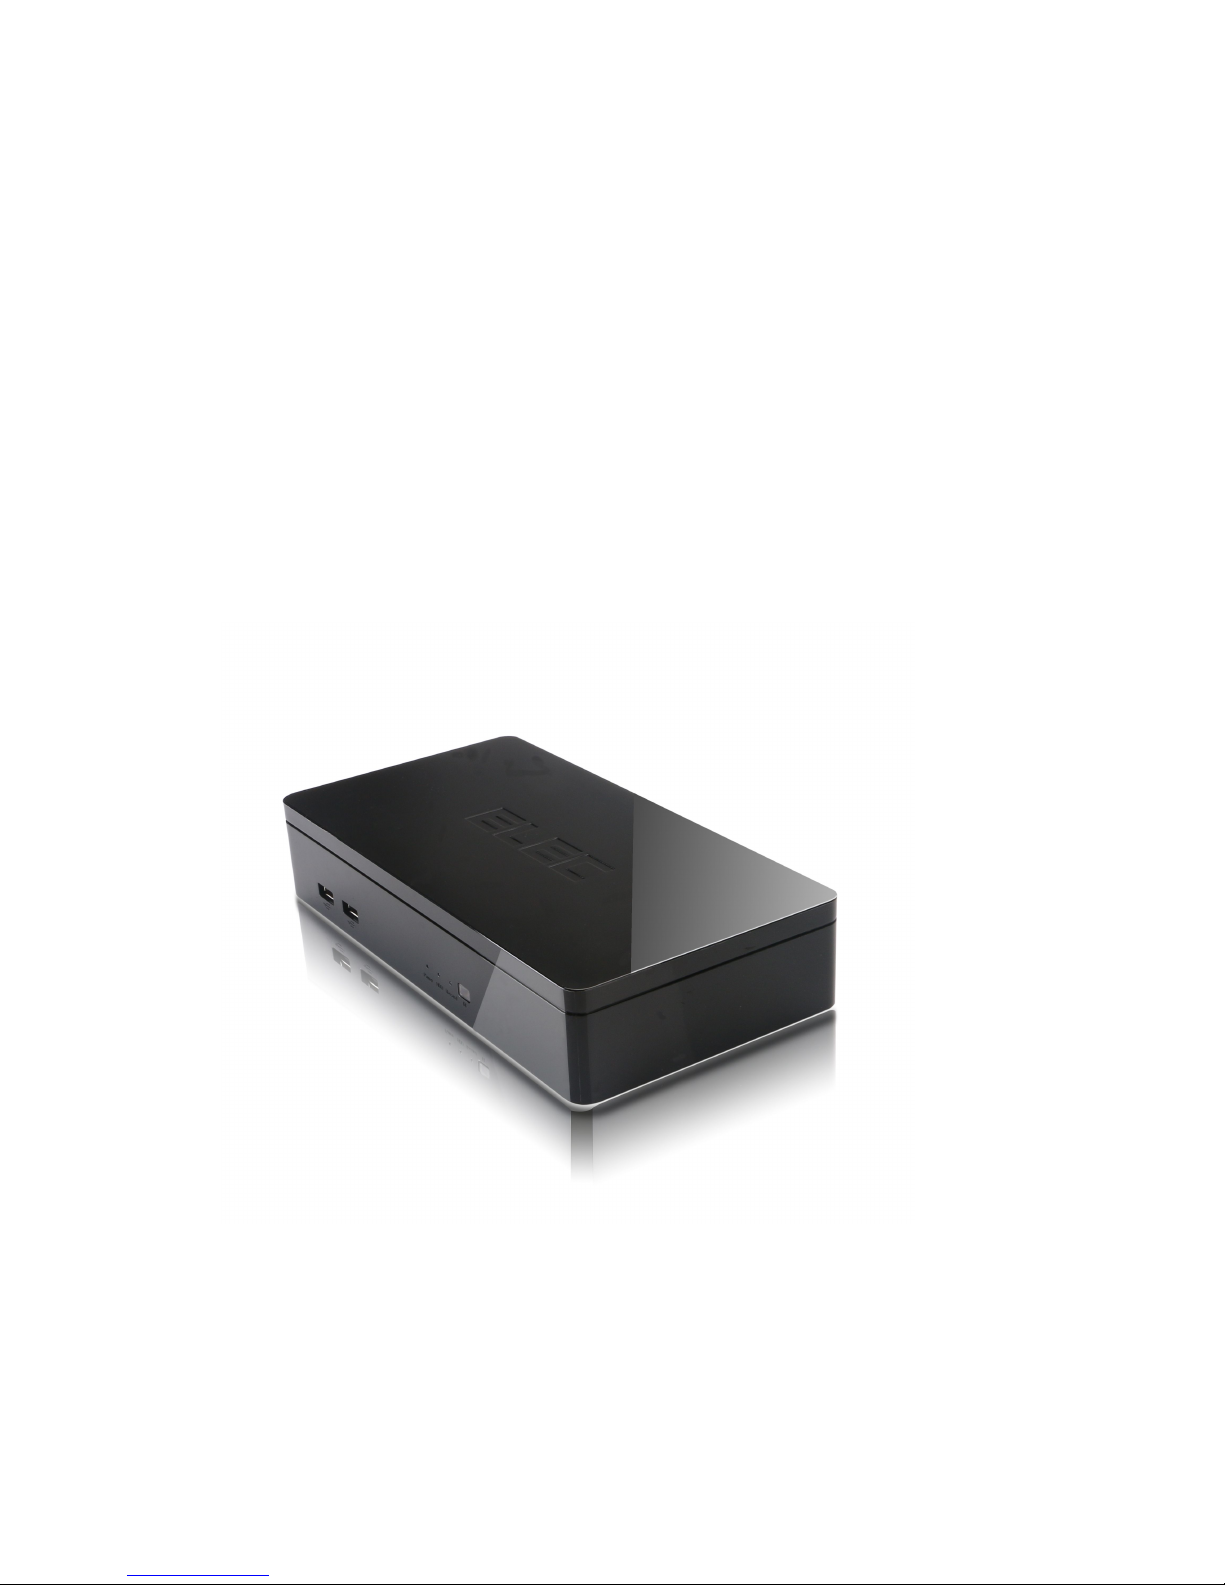
2.1 Front Panel
The controls on the front panel include:
1. USB Ports: Two Universal Serial Bus (USB) ports for additional device connection. Such as
USB mouse and hard disk drive.
6
2. Power: Power indicator switches to red when the DVR is powered on.
3. HDD: HDD indicator switches to green when the hard drive is active.
4. Record: Record indicator flashes rapidly (green) when the DVR is recording.
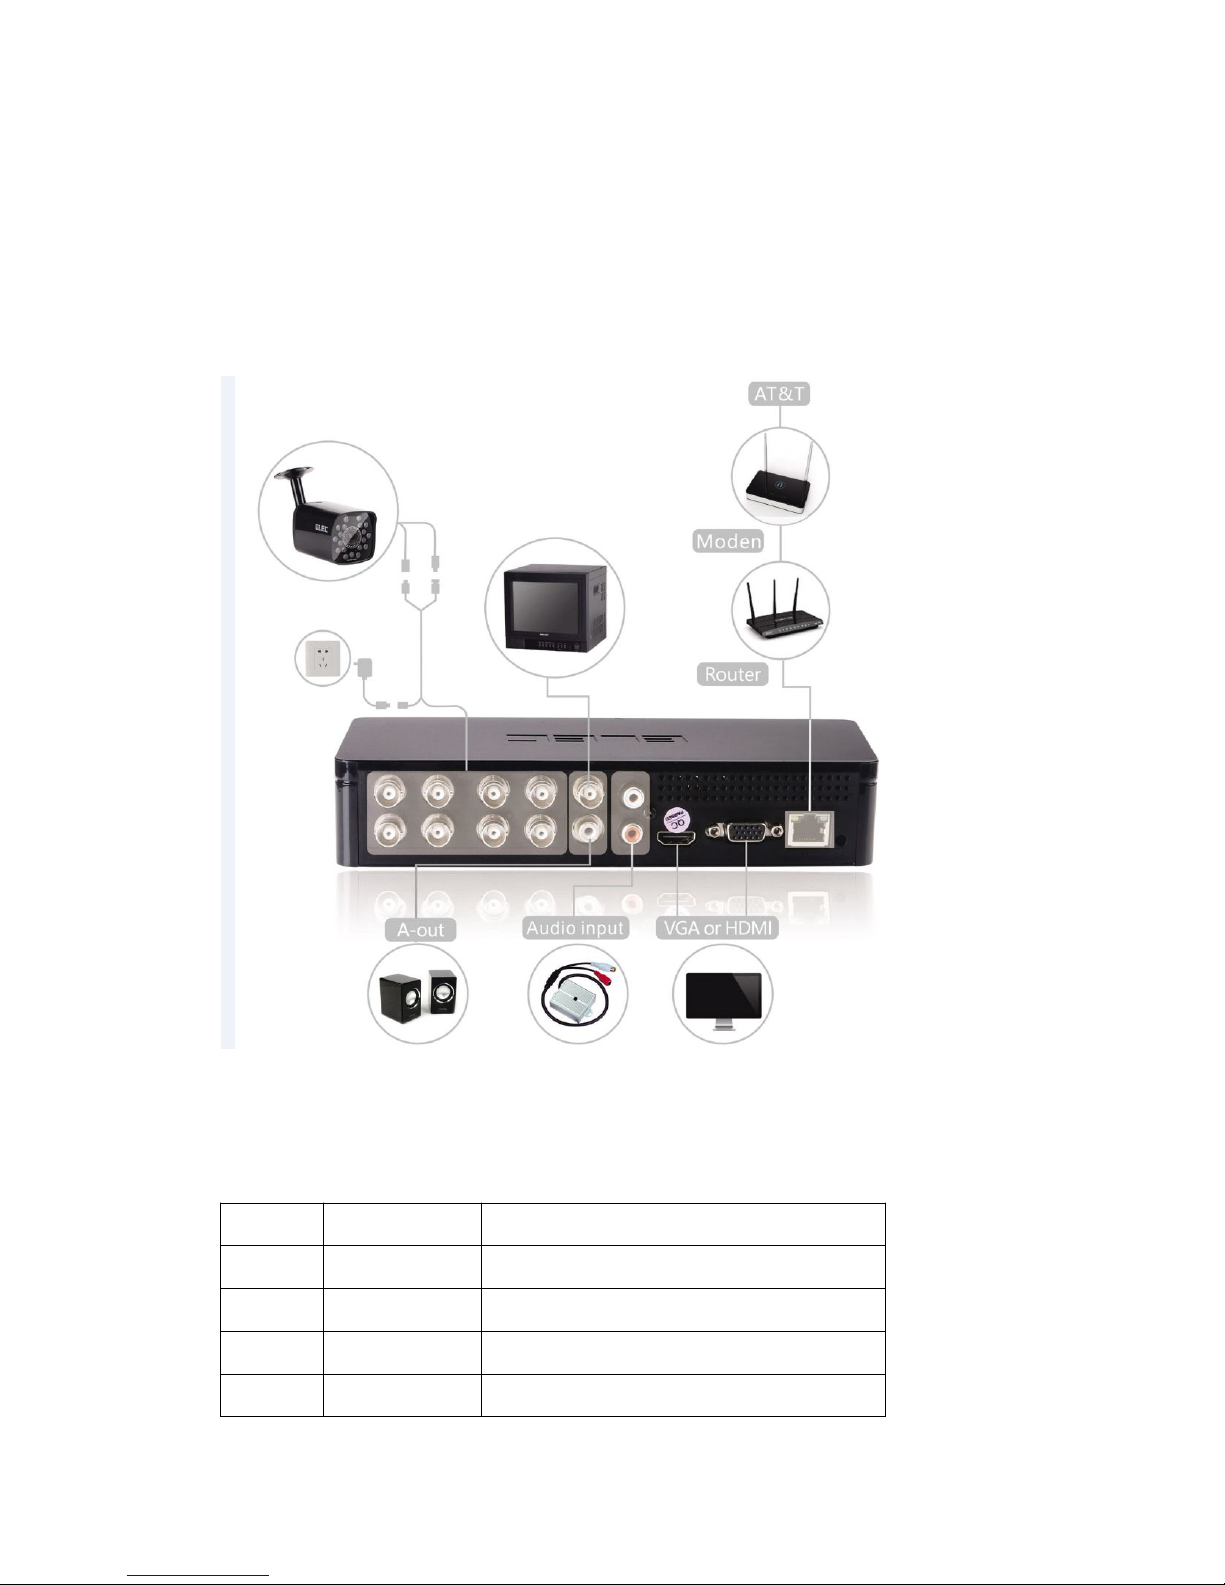
2.2 Rear Panel
The controls on the rear panel include:
No.
Item
Description
1
Video In
BNC connector for analog video input
2
Video Out
BNC connector for analog video output
3
Audio In
RCA connector for analog audio input
4
Audio Out
RCA connector for analog audio output
7
5
HD-Out
HD output connector
6
VGA
VGA interface for monitor connection
7
Network
RG45 network connector for internet
8DCDC power input connector
2.3 Proper Cable Connection
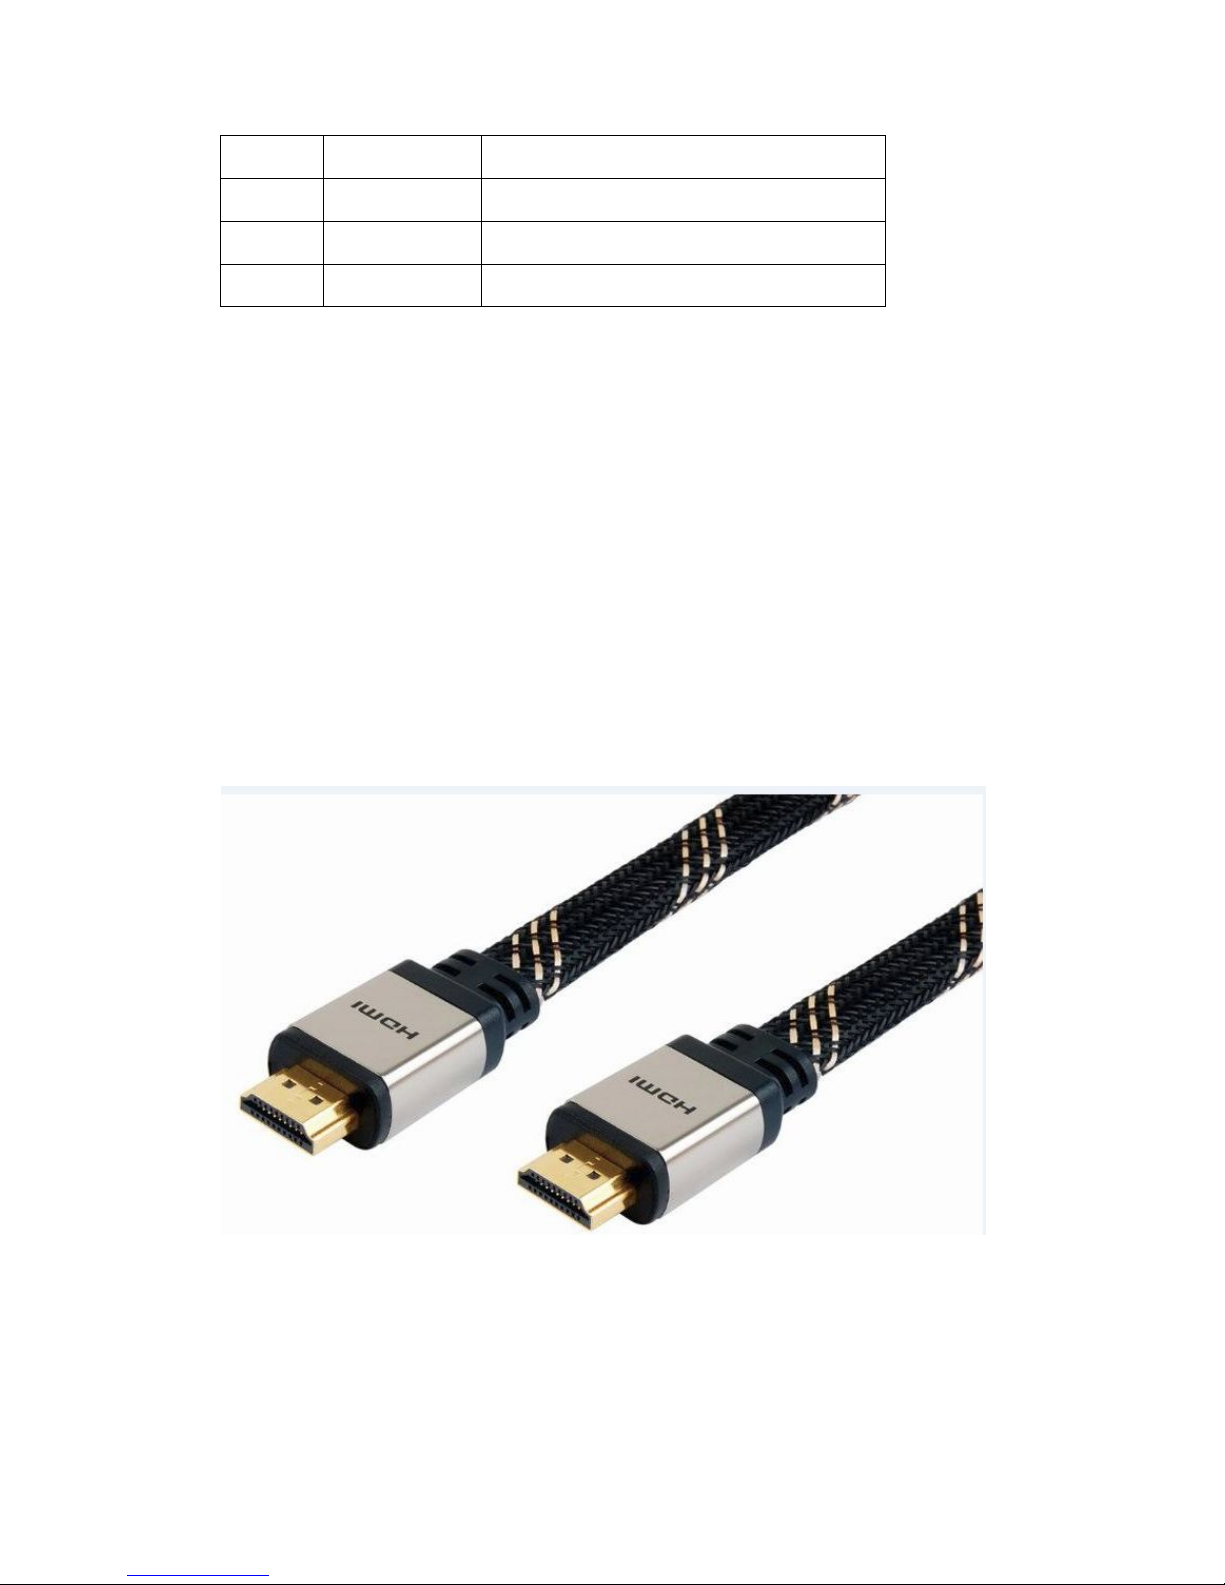
Step 1: Connect monitor (TV Set, PC Monitor, etc) to DVR by VGA/HDMI/BNC cable.
Note:
1. If you connect TV set by HDMI or VGA cable, please make sure that you switch TV set to
corresponding HDMI or VGA input mode (also called RGB or PC in some TV sets).
2. You can only view screen after connected TV, HDMI or VGA monitor. HDMI or VGA is
recommended. The minimum requirement for resolution is 1024*768.
3. All our DVRs are like stand alone computers, so you SHOULD NOT directly connect them to
your computer.
HDMI Cable

8
BNC cable
VGA Cable

9
Step 2: Connect a USB mouse to USB interface at the DVR’s front panel.
Step 3: Connect the power supply to the DVR on the rightmost interface (DC interface on the
rear panel). And plug DVR power supply into an electrical socket.
Step 4: Connect the camera to DVR and power supply.
A. Each camera is equipped with a 2-in-1 splitter cable. Connect one splitter to any of “Video
In" interfaces, and another splitter to 4-in-1 splitter cable.
B. Connect the camera’s power supply to 4-in-1 splitter cable. Then plug the power adapter
into an electrical socket.
Step 5: Connect a router to the DVR at the rear panel using an Ethernet cable. (Network
interface is on the rear panel)
2.4 Soft Keyboard
Click the text input field would bring up the soft keyboard.
The buttons on the soft keyboard include:

10
Confirm selection.
Input space(s).
Delete the character in front of the cursor.
Change between uppercase and lowercase.
Change between uppercase and lowercase.
Others: Numbers, symbols, letters.
Chapter 3. Getting Started
Proper startup and shutdown procedures are vital to extend the life of DVR.
3.1 Start up DVR
After proper installation, plug the DVR power supply into an electrical outlet. Then the
power indicator light should be turned on red to indicate the DVR is starting up. There should
be a beep sound after the DVR is turned on. In the meantime, video output is set for multiple
screen mode by default.
3.2 Shut Down DVR
As shown below, there are two methods to shut down the DVR.
3.2.1 Standard Shutdown

11
Step 1: Right click on the preview screen.
Step 2: Click on “Logout”.
Step 3: Click the drop-down list and choose “Shutdown”.
Step 4: Click on “OK”.
3.2.2 Forced Shutdown
Cut out the DVR power directly. (It may cause data loss, please be cautious of using this
method.)
Remark: If there is an abnormal outage, the DVR would restore to its pre-status
automatically after powering on.
3.3 Reboot
Step 1: Right click on the preview screen.
Step 2: Click on “Logout”.
Step 3: Click the drop-down list and choose “Reboot”.
Step 4: Click on “OK”.
Chapter 4. Startup Wizard
By default, the Startup Wizard starts once the device has loaded. After proper installation,
power on the system, you will see a rainbow screen, wait until it shows Startup Wizard as the
image below.

12
Step 1: Enable Cloud Service, so the DVR can be remotely accessed.
Step 2: Turn on or off “Do not prompt anymore” according to your own needs.
Step 3: Click “Next Page”, scan QR code to download Lynkn Pro app on your Android or IOS
device.
Step 4: Click “Next Page”, open Lynkn Pro app on your device, and scan “Lynkn ID” to add
DVR to Lynkn Pro app.
Step 5: Click “OK”.
Remark:
1. Right click on the interface to skip this part if you don’t need to gain remote access at the
moment.
2. For future access, go to Main Menu->Startup Wizard.
Chapter 5. Login
System login is a must before operating the DVR since the system offers corresponding
function according to user’s purview. There are two user accounts by default. One is “admin”,
which is authorized for the super user. The other one is “guest”, which is authorized only for
preview and playback. Both of users have permission to change the password, but not
purview.

13
5.1 Login
No password has been set for both of the users. When the login interface shows up, choose
the User Name, leave the password field empty, then click “OK”.
5.2 Logout
Step 1: Right click on the preview screen.
Step 2: Click on “Logout”.
Step 3: Click on “OK”.
5.3 Account Lockout
Password protection: The DVR shall activate account lockout after inputting the wrong
password consecutively for 7 times (Unlock the account automatically after reboot or half an
hour).
Please change the User Name and password timely in “Account” field for safety. (To change
User Name and password, please refer to 7.6.3)
14
Chapter 6. Live View
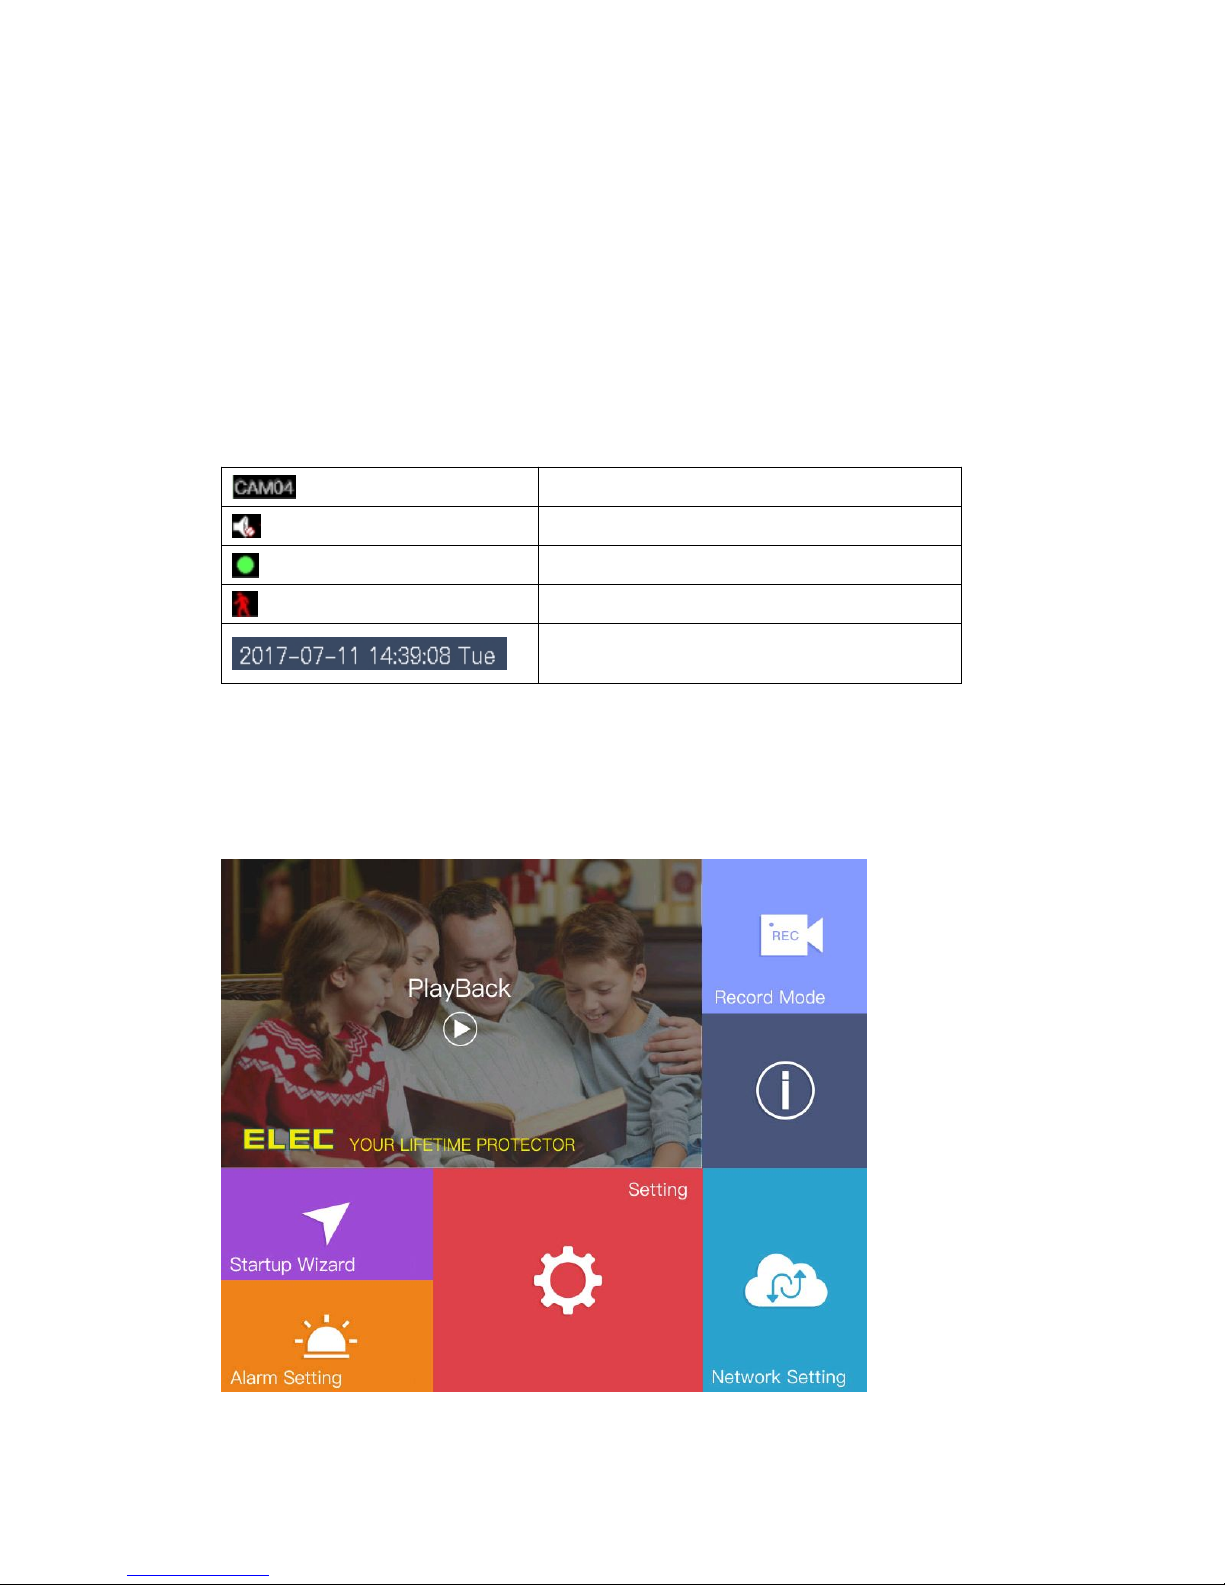
The DVR enters into multiple-screen preview mode automatically after login. On the preview
interface, it shall display date, time, channel title, recording and alarm status for each screen.
Under normal circumstance, it displays channel number, channel recording sign, channel
audio sign. A little red bouncing person will show up when an alarm of motion detection,
video blind, or video loss is triggered.
Channel title
Channel audio sign
Channel recording sign
Motion detection, video blind, video loss alarm
Date and time
Chapter 7. DVR Main Menu Guide

15
Right click on the preview screen, click on “Main Menu” to view different operations of ELEC
HL Series DVR. Check each operation below.
Remark:
1. If you need to exit from a certain page, just right click on the screen.
2. Please click “OK” after setting to save the configuration.
7.1 Playback
Path: Main Menu->Playback
In this field, you can search for records, play back records, etc.
7.1.1 Steps for Playback
Step 1: Right click on the preview screen. Go to Main Menu->Playback.
Step 2: Click “Read/Write” on the top corner.
Step 3: Search for the recorded video.
You can use the date, channel and record mode (All, Regular, Alarm, Manual) to filter the
recordings.
Step 4: Find the needed playback file and view it.
16
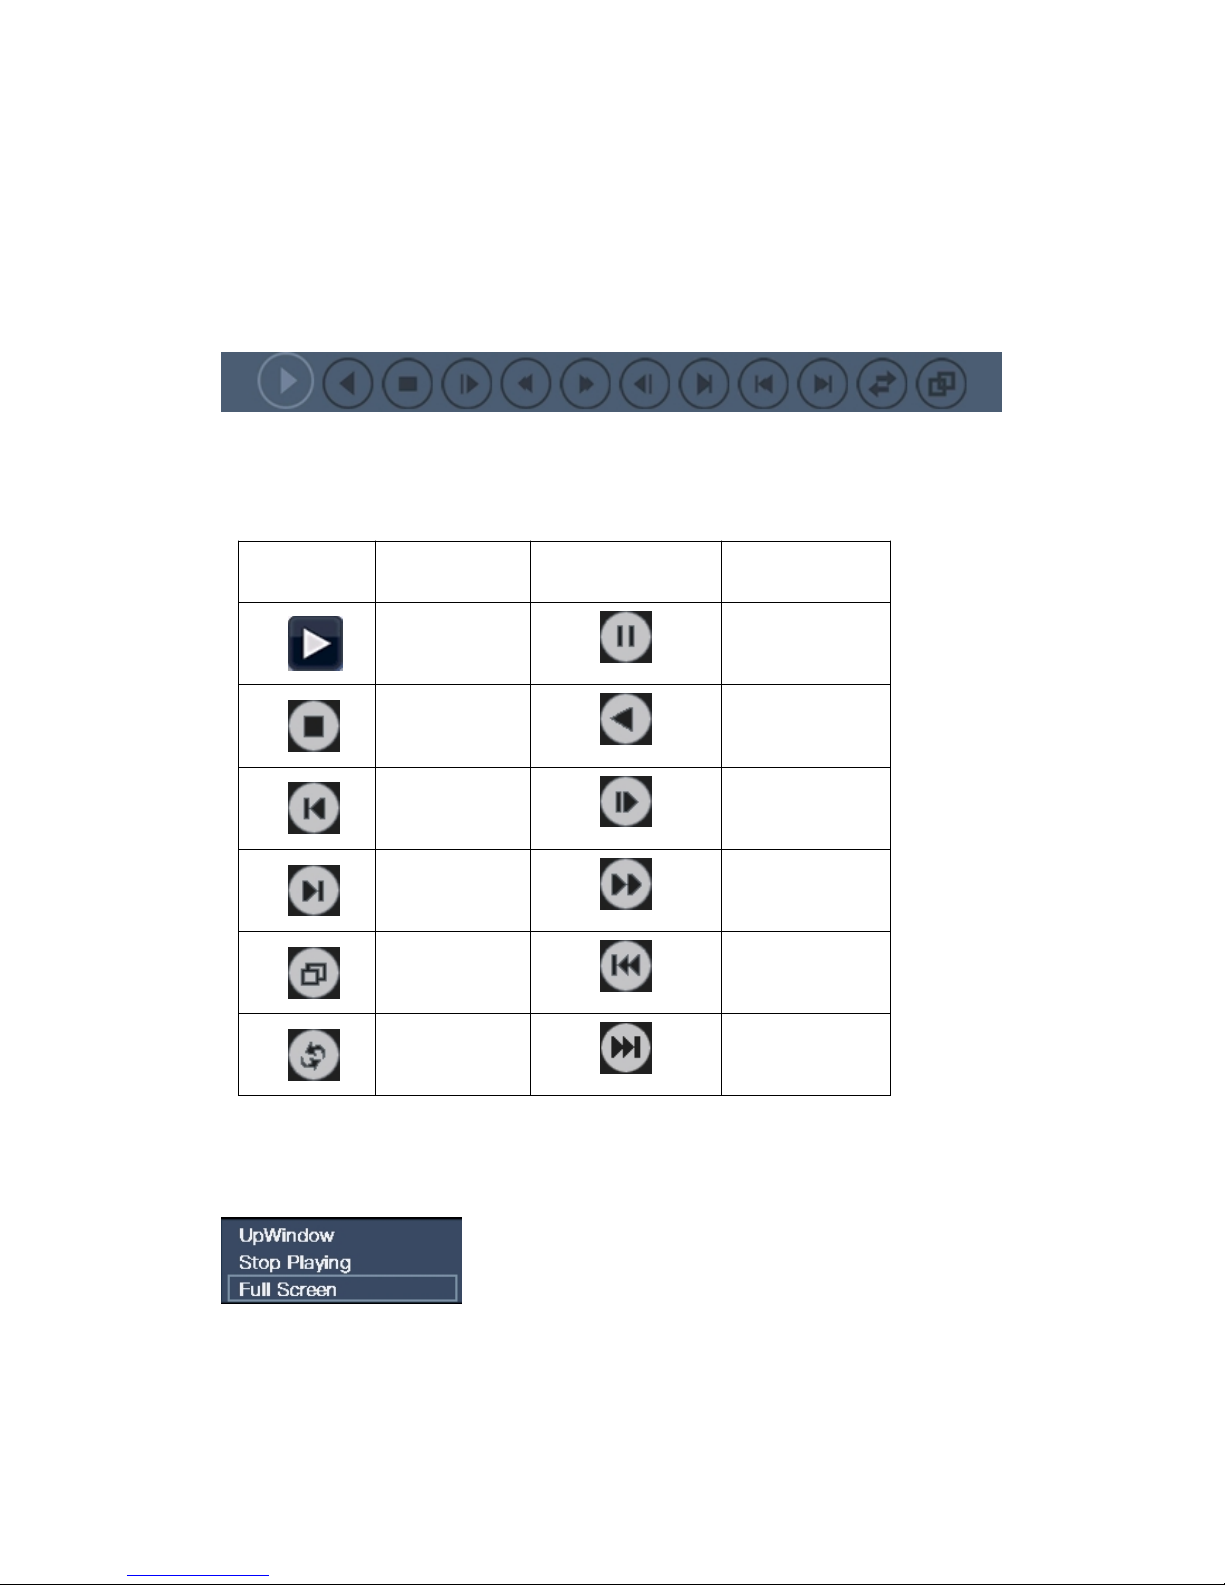
7.1.2 Playback Toolbar Introduction
Remark: “Previous Frame” and “Next Frame” are not available while playing back. However,
those buttons can be useful when playback is paused. Single frame playback and backspacing
every 2 seconds are supported.
The controls of the playback interface include:
Button
Function
Button
Function
Play
Pause
Stop
Play Backward
Previous Frame
Slow Playback
Next Frame
Fast Playback
Full Screen
Previous File
Repeat
Next File
Right click on the playback interface, the images would be shown as below.
● Tap “UpWindow” to back to the upper-level menu.
● Tap “Stop Playing” to terminate playback.
17
● Tap “Full Screen” to playback in full-screen mode
7.2 Record Mode
Path: Main Menu->Record Mode
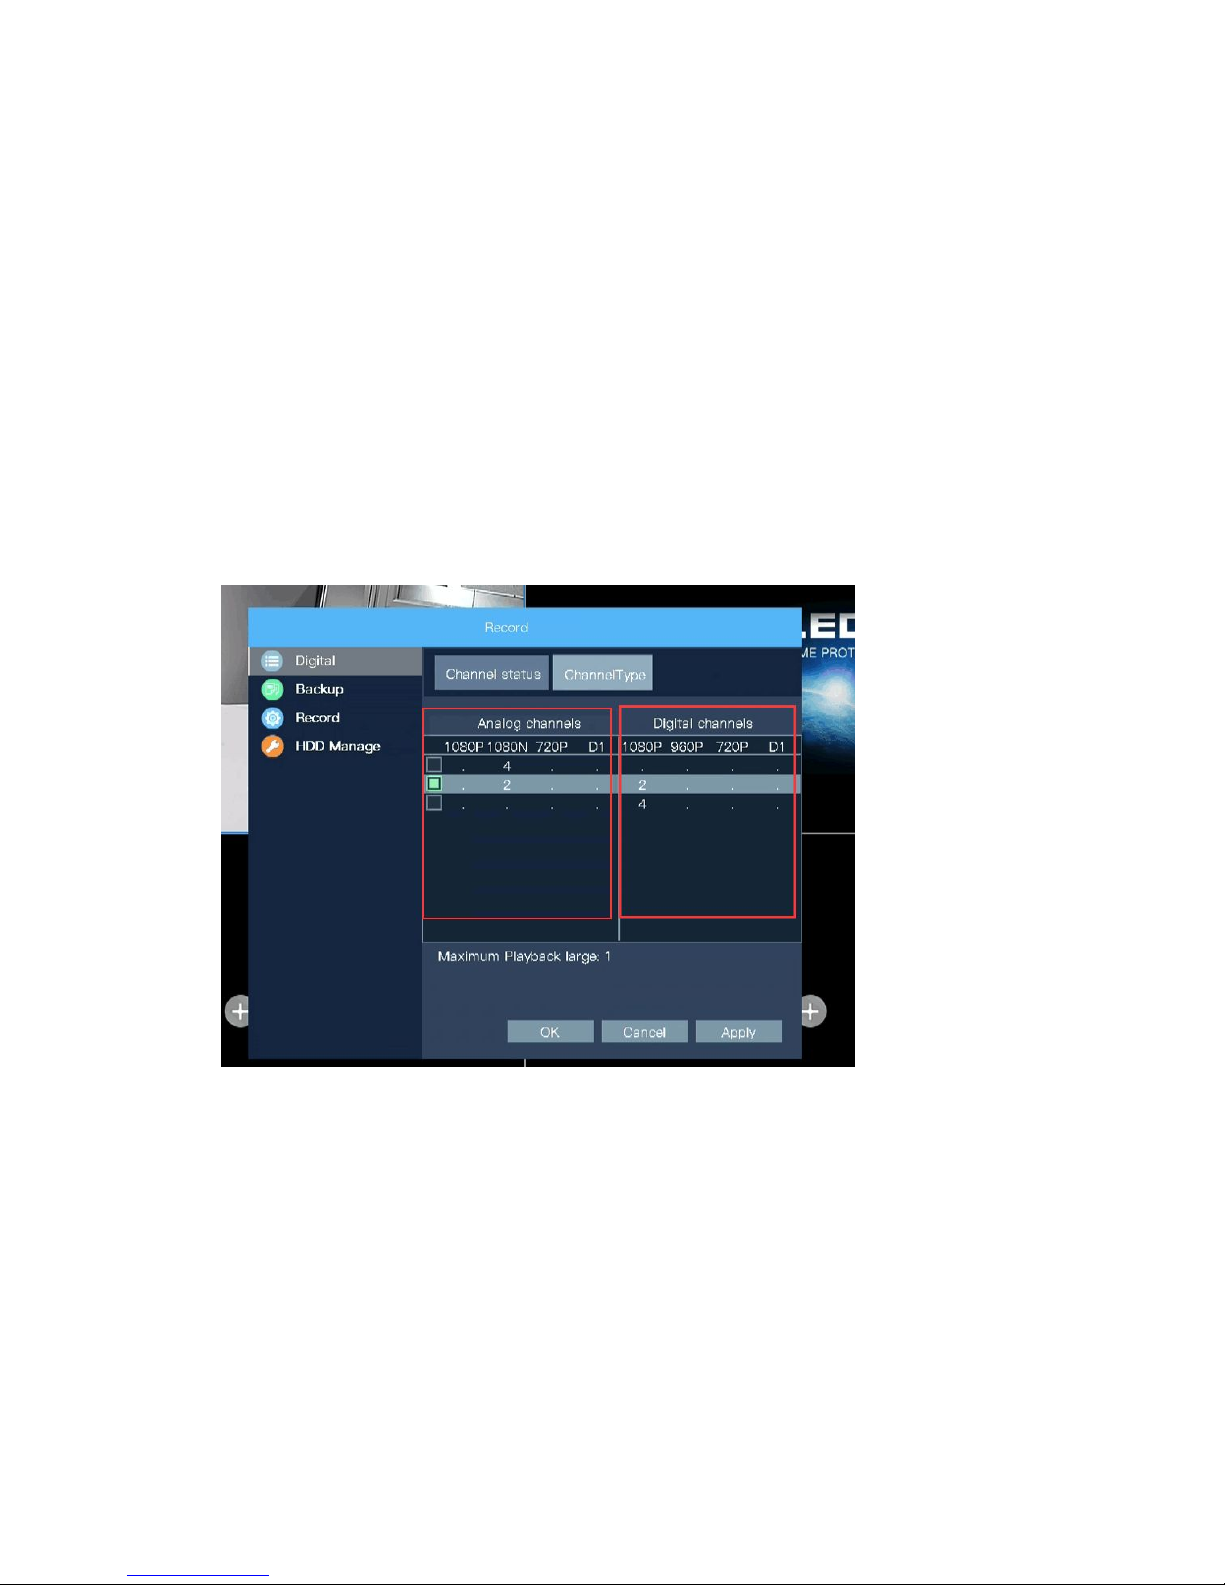
7.2.1 Digital
Path: Main Menu->Record Mode->Digital
In this field, channel status and channel type can be viewed or edited.
A. Channel Status: View each camera’s resolution, frame rate, connection status.
B. Channel Type: Switch between analog channels and digital channels.
7.2.2 Backup
Path: Main Menu->Record Mode->Backup
In this field, you can select desired records to backup.
Remark: Please make sure an external memory device, such as mobile hard disk and USB
burn, DVD-RW, is hooked up to DVR for backup. And there is enough storage on hard disk
drive for backup.
Step 1: Search for needed records.
 Loading...