

Page 1
English Version 1.0
Part No.24-004-2319-00
USER MANUAL
IMAGE PRO 300 II
Http: www.elationlighting.com
E-mail: support @ elationlighting.com
Model
Image Pro300 II
Order Code
26-007-0267-00
26-007-0268-00
Voltage
AC230V/240V
AC100V/120V
Image Pro 300 II & Standard Accessories
Request withFilm Series
Optional Accessories-FilmSeries
Optional Accessories-GOBOSeries
Optional Accessories-MirrorSeries
Optional Accessories-LENs Series
Order Code
Model
Descriptions
28-002-0249-00
26-020-0020-00
28-003-0069-00
26-007-0036-00
28-003-0066-00
28-003-0050-00
26-007-0035-00
ISP-F1
ISP-F1R
IP-F3-R
IP-2
ISP-RGW
ISP-FM
IP-3
Static slideholder
Rotating slidesuppor t
Manual ortimed tri-slide changer
Rotating goboholder
Rotating gobowheel
Manual fixedmirror
Motorized mirror
TYPE
(H)
(I)
(J)
Order Code
28-002-0651-00
28-003-0046-00
28-002-0650-00
Model
ISP-RM
ISP-RB
ISP-RP
Descriptions
Angel adjustablerotating mirror
Rotating multiplemirror effect
Rotating panoramiceffect prism
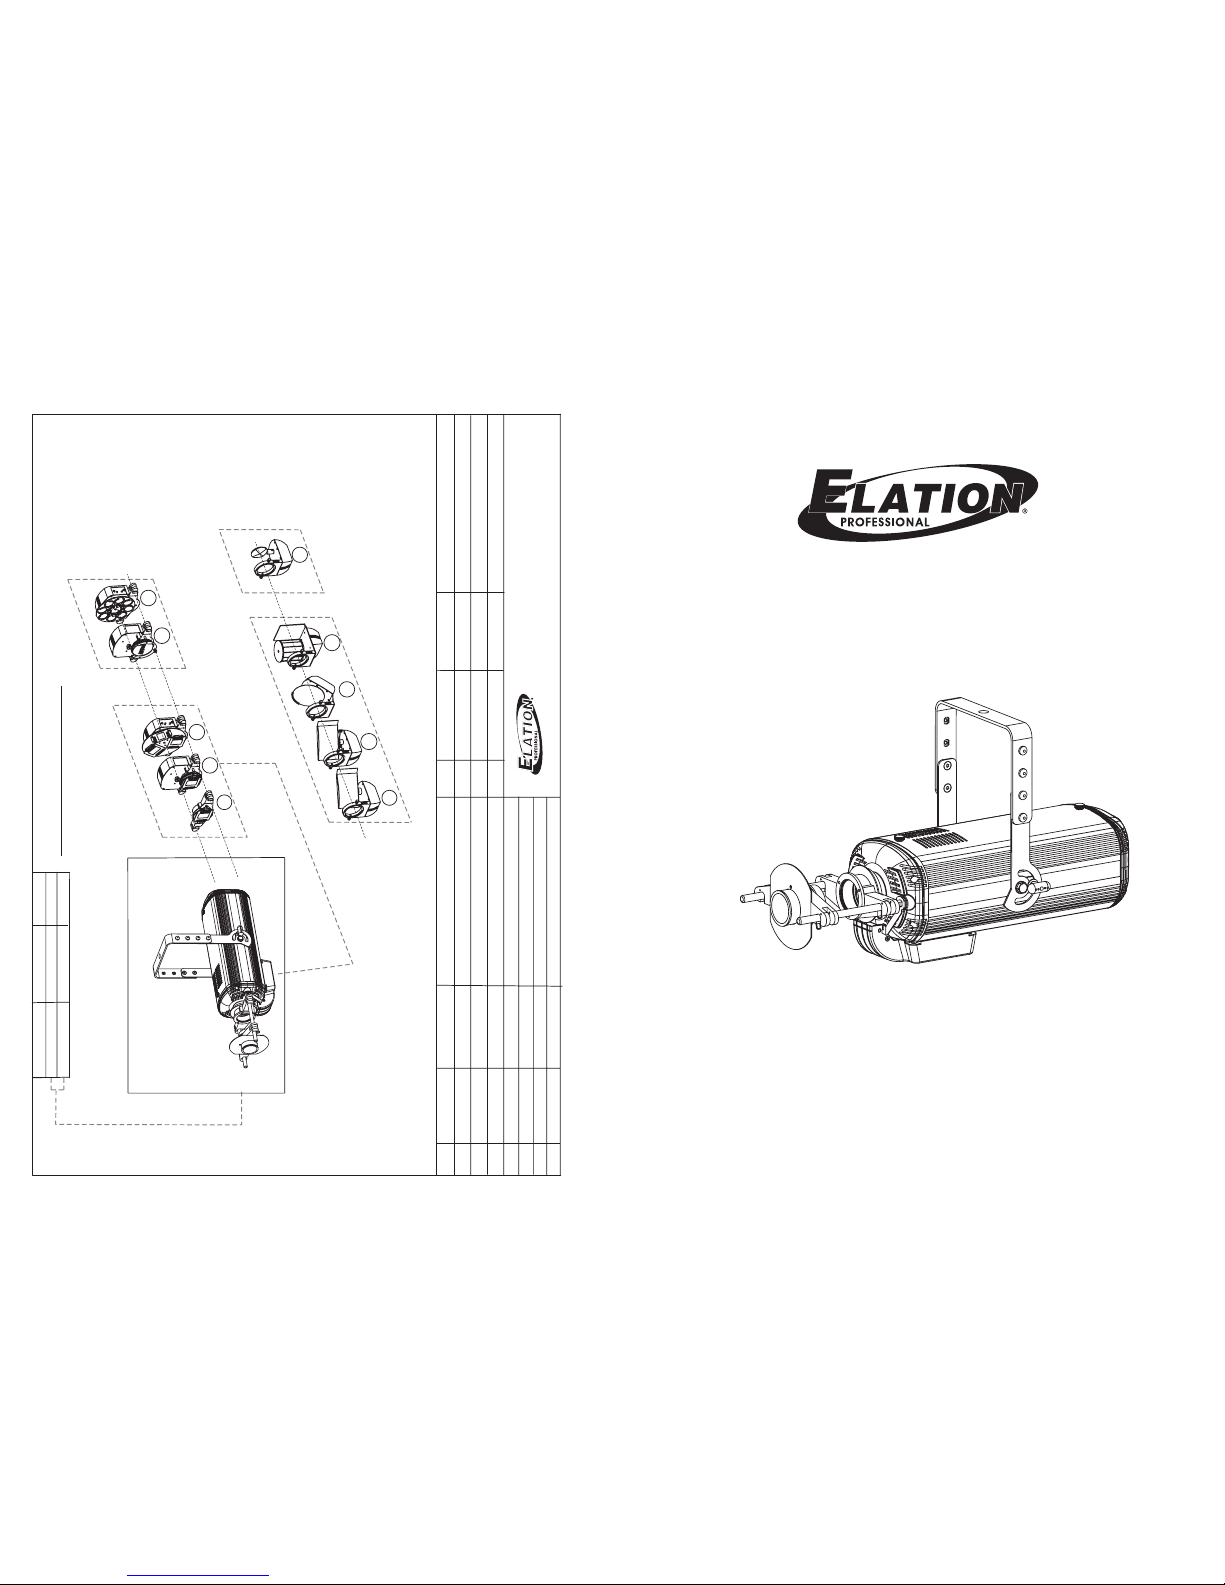
Image Pro 300 II
Appendix: Order Information
Image Pro300 II
A
C
D
E
B
F
G
H
I
J
TYPE
(A)
(B)
(C)
(D)
(E)
(F)
(G)
-11-
Page 2
Contents
Welcome......................................................................................2
General Information.....................................................................3
Prepare before operation.............................................................4
Lamp replacement.......................................................................5
Fuse replacement........................................................................7
Operation Guide..........................................................................7
Optional accessories & effects...............................................7/8/9
Fixed gobo holder & Metal gobos................................................9
Fixed lens holder & Single/Multi-element lens...........................10
Technical specifications..............................................................10
Appendix:Order Information........................................................11
unpacking................................................................................2
customer support....................................................................2
safety issues...........................................................................2
About our Image Pro 300 II.....................................................3
Main Features.........................................................................3
Safety Instructions..................................................................4
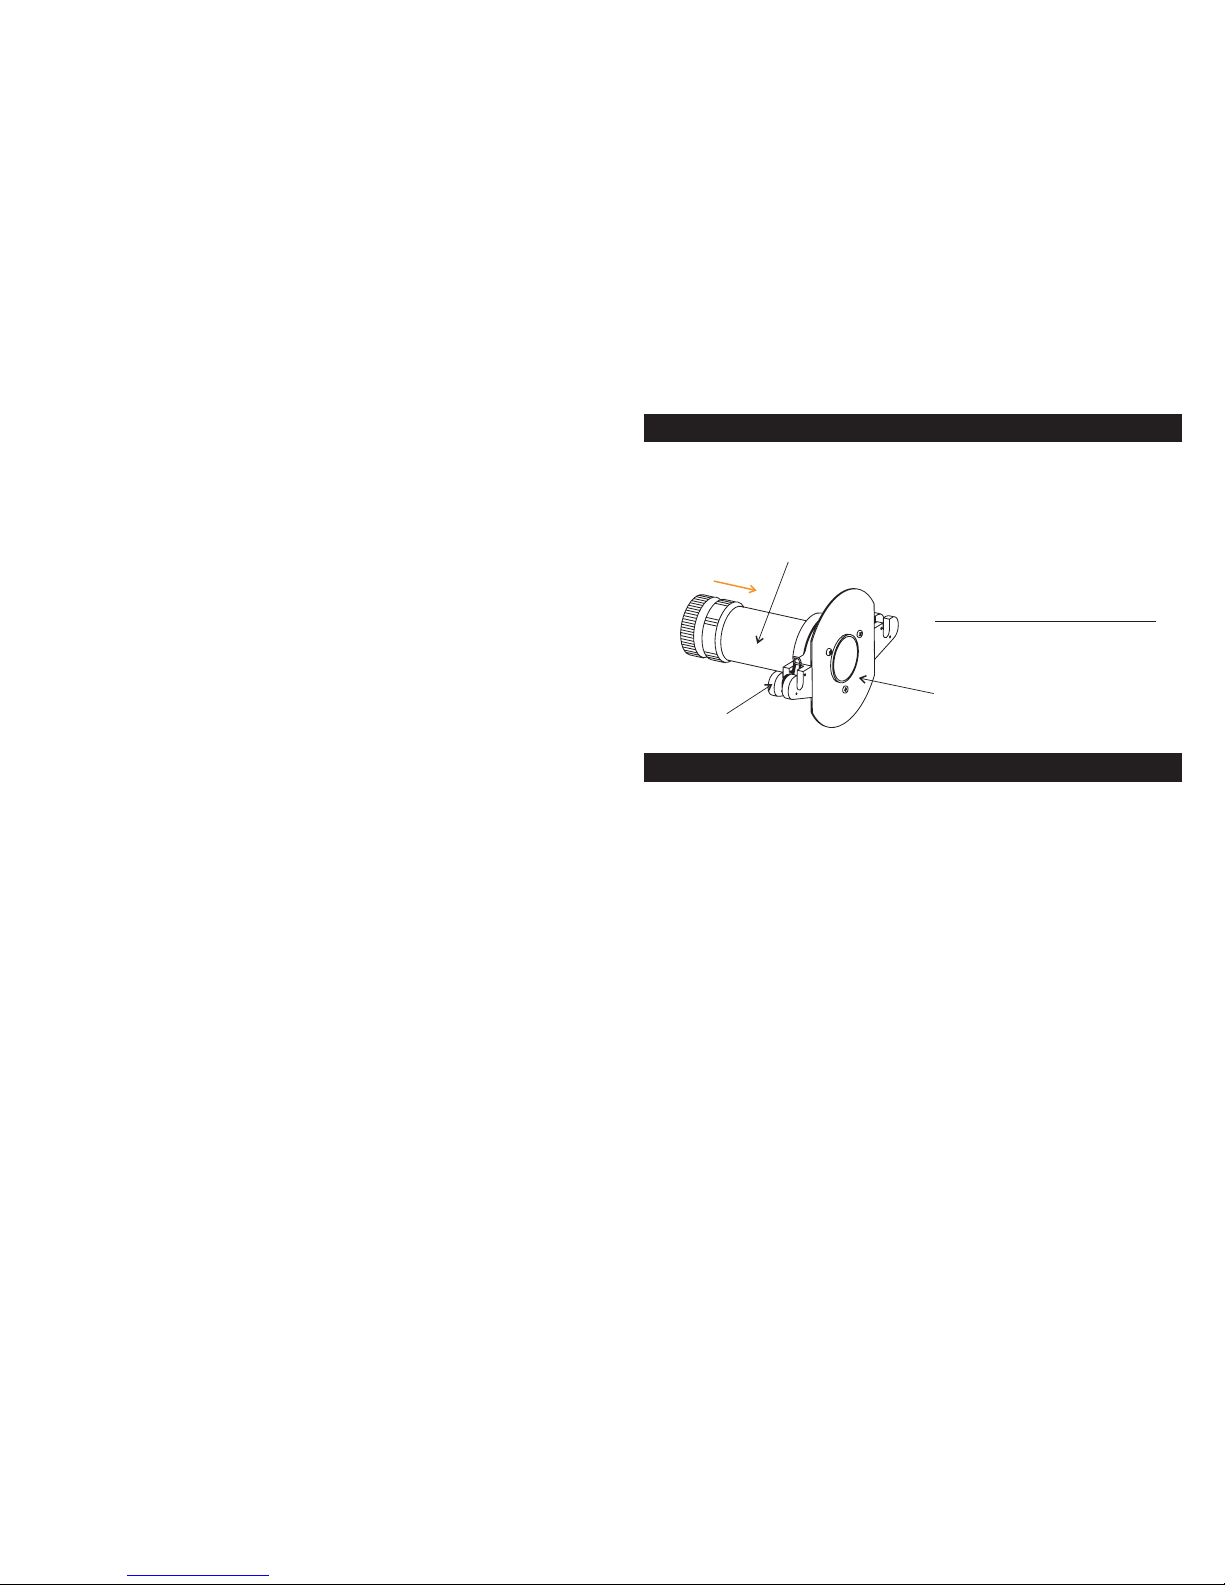
Fixed Lens Holder & Single/Multi-elements Lens
-10-
Technical Specifications
Overall Size:
Weight(Approx):
Lamp Type:
Mains Supply:
Power Consumption:
Fuse(Slow acting)
Cooling:
Optional Accessories:
(Included)
555x240x262mm
10.5Kg
HTI 300W/DEL lamp 85V/300W, 750hours
AC 100/120V~50/60Hz
450 Watts maximum
T6.3A 250V 5x20mm
Forced air with axial fan
One fixed gobo holder + 6 metal gobos
One fixed lens holder
1:2.4/100mm single-element lens
*******
All rights reserved! Improvement and changes to specifications, design and
this user's manual, may be made at any time without prior notice.
The Image Pro 300 II supplies the Lens Hoder as standard equipment together
with the chosen lens and on which mirror accessories can be mounted; by
positioning the support correctly on the guides, the projected image can be
focused perfectly.
Single/Multi-element lens
mounting
supporting plate
Support lens and effects, standard
Page 3

Thank you for purchasing the Elation Professional Image Pro 300 II. To optimize
the performance of this product, please read these operating instructions
carefully to familiarize yourself withthe basic operations ofthis unit.
Welcome
Warning!
Caution!
To prevent or reduce the risk of electrical shock or fire, do not expose this unit
to rain or moisture.
There are no user serviceable parts inside this unit. Do not attempt any repairs
yourself, doing so will void your manufactures warranty. In the unlikely event
your unit may require service please contact Elation Professional.
This unit may blow a fuse if the maximum allotted channel load of 6.3 amps is
reached. If any of the fuses need replacement, always replace the fuse with the
same exact type that was removed, unless otherwise instructed by an
authorized Elation Professional service technician. Use of a different type fuse
from that which is recommended may cause fire or electric shock and will void
the manufactures warranty.
Safety Issues:
Customer Support:
Unpacking:
Every Image Pro 300 II has been thoroughly tested and has been shipped in
perfect operating condition. Carefully check the shipping carton for damage that
may have occurred during shipping. If the carton appears to be damaged,
carefully inspect your fixture for any damage and be sure all equipment
necessary to operate the unit has arrived intact. In the event damage has been
found or parts are missing, contact technical support for further instructions. Do
not return the unit toyour dealer without contactingtechnical support first.
Service Hours are Monday through Friday 9:00 a.m. to 5:00 p.m.
Pacific Standard Time.
Voice: (323) 582-3322
Fax: (323) 582-3108
E-mail: support@elationlighting.com
Elation Professionalprovides acustomer supportline, toprovide setup helpand
to answer any question should you encounter problems during your set up or
initial operation. You may also visit us on the web at www.elationlighting.com for
any comments or suggestions.
-2-
Optional Accessories & Effects
-9-
Fixed Gobo Holder & 6 Metal Gobos
The Image Pro 300 II comes with a fixed gobo holder and 6 metal gobos. These
6 metal gobos are illustrated as follows:
(Dia. 51.5 mm)
fixing plate
supporting plate
metal gobo
mounting
Gobo pattern & Image
The mirror image on the wall, floor etc. is subject to the gobo pattern.
Please note the gobo pattern should be inverted so that the image can be
acceptable.
Support gobos and color filters
IP-F3-R
ISP-RGW
Rotating gobo
wheel as a
manual or
timed gobo
changer
Manual or
timed slide
changer
Page 4
General Information
Main Features:
Light has always been an effective advertising tool. Think of illuminated or neon
signs with brightly colored flashing lights blazing a massage across the nigh sky.
Light can indicate, define, emphasize, characterize and enhance any subject.
Image Pro 300 II is a range of well-designed imageprojection tools using light to
get your message across.
Image Pro 300 II projectors are designed and built to communicate, drawing
attention to a trade mark. a message, sign, event, sale offer, product and any
other subject or feature. All models are compact, easy to use and entertaining.
And they all leave stacks of space for the user's creativity. A wide range of
different effects are available. You can be sure to find a combination which is
ideal for your needs whatevermarket you are targeting.
Image Pro 300 II isa modularsystem specifically designed to project slides.This
projector uses an HTI 300 or long life HMD 300(750 hours) arc lamp and is
equipped with a pair of electrified guides and lens holder and Gobo holder that
can carry any of the optional lens units and a selection of the range of optional
static or motorized accessories in the Image Pro 300 II, together with a special
zoom lens and various dedicated static or motorized accessories. The effects
can be static and dynamic for fixed presentations. The Image Pro 300 II is
equipped with filters and additional systems to prevent the slides from
overheating.
A typical use of theImage Pro300 II projector is for attracting attention outdoors,
signature of areas and services, enhancing the general lighting system,
displaying a special product, commercial promotion, promoting a brandname or
logo, contract advertising and unlimitedversatility.
About our Image Pro 300 II
-3-
!
!
!
!
!
!
300 Watt HTI 300 metal halide lamp
Support for lens and effects, standard
Standard lens (1:2.4 / 100 mm)
Two electrified guides
Two bakelite screws to fix the bracket
One fixed gobo holder + 6 metal gobos
! 1.5 m 3-pin U.K. plug mains cable with female IEC plug(100-120V)
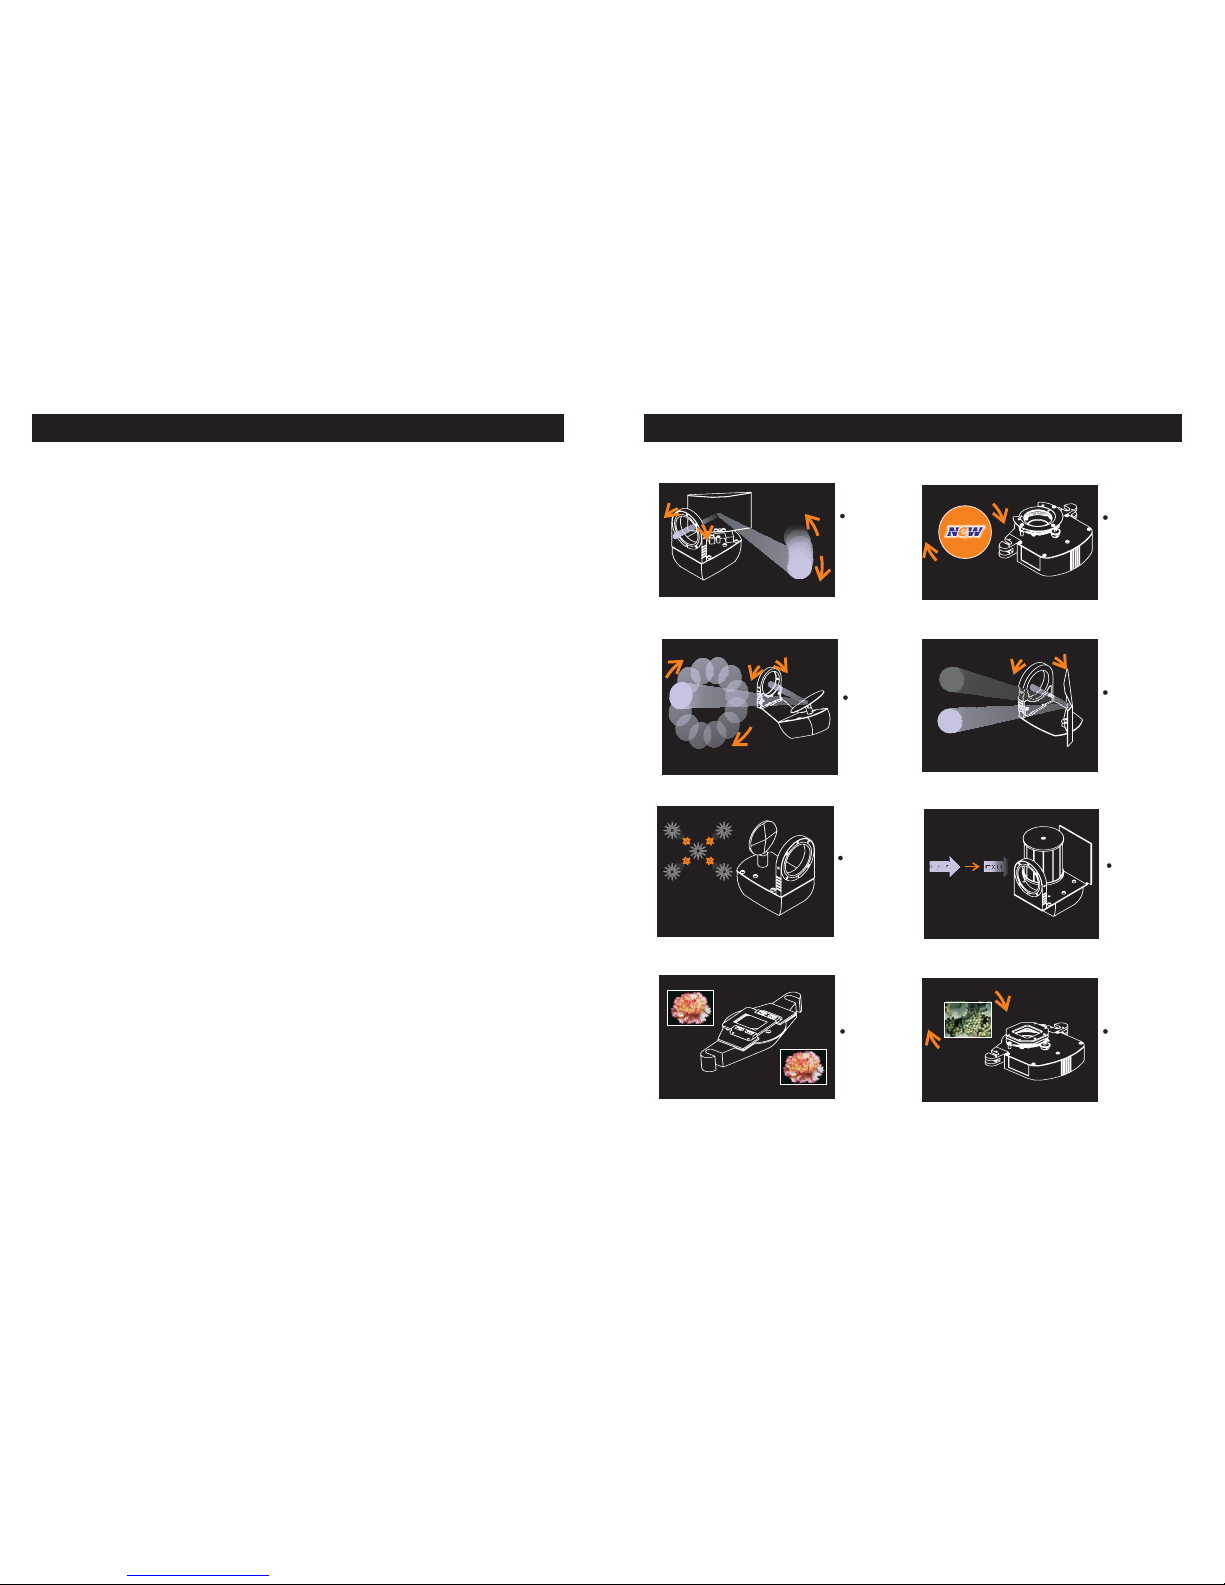
Optional Accessories & Effects
-8-
IP-3
IP-2
Adjustable
pivoting
mirror
(not included)
Rotating/
Static
gobo
holder
(not included)
ISP-FM
Manually
adjustable
mirror
(not included)
ISP-RB
ISP-RM
Adjustable
angle rotating
mirror
(not included)
Continuous
rotation
multiple
mirror
(not included)
ISP-RP
Rotating
panoramic
effect
prism
(not included)
ISP-F1
Static slide
support
(not included)
ISP-F1R
Rotating
Slide
(not included)
Page 5

General Information
[
[
[
[
[
[
[
[
[
[
[
[
[
This product must be earthed.
Do not make any inflammable liquids, water or metal objects enter this
unit.
Very hot lamp. Disconnect the power and wait for at least 10 minutes
before you can replace the lamp.
Make sure the fan and the air inlets are clean and not blocked by
anything before using.
Do not operate this unit if the ambient temperature(Ta) exceeds 40 C
(104 F).
Do not stare directly into the light, as may do harm to your eyes.
Keep all flammable materials at least 1 meter away from this unit.
Never operate this unit when its cover is removed.
Keep this unit out of children.
Do not dismantle or modify the unit.
Unplug the fixture from the AC outlet and allow the fixture to cool
before any service.
The installation should be done by qualified staff only.
Safety Instructions:
Read users manual before use.Never look directly intothe light source.
Caution:
During the operation the housing becomes very hot!
Before opening the housing disconnect from mains! Keep away from rain
and moisture! "Disconnect from mains before replacingthe lamp. CAUTION-Hot
Lamp."
-4-
Operation Guide
This is a High-Tech product. When you are sure you have set up this unit
properly, you can operate this unit freely.
1. Always be sure to mount this unit in the area that will allow proper
ventilation.
2. Check that the local power outlet match that of the required
voltage of your unit.
3. Plug this unit into the AC power outlet, turn the switch on.
4. The lamp will be lit and the cooling fan will start immediately.
Important!
Never disconnect or reconnect the power frequently during operation, this will
shorten the lamp life.
Wait at least 10 minutes to cool down the lamp completely before restarting this
unit. (the warm lamp will cause the igniter holding the lamp in a glow state.)
1. Disconnect the fixture from power.
2. With a flat screwdriver wedge the fuse holder out of its housing.
3. Remove the old fuse from the holder and replace with the exact same type
fuse.
4. Replace the fuse holder in to the fuse holder housing.
5. Reconnect main power.
Fuse Replacement
-7-
Optional Accessories & Effects
A pair of low voltage electrified guides(24V) with short-circuit protection are
equipped with this fixture to accept the user's choice of lens unit and optional
accessories for different effects and various combinations. The effects can be
either static or motorized forstationary and moving images.
Simple-This spot is compact, easy to use and entertaining, and the electrified
guides makes it extraordinarily simple to mount the effects system.
Safe-The low voltage used for the effects eliminates the risk of electric shock.
Forced cooling design reduces operating and surface temperature.
Styling-The spot is elegantly styled, fit in anywhere and runs quietly over long
periods with low operating costs.
Page 6

Preparations before operation
Warning!
The installation should be done by qualified staff only.
1. Unpack the shipping container carefully, assemble the accessories
to fit in their right positions for proper attachment.
2. This unit can be hung or placed in any safe, secure surface by means
of its adjustable mounting bracket.
3. When you are sure this unit is ready for operation, plug this unit into
the appropriate AC outlet.
First time setup
Lens Focusing
1. Hang the fixture in your final desired position.
2. Loosen the thumb screw fitted in the lens support that hold the lens
in place.
3. Adjust the lens by turning it in a clockwise or counter-clockwise
direction until you reach proper focus.
4. Tighten the thumb screw after you achieve your desired focus.
Cleaning
1. Disconnect the fixture from AC power and allow the fixture to cool
down completely.
2. Use normal glass cleaner and a soft cloth to wipe down the outside
casing and external lens.
3. Use only soft cloth to clean the internal optics.
4. Always be sure to dry all parts completely before plugging in.
Secure the Image Pro 300 II. Regardless of the rigging of the Image Pro 300 II,
you have to use a safety wire to fix your fixture. Therefore you have to thread to
safety wirethrough one provided holes on the yoke and connect it with the truss
for tree mounting application. Payattention to a safeand proper fastening.
Securing the Image Pro 300 II
Caution:
Install a safety chain/cord that can hold at least10 timesthe weight of the fixture.
Never use the carrying handlesfor attachment.
-5-
Lamp Replacement
Metal Halide Lamp Warning!
This fixture is fitted with a metal halide lamp which is highly susceptible to
damage if improperly handled. Do not touch the bulb of the lamp with bare
fingers(this can cause damages). The lamp contains small quantities of
materials that will be harmful to the environment, please dispose of the
damaged lamp properly.
To replace the lamp
1. Disconnect the fixture from power and allow the lamp to cool.
2. Loosen the two knurled screws and remove the top cover.
3. Loosen the 2 thump screws from the lamp socket.
4. Gently take the old lamp out.
5. Replace the new lamp and refit the 2 thumb screws.
6. Put in the new lamp securely into the socket. Please note the protuberance
of bulb shall be upward orientation to obtain equal intensity distribution
(see figure).
7. Tighten the 2 thumb screws and reassemble in reverse order.
Upright upward
Remember: Do not touch the lamp with your bare fingers.
-6-
 Loading...