

Elation elar expar, elar exflood User Instructions
Elation® Architectural User Instructions
©
Elation Architectural
Junostraat 2, 6468EW Kerkrade
The Netherlands
www.americandj.eu
info@americandj.eu
®
Elation® Architectural Instructions
Thank you for purchasing this Elation® Architectural product. Please read the user
instructions before operating Elation® Architectural xtures. This manual covers
other Elation® Architectural fixtures
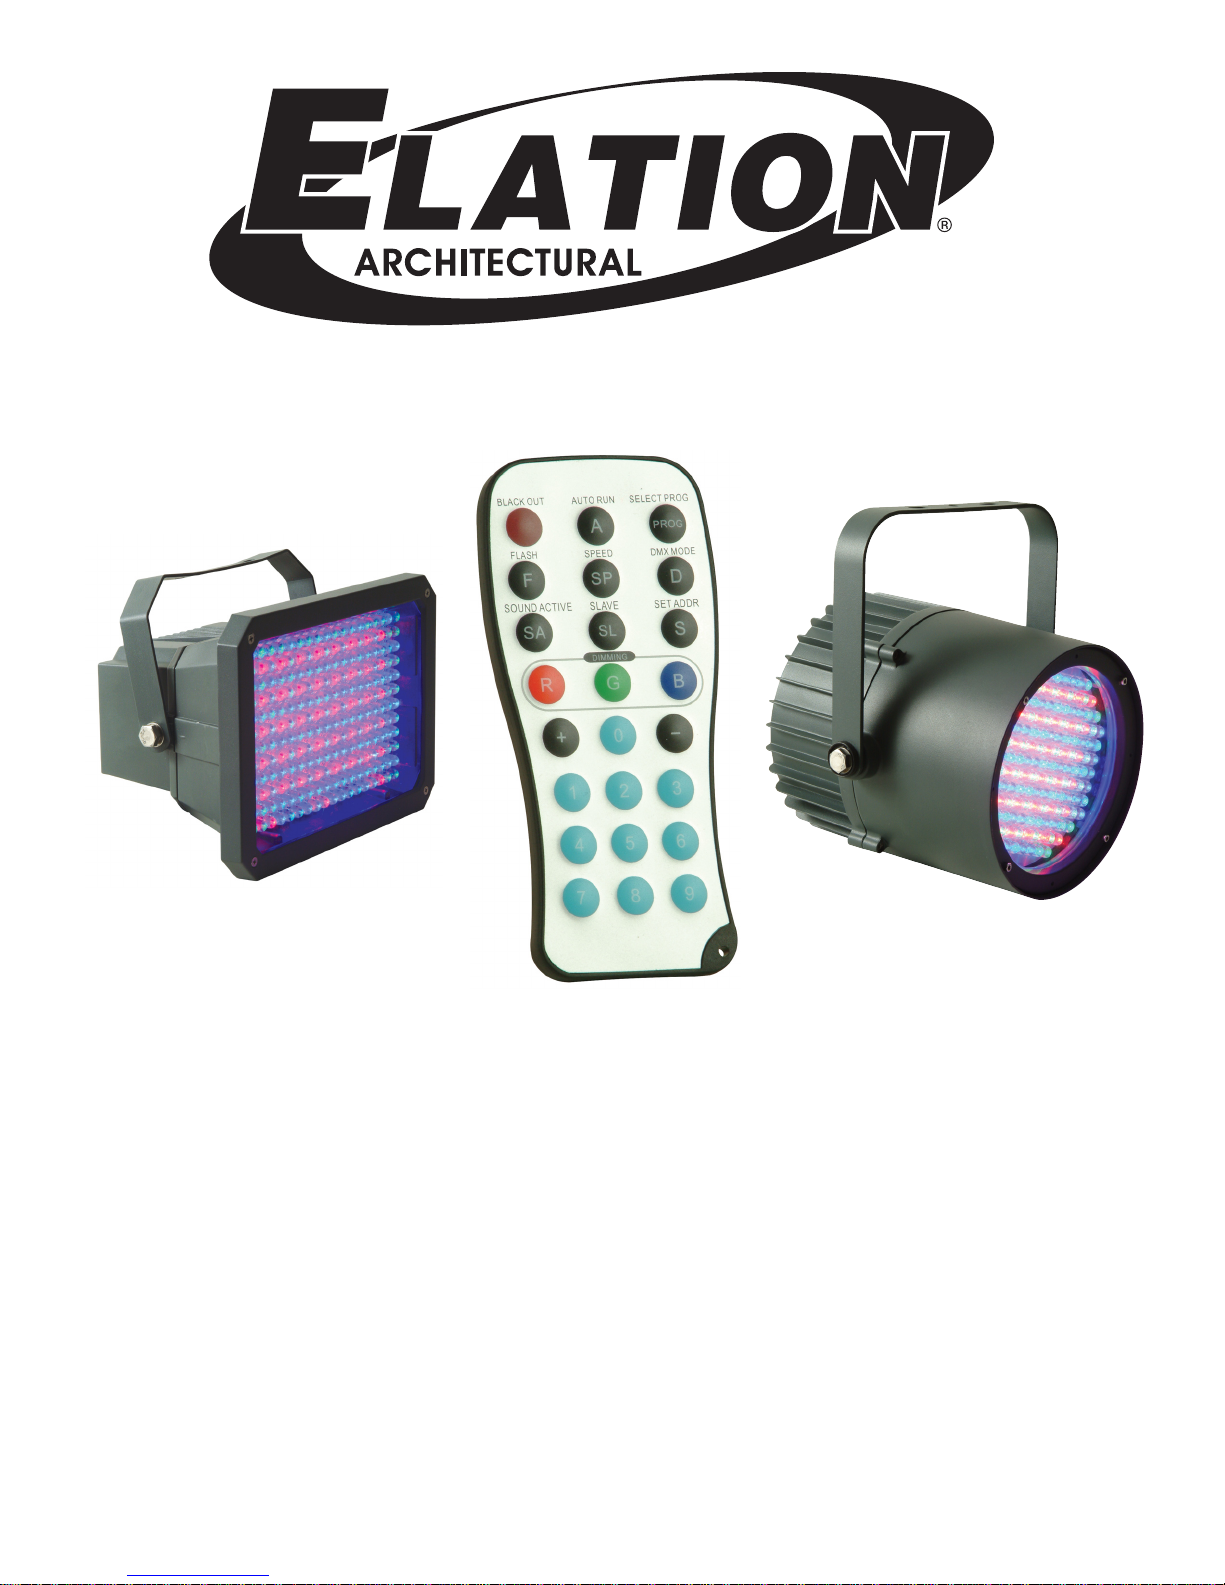
The ELAR WR IR translater has many differnet functions and gives you complete control of your
Elation® Architectural fixtures. Please see the next pages for Elation® Architectural xtures.
To control the your desired fixture you must aim the controller at the front of the fixture and be no
more the 30 feet away. Note: The IR Remote cannot be used when the fixtures are connected to a
DMX controller.
BLACKOUT - Pressing this button will blackout the fixture.
AUTO RUN - This button will run an automatic program. You can control the speed of the Auto
Run by pressing the SPEED button first and then pressing the “+” and “-” buttons.
PROGRAM SELECTION - This button will let you access one of the seven static color selections.
Pressing this button and then press the “+” or “-” to navigate through
the seven programs.
FLASH - This button will activate the strobe effect. You can control the flash rate by pressing the
“+” and “-” buttons. Press this button again to exit strobe mode.
SPEED - Press this button and use the “+” & “-” buttons to adjust the speed of the Auto run.
DMX MODE - This button will let you select which DMX mode you want to use. Some fixtures will
come with different DMX channel modes. This button will switch between the diff erent modes. Please see your corresponding fixture in this user manual to find out
about your DMX modes, values, and traits.
SOUND ACTIVE - This button activates sound active mode. Sound active mode will not work for
outdoor LED lights.
SLAVE - This designates the fixture as a slave fixture in a master/slave configuration.
SET ADDRESS - Press this button to set the DMX address. Press this button first, then press the
numbers to set the address. Example: DMX Address 1 Press “S”+“0”+“0”+“1”
DMX Address 245 Press “S”+”2”+”4”+”5”
R G B - Press either one of these buttons, and then press the “+” and “-” to adjust the brighness.
“+” and “-” - Use these buttons to adjust the flash rate, speed of the Auto Run, dimming, and pro gram selection.
DMX Control:
Operating through an Elation® DMX controller give the user the freedom to create their own programs tailored to their own individual needs.
1. Before connecting to an Elation® DMX controller, your fixture has different DMX channel modes,
please select your desired mode by using the DMX Mode button. There are two DMX modes,
a 3 Channel mode and a 5 Channel mode. If green LED’s flash you are in 3 Channel mode, if
blue LED’s flash you are in 5 Channel mode. Set the mode before you address the fixture. After
you have selected your mode, set the DMX address for the fixture by pressing the “S” button.
Next, using the number buttons, press in your desired address. See SET ADDRESS above for
examples.
2. Now you may conncet the fixture via the XLR connections to any standard Elation® DMX control ler. Please see your corresponding fixture in this user manual to find out about your DMX modes,
values, and traits.
Note: Do not connect to DMX unless you use the defaut start address of 1.
Elation® Architectural - www.elationlighting.com - Instruction Manual Page 2
 Loading...