

Page 1
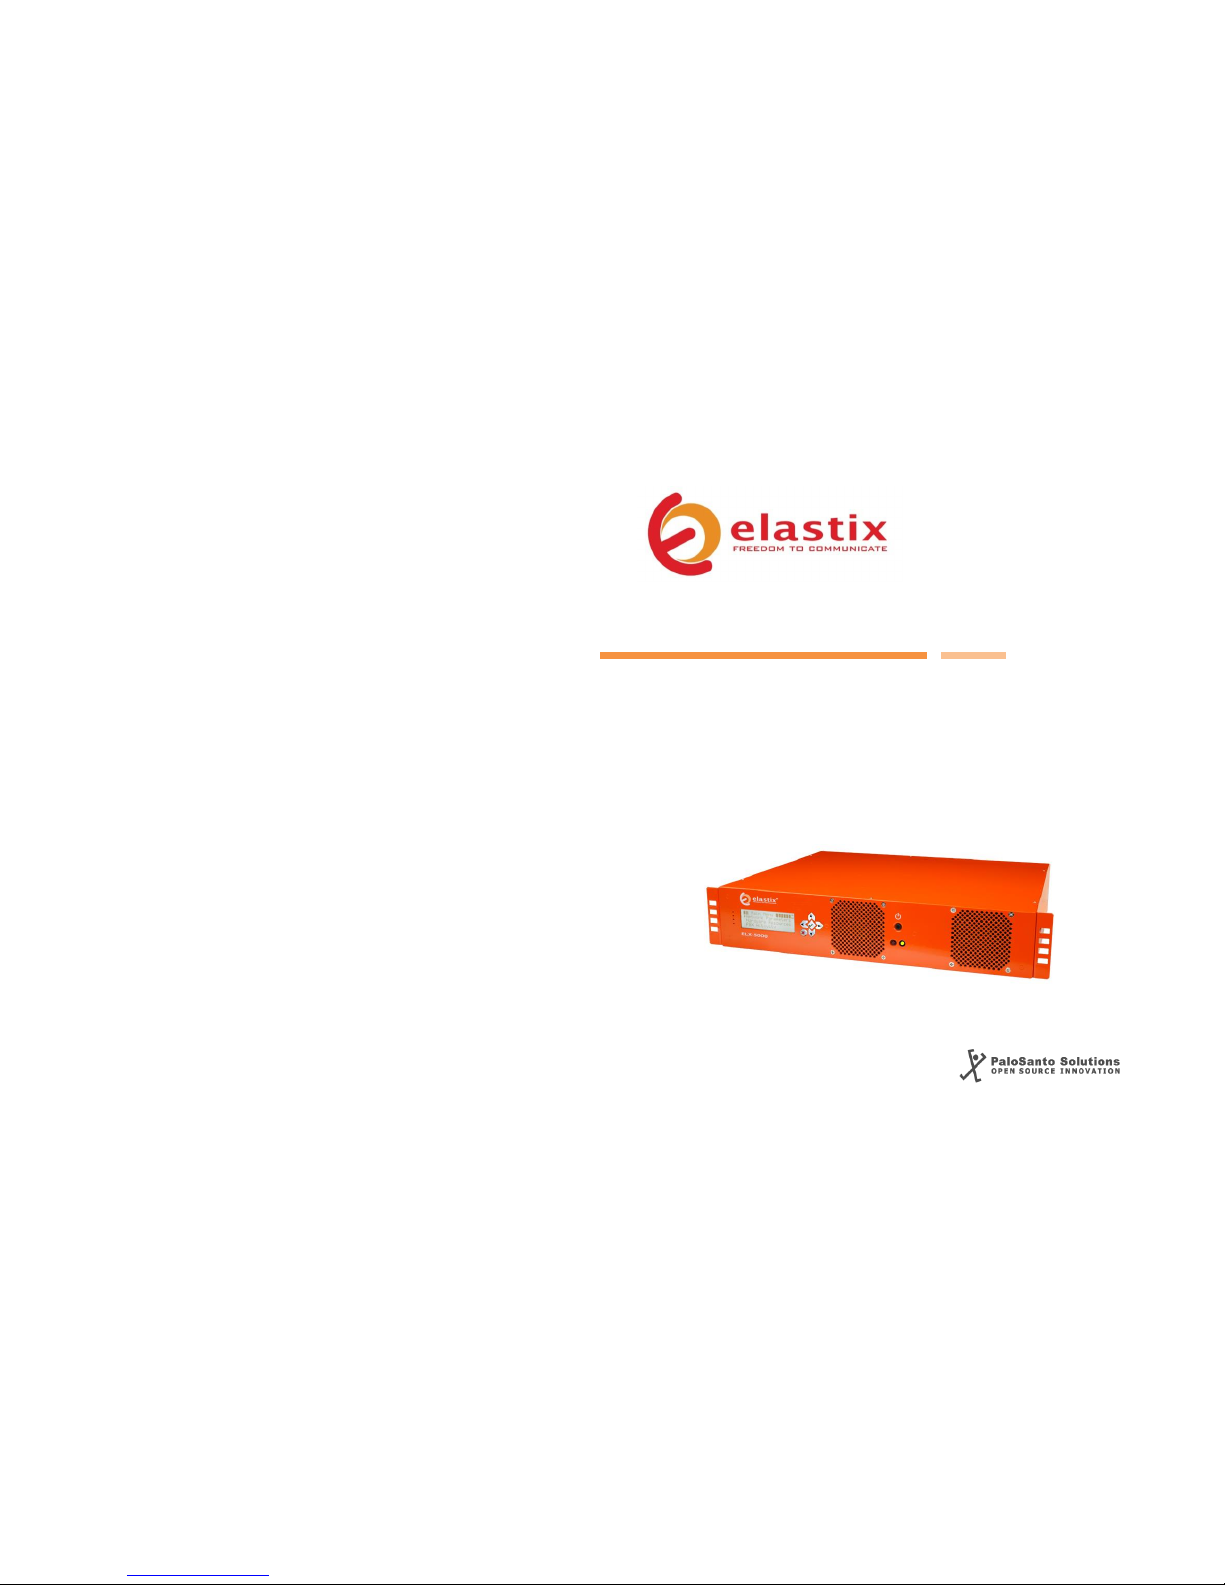
Quick Start Guide V.02.10
ELX5000 APPLIANCE
Unified Communications Server
Page 2
Quick Start Guide
2
Quick Start Guide
3
Introduction
The Elastix ELX5000 appliance puts at your fingertips all the tools you need to
handle your communications requirements: from telephony, to email, fax, IM,
and more. Information related to the Elastix software and updates can be found
at www.elastix.com
This guide
This guide offers important information about the ELX5000, including technical
specifications and steps to getting started using your new appliance.
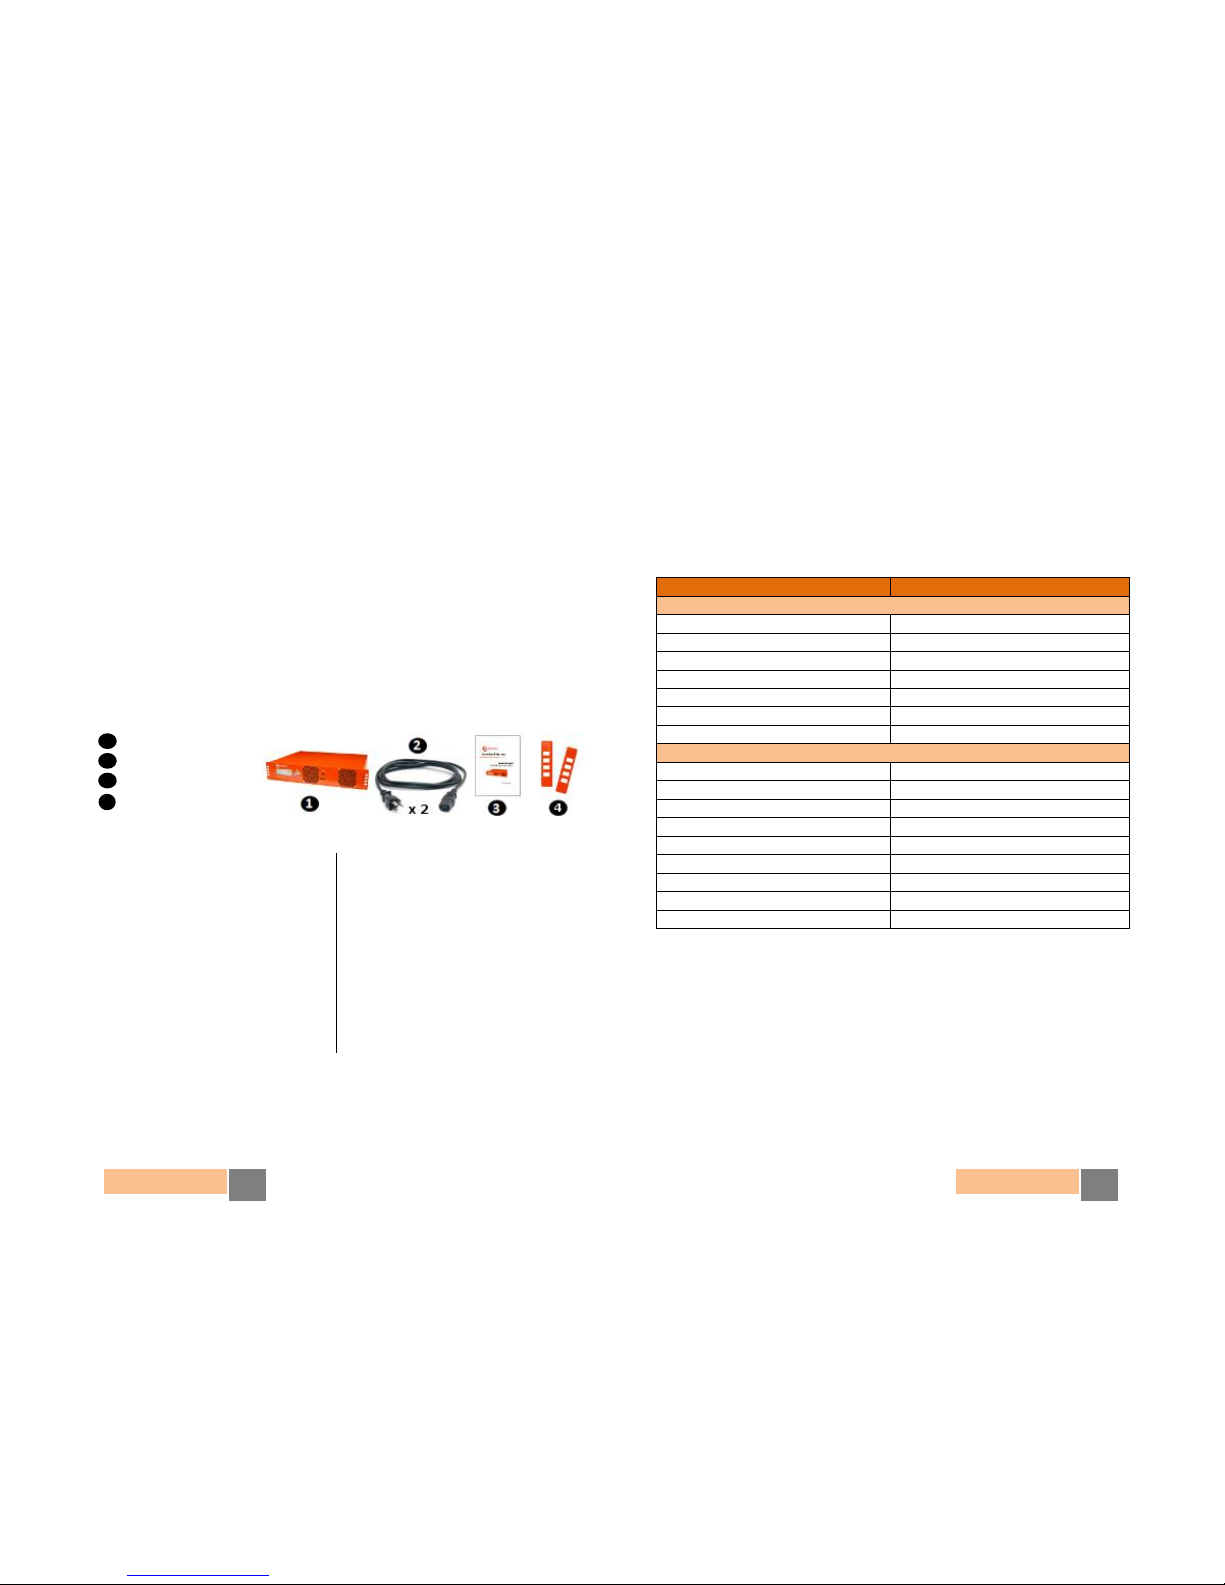
Package contents
1 Appliance
2 2 Power cords
3 Quick Start Guide
4 Rack-mounting ears
Technical Specifications
*: Represents an estimate in a basic scenario. For more information visit http://elx.ec/benchmark
Default Settings
Table 1 below lists the default configurations each ELX5000 comes pre-installed
with.
PARAMETER
VALUE
Networking
Hostname
elx.localdomain.com
Primary DNS
192.168.1.1
eth0 (static)
IP Address
192.168.1.251
Netmask
255.255.255.0
Gateway
192.168.1.1
eth1 (DHCP)
Log In credentials
Admin Interface (webUI)
Username
admin
Password
palosanto
Linux console
Username
root
Password
palosanto
MySQL Username
root
Password
palosanto
Table 1. ELX5000 Appliance Default Settings
Physical
• Height 3.50" (89 mm) – 2U
• Width 17.20" (437 mm)
• Depth 19.09" (485 mm)
• Weight 9 Kg (19.84 lb)
Hardware
• CPU 2.2 GHz Quad Core
• RAM 4 GB
• Hard Drive 2 x 500 GB
• Network Interface 2 x Gigabit Ethernet
• USB Ports 4 (back)
• Other ports Serial Console, VGA
Software
• Operating System Elastix (64 bits)
Telephony
• Analog Ports Customizable: up to 72 *
• Digital Ports Customizable: up to
8 E1/T1/J1 *
• Extensions Up to 600 *
• Concurrent Calls Up to 250 *
Power Supply
• Nominal Power 500 W HS redundant PSU
• Operating Voltage 120-240 V Auto switching
Page 3
Quick Start Guide
4
Quick Start Guide
5
Getting started
1. Unpack the appliance
2. Connect the corresponding power cord to a wall outlet and then the other
end to the appliance
3. Connect an Ethernet cable (not included) to your PC or laptop and the other
end to the first Ethernet interface/port on the appliance
4. Connect to your appliance
The ELX5000 appliance is configured by default with the following static IP
address on its first Ethernet interface: 192.168.1.251/255.255.255.0 (the
other Ethernet interface is configured with DHCP by default).
Note: if it is not already configured that way, you may need to set your PC or
laptop’s network interface card (NIC) to have an IP address like
192.168.1.X/255.255.255.0. If this is not possible, contact Technical
Assistance (See page 7)
5. Login into the appliance
Once the appliance is connected to your network, you can access the Elastix
Admin Interface through a web browser. Just direct your browser to
http://192.168.1.251 , we recommend the use of Firefox.
At the login screen use the following information to access the system:
o Username: admin
o Password: palosanto
6. Change passwords (recommended)
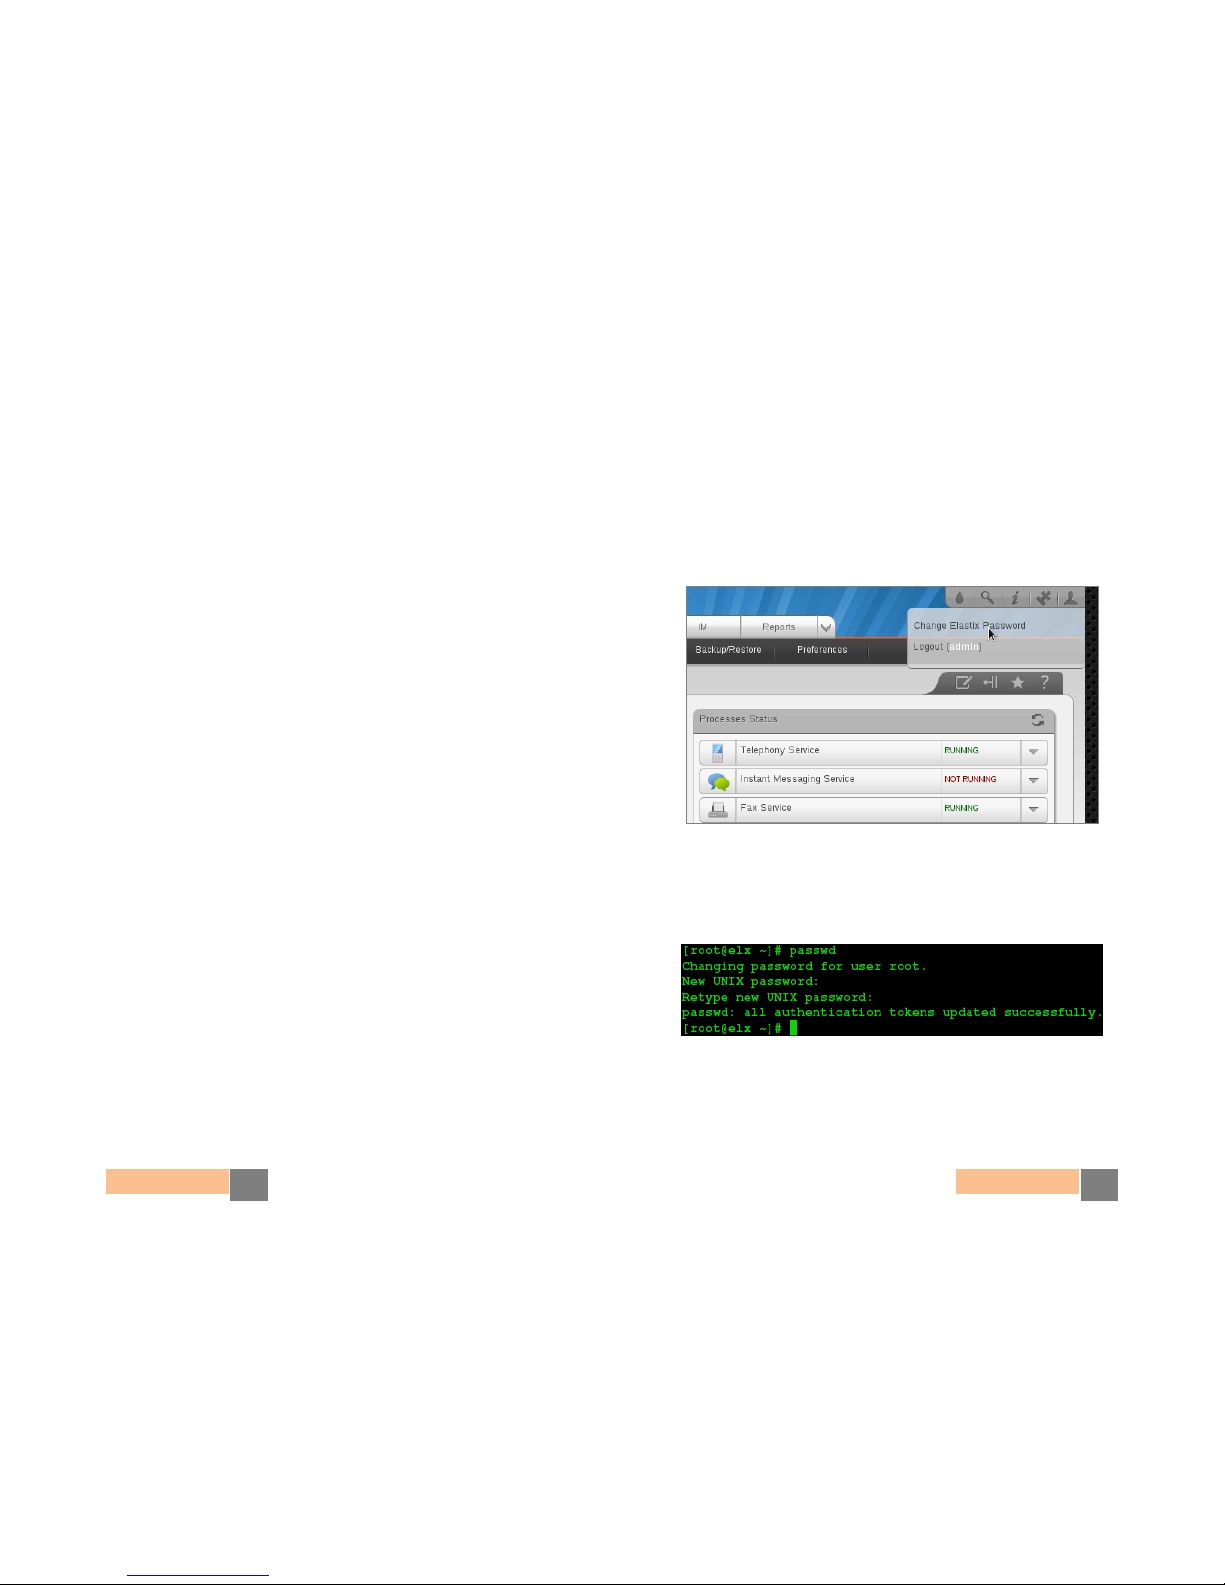
After logging in, place your mouse cursor over the silhouette icon at the top
right corner of the Elastix’s web UI and click on “Change Elastix Password”
(Figure 1)
Figure 1. Changing Elastix’s Admin Interface password
To change Elastix’s root password (Linux console), connect via ssh to the
appliance: ssh [email protected] (default password is: palosanto). Once
inside execute the command: passwd (Figure 2)
Figure 2. Changing Elastix’s Console password
Page 4
Quick Start Guide
6
Quick Start Guide
7
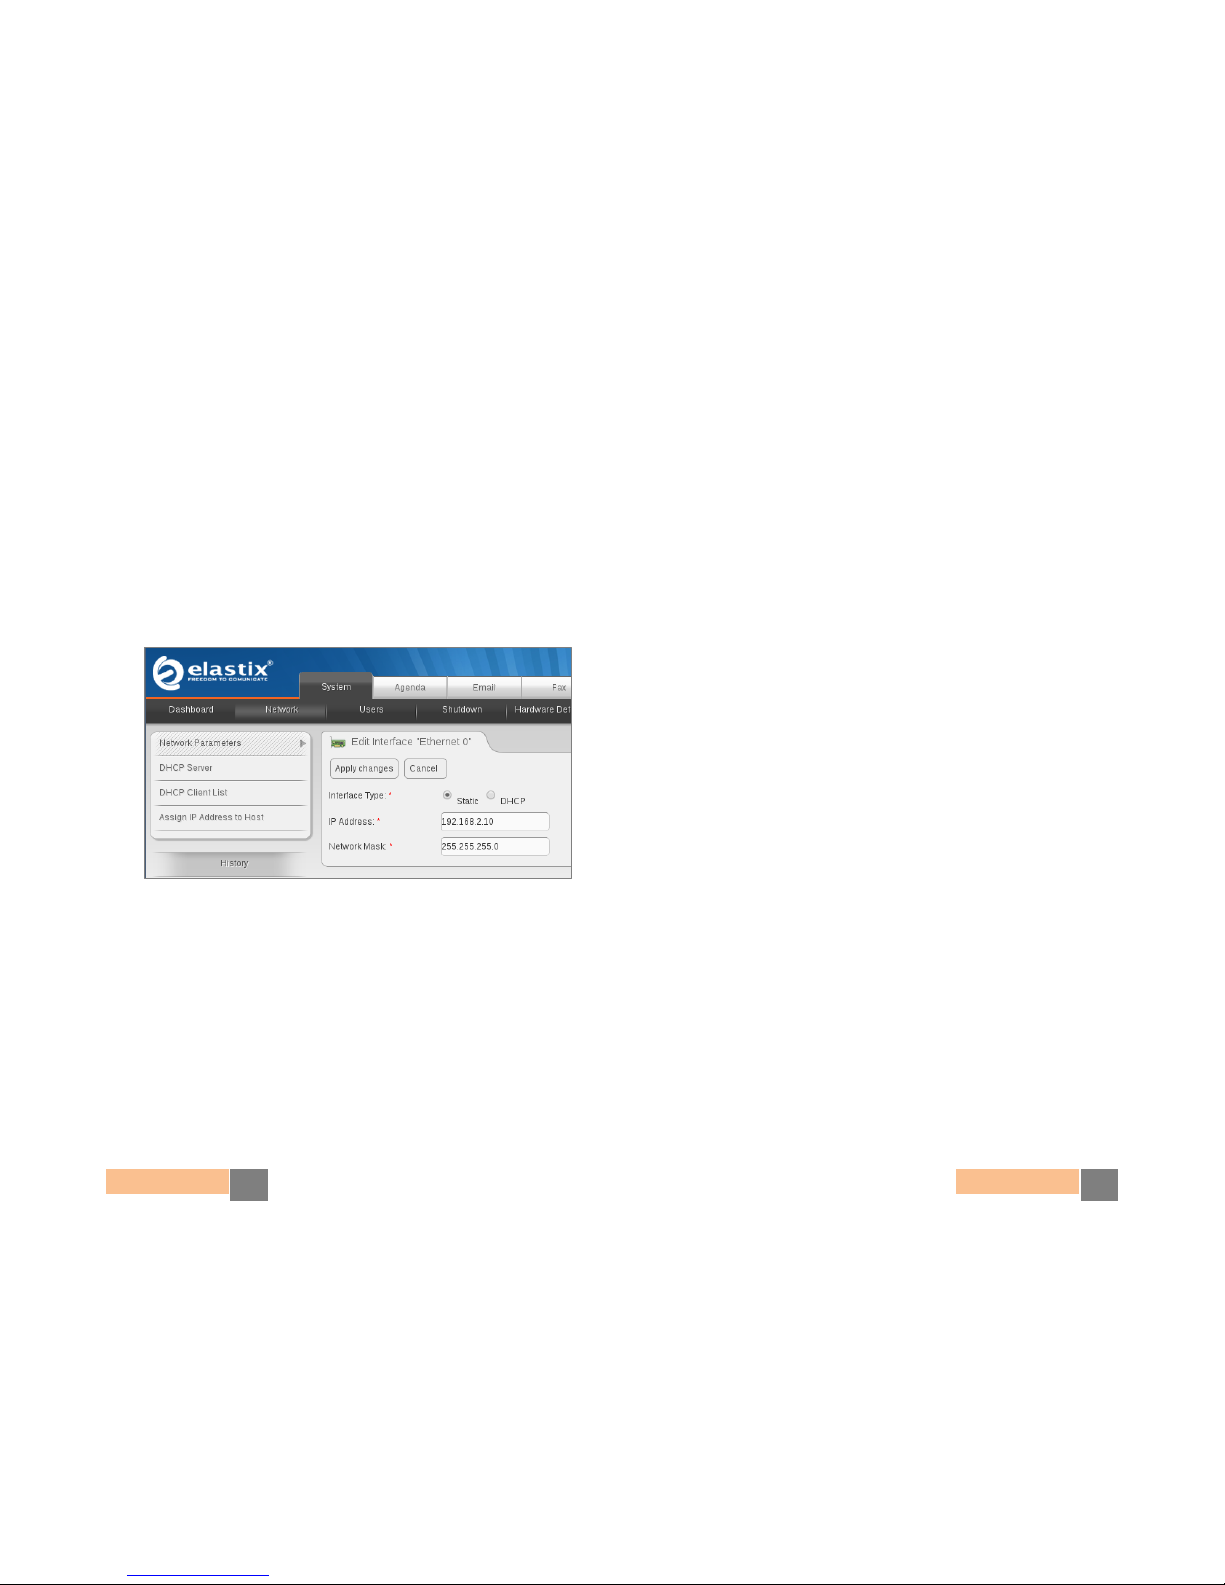
7. Change the IP address (optional)
If needed, change the IP address of your appliance so that it matches the
address scheme of your local area network (LAN). At the Elastix web user
interface go to: System Network , here you can configure the global
network parameters of your appliance as well as the individual parameters
of each of the 2 network interfaces. We recommend the use of an static IP
address. (Figure 3)
Figure 3. Changing the IP Address on the “Ethernet 0” interface
8. Connect your appliance to your LAN’s switch/router. If needed, reconfigure
your PC/laptop’s network interface card IP address settings back to how they
were before step 4
9. Configure telephony dial plan rules, virtual fax devices, email service, and
other options. Enjoy your Unified Communications Appliance!
Note: For more information on configuring your Elastix visit
www.elastix.org or contact Technical Assistance (See page 7)
Thank you for your purchase!
Technical assistance
The Elastix Technical Assistance Center is ready to assist you! For information
on how to get this professional support, please visit: http://elx.ec/elxsupport
Limited warranty
All Elastix Appliances come with a limited warranty. Please contact your local
reseller for more information and instructions on how to claim it.
© 2013 PaloSanto Solutions. All rights reserved. Elastix, the Elastix logo, and ELX5000 are all
trademarks of PaloSanto Solutions.
www.elastix.com
www.palosanto.com
+1-877-ELASTIX
 Loading...