

Page 1
CABLED R-W-S | CABLED-R-W-L-GR-M
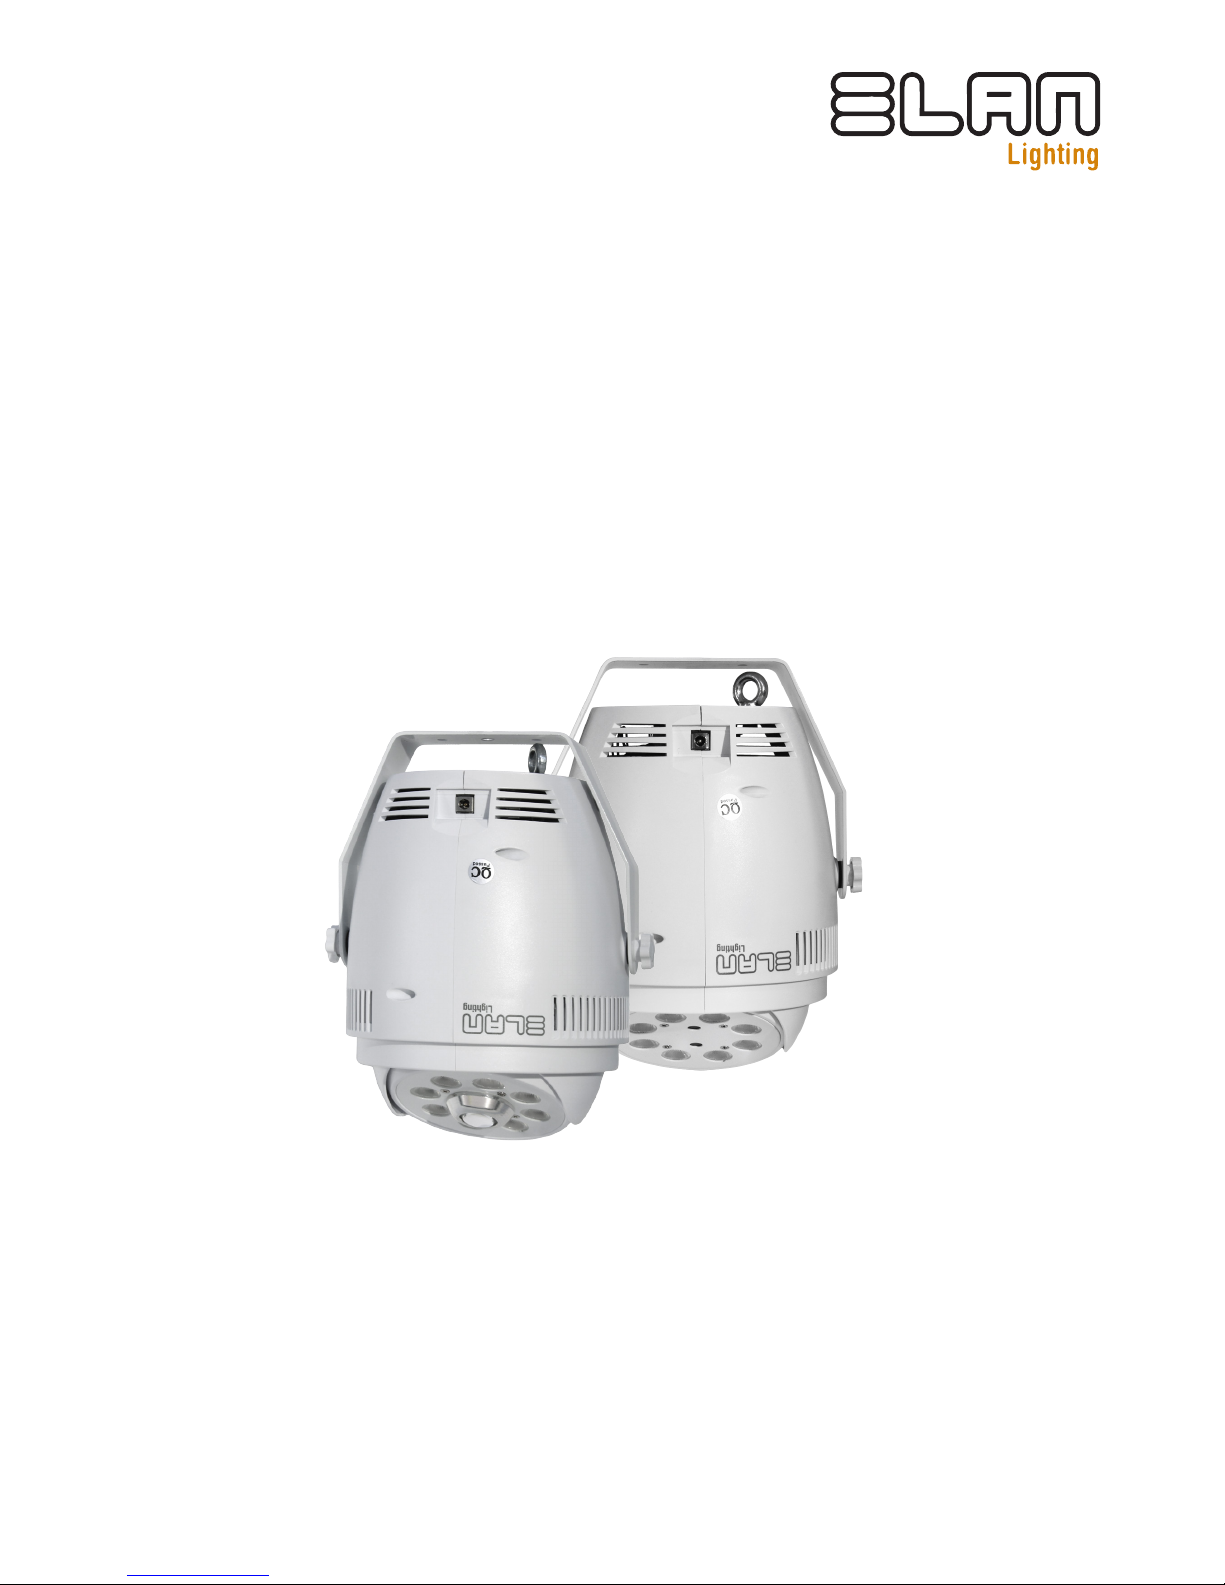
MOVING HEAD DOWNLIGHT SERIES
Thank you for purchasing a product from our Moving Head Downlight Series. Every suit
has been thoroughly tested and shipped in perfect condition. Carefully check the shipping
carton for damage that may have occurred during shipping. If the carton appears to be
damaged, carefully inspect your unit for any damage and be sure all accessories necessary
to operate the unit has arrived intactly. In the case damage has been found or parts are
missing, please contact Acson Comercial for further instructions. Do not return this unit
without any warning.
USER’S MANUAL
Page 2

2
Contents
FOR YOUR OWN SAFETY, PLEASE READ
THIS USER MANUAL CAREFULLY BEFORE
POWERING OR INSTALLING. SAVE IT FOR
FUTURE REFERENCE
1. Overview ............................................................................................................ 3
2. Features ............................................................................................................. 4
3. Structure Introdution ......................................................................................... 6
4. Security Information .......................................................................................... 6
5. Installation Instructions .................................................................................... 7
6. Connection Of Power Supply And Control Network Cable ........................... 7
7. Lighting Parameters .......................................................................................... 8
7.1. Description of Lighting Function .................................................................. 9
7.2. Description ............................................................................................. 9
7.3. Operation Keys ....................................................................................... 9
7.4. Master/Slave Mode ................................................................................ 9
7.5. Connection Indication of DMX512 Control Mode .................................. 9
7.6. DMX Channel Values .............................................................................. 9
9. Package Contents ............................................................................................. 10
10. Cleaning and Maintenance ............................................................................. 11
Page 3

3
1. Overview
2. Features
CABLED R-W-S and CABLED R-W-L-GR-M make up our Moving Head Downlight series. They can be
used both as a hanging light and as a ceiling light by using the ceiling panel to replace the handling. There
are 4 coding switches, cable socket of 1 output and 1 input, DC 24v input socket behind the light. CABLED R-W-S is easy to control and understand, with a small and exquisite appearance. It is a modern,
dynamic rich lighting xture with multiple uses. You can use any combination according to your preferences; you can either choose one, or use a combination according to preference.
Application elds:
Arquitecture, Retail, Multi-function halls, Atmosphere creation, and advertising.
1. Small, light weight, attractive appearance with a modern streamline design which is consistent with
current aesthetics.
2. Low power consumption: Energy saving, high-quality lighting source with excellent brightness (lighting
source: laser/LED).
3. Multiple forms of mechanical motion.
4. Air isolation, great heat dissipation, reasonable construction design, and low noise fan to assist air
convention.
5. Made out of durable high-quality ABS plastic with good abrasion resistance, chemical stability, electrical and mechanical strength.
6. Customizable surface color and pattern.
7. Unique assembly structure design, simple installation. Can be installed by hanging or embedded in
ceilings.
8. Can be used 5.0 DC socket, with the external 12V power adapter. It is easy to use and safe.
9. DMX signal transmission line. This light has independent input and output sockets that facilitates the
signal mix.
10. Multiple styles and choices. Can be used with DMX 512 control, tablet PC, and smartphone.
Page 4

4
3. Structure Introduction
4. Security Information
Warning!
Disconnect the power plug when the xture is not in use.
!
Thank you for using our products. We are sure our quality and service will satisfy you. For your safety and
better use of this xture, please read this manual thoroughly before starting.
Only qualied professionals should install and operate this xture.
Package contents:
Please check if all the contents are complete after unpacking.
Check the light for possible damage during transportation. Do not operate if defective. Contact Acson
Comercial for returns.
Check the voltage and make sure it is in accordance with the rated power.
Safety considerations before and during installation:
1. Open the carton and check all parts and accessories.
2. Only certied professionals can repair and operate the xture under instruction of this manual.
3. This product is for indoor use only. The protection rating is IP20. Please keep the xture away from
water and other liquids.
4. The light must be kept dry. Avoid use under moisture, overheated or dusty environments.
5. Only use in temperatures between 40C and -20C.
6. Do not touch the light while it is working under steady heat dissipation working conditions.
7. Do not use the light when the housing cover is opened.
Page 5

5
5. Structure Introduction
6. Connection of power supply and control
network cable
5.1 Handling Instructions
5.2 Ceiling Installation
1. Connect to the adapter
Page 6

6
The xture uses a DMX signal for control methods. Cable and Caron plug are not included. You can
purchase these accessories from us or from another supplier and connect the Caron plug according to the
following graphic:
2. Network cable usage (network cable and Caron plug)
7. Lighting Parameters
Model Photo Eect Light Source Voltage
CABLED-R-W-LGR-M
8 x 8W (RGBW 4-en-1) LED
Laser (650nm 100mw, 532nm
30mw)
Adapter
Input: AC100V-240V
Output: DC24V, 3.5A
CABLED R-W-S 1 x 30W LED
6 x 8W (RGBW 4-en-1) LED
Adapter
Input: AC100-240V
Output: DC24V, 3.5A
Page 7

7
The xtures use button and digital display for control:
Indicate connection by using the network cable and DMX signal cable. (Note: the address code is the
same)
8.1. Description
8.2. Operation Keys
8.3. Master/Slave mode
8.4. Connection Indication of DMX512 Control Mode
8. Description of Lighting Function
No. Menu Function
1 d001.
DMX controller mode. Press “ / ” to adjust code 001-512.
Press “ENTER” to save.
2 A.uto Auto press “ENTER” to save
3 S.ond Sound activation, press “ENTER” to save
4 SLAU. Slave, press “ENTER” to save.
Page 8

8
8.5. DMX Channel Values
Model Channel Value Description
CABLED R-W-L-GR-M
CH1 0-255 X-axis rotation 0-450
o
CH2 0-255 Y-axis rotation 0-40
o
CH3 0-255 X / Y speed regulation, the higher the value the slower the speed
CH4
0-8 No function
9-240 Wash strobe (slow-fast)
241-255 Close strobe (bright)
CH5 0-255 Master dimmer 0-100%
CH6 0-255 Red dimming 0-100%
CH7 0-255 Green dimming 0-100%
CH8 0-255 Blue dimming 0-100%
CH9 0-255 White dimming 0-100%
CH10
0-20 No function
21-100 Color jumping change
101-200 Color gradual change
201-255 Color pulse change
CH11 0-255 Speed adjustment, slow-fast (combine with CH9)
CH12
0-8 No function
9-240 Laser strobe (slow-fast)
241-255 Strobe o (bright)
CH13 0-255 Red laser open-close
CH14 0-255 Green laser open-close
CH15 0-255 Laser grating pattern plate rotation
CH16
0-30 No function
31-180 Auto
181-255 Sound activation
CH17
0-200 No function
201-255 Reset (stay 3 sec)
CH18
0-9 Normal mode
10-29 X-axis draw circle
30-69 Reserved
70-89 Draw ARC
90-109 Y-axis setting-out
110-255 Reserved
CH19 0-255 Amplitude control of running track, fast to slow
CH20 0-255 Speed control of running track, from fast to slow
CABLED R-W-S
CH1 0-255 X-axis rotation 0-40
o
CH2 0-255 Y-axis rotation 0-40
o
CH3 0-255 X / Y speed regulation, the higher the value the slower the speed
CH4
0-8 No function
9-240 Wash strobe (slow-fast)
241-255 Close strobe (bright)
CH5 0-255 Master dimmer 0-100%
Page 9

9
Model Channel Value Description
CABLED R-W-S
CH6 0-255 Red dimming0-100%
CH7 0-255 Green dimming 0-100%
CH8 0-255 Blue dimming 0-100%
CH9 0-255 White dimming 0-100%
CH10
0-20 No function
21-100 Color jumping change
101-200 Color gradual change
201-255 Color pulse change
CH11 0-255 Speed adjustment, slow-fast (combine with CH9)
CH12
0-8 No function
9-240 Open pattern LED strobe (slow to fast)
241-255 Close strobe, open bright
CH13 0-255 Pattern LED dimming 0-100%
CH14
0-139 Color
140-215 Color forward
216-255 Color reversal
CH15
0-79 Pattern
80-159 Pattern shake
160-215 Pattern forward
216-255 Pattern reversal
CH16
0-30 No function
31-180 Auto
181-255 Sound Activiation
CH17
0-200 No function
201-255 Reset (hold 3 sec)
CH18
0-9 Normal mode
10-29 X-axis draw circle
30-69 Reserved
70-89 Draw ARC
90-109 Y-axis setting-out
110-255 Reserved
CH19 0-255 Amplitude control of running track
CH20 0-255 Speed control of running track (fast to slow)
Please disconnect the power before disassembling the light for maintenance. It is important to keep the
light clean to obtain maximum brightness and prolong the xture’s working life. We recommend cleaning
the light with a lint-free cloth and high-quality glass cleaner. Do not clean with alcohol or chemical solvents.
If the xture is malfunctioning, please contact Acson Comercial for assistance. Unless you are a certied
professional, do not attempt to repair it on your own.
9. Cleaning and Maintenance
Page 10

Note: All information is subject to change without prior notice.
IMPORTANT INFORMATION!
In order to optimize the recovery and recycling of the materials that old appliances contain
and reduce the impact on human health and the environment, ensure that this product is
recycled at the end of its life.
Importer:
ACSON COMERCIAL
C/Pallars, 405
08019 Barcelona
www.acson.com
acson@acson.com
 Loading...