

Elabs MP80 Quick Start Manual

MP80
4k60 Ultra HD
Digital Signage Player
L
A
U
N
A
M
N
O
I
T
C
U
R
T
S
N
I
QUICK START GUIDE
This guide will explain the basic connection and
operation of the MP80, along with using CE labs
QuickSign software. For full details on operation,
refer to the MP80 manual at www.celabs.net.

THIS PAGE IS LEFT INTENTIONALLY BLANK
Important Safety Instructions
1. Read these instructions.
2. Keep these instructions.
3. Heed all warnings.
4. Follow all instructions.
5. Do not use this apparatus near water.
6. Clean only with dry cloth.
7. Do not block any ventilation openings. Install in accordance with the
manufacturer’s instructions.
8. Do not install near any heat sources such as radiators, heat registers,
stoves, or other apparatus (including ampli ers) that product heat.
9. Do not defeat the purpose of the polarized or grounding-type plug.
A polarized plug has two blades with one wider that the other. A
grounding type plug has two blades and a third grounding prong. The
wide blade or the third prong is provided for your safety. If the provided
plug does not t into your outlet, consult an electrician for replacement of
the obsolete outlet.
10. Protect the power cord from being walked on or pinched particularly at
plugs, convenience receptacles, and the point where the exit from
the apparatus.
11. Only use the attachments/accessories speci ed by the manufacturer.
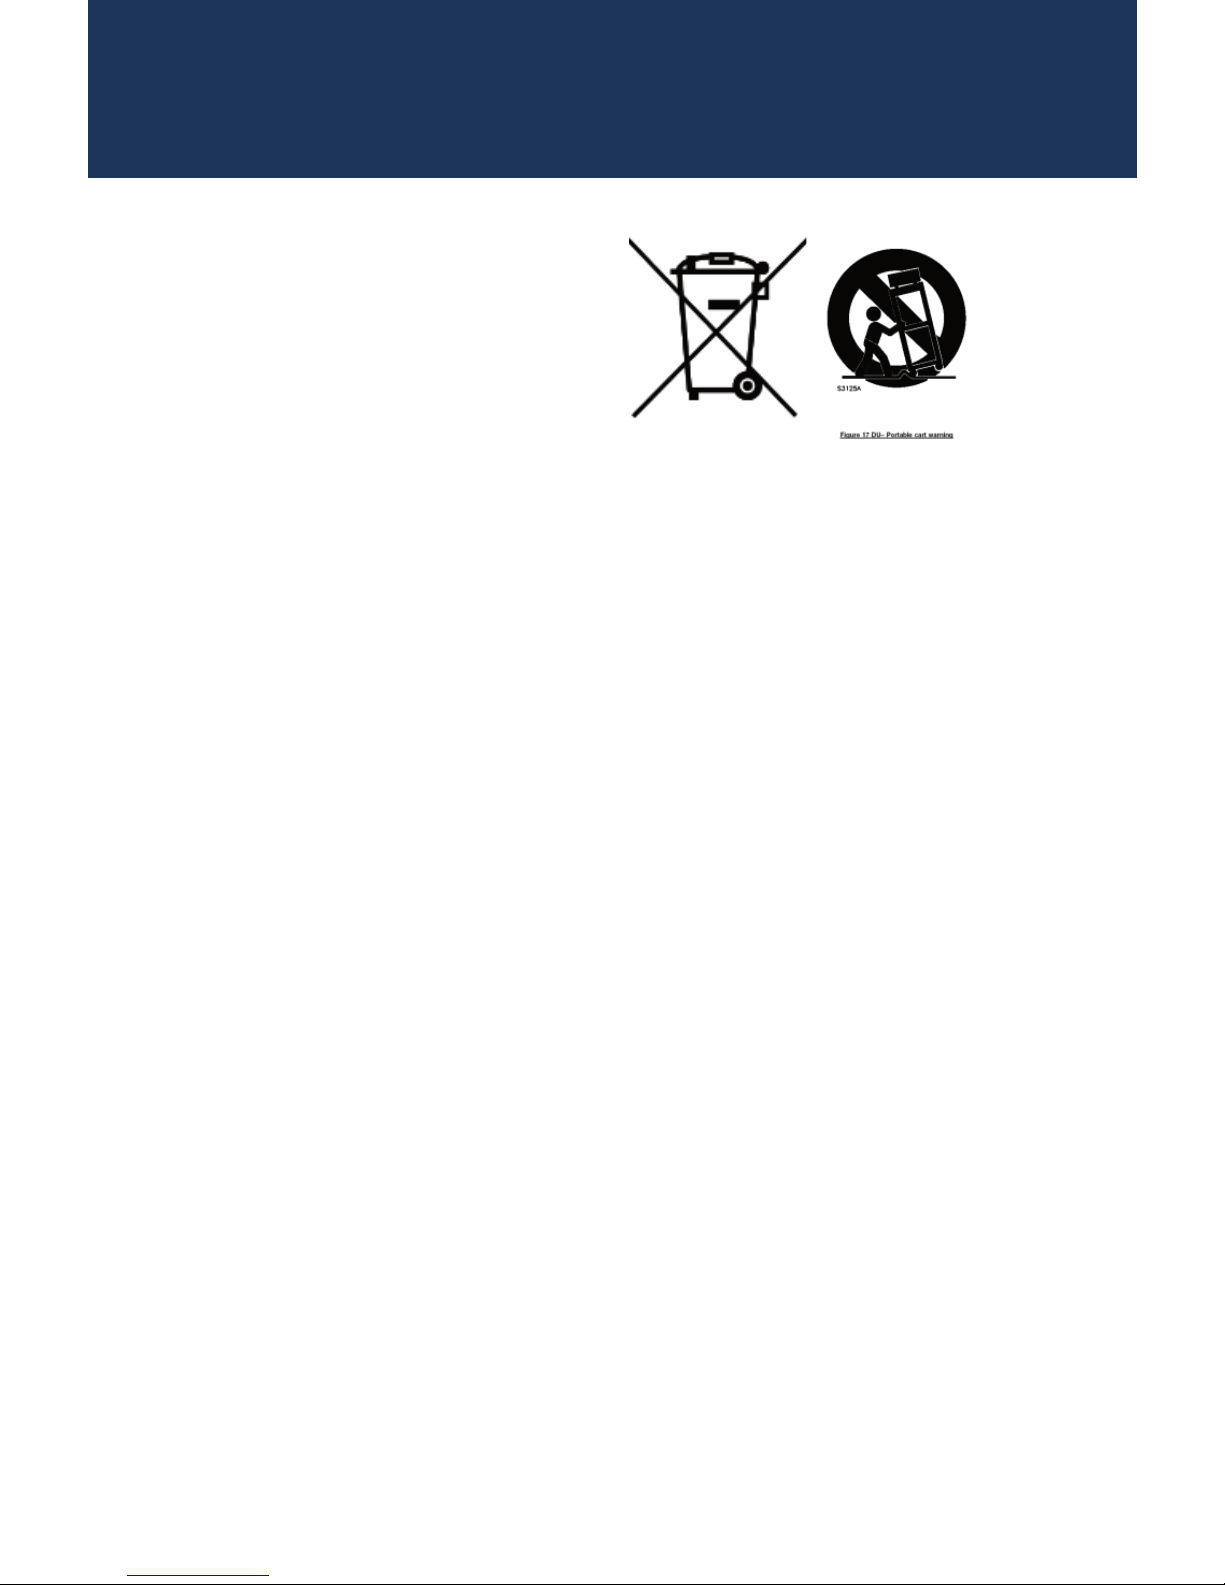
12. Use only with the cart, stand, tripod, bracket, or table speci ed by the
manufacturer, or sold with the apparatus. When a cart is used, use caution
when moving the cart/apparatus combination to avoid injury from tip-over.
13. Unplug this apparatus during lightning storms or when unused for
long periods of time.
14. Refer all servicing to quali ed service personnel. Servicing is required when
the apparatus has been damaged in any way such as power supply cord
or plug is damaged, liquid has been spilled or objects have fallen into the
apparatus, the apparatus has been exposed to rain or moisture, does not
operate normally, or has been dropped.
WARNING: To Reduce the Risk of Fire Or Electric Shock, Do Not Expose This
Apparatus To Rain Or Moisture
CAUTION: To reduce the risk of electric shock, do not remove cover or back.
There are no user serviceable parts inside. Refer servicing to quali ed personnel.
1
2
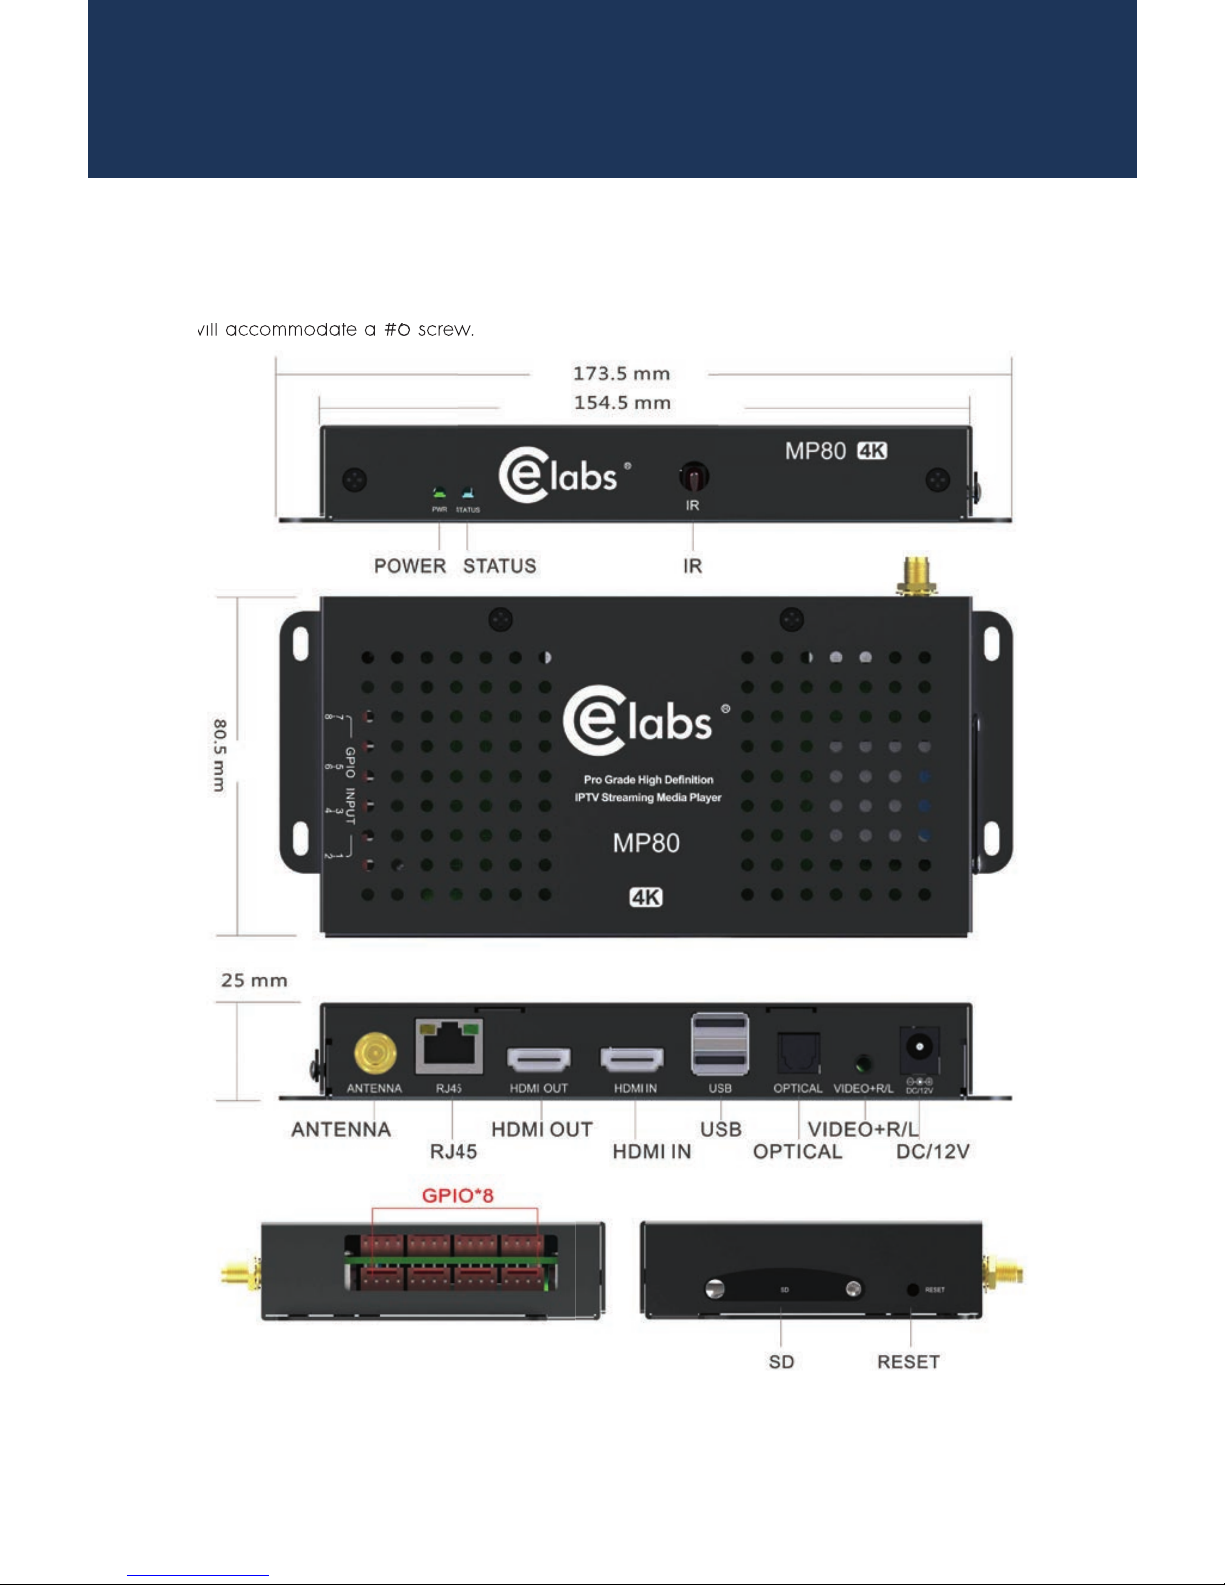
MP80 Setup
The media player should be located in a well ventilated air-conditioned space for best
operation. The overall dimensions of the units are 3.2” x 7.1” x 1.1”. The mounting dimensions
given below are measured from center to center of the mounting holes. The mounting holes
will accommodate a #6 screw.
The unit has ventilation holes on the top of the chassis. These should remain uncovered during
operation. There are no ventilation openings on the bottom of the chassis, so it may be bolted
directly to a shelf or monitor.

3
Connections
The MP80 is capable of driving a wide variety of displays at up to 4K
resolution at bit rates up to 40 Mbps. You must have a SD card installed in
the unit to enable playback of local content. Connect the following cables
to operate the unit.
Display cable – Use a good quality HDMI cable to connect between the
MP80 and the intended display. The HDMI cable length should
generally be less than 10 feet in length for best operation. HDMI
Input will accept 1080P signals.
Audio cable – The audio output is integrated into the HDMI signal and is
available on the L&R 3.5mm jack, as well as Optical.
Network cable – Certain operations require a network connection in
order to implement. Connect an Ethernet cable between the
MP80 10/100 port and a local Ethernet switch. Alternatively,
you may connect the player to a WiFi network by conguring
the WiFi parameters in Settings (you will need a USB mouse to
access this menu). The WiFi antenna must be connected in order
for this to work. You will need to congure the WiFi Settings for
the local access point.
Power – Insert the DC power plug into the MP80. Plug the power supply
into a 120VAC outlet.
USB – 2 USB ports are available for auxiliary devices and USB drives.
GPIO – There are eight ports available for connecting external push
buttons and LED lights. Contact CE labs for buttons.
Please wait for approximately one minute until the unit completes the bootup process. If default startup content has been dened and content is on
the local storage medium, the unit will begin to display video.
 Loading...