

Ekars EMX-400, EMX-700 Operating Manual
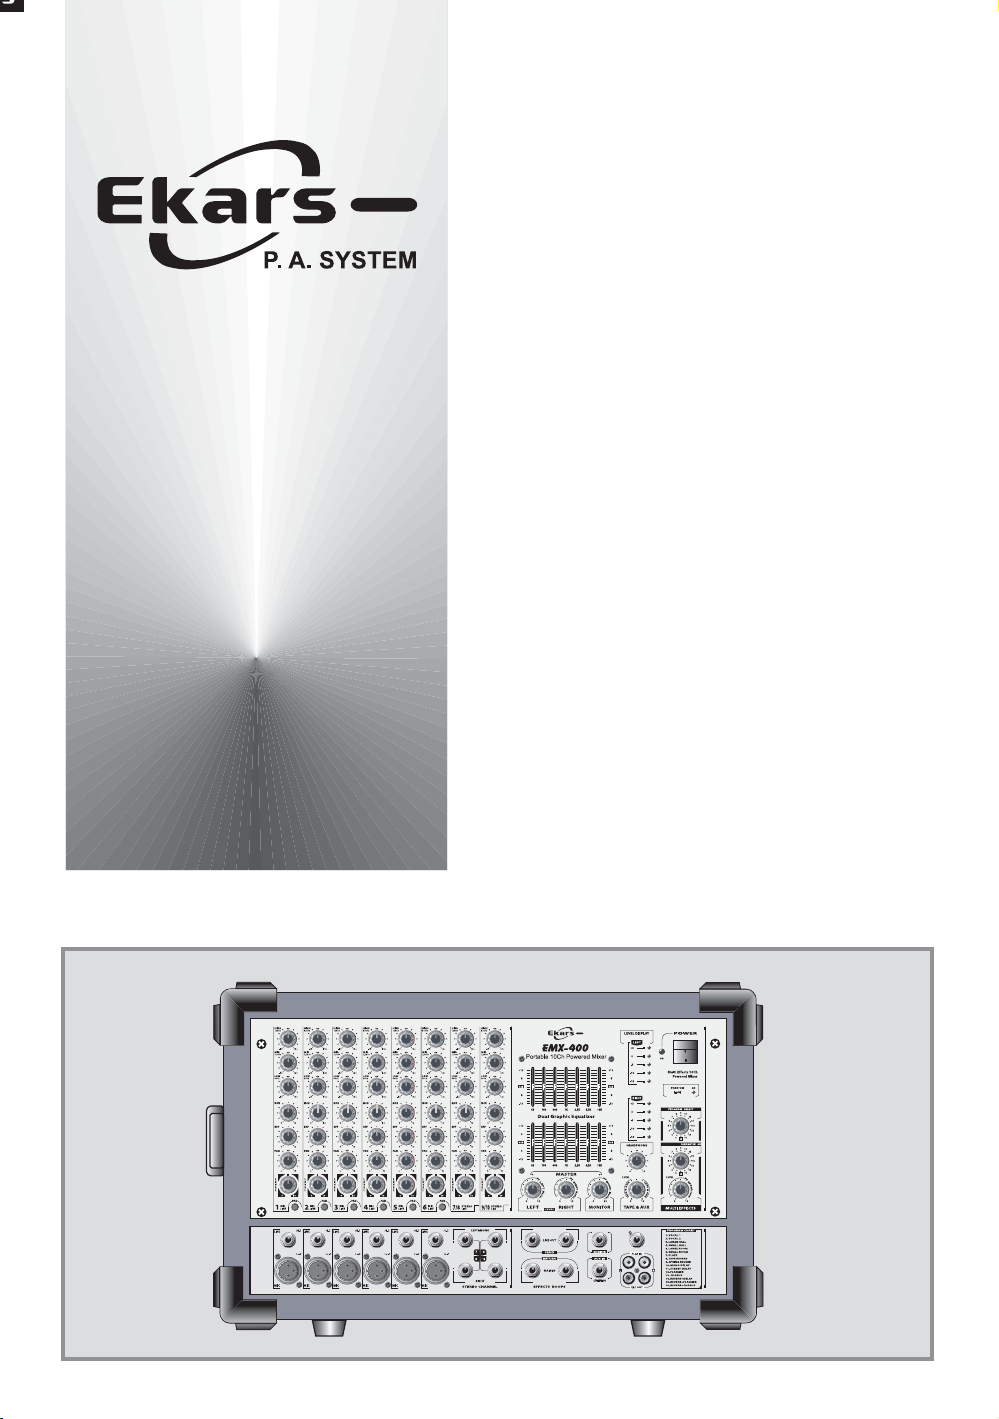
OPERATING MANUAL
EMX-400
Portable Powered
Mixing System
INDEX
.
INTRODUCTION
.
SAFETY INSTRUCTIONS
FEATURES OF FRONT PANEL
.
MIC CHANNEL SECTION
.
STEREO CHANNEL SECTION
.
LEVEL & TAPE, AUX SECTION
FEATURES OF REAR PANEL
.
REAR SECTION
.
CAUTIONS ON INSTALLATION
.
HOW TO OPERATE
.
INSTALLATIONS ( EXAMPLE )
2
2
3
4
5~6
7
8
8
9~10
.
INSTALLATIONS ( CONNECTIONS )
.
BLOCK DIAGRAM
.
SPECIFICATIONS
11
12
13
1
INTRODUCTION
Taking this opportunity, we express our heartful thanks to clients who purchased our products.
Whole member of our Company, with a pride of long history and tradition, are paying hardest
efforts to turn out products which can go with consumers' taste under continuos R & D and Q.C
based on long-accumulated know-how.
We are sure this product will enhance the function of your systems one level higher, Your further
interests in our products and continuous encouragement would be very much appreciated.
Thank you again.
SAFETY INSTRUCTIONS
1. Read Instructions : All the safety and operation
instructions should be read before the EMX
is operated
2. Retain Instructions : The safety and operating
instructions should be kept for future reference
3. Head Warning : All warning on the
and in these operating instruction should be
followed
4. Follow Instructions : All operating and other
instructions should be followed.
5. Water and Moisture : The EMX
be used near water-for example, near a bathtub,
washbowl, kitchen sink, laundry tub, in a wet
basement, near a swimming pool, swamp or
salivating St. Bernard dog, etc.
6. Heat : The EMX
from heat sources such as radiators, or other
device which produce heat.
7. Power Source : The EMX
connected to a power supply only or the type
described in these operation instructions or as
marked on the EMX
-400
should be situated away
-400
-400
.
EMX
-400
should not
should be
-400
8. Object and Liquid Entry : Card should be taken
so that objects do not fall into and liquids are
-400
not spilled into the inside of the EMX
9. Servicing : The user should not attempt to
service the EMX
described in this operating manual. All other
servicing should be referred to the Service
Department.
10. To prevent electric shock, don't open the case of
this appliance. There are no user serviceable
parts inside. Please contact authorized service
center for all servicing.
11. Grounding or Polarization : Precautions should
be taken so that the grounding or polarization
means of the EMX
WARNING : To reduce the risk or fire or electric
shock, do not expose this appliance to rain or
moisture
-400
beyond those means
-400
is not defeated.
-400.
2
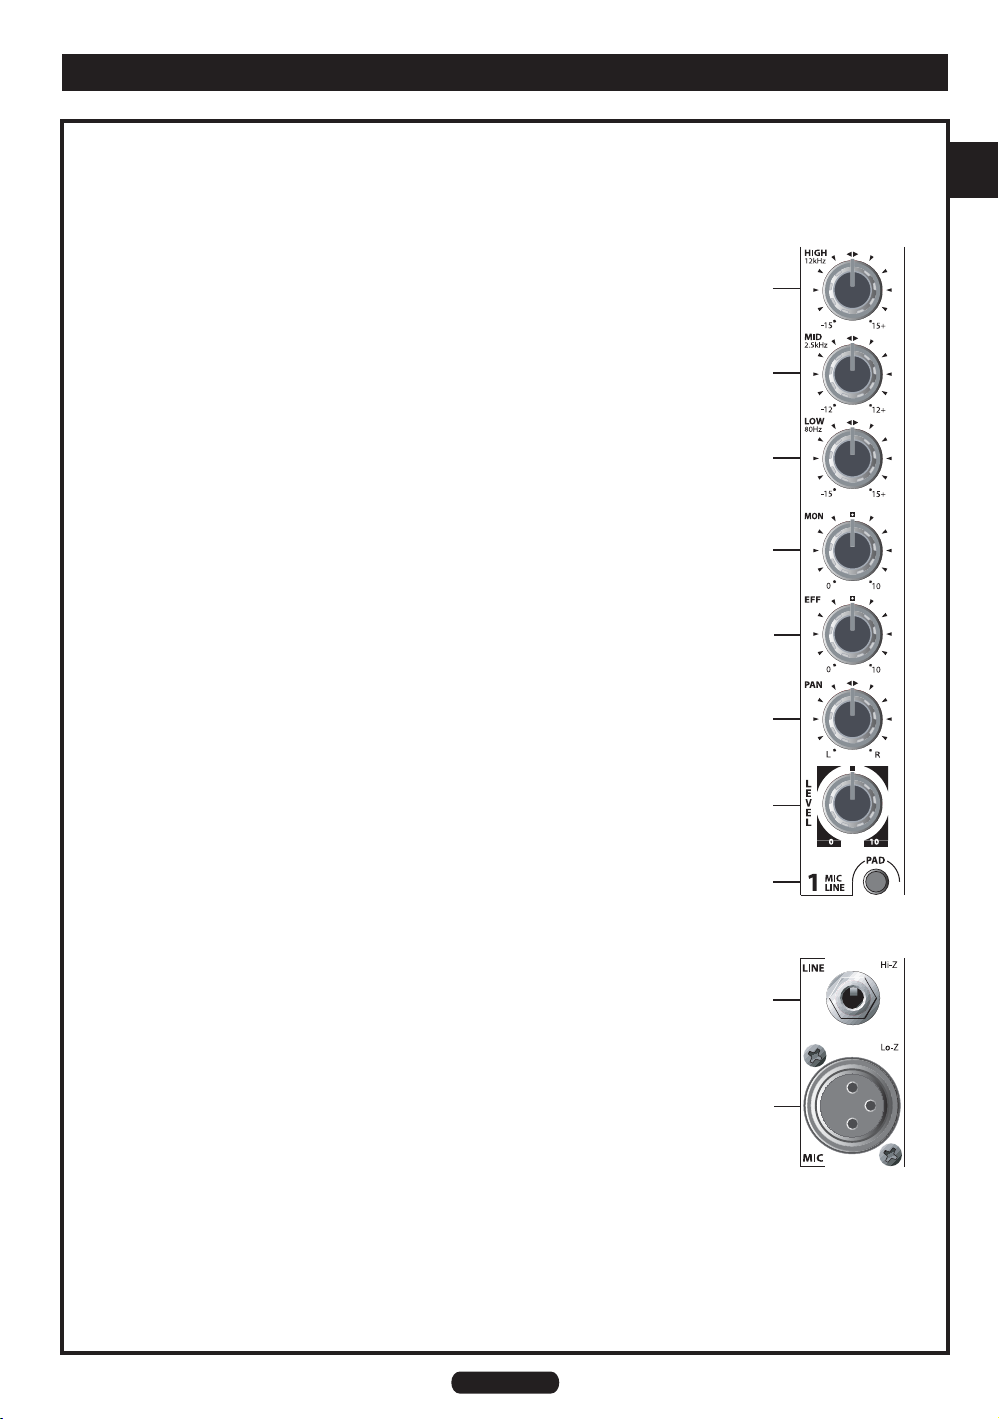
FEATURES ON FRONT PANEL
MIC CHANNEL SECTION (CH 1-6)
1. HIGH FREQUENCY EQUALIZATION CONTROL
Provided E 15dB of fixed frequency equalization that shelves at 12KHz
2. MID. FREQUENCY EQUALIZATION CONTROL
Provided E 12dB of fixed frequency equalization that shelves at 3KHz
3. LOW FREQUENCY EQUALIZATION CONTROL
Provided E 15dB of fixed frequency equalization that shelves at 80Hz
4. MONITOR CONTROL
Use this control to be the level of signal from external monitor source and
the main signal control is re-controlled by master section. (see master
section)
1
2
3
4
5. EFFECT CONTROL
Use this control when you want to get effect sound by adjustment of input
signal. When you don't use external source, digital delay & reverb will be
working which installed inside.
6. PAN CONTROL
The pan control sends continuously variable amounts of the post fader signal
to either the left of right main busses.
In the center position equal amounts of signal are sent to the left and right
busses.
7. CHANNEL LEVEL
You can adust the volume of signal source which connected to the relevant
channel.
5
6
7
8
8. PAD (-20dB)
This switch, when push, attenuates the input signal -20dB.
9. UNBALANCE INPUT (HI-Z)
Using by 1/4" standard unbalanced connector, You can use unbalance
(tip/sleeve) and balance (tip/ring/sleeve).
10. CHANNEL LEVEL
Electronically balanced inputs accept a standard XLR male connector.
(Pin 1 = ground, 2 = Positive, 3 = negative)
3
9
10
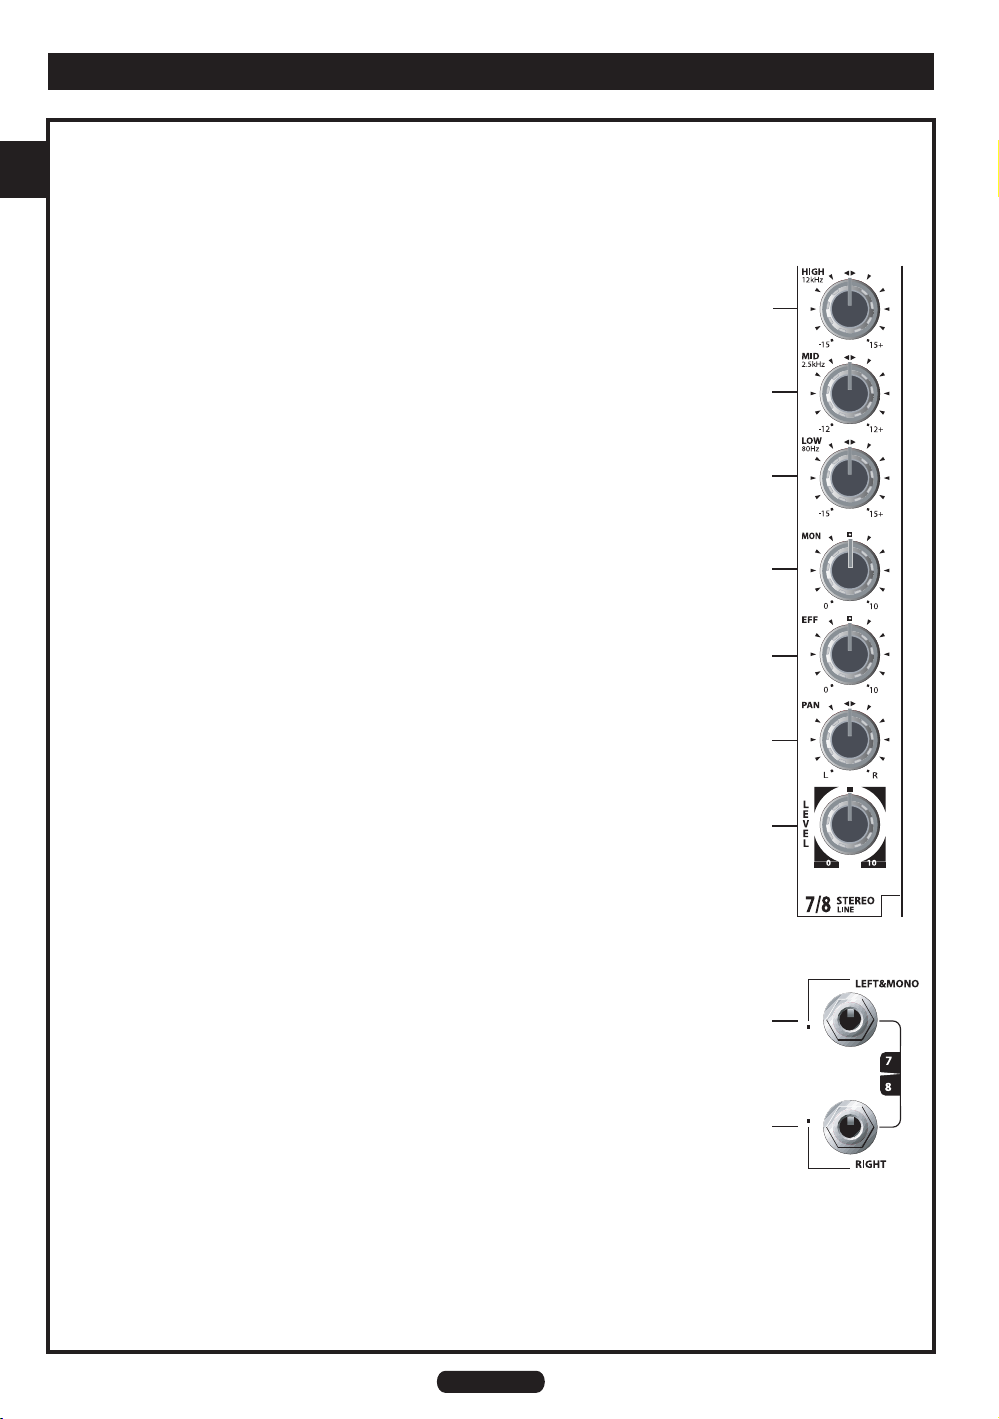
FEATURES ON FRONT PANEL
STEREO CHANNEL SECTION (CH 7-10)
11. HIGH FREQUENCY EQUALIZATION CONTROL
Provided E 15dB of fixed frequency equalization that shelves at 12KHz
12. MID. FREQUENCY EQUALIZATION CONTROL
Provided E 12dB of fixed frequency equalization that shelves at 1.5KHz
13. LOW FREQUENCY EQUALIZATION CONTROL
Provided E 15dB of fixed frequency equalization that shelves at 80Hz
14. MONITOR CONTROL
Use this control to be the level of signal from external monitor source and
the main signal control is re-controlled by master section.
15. EFFECT CONTROL
Use this control when you want to get effect sound by adjustment of input
signal. When you don't use external source, digital delay & reverb will be
working which installed inside.
11
12
13
14
15
16. PAN CONTROL
The pan control sends continuously variable amounts of the post fader
signal to either the left of right main busses. In the center position equal
amounts of signal are sent to the left and right busses.
16
17
17. CHANNEL LEVEL
You can adust the volume of signal source which connected to the relevant
channel
18. INPUT JACK : LEFT(MONO)
Line with connection 1/4 jack as line input of L, R stereo and input the signal
of balance line level. Now the signal input into the input terminal of left side,
output the mono output to left & right side.
19. INPUT JACK : RIGHT
Line with connection 1/4 jack as line input of L, R stereo and input the signal
of balance line level. Now the signal input into the input terminal of left side,
output into the right side only.
18
19
4
 Loading...