

Eiko WFAM-1C-U, WFAM-2C-U Installation And Service Instructions Manual
INSTALLATION AND SERVICE INSTRUCTIONS
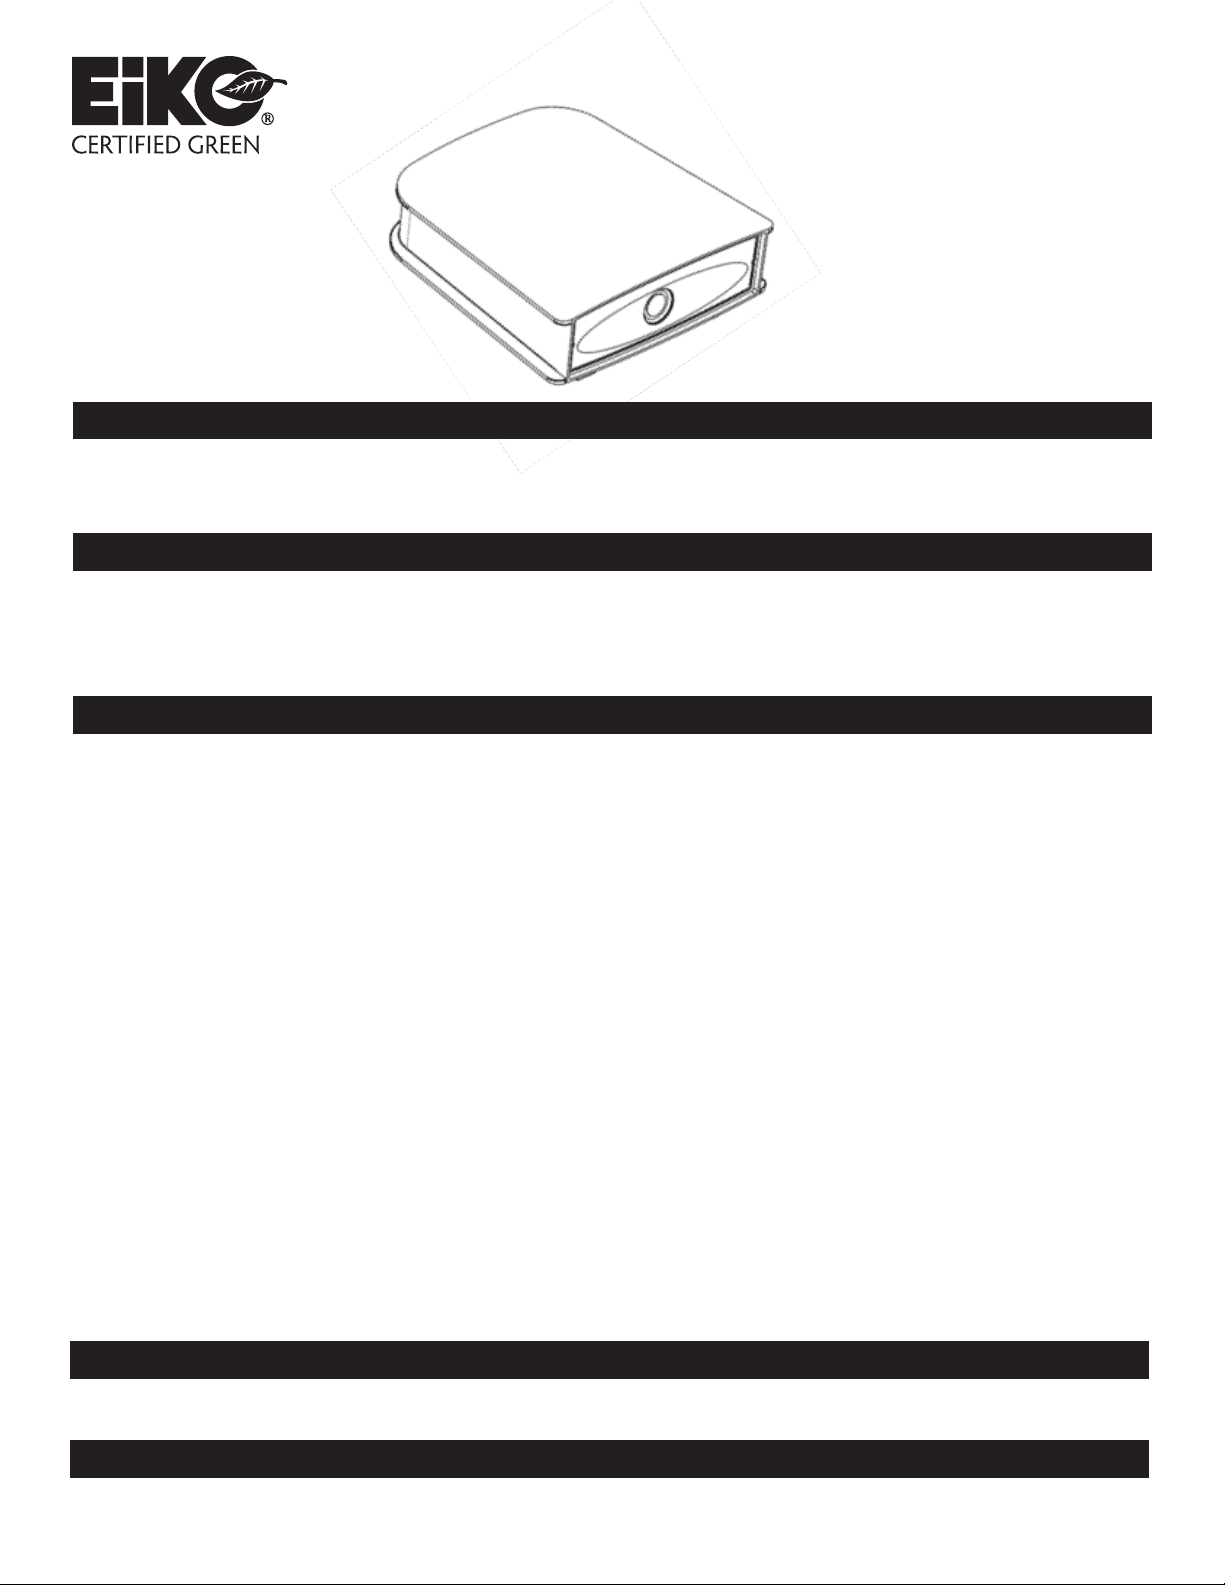
WFAM-1C-U & WFAM-2C-U
LED Medium Wallpack Arch
WARNING:
THIS PRODUCT CONTAINS CHEMICALS KNOWN TO THE STATE OF CALIFORNIA TO CAUSE CANCER, BIRTH DEFECTS, AND/
OR OTHER REPRODUCTIVE HARM. THOROUGHLY WASH HANDS AFTER INSTALLING, HANDLING, CLEANING OR OTHERWISE
TOUCHING THIS PRODUCT.
SAFETY PRECAUTION:
Warning: Risk of re and electrical shock! Before beginning installation or service, disconnect the power by turning off the circuit
breaker. Turning the power off by using the light switch is not sufcient to prevent electrical shock. This oodlight is for outdoor use
and should not be used in areas of limited ventilation or high ambient temperature. All work should be performed by a qualied electrician. This product must be installed in accordance with the applicable installation code by a person familiar with the construction
and operation of the product and the hazards involved.
INSTALLATION:
Remove the rear mounting plate by loosening the two allen head set screws from bottom of the plate.
Direct mounting to junction box:
1. Fasten the mounting plate to a recessed outlet or other mounting
surface. Use the integrated bubble leveler to ensure that the plate
is level.
2. Splice the power leads from the back of the xture to the branch circuit leads from the junction box. Attach black to black (hot), white to
white (neutral), and green to green (ground). Push the splices into the
junction box.
3. Align the xture against the mounting plate and retighten the set
screws to secure the xture in place.
4. For wet locations, caulk between the rear housing and the mounting
surface to prevent water from entering the xture from behind.
Wall-mounted wiring box with conduit feed:
1. Attach the wiring box to the desired location using the bolt holes
provided.
2. Remove the threaded plug(s) and route electrical conduit to the holes
desired. Feed the branch circuit wires through the conduit into the
wiring box.
3. Splice the xture power leads to the power leads inside the wiring
compartment box – black to black (hot), white to white (neutral), and
green to green (ground).
4. Align the xture against the wiring box and tighten the set screws to
secure the xture in place. Take care to not pinch the power wires.
Pole mount using slip fitter, knuckle, or trunnion:
1. Splice the xture power leads to the power leads inside the wiring
compartment box – black to black (hot), white to white (neutral), and
green to green (ground).
2. Align the wiring box against the back of the xture and tighten the set
screws to secure it in place.
Slip fitter:
1. Splice the xture power leads to the branch circuit power leads and
push the splices inside the pole.
2. Silde the slip tter onto the end of the pole, rotate to the desired position, and tighten the set screws.
3. Unscrew the philips head screws in the side of the slip tter and
remove the hinge plate.
4. Loosen the hex bolt inside the hinge, adjust the xture to the desire
angle, and retighten. Replace the cover.
Trunnion:
1. Mount the trunnion in place using the bolt holes provided.
2. Route the xture waterproof cable to the interior of the pole using a
waterproof connector. Splice the xture power leads to the branch
circuit leads -- black to black (hot), white to white (neutral), and green
to green (ground).
3. Remove the adjustment screw in the trunnion hinge and adjust to the
desired angle. Replace the screw.
Knuckle:
1. Splice the knuckle power leads to the branch circuit power leads and
push the splices inside the threaded hole.
2. Screw the knuckle into the threaded hole, rotate to the desired angle,
then tighten the mounting nut.
3. Loosen the allen head screw in the side of the knuckle hinge and
adjust to the desired angle, then retighten.
NOTE: The LED module is preinstalled and prepositioned. DO NOT OPEN
the unit. DO NOT TOUCH THE SURFACE OF THE LEDS. CAUTION: This
xture must be mounted in the LENS DOWN position.
WIRING:
• LED units are multi-volt 120V-277V. No additional tap wires are necessary.
When this fixture is used with a photocontrol unit, be sure that the photocontrol’s voltage requirement matches the circuit voltage.
•
TROUBLESHOOTING CHECKLIST: If the light does not work
✓ Check your power source. ✓ Check electrical connections.
INSTRUCCIONES DE SERVICIO E INSTALACIÓN
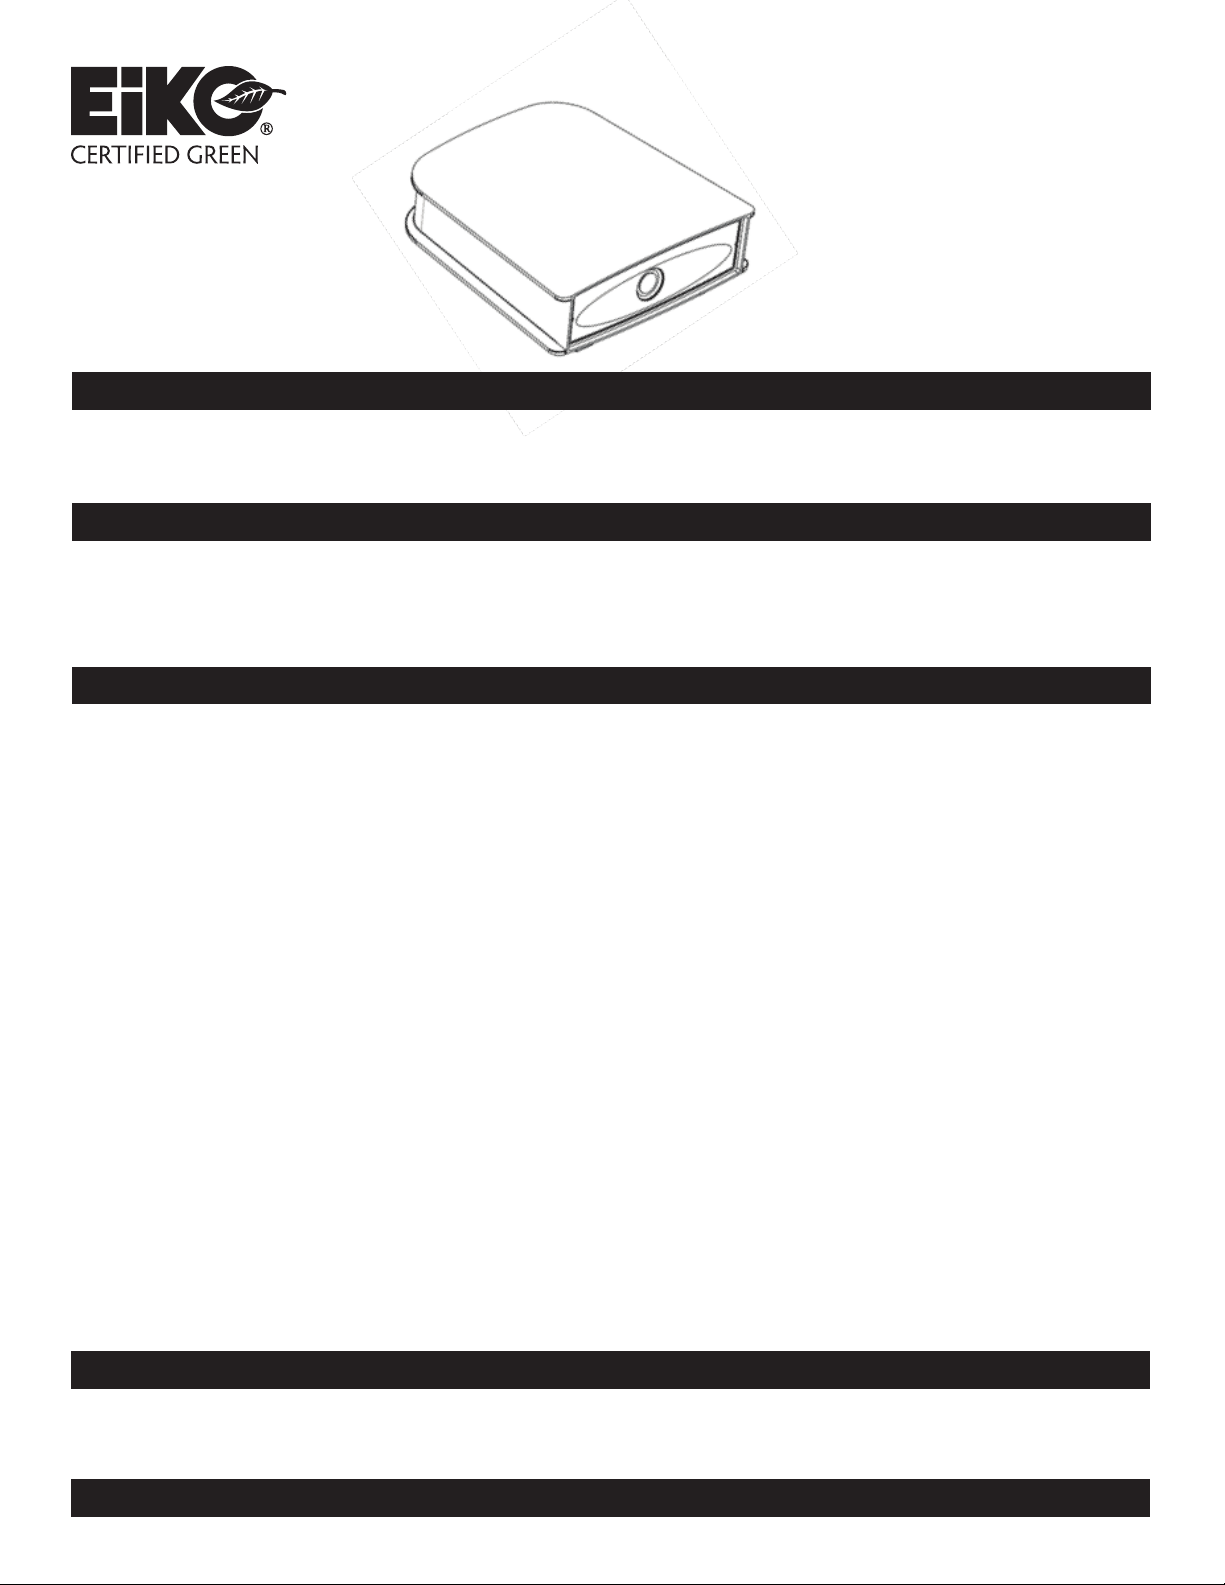
WFAM-1C-U & WFAM-2C-U
LED Medium Wallpack Arch
ADVERTENCIA:
ESTE PRODUCTO CONTIENE QUÍMICOS CONOCIDOS POR EL ESTADO DE CALIFORNIA, QUE PUEDEN CAUSAR CANCÉR,
DEFECTOS DE NACIMIENTO Y/U OTROS DAÑOS REPRODUCTIVOS. LÁVESE COMPLETAMENTE LAS MANOS DESPUÉS DE
INSTALARLO, MANIPULARLO, LIMPIARLO, O TOCARLO DE CUALQUIER MANERA.
PRECAUCIONES DE SEGURIDAD:
Advertencia: ¡Riesgo de incendio o choque eléctrico! Antes de iniciar la instalación o servicio, desconecte la energía apagando el
tablero eléctrico principal. Quitar la energía usando el interruptor de la luz no es suciente para prevenir choques eléctricos. Este
reector es para uso exterior y no deberá usarse en áreas de ventilación limitada o temperaturas altas. Todo el trabajo debe ser
realizado por un electricista cualicado. Este producto debe ser instalado de acuerdo con el código de instalación aplicable por una
persona familiar con la construcción y funcionamiento del producto y los peligros relacionados.
INSTALACIÓN:
Remueva el plato trasero de montaje aflojando los dos tornillos Allen de la parte inferior del plato.
Montaje directo a la caja de empalme:
1. Apriete el plato de montaje a un enchufe hueco u otra supercie de
instalación. Use la regla de nivel incluida para asegurarse de que el
plato esté a nivel.
2. Empalme los cables de energía desde la parte trasera de la luminaria
a los cables del circuito de derivación de la caja de empalme. Junte
negro con negro (fase), blanco con blanco (neutro), y verde con verde
(tierra). Empuje los empalmes a la caja de empalme.
3. Alinee la iluminaria contra el plato de montaje y apriete de nuevo los
tornillos para asegurar la luminaria en su lugar.
4. Para locaciones húmedas, selle entre el armazón posterior y la supercie de montaje para prevenir que el agua ingrese en la luminaria desde
atrás.
Caja de cableado ensamblada en la pared
con conducto de alimentación:
1. Adjunte la caja de cableado en la ubicación deseada usando los pernos provistos.
2. Remueva las clavijas enroscadas y guíe el conducto eléctrico a los
agujeros deseados. Alimente los cables del circuito de derivación a
través del conducto en la caja de cableado.
3. Empalme los cables de energía de la luminaria a los cables de energía
en el interior de la caja de compartimento de cableado, negro con
negro (fase), blanco con blanco (neutro), y verde con verde (tierra).
4. Alinee la iluminaria contra el plato de montaje y apriete de nuevo los
tornillos para asegurar la luminaria en su lugar. Tenga cuidado de no
apretar los cables de energía.
Montaje en poste usando posicionadores deslizables o
soporte tipo Trunnion:
1. Empalme los cables de energía de la luminaria a los cables de energía
en el interior de la caja de compartimento de cableado, negro con
negro (fase), blanco con blanco (neutro), y verde con verde (tierra).
2. Alinee la caja de cableado contra la parte posterior de la luminaria y
apriete los tornillos para asegurarla en su lugar.
Posicionador deslizable:
1. Empalme los cables de energía de la luminaria con los cables de energía del circuito de derivación y empuje el empalme en el interior del
poste.
2. Empalme el posicionador deslizable en el extremo del poste, rote a la
posición deseada y apriete los tornillos.
3. Desenrosque los tornillos Philips en el lado del posicionador deslizable
y remueva la lámina de bisagra.
4. Aoje el perno hexagonal dentro de la bisagra, ajuste la luminaria en el
ángulo deseado y apriete de nuevo. Reubique la cubierta.
Trunnion:
1. Monte el soporte Trunnion en su lugar usando los pernos provistos.
2. Conecte el cable a prueba de agua de la luminaria en el interior del
poste usando el conector a prueba de agua. Empalme los cables de
energía a los cables del circuito de derivación, negro con negro (fase),
blanco con blanco (neutro), y verde con verde (tierra).
3. Remueva el tornillo de ajuste en la bisagra del Trunnion y ajuste el
ángulo deseado. Reubique el tornillo.
Articulación:
1. Empalme los cables de energía de la articulación con los cables del
circuito de derivación y ubique el empalme dentro del agujero.
2. Atornille la articulación en el agujero, gírela en el ángulo deseado,
luego apriete la tuerca del montaje.
3. Aoje los tornillos Allen en el lado de la bisagra de la articulación y
ajuste el ángulo deseado, después vuelva a apretar.
NOTA: El módulo LED es pre-instalado y pre-ubicado. NO ABRA la
unidad. NO TOQUE LA SUPERFICIE DE LOS LEDS. PRECAUCIÓN: Esta
luminaria puede ser instalada en posición de LENTE DESCENDENTE.
CABLEADO:
• Las unidades LED son de voltaje múltiple 120V-277V. No se requieren cables adicionales.
•
Cuando esta luminaria sea usada con una unidad de fotocontrol, asegúrese de que el
requisito de voltaje de fotocontrol coincida con el voltaje del circuito.
LISTA DE RESOLUCIÓN DE PROBLEMAS: Si la luz no funciona
✓ Revise su fuente de energía. ✓ Revise las conexiones eléctricas.
 Loading...