

Page 1
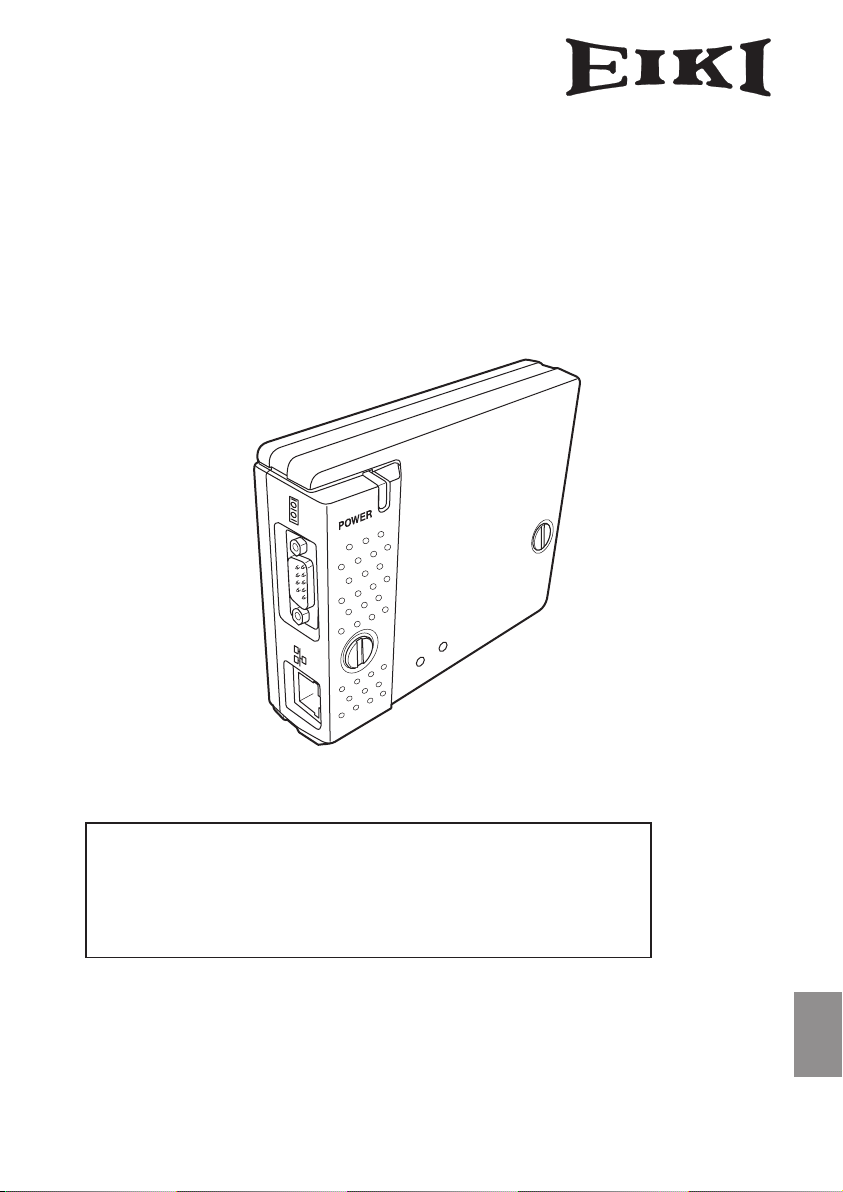
PjNET-30
LINK
AC
T
OWNER'S MANUAL
The owner's manuals of Pj-to NetDirector are included on the supplied document CD-ROM as the PDF file format. To read the owner's manual, set the document CD-ROM onto your computer and follow the guide on the screen.
To read the owner's manual, you need the Adobe Reader (Adobe Acrobat
Reader) version 6.0 or later software in your computer. The Adobe Reader can be
obtained from the Adobe website (http://www.adobe.com).
Pj-to NetDirector
Quick Setup Guide
ENGLISH
Page 2

Read this First
Tested To Comply
With FCC Standards
FOR HOME OR OFFICE USE
EIKI PjNET-30
Compliance
Federal Communication Commission Notice
This equipment has been tested and found to comply
with the limits for a Class B digital device, pursuant to
part 15 of the FCC Rules. These limits are designed to
provide reasonable protection against harmful interference in a residential installation. This equipment generates, uses and can radiate radio frequency energy and, if
not installed and used in accordance with the instructions, may cause harmful interference
to radio communications. However, there is no guarantee that interference will not occur
in a particular installation. If this equipment causes harmful interference to radio or television reception which can be determined by turning the equipment off and on, the user is
encouraged to try to correct the interference by one or more of the following measures:
- Reorient or relocate the receiving antenna.
- Increase the separation between the equipment and receiver.
- Connect the equipment into an outlet on a circuit different from that to which the
receiver is connected.
- Consult the dealer or an experienced radio/TV technician for help.
Use of shielded cable is required to comply with class B limits in Subpart B of Part 15 of
FCC Rules.
Do not make any changes or modifications to the equipment unless otherwise specified in
the instructions. If such changes or modifications should be made, you could be required
to stop operation of the equipment.
Model Numbers : PjNET-30
Trade Name : EIKI
Responsible party : EIKI International, Inc.
Address : 30251 Esperanza Rancho Santa Margarita CA 92688-2132
Telephone No. : 800-242-3454 (949-457-0200)
2
Page 3
Read this First
CAUTION ON USE IN NETWORK
- When you receive an alert e-mail from the projector, you must check the projector
immediately. Fire or accident may result if the projector is used in an abnormal
condition.
- When you install the projector at remote location and use it through the network, you
must perform the safety inspections periodically. In this case you must pay attention to
the change of environment in which you installed the projector. It may cause fire or an
accident depending on the change of environment.
CAUTION
Eik i International, Inc. assumes no responsibility for the loss or damage of data or
damage of the computer caused by usung this product.
The CE Mark is a Directive conformity mark of the European Community (EC).
NOTES ON Lithium Battery (CALIFORNIA USA ONLY)
This product uses a Lithium Battery which contains Perchlorate Material - special handling may apply. See www.dtsc.ca.gov/hazardouswaste/perchlorate
Notas acerca de pilas de litio (SOLO PARA CALIFORNIA, EE.UU.)
Este producto usa una pila de litio que contiene el material perclorato – puede ser necesario una manipulación especial.
Consulte la página www.dtsc.ca.gov/hazardouswaste/perchlorate
Pj-to NetDIrector
QUICK SETUP GUIDE
ENGLISH
3
Page 4

Read this First
L
I
N
K
A
C
T
Quick Setu
p
Guide
Package contains
The package contains following items. Check each item as you unpack the package. If you
have any of the following items missing, contact the sales dealer.
❑ Network unit 1 piece
❑ Quick Setup Guide 1 piece
English/Japanese
❑ Software CD-ROM 1 piece
Network Viewer & Capture 3 software
PJ Network Manager software
❑ Document CD-ROM 1 piece
Pj-to NetDirector Owner's Manual
PJ Network Manager Owner's manual
How to read the Owner's Manual on CD-ROM
The owner's manuals of PJ-Net Organizer are included on the supplied document
CD-ROM as the PDF file format. To read the owner's manual, set the document CD-ROM
onto your computer and follow the guide on the screen.
To read the owner's manual, you need the Adobe Reader (Adobe Acrobat Reader) version 6.0
or later software in your computer. The Adobe Reader can be obtained from the Adobe website (http://www.adobe.com).
4
Page 5

Read this First
Operating environment
To perform the managing and setting of the projector by using this product, the environment described below is required.
Standard mode
Operating System
Recommended CPU
Computer environment
Memory
HDD free area
Drive equipment
Display setting of
computer
Network card
Web Browser*
Plug-Ins
Internet Mailer*
FTP Service *
Windows 98, Windows Me, Windows NT4.0SP6
Windows 2000, Windows XP
Higher than Pentium III 900MHz
64MB (Minimum)/ 128MB or more(Recommended)
128MB or more for WindowsXP
100MB or more
CD-ROM drive
Support one of following resolutions;
VGA (640 x 480), SVGA(800 x 600), XGA(1,024 x 768) Number of col-
ors: Either of 16 bit (65,536 color 24/32 bit (16,77 million colors))
The computer must provide a 10Base-T or 100Base-TX network
card.
Internet Explorer version 5.0, 5.5 or 6.0
Netscape Navigator version6.2, 7.0 or 7.1
* Used to control and set up the projector. The layout of pages in
the browser may slightly differ from each type of application or
operating system you use.
Adobe Flash Player version 6,0,79,0(6.0r79) or later
- Microsoft Outlook - Microsoft Outlook Express
- Netscape Mail
* Required the internet e-mail application software to receive an
e-mail alert sent from this product. If you do not use the function
E-mail Alert, this application is not required.
- FTP server (Windows 2000 Professional or Windows XP
Professional)
* The FTP service provided with the Windows 2000 Professional
or Windows XP Professional is required when using the Network
Viewer function.
This product is designed for the projectors listed below.
LC-X71 series, LC-XG250 series, LC-XG300 series and LC-X80 series
PDA restriction
The PDA can be used for the Light mode*1 only. The operating system of the PDA is
PocketPC2002 or higher. The version of the Adobe Flash Player is 6,0,81,0 or higher.
*1 The "Light Mode" and "Standard Mode" will be explained on item "Display Mode" (☞ p.10)
Pj-to NetDIrector
QUICK SETUP GUIDE
ENGLISH
5
Page 6

Setting up
LINK
AC
T
Name and function of each part
(Top View)
(Bottom View)
POWER indicator
This lights up red when the network
function is set ON in the projector
menu.
Mounting screws
Mount by using a coin etc.
ACT indicator
This turns on and off with green when
sending or receiving of data
LINK indicator
This lights up red when the network unit is
connected to the network correctly.
Connector plug
Connecting to the terminal on the projector.
Serial port
Used to control the external equipment
via the network.
LAN port
Connecting the LAN cable.
6
Page 7

Installation and network configuration
Setting up
Mounting
1 Disconnect the AC plug from the projector.
Connector Cover
Screw Cover
2 Remove the connector cover and screw
covers (2 pieces) from the projector and
insert plug on this product to the option
connector.
3 Tighten two screws by using a coin etc.
Screw Cover
Connection of LAN cable
To connect to the network, it is required to use the UTP (Unshielded Twisted Pair) straight cable
with RJ-45 plug. There are two different types of cables depending on whether the network is
constructed with 10Base-T or 100Base-TX. Prepare the Hub (10Base-T or 100Base-TX) to distribute the network cable if required.
1 Disconnect the AC plug from the projector.
2 Connect the UTP straight cable to the LAN port on the network unit.
3 Connect the UTP straight cable to the hub.
Hub
(10Base-T, 100Base-TX)
Projector
UTP straight cable
✐ AC cord must be disconnected when mounting or removing this product otherwise it may dam-
age the product.
✐ Use the UTP cross cable when you connect the computer and projector directly not using the hub.
✐ When you connect the projector into the 10Base-T network, use cable with category 3 or 5. When
you connect the projector into the 100Base-TX network, use cable with category 5.
✐ The length of cable between hub and projector should be less than 100m.
Pj-to NetDIrector
QUICK SETUP GUIDE
ENGLISH
7
Page 8

Setting up
L
I
N
K
A
C
T
Network configuration
Confirmation of the network menu
When installing this product to the projector, the network on-screen menu items for this
product are activated automatically. If not activated, the product may not have been
installed correctly. Please check item "Mounting" (☞ p.7).
Configure the network
Before performing the network configuration, prepare network address numbers (IP
Address, Subnet Mask, Default Gateway, DNS) assigned to the projector. Ask your network
administrator for the network address.
For example, the case where the following network address is set up is explained.
IP Address : 192.168.1.201
Subnet Mask : 255.255.255.0
Default Gateway : 192.168.1.1
DNS : 0.0.0.0
The default network configuration is set as follows.
IP Address : 192.168.0.2
Subnet Mask : 255.255.255.0
Default Gateway : 0.0.0.0
DNS : 0.0.0.0
1 Selection of network menu
Turn on the projector and display the menu on the screen. Select "Network setting" icon
from the main menu and then press SELECT button once. Check that the mode is "On".
If not, change mode to "On" using the point buttons (7,8).
Select "On" or "Off"
with 7,8 but ton
(Example of the screen display)
✐ The network unit begins restarting each time the mode is set "On".
8
Network icon
Page 9

Setting up
1
2 Configuration for IP Address/ Sub net/ Gateway*
/DNS*
2
Press SELECT button again. The following network setting pallet appears on the screen.
Enter the specified network addresses.
The red frame moves sequentially left or right with 7 8 button. The number up or down
with d e button.
(Example of the screen display)
* Without the above method of using point buttons, there are some methods to set the
network address, using the screen 10-key pallet or using the direct 10-key entering with
the remote control. But these methods differ depending on each model of the projector. See PJ-Net Organizer Owner's manual on the CD-ROM for further instructions
3 Fixing the network configuration
After completing the entering of address, select "Set" and
press SELECT button.
and displays message "Please wait..." on the screen until
the re-booting is complete.
cord during this period. After that the network setting pallet
will disappear on the screen.
The network unit starts re-booting
Do not disconnect the AC
(Example of the screen display)
Completing of installation
Now the installation is complete. The IP address of this projector is set to "192.168.1.201".
Item Description
IP address .............Sets IP address of the projector
Sub net ...................Sets Subnet mask. Normally sets 255.255.255.0
Gateway*1 ............. Sets IP address of the default gateway (Router)
DNS*2 .......................Sets IP address of the DNS server. Must be set when using the e-mail function
✐
Refer to the projector's owner's manual for operation of the projector.
*1 In the network environments not using a Gateway or Router, the Gateway address should be set to [0.0.0.0].
*2 If you do not use the functions E-mail or DNS server, it is also set [0.0.0.0] for the DNS address.
Pj-to NetDIrector
QUICK SETUP GUIDE
ENGLISH
9
Page 10

Setting up
Login the setting page of the projector
1 Enter the IP address
Launch the web browser installed in your
computer, enter the IP address into the
"Address" on the browser and then press
"Enter" key.
Enter the address (192.168.1.201) that you
configured in item "Network configuration" (☞ p.9). The default IP address is [192.168.0.2].
2 Select a display mode and login
This product provides 2 types of control mode, Standard Mode and Light Mode as the
below. Select a proper mode to match your PC and network environment by clicking
on the text link.
STANDARD MODE For co mputer display, dis p l ays
graphical menus and settings. This
mode is recommended for standard
use.
LIGHT MODE Displays with 200 x 300 dots. This
mode is optimized for use of the
handheld computer, PDA, etc. It is
also convenient if the network traffic is heavy. (This mode has some
limitations on the network viewer
and multi-control functions.)
If the set tin g page has set the password, the
authentication window will appear. In this case type
"user" onto the User Name text area and the login
Network PIN code onto the Password text area and
then click OK button.
* The entering User Name must be "user" and it can not be
changed.
[Note]
When accessing the projector for the first time or the
Network PIN code "0000" is set, the auto-login will be performed and the next main setting page is displayed.
10
Page 11

Setting up
3 Display of main setting page
The following main setting page will be displayed according to your display mode
selection. Perform various kinds of settings through this page. Click on the menus to display the control and setting pages.
z Main setting page in the Standard Mode display
Clock display
Display on or off by
clicking text ON or
OFF
Sub menu tab
Switches the sub
menu tab
Page numbers
Switches the pages
by clicking the
number's tab
Main menu
For selection of control and
setting items of the projector
✐ If your computer does not have the Adobe
Flash Player version 6 or later, follow to the
message on the control page to install the
Adobe Flash Player. For further product
information or installing, see the Adobe
website. http://www.adobe.com
Setting page
Displays the control and
setting items according to
the selected menu
Returns to Display
Mode selection
page(☞ p.10)
Pj-to NetDIrector
QUICK SETUP GUIDE
ENGLISH
11
Page 12

Software Installation Guide
Installing the software
To install the software into the computer with Windows 20 00, Windows XP or
Windows NT, you should logon as administrator. Before installation, make sure that
the other applications are closed, otherwise installation cannot be made properly.
Network Viewer & Capture 3 installation
1 Set the supplied Network Viewer & Capture
3 CD-ROM into the CD-ROM drive of your
computer. Double click SetupTool.exe icon
in the "Tool" folder in the CD-ROM.
2 Selec t "English [United States]" from the
pu ll- down menu on the "Cho ose Setup
Language" window and click OK button to
start installing and then follow the installation wizards.
Installed software
The following 3 software are installed on your computer.
● Network Capture 3:
Capture the displayed image of the computer and serve it to the projector via the network.
This software is registered into "startup folder" of the computer and the capture icon
stays on the task bar after booting the computer.
● Network Viewer 3 (File Converter 1):
Converts to the JPEG data format which can be projected with the projector from the
JPEG, bitmap and Power Point files.
● Network Viewer 3 (Program Editor) :
This is a tool to make the program which has a function to specify and order the projecting JPEG image data stored in the file servers.
File Converter 2 Installation
1 Set the supplied Network Viewer & Capture
3 CD-ROM into the CD-ROM drive of your
computer. Double click SetupDrv.exe icon
in the "Driver" folder in the CD-ROM.
2 Select "English [United States]" from the
pull-down menu on the language selection
window and then click Install button to
start installing.
12
Page 13

Installed software and places
Network Viewer 3 (File Converter 2) is installed in
the "Printers and Faxes" folder in the "Control Panel".
● Network Viewer 3 (File Converter 2):
This is a kind of the printer driver to convert to
the JPEG data optimized to project by the projector from any of the documents created by
the application software.
PJ Network Manager installation
1
Set the supplied CD-ROM into the CD-ROM
dr i v e of yo ur compu te r. Do ub le cli c k
Set upTo o l.exe i con in th e "PJ Ne t work
Manager" folder in the CD-ROM.
2 Sele ct "[English [United States]" from the
pull-dow n me nu on t he "Choo se Se tup
Language" window and click OK button to
start installing and then follow the installation
wizards.
Software Installation Guide
● What's PJ Network Manager
PJ Network Manager is a SNMP manager software for the network equipment which
supports the private MIB (Management Information Base).
By installing the PJ Network Manager to the computer, you can monitor the equipment
simply such as the projector, the projection monitor and the flat display monitor connected to the network.
For further instructions, see PJ Network Manager Owner's Manual included on the
CD-ROM.
This software supports the below Operating System only.
Windows 2000 Professional SP4
Windows XP Home Edition SP1
Windows XP Professional SP1
Pj-to NetDIrector
QUICK SETUP GUIDE
ENGLISH
13
Page 14

U.S.A.
EIKI International, Inc.
30251 Esperanza
Rancho Santa Margarita
CA 92688-2132
U.S.A.
Tel : 800-242-3454 (949)-457-0200
Fax : 800-457-3454 (949)-457-7878
E-Mail : usa@eiki.com
Canada
Deutschland & Österreich
EIKI Deutschland GmbH
Am Frauwald 12
65510 Idstein
Deutschland
Tel : 06126-9371-0
Fax : 06126-9371-14
E-Mail : info@eiki.de
China
EIKI (Shanghai) Co.,LTD
1. Dapu Road, Golden Magnolia
Plaza #2109 Shanghai,
200023 China
Tel : 86-21-5396-0088
Fax : 86-21-5396-0318
E-Mail : info@eiki-china.com
Eastern Europe
EIKI CZECH spol. s.r.o.
Umelecká 15
170 00 Praha 7
Czech Republic
Tel : +42 02 20570024
+42 02 20571413
Fax : +42 02 20571411
E-Mail : easterneurope@eiki.de
Japan & Worldwide
EIKI Industrial Company Limited.
4-12 Banzai-Cho, Kita-Ku, Osaka,
530-0028 Japan
Tel : +81-6-6311-9479
Fax : +81-6-6311-8486
WorldWide Website http://www.eiki.com
ˆ
EIKI CANADA - Eiki International, Inc.
P.O. Box 156, 310 First St. - Unit 2,
Midland, ON, L4R 4K8, Canada
Tel : 800-563-3454 (705)-527-4084
Fax : 800-567-4069 (705)-527-4087
E-Mail : canada@eiki.com
QUICK SETUP GUIDE PjNET-30
© 2007 Eiki International, Inc.
 Loading...