

Page 1
EPILEPSY WARNING
A very small percentage of individuals may experience epileptic seizures when
exposed to certain light patterns or flashing lights. Exposure to certain patterns or
backgrounds on a television screen or while playing video games may induce an
epileptic seizure in these individuals. Certain conditions may induce previously
undetected epileptic symptoms even in persons who have no history of prior seizures
of epilepsy. If you, or anyone in your family, have an epileptic condition, consult your
physician prior to playing. If you experience any of the following while playing a
video game – dizziness, altered vision, eye or muscle twitches, loss of awareness,
disorientation, any involuntary movement, or convulsions – IMMEDIATELY
discontinue use and consult a physician before resuming play.
PRECAUTIONS TO TAKE DURING USE
• The PC compact disc is intended for use exclusively on IBM compatible systems
with the minimum configurations specified on the system requirements of the
game purchased.
• Do not stand too close to the screen. Sit a good distance away from the monitor,
as far away as the length of the cable allows.
• Avoid playing if you are tired or have not had much sleep.
• Make sure that the room in which you are playing is well lit.
• Rest for at least 10 to 15 minutes per hour while playing a video game.
HANDLING YOUR COMPACT DISC
• Avoid bending the disc. Do not touch, smudge or scratch its surface.
• Do not leave the disc in direct sunlight or near a radiator or other source of heat.
• Take occasional rest breaks during extended play.
• Always store the disc in its protective case.
CONTACTING TECH SUPPORT
If you have a technical problem with the game, our Support Department is here to help. Our web site contains upto-date information on the most common difficulties with our products; this information is the same as that used by
our support agents. If you are unable to find the information you need on our web site, please feel free to contact
us via email, fax, telephone or letter. (When contacting us via email or fax, please ensure you put the game title in
the subject of your message.)
ASSISTANCE VIA THE WORLD WIDE WEB
The fastest way to answer most questions is by visiting our online support. You may find the latest support
information at http://support.eidosinteractive.com/GI/CustomerSupport/FaqSearch.jsp. Our support FAQs are
available 24-7 for your convenience. These pages are updated frequently and have the same information that our
support techs will use to answer your question if you call or email us. The answers to about 90% of the questions
we are asked can be found there, so it really is worth the time to take a look!
The second fastest way to get an answer to your question is to email us. (You will find our email submission forms
at our web site.) We typically respond to email queries within 24-48 hours during the business week. Response
times can be considerably longer over the weekend, holidays and immediately after a product release. It all
depends on how many people we have working and how much email is coming in at any one time, but we do try
really hard to get you the right answer as quickly as possible. Weekdays, excluding holidays, during the hours
when the phones are open, we still give email questions our highest priority.
Through this site you will also have access to our FTP (File Transfer Protocol) area where you can download
patches and new enhancements as soon as they become available.
ASSISTANCE VIA TELEPHONE OR FAX
We are available to take your calls Monday through Friday from 9:00 a.m. to 12:00 p.m. and 1:00 p.m. to 5:00 p.m.,
Pacific Time at (415) 615-6220 (voice) or (415) 547-1201 (fax). Our tech support department is closed on all major
holidays. Note: You are responsible for all toll charges when calling.
To ensure the quickest service you will need to be at your computer and have the following information at hand:
• A complete listing of your computer’s hardware. (Contact your computer manufacturer if you are unsure.)
• What version of Windows
• A copy of your DirectX Diagnostics report.
– Click on Start.
– Click on Run.
– Type dxdiag.
– Click on OK.
– Click on the Save Information button and save the file to your computer.
– When you call our Technical Support line either have this file open or have a printed copy. If you send an
email query you may attach the file to the email.
• What error message(s), if any, you have had.
• How the game is currently configured.
NOTE: OUR SUPPORT AGENTS DO NOT HAVE AND WILL NOT GIVE GAME HINTS, STRATEGIES OR CODES.
®
you are using.
ESRB RATING
This product has been rated by the Entertainment Software Rating Board.
For information about the ESRB rating, or to comment about the appropriateness
of the rating, please contact the ESRB at 1-800-771-3772.
REGISTER YOUR GAME AT
www.eidosregistration.com
PRODUCT RETURN PROCEDURE
In the event our support agents determine that your game disc is defective, you will need to forward material
directly to us. Please include a brief letter explaining what is enclosed and why you are sending it to us. The agent
you speak with will give you an authorization number that must be included and you will need to include a daytime
phone number so that we may contact you if necessary. Any materials not containing this authorization number
will be returned to you unprocessed and unopened.
Your postage paid package should be sent to the following address:
WARRANTY POLICY
If our technicians determine that the product storage medium is found to be defective within ninety (90) days of
original purchase (as described in Eidos, Inc.’s Limited Warranty), Eidos, Inc. will replace the item, free of charge,
to the original purchaser, if the item is accompanied by the original dated sales receipt, packaging and RMA#.
If you do not have the original receipt or the warranty period has expired, Eidos, Inc. will replace the disc
for a nominal fee.
Note: You are responsible for postage for your game to our service center.
Eidos, Inc. Customer Services
RMA# (include your authorization number here)
651 Brannan Street, suite 400
San Francisco, CA 94107
Page 2
FPO
Inside Front Cover
Actual IFC is at the top of this document
CONTENTS
INTRODUCTION . . . . . . . . . . . . . . . . . . . . 2
INSTALLATION . . . . . . . . . . . . . . . . . . . . . 2
MAIN MENU. . . . . . . . . . . . . . . . . . . . . . . 3
IN-GAME MENU . . . . . . . . . . . . . . . . . . . . 6
CAMPAIGNS AND TUTORIALS. . . . . . . . . . . 7
ENVIRONMENT . . . . . . . . . . . . . . . . . . . . . 8
MOVEMENT . . . . . . . . . . . . . . . . . . . . . . 10
INTERFACE . . . . . . . . . . . . . . . . . . . . . . . 14
WEAPONS . . . . . . . . . . . . . . . . . . . . . . . 15
GENERAL ACTIONS. . . . . . . . . . . . . . . . 18
EQUIPMENT AND SPECIAL ABILITIES. . . 19
BACKPACK. . . . . . . . . . . . . . . . . . . . 24
TACTICAL INTERFACE . . . . . . . . . . . . 25
ALLIED SOLDIERS . . . . . . . . . . . . . . 26
NAZI ARMY . . . . . . . . . . . . . . . . . . 27
SELECTING CHARACTERS . . . . . . . . . 29
HEAVY WEAPONS . . . . . . . . . . . . . . 30
VEHICLES . . . . . . . . . . . . . . . . . . . . . . 31
PYRO STUDIOS . . . . . . . . . . . . . . . . . . . 32
EIDOS, INC. . . . . . . . . . . . . . . . . . . . . . . . 33
Please note: Screenshots in this manual may not represent
those in final game.
This product contains software technology licensed
from GameSpy Industries, Inc. (c) 1999-2003 GameSpy
Industries, Inc. All rights reserved.
Page 3
INTRODUCTION
MAIN MENU
Hello, Officer. My name is Colonel Montague Smith. If this is your first action
behind enemy lines with the Commandos team, welcome. If you have fought
with us before, then it’s good to have you back with us.
As you may or may not know, the Nazi army has grown in strength and
threatens the free world. You and you alone must mastermind the Commandos
team’s incursions deep within enemy territory to thwart Hitler’s plans and fend
off his vile army.
INSTALLATION
Now listen carefully. This is the technical part, short and sweet.
If the Autorun CD option is enabled on your computer, the automatic installation
will begin when you insert Disc 1 of Commandos 3: Destination Berlin
into the CD-ROM drive.
Otherwise, browse in the root directory of your CD unit and run the file
Setup.exe. Then follow the onscreen instructions to install the game.
During the installation process, you’ll be asked if you want to install GameSpy
(for multiplayer games through the Internet). Answer YES to install GameSpy
onto your computer and follow the onscreen instructions.
™
™
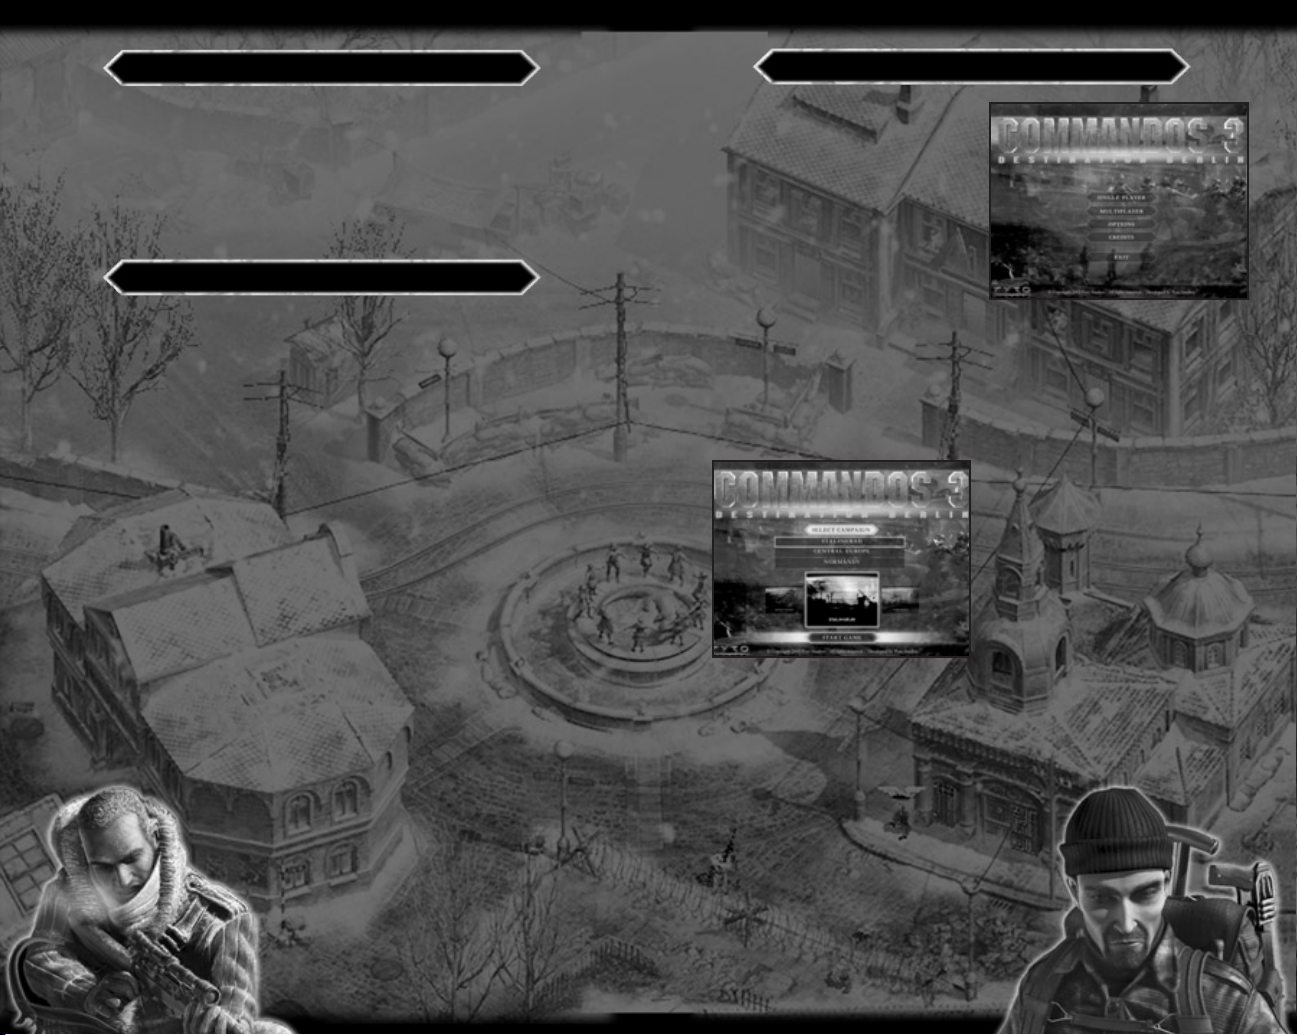
The first thing to do is choose how you
want to engage the enemy. You can
move through the game menus using
the mouse or the arrow keys. When an
option is highlighted, you can choose it
by pressing Enter or by clicking with the
left mouse button.
SINGLE-PLAYER
Select a Game Profile and a campaign
to begin play. Each new player will have
to start campaigns from the beginning.
Load Game
Select the game you want to load from the list of saved games.
There is a screen capture to help you remember where you were.
Quick Load
Load the last mission saved in Quick Mode.
Select Campaign
You can choose from three campaigns:
Stalingrad, Central Europe, and
Normandy. You can access any one
of these from the start of the game.
Tutorial
Review basic instructions on how to use
your Commandos team.
Selected Game Profile
This shows the current Game Profile
of your player.
Create New Game Profile
The first time you play, you can create a Game Profile and assign a name
for your player. This is where your selected game options and campaign progress
will be saved.
Load Game Profile
This allows you to select and access data
in an existing Game Profile.
Delete Game Profile
This allows you to delete a Game Profile.
2
3
Page 4
MULTIPLAYER
1. CONNECTION TYPE
TCP/IP (LAN)
2. SELECT A GAME PROFILE
This allows you to select an existing
Game Profile.
3. CREATE A MULTIPLAYER GAME
Game Type
There are three types of games:
• Commandos vs. Commandos vs. Nazis
• Commandos + Allies vs. Commandos + Allies
• Allies vs. Allies
Game Mode
• Deathmatch - The last team alive wins.
• Capture the Flag - The team that has the most flags when the game timer
runs out wins.
No. of Players
Depending on the number of teams, 2 to 12 (LAN) players can play.
No. of Teams
From 2 to 4 teams can play. If there is more than 1 player per team, the game
will automatically be divided into 2 teams. If there are more than 2 teams,
there can only be 1 player per team.
Victory Conditions
• Time - The person creating the game can choose the maximum length
of the game. Once the time limit is reached, the one with the most points
wins. The game will also end when only one of the teams is left alive.
• Points - The person creating the game can select the number of points
that must be reached to end the game.
The game will also end when only one of the teams is left alive.
Map Selection
There are different sized maps - keep this in mind when creating multi-player
games because it has a direct effect on gameplay.
4. SELECT TEAM
Select the team that you want to play in and the Commandos that you are
going to have under your command.
5. CONFIRM GAME
Once you have selected all of the parameters, you have to wait for the rest
of the players to connect and confirm that they are ready to start the game.
JOIN A MULTIPLAYER GAME
1. SELECT MULTIPLAYER GAME
Select a game from those created at that time.
2 SELECT TEAM
Select the team that you want to play in and the Commandos that you are
going to have under your command.
3. CONFIRM GAME
Once the game has been selected and you have joined a team, confirm
that you are ready so that the person who created the game can launch.
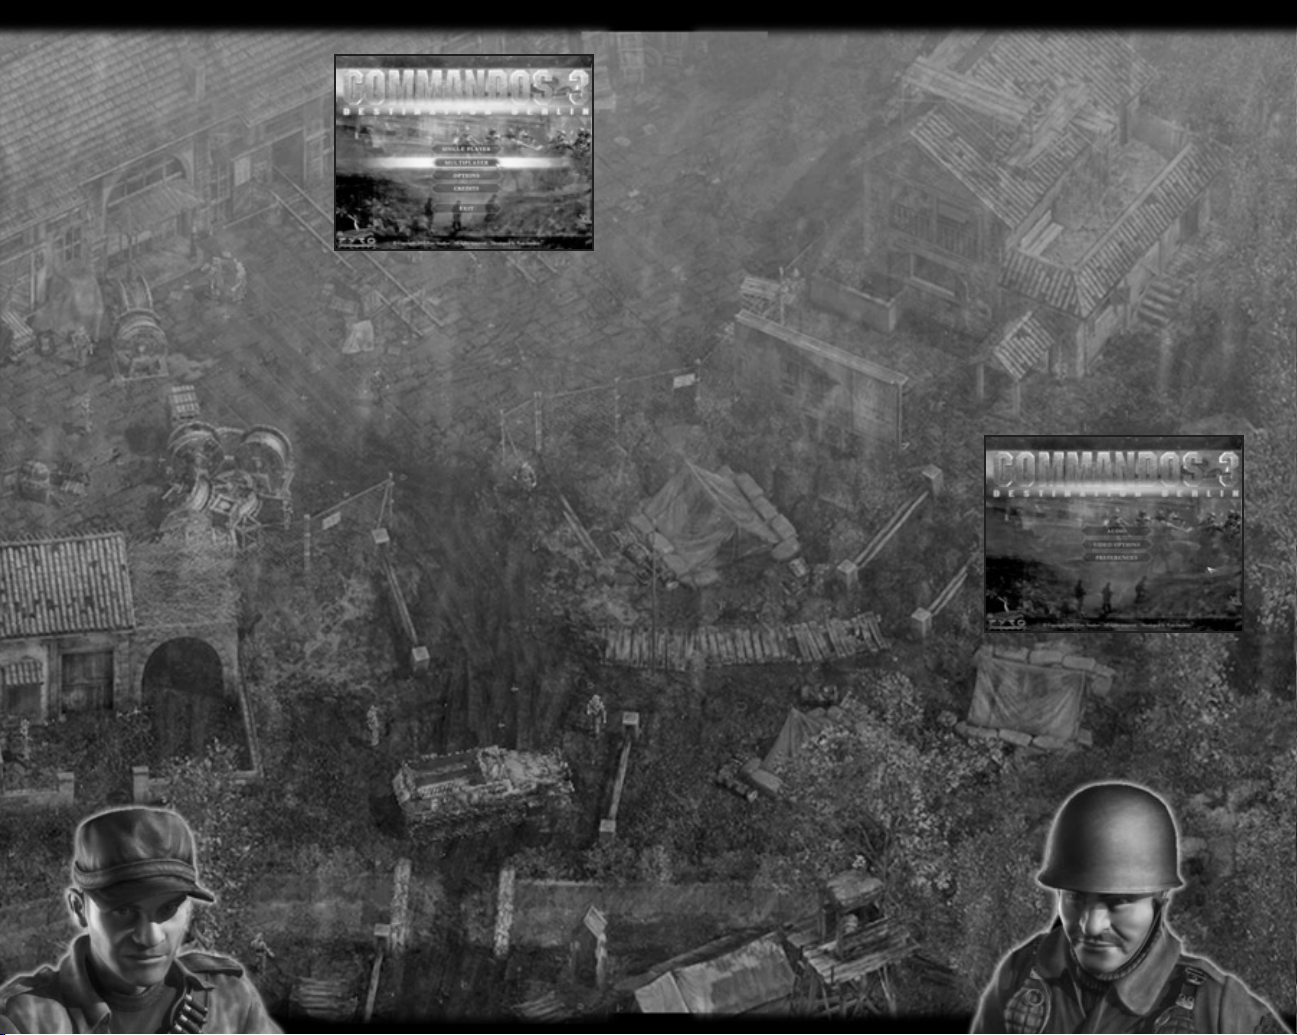
OPTIONS
AUDIO
• Master Volume — Changes the overall
volume level.
• Music Volume — Changes the volume
of the music.
• SFX Volume — Changes the volume
of the game’s special effects.
• Character Volume — Changes
the volume of the human voices
during the game.
• Music On/Off — Allows you to select whether or not you would like to listen
to the game music during the missions.
VIDEO
• Graphic Quality — Allows you to select the graphic quality for the game in
order to adapt the game to match your machine ability. The type of game will
not change, just its appearance on-screen.
The Low Quality option is recommended
for medium-level computers; High Quality
for high-level computers.
CREDITS
View a list of the team that brought you
Commandos 3: Destination Berlin.
EXIT
Allows you to exit the game.
4
5
Page 5
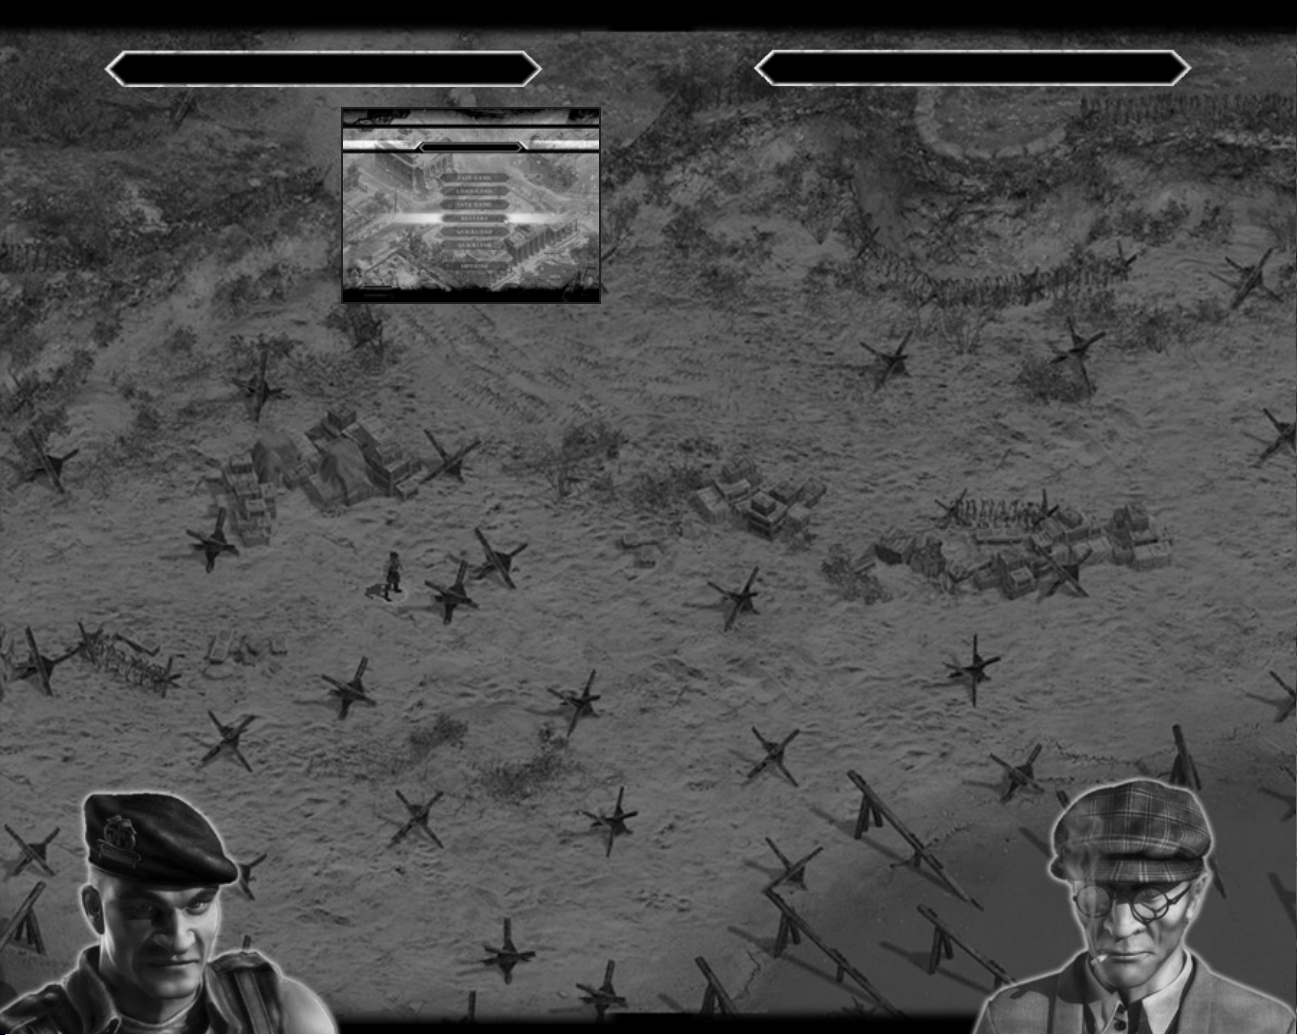
IN-GAME MENU
During each incursion, you can access
the menu by pressing the Esc key.
The game will pause while you are
in this menu.
You can move through the game menus
using the mouse or the arrow keys.
The option highlighted can be selected
by pressing Enter or by double-clicking
with the left mouse button. If you click
the right mouse button or press
the Esc key, you will return
to the previous menu.
Exit the Game
Exit the game without saving changes.
Load Game
Select the game you want to load from the list of saved games. There is a screen
capture to help you remember where you were.
Save Game
Save the game in progress. The current screen is captured to help you remember
where you were when you load the game at a later time.
Restart
Start the mission from the beginning.
Quick Load
Quick Load the last Quick Saved game. You can also press the F11 key from
within the level to directly load the Quick-Saved game.
Quick Save
Quick-Save your current position. You can also press the F9 key during the game
to avoid going into the menu. There is only one Quick Save, so each time you
save, you will lose the previous situation. If you would like to save a game
situation indefinitely, use the Save Game option from the menu and you will be
able to load and resume that game at any time.
Options
Configure the Sound and Video options.
A more detailed explanation is available on page 5.
CAMPAIGNS AND TUTORIALS
You must lead your deadly Commandos team throughout Europe. You will carry
out missions that hinder and disrupt enemy advancement. You will work with
the Allied army for larger scale encounters. Remember: we must defeat the Nazi
army and its hunger for world domination!
Commandos 3: Destination Berlin is divided into three campaigns - Stalingrad,
Central Europe, and Normandy. There is also a system of tutorials for new
officers who have no prior experience within the Commandos world.
THE TUTORIALS
If this is the first time you have taken a lead role in the Commandos series,
we recommend that you start with the tutorials. These will provide you with
a simple introduction to the Commandos world, giving you a step-by-step,
progressive explanation of everything you need to know. They also give you
instruction on how to control everything that happens in the game.
There are two tutorials: basic and advanced. In the basic tutorial you learn
everything about the execution of basic actions for movement and interaction
with enemies and environments. The advanced tutorial sends you on a guided
Commandos mission.
THE CAMPAIGNS
Stalingrad
We are in Stalingrad. A city of questionable strategic interest, it was once
the most fiercely guarded of Russian feudal kingdoms. It is now a city besieged
by Nazi troops. They seek to take control of Stalingrad and, as a result, control
one of Russia’s most powerful industrial centers. During this campaign, there
will be bloody guerrilla actions, some all out attacks, and some covert
operations in which snipers may play the main role. This is an important time,
a meeting of the Allied High Command must be held…
Our mission: Defend the life of Allied General Franklin O’Donnell, even
at the cost of our own.
Central Europe
The Franco-German border has been one of the most contended regions during
this war, and even more so during the last few years. Many convoys have had
to cross “the line” in order to transport weapons, troops, and supplies, giving it
vital logistical value in pursuing any military action.
The Nazis, because of their retreat from strongly
defended areas, have strengthened their forces
in the small town of Saint Avold, where they are
loading a train with all the works of art they
have looted during their stay in France.
Our mission: Prevent this train from reaching
Nazi territory.
6
7
Page 6

Normandy
This is the situation: an enormous Allied force has gathered for the final push
into France. Over 7000 ships and more than 150,000 men await off the coast
of England for the order to initiate Operation Overlord. The destinations of this
assault are the beaches of Normandy, code-named Utah, Omaha, Gold, Juno
and Sword. It is imperative to the Allied cause that the enemy troops stationed
there are in no position to reinforce the Nazis’ defense of the beaches.
Our mission: Eliminate Nazi support camps within the area.
ENVIRONMENT
VIEWS
You can assess your exterior view
from four different angles.
To scroll around each of the exteriors,
move the cursor to the edge of the
screen; you will scroll to the boundary.
You can also use the arrow keys
on the keyboard. Hold down the Shift
key while using either the mouse
or the keys to scroll quickly.
If you press the Alt key while moving
the mouse, the screen will move around the cursor. This is very useful
for seeing your men around you and not losing sight of them.
To rotate the view to the right, press the Alt key while clicking the right
mouse button or pressing the right arrow key. To turn the view to the
left, press the Alt key while clicking the left mouse button or pressing
the left arrow key. You can also use the wheel on your mouse to rotate
the camera.
In indoor scenes, the camera turns in the same way as with exterior
scenes, but the rotation is free and you can see the scene from any angle
you want by holding down the Alt key and moving the mouse from left
to right.
MULTIPLE VIEWS
You can also divide the main screen
into several windows by pressing
the F2 key. You can open up to three
different views by repeatedly pressing
the key. The active view will be
outlined in red. You can change views
by clicking with the left mouse button
on the view that you want.
Each window is completely
independent and you can zoom, use
the tracking camera, and control your
men in each one.
ZOOM IN – ZOOM OUT
You can zoom both indoor and exterior
environments. Press the + (plus) key to see the
details of the map up close. Press the - (minus)
key for a general view of the area.
To return to normal game scale, press the
(asterisk) key on the number keypad.
LOCATE THE ENEMY
Press the F5 key to see the location of all Nazis on the screen. Also, when you
go inside or outside, you can momentarily see all Nazis on the screen.
*
LOCATE INTERESTING OBJECTS
Hold down the F7 key to see objects of interest on the map.
THE CURSOR
Move through the scene by moving the cursor
to the boundaries. You can perform actions
by clicking the left mouse button and cancel
them by clicking the right mouse button
outside the interface.
The cursor is environment-sensitive;
you will notice this as you move around
the environment.
8
9
Page 7
MOVEMENT
WALKING AND RUNNING
To move the currently selected soldiers, click the left mouse button once
on the place you want to go to and the soldier will walk there.
If you want the soldier to run to the spot, double-click the left mouse button
on the destination point; you will get there faster but will make more noise
and you may give your position away to the enemy.
Your men will always take the shortest route. This route will be shortened
further if you order your man to run to that location, since he will jump over
obstacles if possible.
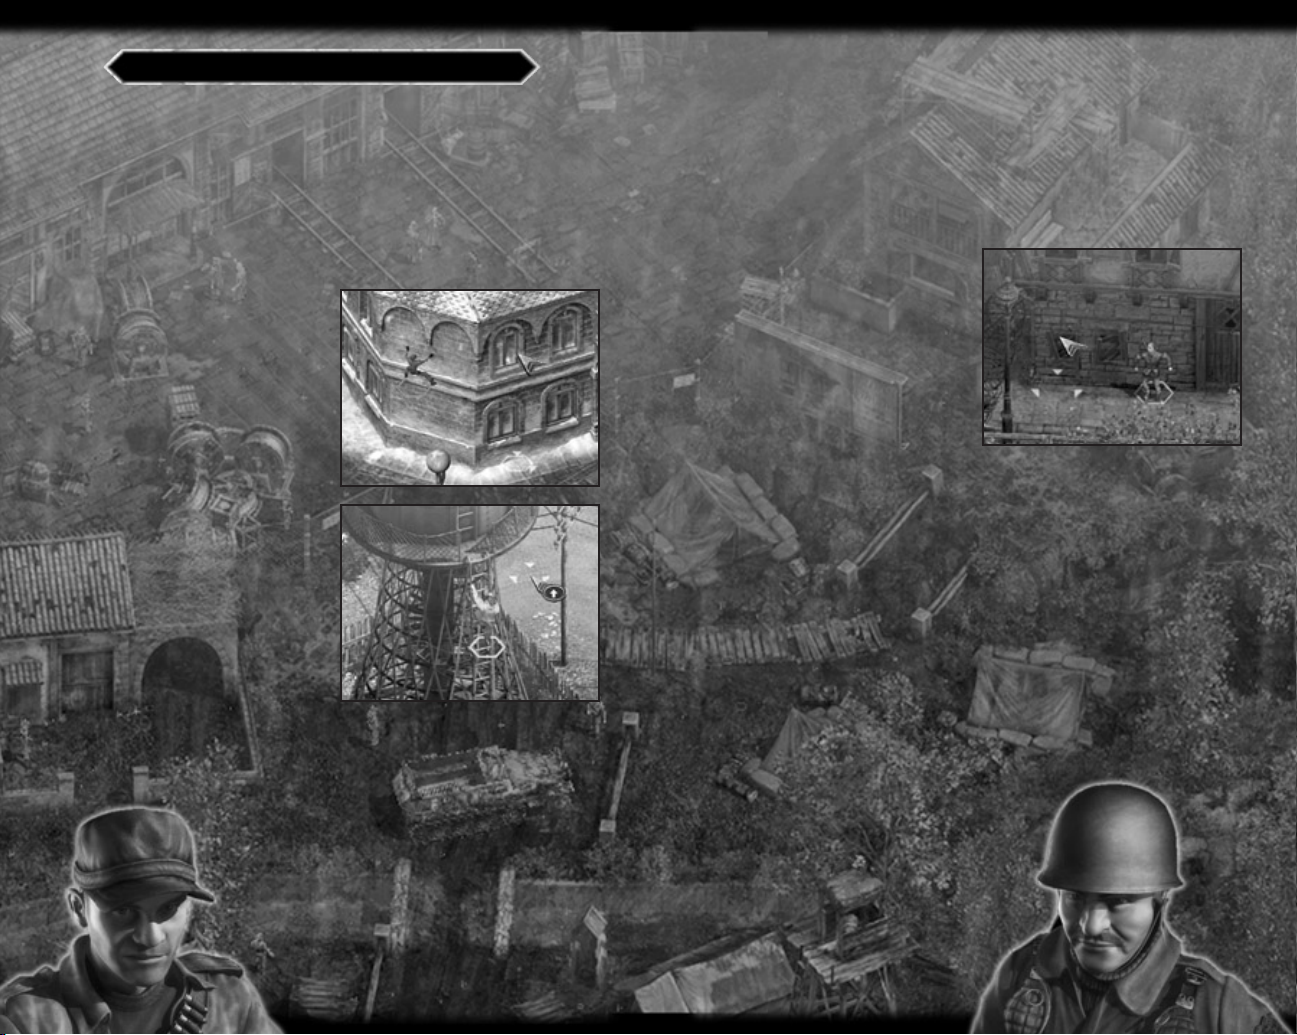
CLIMBING
The Thief can scale walls. Click on the
wall to climb. On some walls you can
move laterally and peer into windows
to then move inside. You cannot shoot
while hanging onto a wall. When you
exit through a high window with the
Thief or Green Beret, you will hang
directly from the face of the wall
or the wires that run to the window.
LADDERS
All your soldiers can use ladders.
Left-click a ladder to use it. You can
stop your ascent by right-clicking
and resume your climb by pressing
the left mouse button again. You
cannot defend yourself while climbing
a ladder.
SQUEEZE THROUGH GAPS
All your Commandos can crawl through
small holes in the scenery when lying
down. Left-click on the hole you would
like to crawl through.
SWIMMING
All of your men can swim. To dive into the water, left-click on it. If you want
to slip into the water without making noise, make sure your Commando is
lying on the ground before clicking on the water.
Once in the water, click once to swim without making noise, and double-click
to swim faster. This will make more noise.
To get out of the water, left-click on the bank and you will pull yourself out.
If you double-click, your Commando will stand up after getting out
of the water and will run to the specified location.
PRESS UP AGAINST A WALL
Blend into walls to help avoid being
seen. All of your men can press up
against walls.
If you left-click on the bottom
of a wall, your Commando will press
up against it and will only be visible
to enemies at close range, even
if he is not wearing a Nazi uniform.
By clicking on the bottom of the wall
to the left or right of your Commando,
you can move while against a wall,
maintaining your cover.
To move away from the wall, press the left mouse button
on the location you want to move to.
POLES AND WIRES
The Green Beret and Thief can climb to the top of poles to use the wires.
The Sniper can can shoot from the top of the pole.
Climb a pole by clicking on it with the mouse. Once at the top, move to the left
or right by clicking on the wire in the direction you want to move in. To stop,
press the right mouse button.
To drop to the ground, press the right mouse button when stationary.
If your Commando falls from a great height, he may be injured.
HIDING PLACES
The Thief can hide. Left-click on the hiding place to use it.
To exit, click either mouse button. Use the F7 key to
display places on the map where you can hide.
10
11
Page 8
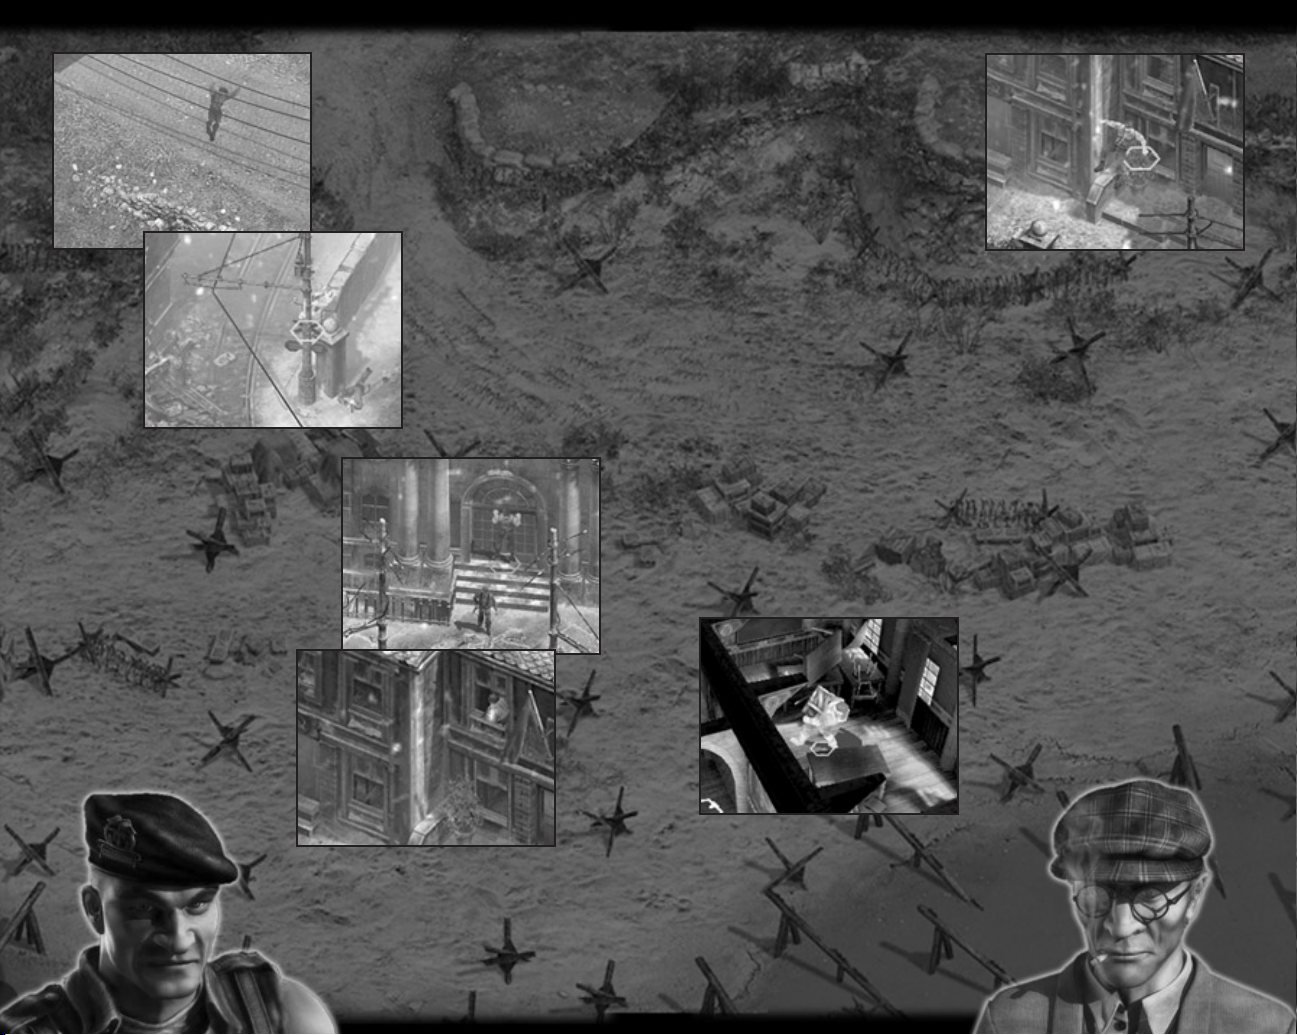
DOORS
All your men can use doors that are
unlocked. Left-click on a door to open
or close it. You can hide behind
open doors.
Some doors are locked. The Thief
may be able to use his Lockpicks
to open them.
You can also look through doors
to see what is on the other side
by selecting the Examine icon
or pressing the Z key and clicking
on the door.
You can also throw objects
through doorways.
If no one sees you climb onto a wire,
you will go unseen by the Nazis while
you are hanging from it.
To shoot using the Sniper, climb the pole,
take out your rifle and fire with the left
mouse button. To climb down, click the
right mouse button to put your gun away
and left-click at the base of the pole.
WINDOWS
All the Commandos can look through
windows that are at ground level.
The Thief is the only one who can climb
through them. You can look through
windows to see what is on the other
side by selecting the Examine icon
or pressing the Z key and clicking
on the window.
If you look inside, you will see
the interior of the room or building
in a window in the upper right corner
of the screen. If you are looking through a window with the Thief, you can also
climb through the window by clicking the left mouse button. You can climb
out of a room through the window with the Green Beret or Thief. Left-click
on a window to jump out. You can throw objects through windows.
PICK UP/LEAVE OBJECTS
All your Commandos can pick up and leave objects in the environment.
Click on the object you want to pick up to add it to your inventory.
The Green Beret can move large objects like boxes or barrels. To do this,
left-click on the object you want to move and then left-click on the place you
want to move it to. Once the object is moved, right-click to leave the object
on the floor. You cannot run while carrying a box or barrel.
All your Commandos can pick up dead or gagged soldiers and move them
using the same method. They cannot run while carrying soldiers on their backs.
To discard an object in your inventory, left-click on your backpack, select
the object and drag it out of the pack, and left-click outside the inventory
to leave the object on the floor. There is no icon for this action.
BOXES
These may contain weapons,
ammunition, medical kits,
or different objects.
The Green Beret can pick them up
and move them to a different location.
12
EXPLOSIVE BARRELS
All your men can shoot at fuel barrels to make
them explode. Fire any weapon at an explosive
barrel to blow it up.
13
Page 9
INTERFACE
WEAPONS
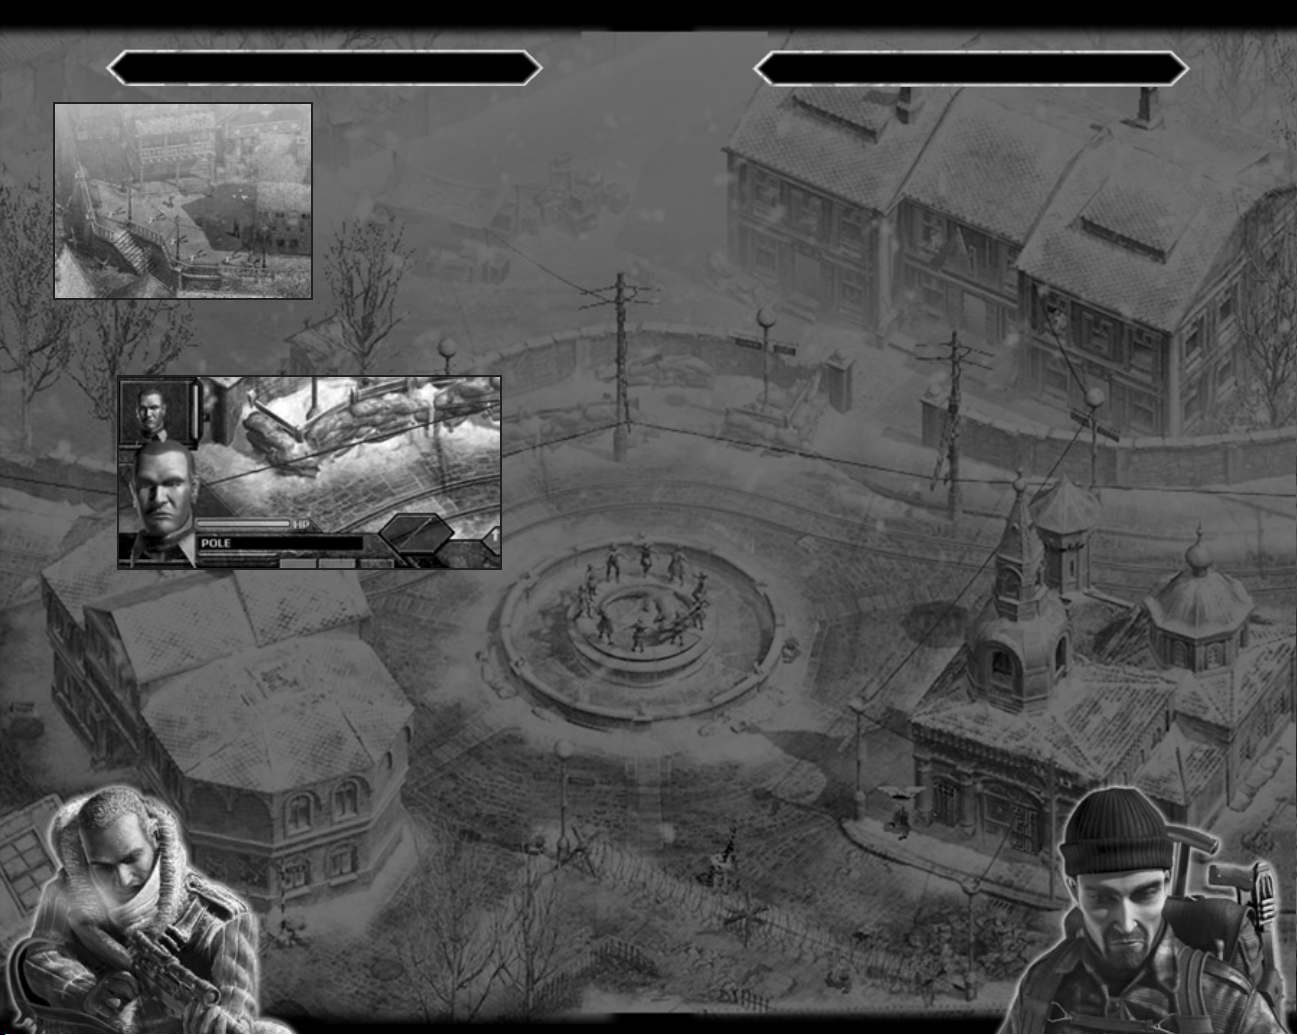
The main game interface appears
at the bottom of the screen. You can hide
it by pressing the \ key. To display it
again, press the \ key again.
The options you can use are highlighted
as you move the cursor above
the interface. Left-click on an option
to select or activate it. Some options
are available or not depending on
the currently selected Commando
and the objects in the Commando’s pack .
MAIN CONTROL INTERFACE
2
1
1. Selected Character
When you select one of your men, his face is displayed in the lower left
of the interface, along with the weapons the character has and actions
he can perform.
2. Health Level
This indicates the health of the selected soldier. If health runs out,
your soldier dies. You can cure yourself using medical kits. You cannot revive
a dead soldier.
3
5
4
3. Game Hints Window
This shows game information in real time.
Interface Configuration Buttons
4. Button 1: Activate/Deactivate the faces
of the Commandos at the lower left of the screen.
Left-click on a face to select that character.
5. Button 2: Activate/Deactivate the interface
in the upper left of the screen.
6. Button 3: Shows game hints in the interface
or next to the cursor on the game screen.
6
To use or activate your Commandos’ weapons, select them by left-clicking
on the Weapons icon or pressing the Q and W keys to cycle through
the available weapons.
If the cursor displays the prohibited sign, the target object is out of range
or you cannot use the weapon against it.
When a weapon is selected, the cursor indicates its range; if the crosshairs
are red, the target is out of range.
When you right-click on the Weapons icon, all available weapons
will be displayed.
PISTOL
All your soldiers can use the pistol. Aim using the cursor and fire with the left
mouse button. If the target is out of range, the crosshairs will be red.
The Allied pistol has unlimited ammunition. You can pick up enemy weapons
and ammunition, but Nazi pistols do not have unlimited ammunition.
RIFLE
All your men can use the rifle. Aim using the cursor and fire with the left
mouse button. When the target is out of range, the crosshairs will be red.
The rifle has limited ammunition. You can find bullets on enemies
and in ammunition boxes.
ASSAULT KNIFE
The Green Beret and Diver can use the double-edged assault knife.
Select the knife with the mouse or hot key and click the left button
to attack with it. The Diver can also throw the assault knife from a distance.
HIT, TIE AND GAG
Your Commandos can hit, tie and gag enemy soldiers.
Click on the Nazi soldier you want to punch. Once the enemy is on the floor,
left-click on him to tie and gag him. A tied-up soldier can be freed by other
Nazi soldiers.
You can strike indoor walls to attract enemy soldiers’
attention. Select Punch and click on the wall of the
room to strike it. If you double-click on the wall,
the blow will be harder and will be heard from
farther away.
14
15
Page 10
SNIPER RIFLE
Only the Sniper can use the sniper rifle. Aim using the cursor and fire
with the left mouse button. To shoot through windows you can either look out
of a window or fire from outside.
If you look out of a window, select the rifle and aim with the mouse.
To change the view back to inside the building, click the right mouse button.
If you are firing from outside, take out the sniper rifle and left-click on the
window that you want to shoot through. You will then see a window of the
interior appear at the top right of the screen. Aim and fire by clicking the left
mouse button. Click the right mouse button to put the rifle away.
SUBMACHINE GUN
All your men can use this light automatic weapon. Aim using the cursor and
fire bursts with the left mouse button. This weapon has limited ammunition.
You can reload it by picking up ammunition from the enemy.
ASSAULT RIFLE
All of your men can use this automatic weapon. Aim using the cursor and fire
bursts with the left mouse button. This weapon has limited ammunition.
You can reload it by picking up ammunition from the enemy.
HEAVY MACHINE GUN
The Sapper can use this heavy automatic weapon when it is on a tripod,
and the Green Beret can pick it up. Aim using the cursor and fire bursts
with the left mouse button. This weapon has unlimited ammunition.
HAND GRENADE
All of your soldiers can use hand grenades. Left-click on the spot you would like
to destroy. You can throw grenades through doors, trap doors and windows.
There is a minimum safe distance and limited range.
MOLOTOV COCKTAIL
Only the Sapper can use this special cocktail.
Left-click on the spot where you want to throw the Molotov cocktail. It will also
injure your own men, so be careful.
The number of bottles available is displayed next to the Molotov Cocktail icon.
SLEEPING GAS GRENADE
Use the sleeping gas grenade to stun enemy soldiers.
Select the grenade and left-click on the spot you want to throw it at. You can
throw it through doors, trap doors, and windows.
The sleeping gas grenade has a minimum safe distance and limited range.
The knock-out effect is also limited.
BAZOOKA
Only the Sapper can use the anti-tank
bazooka.
Aim using the cursor and fire
with the left mouse button. Click
the right mouse button to put
the bazooka away.
Any remaining ammunition is
displayed on the Bazooka icon.
FLAME THROWER
Only the Sapper can use the flamethrower.
Left-click on the target to fire. If the crosshairs are red, the target is
out of range.
SYRINGE
Only the Spy can use the syringe.
The effect depends on the number of doses you inject into the victim.
With one dose, victims will become disoriented, with two they are knocked out
and fall to the floor, and three doses are lethal.
Left-click on the Nazi soldier you want to inject—one click for each dose you
want to inject.
16
17
Page 11
GENERAL ACTIONS
All your Commandos can perform these special actions.
COVER A POSITION
You can post all of your men to cover an area. This applies to both your
Commandos team and Allied soldiers under your command. Left-click
on the Cover icon to post your men in an automatic attack/defense position.
To make sure they are facing the correct direction, hold down the Control key
and right-click in the direction you want to cover.
SWIM UNDERWATER
All your soldiers can swim underwater.
You can swim underwater for a limited
time, with the exception of the Diver,
who can stay underwater for long
periods using his diving equipment.
To submerge when you are above
water, click the Submerge icon or
press the Space Bar.
You can move underwater using the
mouse: left-click on your destination or
double-click there if you want to go
faster. To return to the surface, click the Emerge icon or press the Space Bar.
EXAMINE
Obtain information from an object or character in the environment.
All your Commandos can do this.
To examine something, left-click on the Examine icon or press the Z key.
You can examine dead or gagged Nazi soldiers, exchange objects between
your Commandos, and open boxes to go through their contents. You can look
through doors, windows, and stairways, and examine the boxes that you find
throughout the map.
EXIT VEHICLE
To exit a vehicle, click on the Exit Vehicle icon or press the X key.
EQUIPMENT AND SPECIAL ABILITIES
Left-click on the objects and actions icon to select the active object
at that time. If you right-click on the icon, more options will be displayed
if they are available.
Left-click on the object you want to use to make it the active object.
Some objects can be activated from a distance. When you select these objects
and place them on the environment, new icons will be added to the interface
that you can use to activate them. The icons will also usually appear
on your backpack.
The number of objects available to you depends on the contents
of your backpack and the abilities of the selected Commando.
REMOTE BOMB
This is an explosive triggered by
remote control, which can only be
done with the Sapper.
Place the bomb by left-clicking
on the spot where you want to set it.
Click the Detonator icon to set it off.
The number of bombs available will
be displayed above the icon.
TIMED BOMB
This is a timed explosive that only the Sapper can use. Place the bomb
by left-clicking on the spot where you want to set it. The bomb will explode
in 30 seconds.
FIRST-AID KIT
This cures and restores life to injured Commandos. All the Commandos can use
these, on themselves or on fellow Commandos.
Select the First-Aid Kit icon and left-click on one of your men to treat him.
You can also treat the selected Commando from your backpack by clicking
the Use button and selecting the First-Aid Kit with the left mouse button.
The number of doses available is displayed above the First-Aid Kit icon.
LIE DOWN/STAND UP
Press the Space Bar or click the icon to lie down or
stand up. When you are lying down, you will be
invisible in the long range of sight of the Nazis.
If you are standing up, they will always see you
unless you are wearing a Nazi uniform.
18
19
Page 12
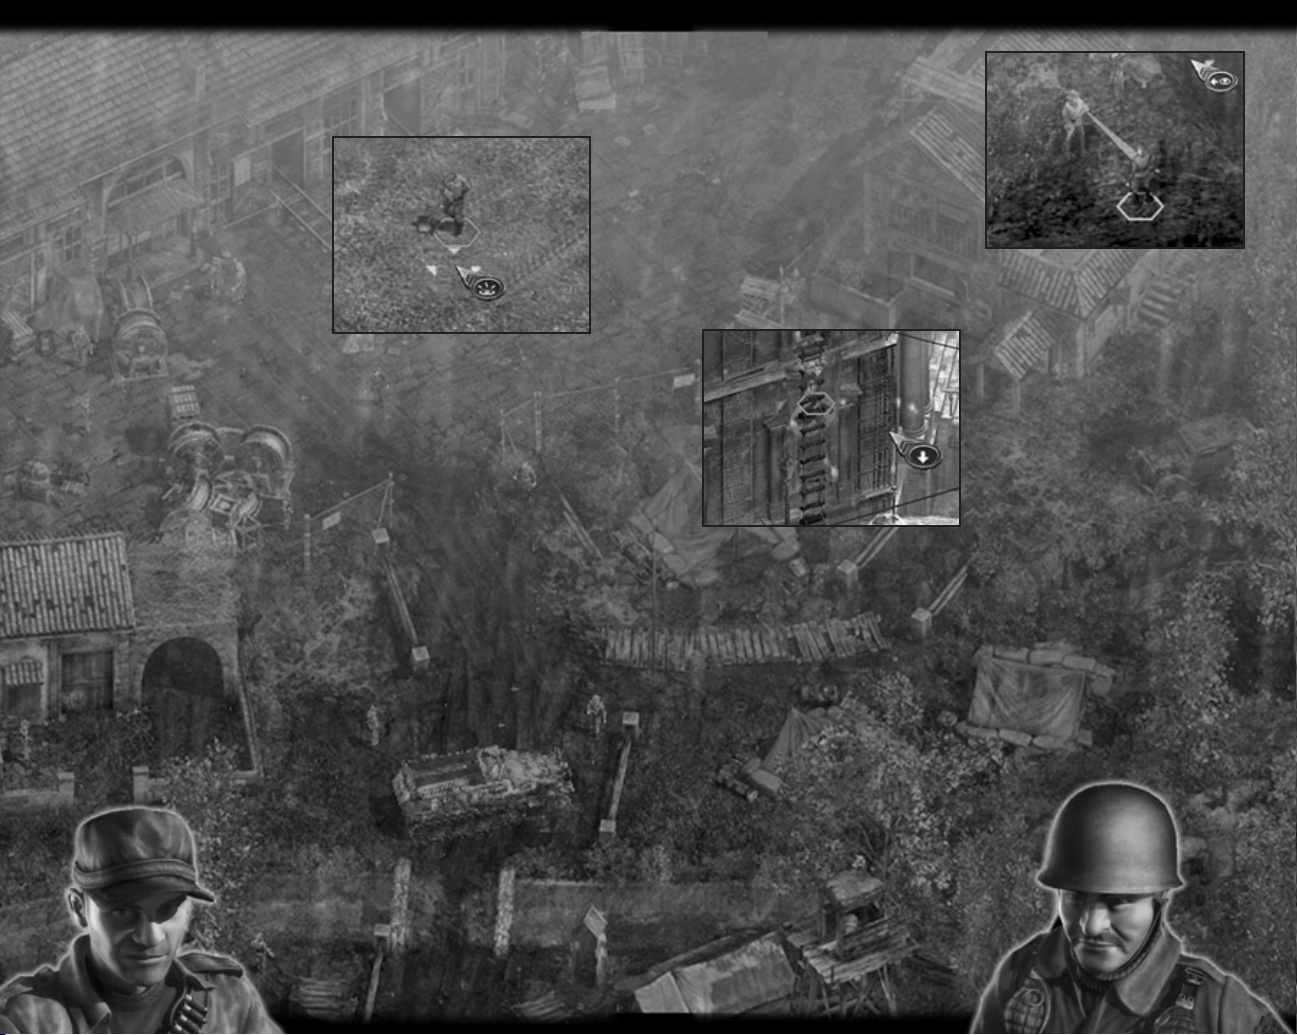
WIRE CUTTERS
These can cut through barbed wire and fences and can be used by all
Commandos. Left-click on the area where you want to use them.
MINE DETECTOR
The Sapper can use this to detect
buried mines. Search for mines
by left-clicking on the environment.
You will walk to the place you
indicated. If there are any mines
within the detector’s radius, you
will be able to see them.
When your Sapper detects a mine,
stop him by clicking the right
mouse button.
To deactivate a mine, place
the cursor on it and left-click when
the Deactivate Mine cursor appears.
DISGUISE
All your Commandos can use the uniforms of Nazi soldiers to pass undetected
in the long-range enemy view. Only the Spy can approach a soldier at close
range without raising suspicion when wearing a Nazi uniform.
Click the Enemy Uniform icon to wear an enemy soldier’s uniform. To remove
the Nazi uniform, click the icon again. If you perform any suspicious actions
in view of the enemy, you will be revealed.
Obtain enemy uniforms by stealing them from soldiers that you render
out of commission.
DISTRACT
Only the Spy can do this and only
when he is wearing a Nazi uniform.
You can give orders if the rank of your
uniform is higher than that of the Nazi
soldier you are going to distract.
The higher your rank, the more orders
you can give.
Left-click on the enemy you want
to distract. In the interface, select
the action you want him to perform.
You can order him to look in a
particular direction, or leave his post and go somewhere else.
When you leave the soldier, he will return to his initial position.
ROPE LADDER
This allows your men to reach high
places. Only the Thief can put it in place,
but once it is set up, all your Commandos
can use it.
Click on the top of a wall, fence, building
facade or window to set it up. To use it,
hold down the Shift key and left-click
on the ladder. You can use any
Commando to retrieve the ladder
by holding down the Shift key
and right-clicking on the ladder.
20
21
Page 13
GRAPPLING HOOK
Only the Diver can use this equipment. Place the cursor on the wall that you
want to scale and press the left mouse button. To pick up the grappling hook,
click on the top part of the hook. You can only collect it from above.
ANTI-PERSONNEL MINE
Only the Sapper can set and deactivate anti-personnel mines. Select the mine
and left-click on the spot where you want to set it.
You can deactivate mines if you have a mine detector. A deactivated mine can
be picked up by any of your Commandos and reused by the Sapper.
You cannot set off your own mines. They will only explode when an enemy
steps on them.
ANTI-TANK MINE
Only the Sapper can set and deactivate anti-tank mines. Select the mine
and left-click on the spot where you would like to set it.
You can deactivate mines if you have a mine detector. A deactivated mine can
be picked up by any of your Commandos and reused by the Sapper.
You cannot set off your own mines. They will only explode when an enemy
vehicle runs over them.
NARCOTICS
All your Commandos can use this fast-acting narcotic. You can apply it to meat
from the backpack. Then offer it to enemy dogs to make them fall asleep.
RADIO
All your soldiers can use the long-range transmitter. Click on the radio to use
it. In some cases, you may need a code to be able to transmit.
PICK-POCKET
Use the Thief to follow an enemy
soldier and examine his backpack
to relieve him of important items.
Left-click on the enemy soldier to move
behind him and follow. Once you are
immediately behind him, left-click
on the soldier again to access
his backpack.
DECOY
All your Commandos can use the radio-controlled decoy. Click the left mouse
button on a point on the map to leave the decoy on the ground. Activate it
from the interface to attract the attention of the enemy. Click the Decoy icon
again to turn it off. You have to pick up the decoy if you want to use it again
in another location.
CIGARETTES
All your Commandos can use cigarettes.
Click the left mouse button on a point
on the map to throw the cigarettes
on the ground.
When a Nazi soldier sees the pack of
cigarettes, he will approach to pick it up,
and loiter while he smokes a cigarette.
Not all enemy soldiers will investigate.
You will find tobacco in the packs
of some enemies.
DIVING GEAR
Only the Diver can use the diving equipment. Click the Diving Gear icon
on the interface to equip it. The Diver can now remain submerged
for an indefinite period of time.
22
UNIFORMS OF SERGEANTS, NAZI OFFICIALS, SS OR GESTAPO AGENTS
The Spy is the only one who can use a uniform for a rank above Private.
With the uniform on, the Spy can approach any Nazi without being
discovered and give orders (if he has a higher rank
than the Nazi). SS and Gestapo agents will uncover
the Spy regardless of which Nazi uniform he
is wearing.
23
Page 14
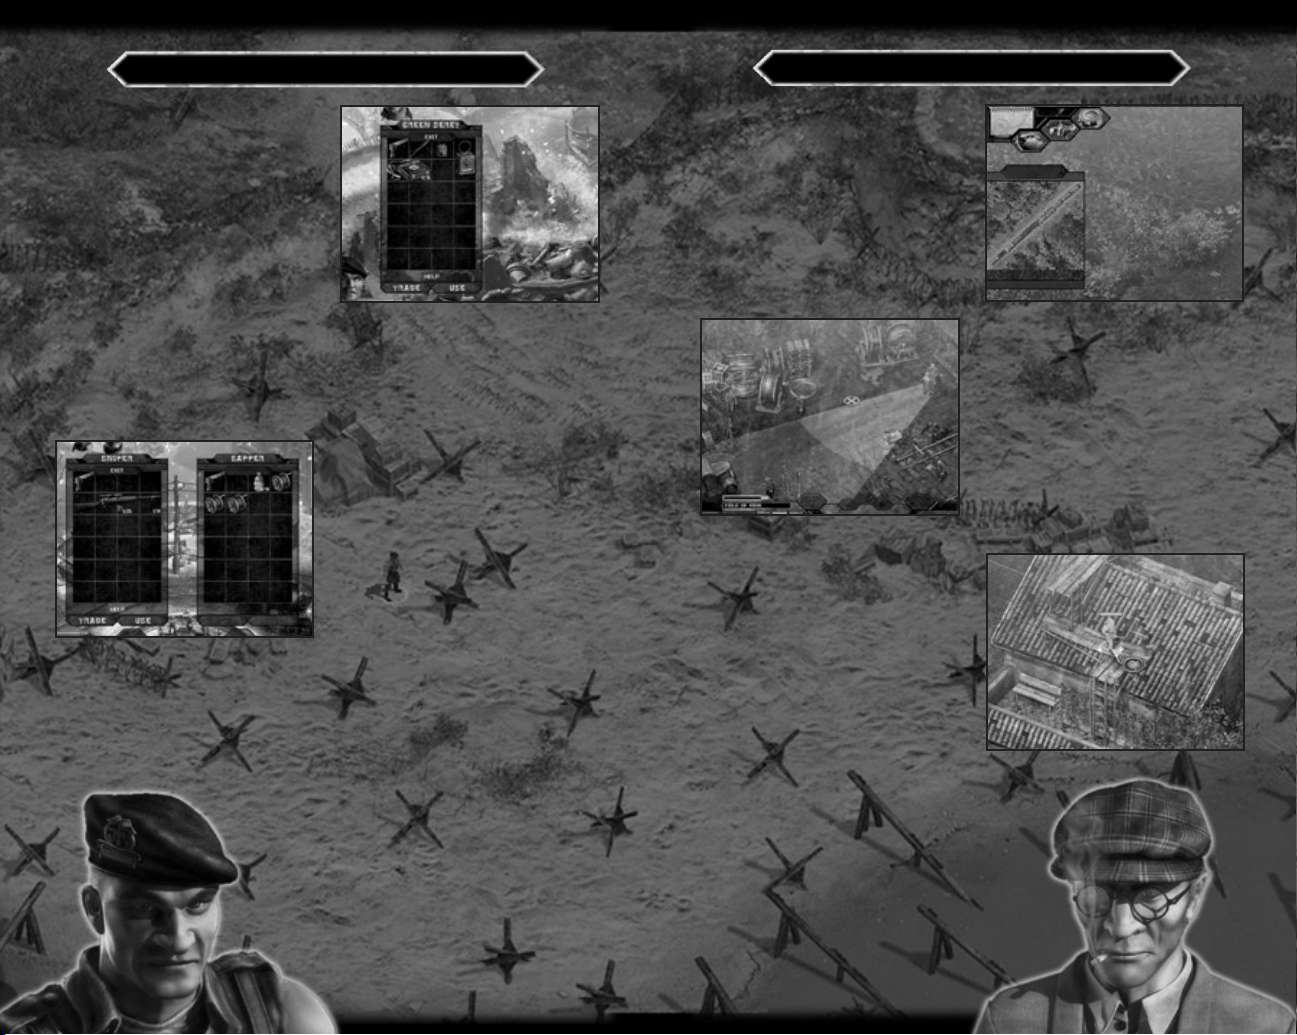
BACKPACK
TACTICAL INTERFACE
The backpack for your selected
Commando is displayed in the lower
right of the interface. Left-click on it
to see its contents.
You can save all the objects you find
during the mission in your backpack,
including weapons, ammunition,
medical kits, etc., until its 24 boxes are
filled. If you have no free boxes in the
backpack, you will not be able to carry
any more.
When you are reviewing the contents
of your backpack, the game pauses and you have the following options:
EXIT
Exit the backpack back to the game screen. You can also press the Esc key
to close the backpack.
EXCHANGE
This allows you to select another
Commando near you and exchange
objects between backpacks.
Left-click on the Commando you want
to exchange with. Then left-click on the
object you want to exchange. Leave it
where you want by left-clicking again.
If you click outside of the inventory,
you will leave the object on the ground.
USE
Use an object in the backpack.
MAP
Click on the Map icon or press
the F4 key to open the mission map
with information on the enemies.
To hide the map, click on the icon
or press the key again. You can also
right-click on any part of the screen.
ENEMY VIEW
Use enemy view to discover whether
or not an area is being covered
by the enemy.
Select the Field of Vision icon and click on
a part of the environment to see if it is
being covered by the enemy. If more than
one enemy is covering the same place,
the views displayed will alternate.
You can also press the Enter or Tab key
and left-click on the ground.
TRACKING CAMERA
You can assign a camera to an ally
or enemy soldier to follow him
through the map.
Click on the Camera icon in the
interface, or press F3 and select the
soldier or vehicle you want to follow.
To deactivate the tracking camera, click
the icon or press the key again. You can
also left-click on any part of the screen.
You can have up to three views on the
screen at the same time and assign a camera
to each one. You can zoom and change
the camera, keeping the character in the center
of the screen.
24
25
Page 15
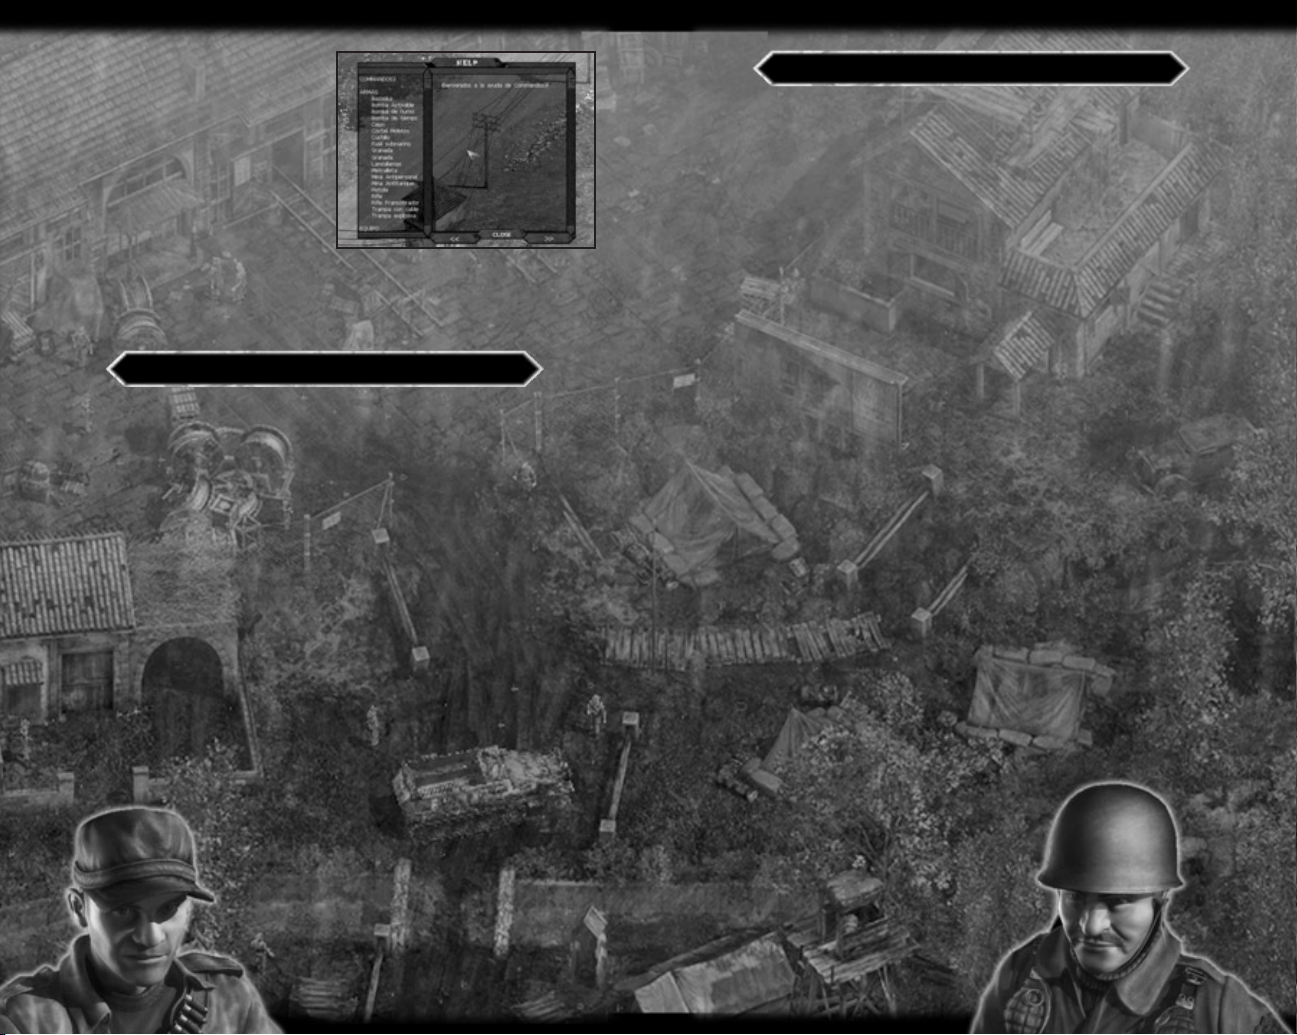
CAMPAIGN HELP
If you have any questions about
the mission objectives or the military
material available, you can press
the F1 key to consult campaign help.
Here you will find information on
the mission objectives, weapons,
equipment, and combat techniques.
While you are consulting the help files,
the game will pause, except
in a multiplayer game. When you close
the window, the game will resume.
To exit the help window, press the F1 key or click the Close Window icon.
ALLIED SOLDIERS
In certain missions you will be able to control Allied soldiers who will assist in
your objectives. You can select them as if they were your own Commandos, and
position them in Cover Mode to set ambushes or defend strategically important
areas.
To post an Allied soldier, select him and click the Cover icon or press the A key.
You will see his area of coverage in orange.
To make sure he is facing in the correct direction, hold down the Control key
and right-click in the direction you want him to cover.
To see the location of all Allied soldiers under your control, press the F6 key.
You will have a different range of actions and effectiveness depending on the
weapon the Allied soldier has in his possession. There are eight types of Allied
soldiers:
• Scout: Basic troop, armed with a pistol.
• Assault Soldier: Armed with a submachine gun.
• Paratrooper: Air troop, armed with an assault rifle. Use the parachute to land
on the map.
• Infantry: Armed with a rifle.
• Medic: Support troop, armed with a gun. Carries auto recharging first-aid-kit.
• Sapper: Armed with a submachine gun, mines and mine detector.
• Grenadier: Elite troop, armed with a gun and auto
recharging grenades.
• Bazooka: Elite troop, armed with a gun and auto
recharging bazooka.
NAZI ARMY
Nazi soldiers can see and hear your men, be alerted by other soldiers or alarms,
and will go to investigate the absence of a comrade. If they see a body,
a strange movement, or hear an explosion, they will be on alert, and will be
more vigilant for a period of time.
General Behavior
All the Nazi soldiers can see you, hear you, follow your tracks, chase you,
release gagged comrades and ask them what happened, find dead soldiers,
sound the alarm, etc.
They can be posted and cover an area, either occupied with some activity
or on patrol. If they are alerted, some will not leave their posts, but others will
go to the alarm location.
Doberman guard dogs can smell and see you. They will attract the enemy
with their barking while attacking you.
There are different ranks in the Nazi army: soldiers, sergeants and officers.
There are also the feared SS and Gestapo agents.
The Spy can wear the uniform of any of these ranking soldiers, but he will have
more freedom of movement the higher the rank of the uniform he is wearing.
Officers can recognize your Spy in disguise in the close range view. The SS
officers will shoot at him within their close-range view even if he is disguised.
Vision
The enemy range of vision is divided into two zones. In the furthest zone
(shaded light green), your men will be seen if they are standing up.
Enemy sight has a long and short range. At long range, the enemy will take
a little while to see your Allied soldiers standing up, and will not see them if
they are crouching down. At long range, they will not see your soldiers if they
are disguised, in the shadow of a building, or are pressed up against a wall.
In the near zone (shaded a darker green), your men will always be seen.
When an enemy sees one of your men, a blue line will show that he is looking
at that Commando. If your soldier continues in his field of view, after a time
the line will turn red and the enemy will begin to
attack.
If you throw a pack of cigarettes, an orange
line will indicate who is looking at it and
the soldier will go to pick it up (if allowed).
26
27
Page 16
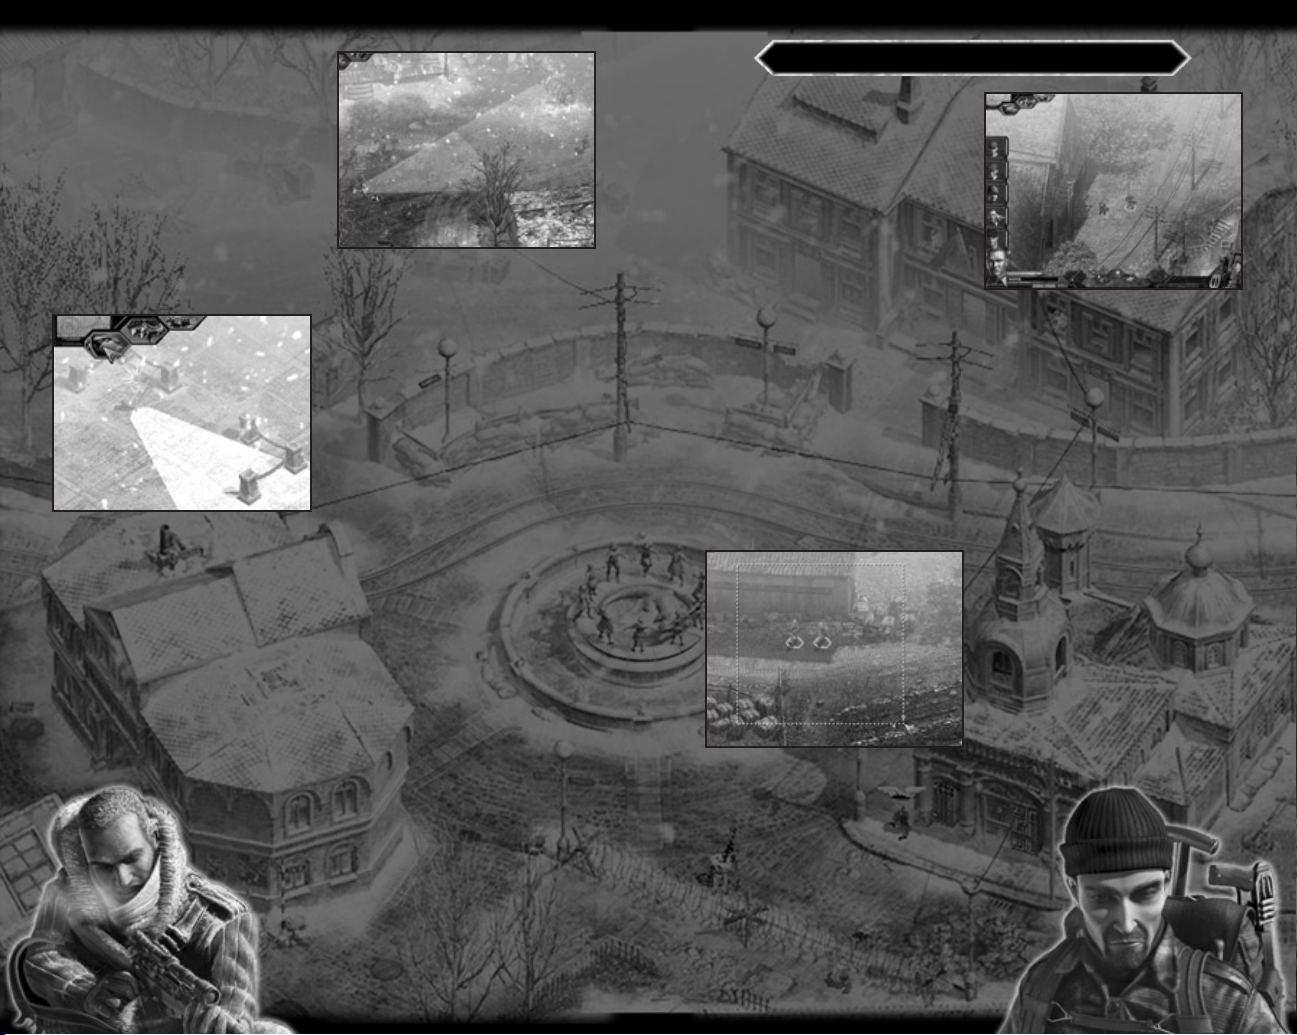
Alarm Status
There are two types of enemy alarm
status: normal and alerted.
When the status is normal, the view is
shaded green and enemy soldiers take
their time reacting when they see
something out of the ordinary.
If they are in alerted status, their view
is shaded red and they react
immediately if they see or hear
something suspicious.
After a period of time in alerted status, they will relax
and return to normal status.
Weapons
The weapons used by the enemy depend
on rank:
Sergeants and officers use a pistol.
Soldiers have rifles and assault
machine guns.
Civilian enemies defend themselves
with their hands: mechanics, workmen,
office workers and sailors. They are not
very dangerous, but can sound the alarm
and attract more Nazi soldiers.
Special Units
Nazi snipers have special vision that is much longer and narrower than that
of normal soldiers. They can see your men even if they are crouching down,
and you will know they have seen you because crosshairs will appear on the
Commando at which the sniper is aiming. If a sniper sees one of your men,
you will only have a few seconds to move your man to safety.
The enemy grenadier unit can throw grenades both outdoors and indoors.
Enemy watchtowers on cliffs can see for long distances. If they see our boys,
they will alert the artillerymen and inform them of the position on which
to open fire.
There are heavy machine gun posts. If you take over one of these, you can use
it with your Sapper. Due to his great strength, the Green Beret can
carry and fire the machine gun while walking.
Patrols
These consist of several soldiers guided by an officer.
They patrol and also escort if required. When
an alarm is raised, more patrols will attend
and guard the area.
SELECTING CHARACTERS
INDIVIDUAL SELECTION
To select one of your men, press
the assigned key on the keyboard.
Once the man is selected, press
the selection key again to center
the screen on the character.
1 key: Green Beret
2 key: Sniper
3 key: Diver
4 key: Sapper
5 key: Spy
6 key: Thief
7 key: Allied Soldier. Press this key repeatedly to cycle through the Allied
soldiers under your command.
8 key: All Commandos.
You can also select them by left-clicking the face of the Commando on the side
bar, right-clicking on a soldier or by using a selection box.
To create a selection box, right-click and drag the cursor until a selection zone
including the soldier(s) you want to control is formed. Release the button
to select.
Press the 0 key to deselect any or all soldiers.
MULTIPLE SELECTION
You can select several of your men
at the same time and give them orders
simultaneously. Right-click and drag
the mouse to create a selection box
around the soldiers you want to select.
You can also right-click on a soldier
and while holding down the Ctrl key,
right-click on another soldier to
select/deselect him. To deselect all
the soldiers, press the 0 key.
CREATING GROUPS
You can create groups of soldiers and assign
a hot key to them to enable you to select them
quickly. Select a group of soldiers by using
a selection box. Then press Alt and the any
key from 1-9 to form a group.
To select the group again, press Shift + 1-9 .
28
29
Page 17
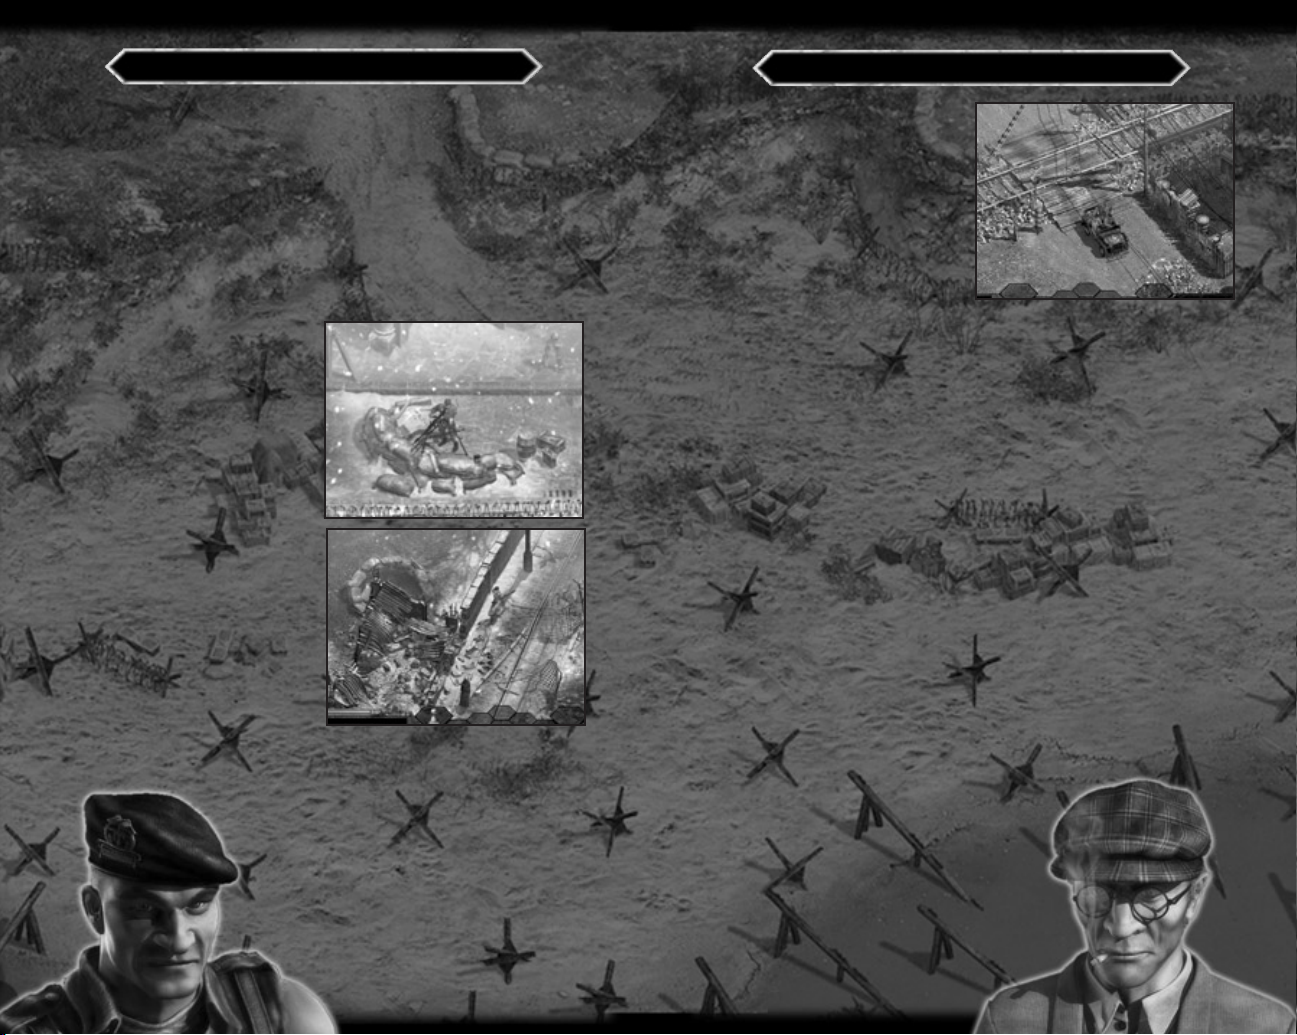
HEAVY WEAPONS
In several of the missions, you will find mobile artillery and emplacements for
heavy weapons that can be used by the Sapper and Green Beret.
CANNON
The Sapper and Green Beret can fire the cannon. Left-click on the cannon to
use it. Use the cursor to aim. To fire, hold down the Control key and left-click
at the required location.
You can move the cannon with the help of two of your men. The Green Beret
can move it alone, due to his immense strength.
Note: You cannot move and fire at the same time.
HEAVY MACHINE GUN
To have the Sapper use this weapon,
left-click on the heavy machine gun.
You will move into position and can
fire by left-clicking on the target. To
exit the heavy weapon position, click
the right mouse button.
The Green Beret must first pick up
heavy weapons from their tripods.
He can fire them while walking. He
cannot use them from installation
positions.
To pick up a heavy weapon, click on
it. To fire it, hold down the Control
key and left-click on the target
location.
To stop firing, press the right mouse
button. If you are close to a tripod,
you will place the weapon on it;
otherwise you will leave it on the
ground. The Sapper will then not be
able to use it and he isn't strong
enough to pick it up.
Note: Heavy weapons do not run out of ammunition.
VEHICLES
ENEMY VEHICLES
Over the course of your missions, you
will find different vehicles that you
can use as long as they’re not in use
by the enemy. You can destroy them
with the bazooka, bombs or antitank mines.
DRIVING AND FIRING FROM
VEHICLES
All your men can drive vehicles. Leftclick on a vehicle to get into it. Drive by using the arrow keys or by leftclicking on the area you want to go to. To accelerate, hold down the Shift key
or double-click on the environment.
If the Sapper is driving and the vehicle is armed, press the Control key and
click the left mouse button to fire. To exit the vehicle, click the Exit Vehicle
icon.
Vehicles are:
Transport Trucks
Trucks are not armed and have no
armor. They can transport 8
soldiers at a time.
Nazi Officer’s Car
This vehicle is not armed and has
no armor. It can carry 4 men.
All-terrain
The ATV is not armed and has no
armor. It can carry 4 men.
Tank
The tank is armored and armed
with a cannon. It can carry 2 men.
Grenades and anti-personnel
mines will not damage it. You can
only destroy it with an anti-tank
mine, a bomb, or by using a
bazooka.
Open SDK
This vehicle is armored and armed
with a heavy machine gun. It can
carry 6 men.
Covered SDK
This vehicle is armored and armed
with a light cannon. It can carry 9
men.
Sidecar
The sidecar is armed with a
machine gun. It can carry 2 men.
30
31
Page 18
Original Concept for Commandos
Ignacio Pérez Dolset
Executive Producer
Ignacio Pérez Dolset
Project Supervisor
César Valencia Perelló
Head of Design
José Manuel García Franco
Head of Programming
Ismael Raya Roa
Head of Graphic Artists
Francisco Javier Soler Fas
Soundtrack and Sound Effects
Mateo Pascual
Senior Programmers
José María Calvo Iglesias
César Botana Rivera
Enrique García Vera
Enrique José Sainz Navarro
Jordi Ros Aznar
Fernando Colomer Pérez
Rubén Alcañiz Guerrero
Senior Graphic Artists
Daniel Estival Hernández
Daniel Olaya Ortiz
José Manuel Pérez Bries
José Manuel Liébana Santamarta
Daniel Moreno Díaz
Javier García-Lajara Herrero
Omar Parada Martínez
Raúl Ovejero Saiz
PYRO STUDIOS
Graphic Artists
David Laguens Velasco
David Melchor Díaz
José Antonio Grandal Souto
Pedro Solís García
Design Assistant
Armando Sobrado Cros
Game Production
Ignacio Valencia Perelló
Miguel Santorum González
María Jesús Barranco González
Rafael Martínez García
Additional Film Sequences
Head of Cinematics
JB Garraza
Senior Cinematics Artists
Enrique Gato
Rafael Lozano
Mariano Angel Parra
Marketing and PR
Íñigo Vinós
Marketing Materials Designer
María José Romero
Additional Work
Raquel Capilla
Also participated…
Eduardo, Duba, Jesús
Thanks to
Jorge Rosado, Victor Mendiluce,
Rafael Moreno, Javier Arévalo,
Jaime Cifuentes, Jorge Blanco
Ana, Mónica Agudo
And so many others who helped us
with their work, patience, and
understanding.
EIDOS, INC.
Producer
Tom Marx
Director of Product Operations
Kathy Schoback
QA Manager
Mike Kelly
Assistant QA Manager
Colby McCracken
US PTC
Michael Gonos
US Assistant PTC
Matthew Kagle
QA
Patrick Goodspeed
Ian Stasukevich
Julian Mehlfeld
Nicole Ferrara
Darren Krommenhock
Jordan Romaidis
VP Marketing
Paul Baldwin
Marketing Director
Chip Blundell
Product Manager
Matt Knoles
PR Manager
Michelle Seebach
Sr. PR Specialist
Kjell Vistad
PR Coordinator
Denny Chiu
Director of Channel
Kim Pendleton
Web Support
Yasuto Suga
Rob Fitzpatrick
Production
Michael Minson
Greg Wu
Special Thanks
Rob Dyer
Kevin Weston
Christian Chatterjee
Jamie Bartolomei
Paula Cook
Dan Johnson
Kevin Gill
Renee Pletka
Matt Gorman
Brian King
Clayton Palma
T Mann
Julie Leibowitz
Wyman Jung
Janty Sumimoto
Roderick van Gelder
Hanshaw Ink & Image
Moore Design Group
Eidos Customer Support
32
33
Page 19
NOTES NOTES
34
35
Page 20
NOTES
FPO
Inside Back Cover
Actual IBC is at the top of this document
36
 Loading...