

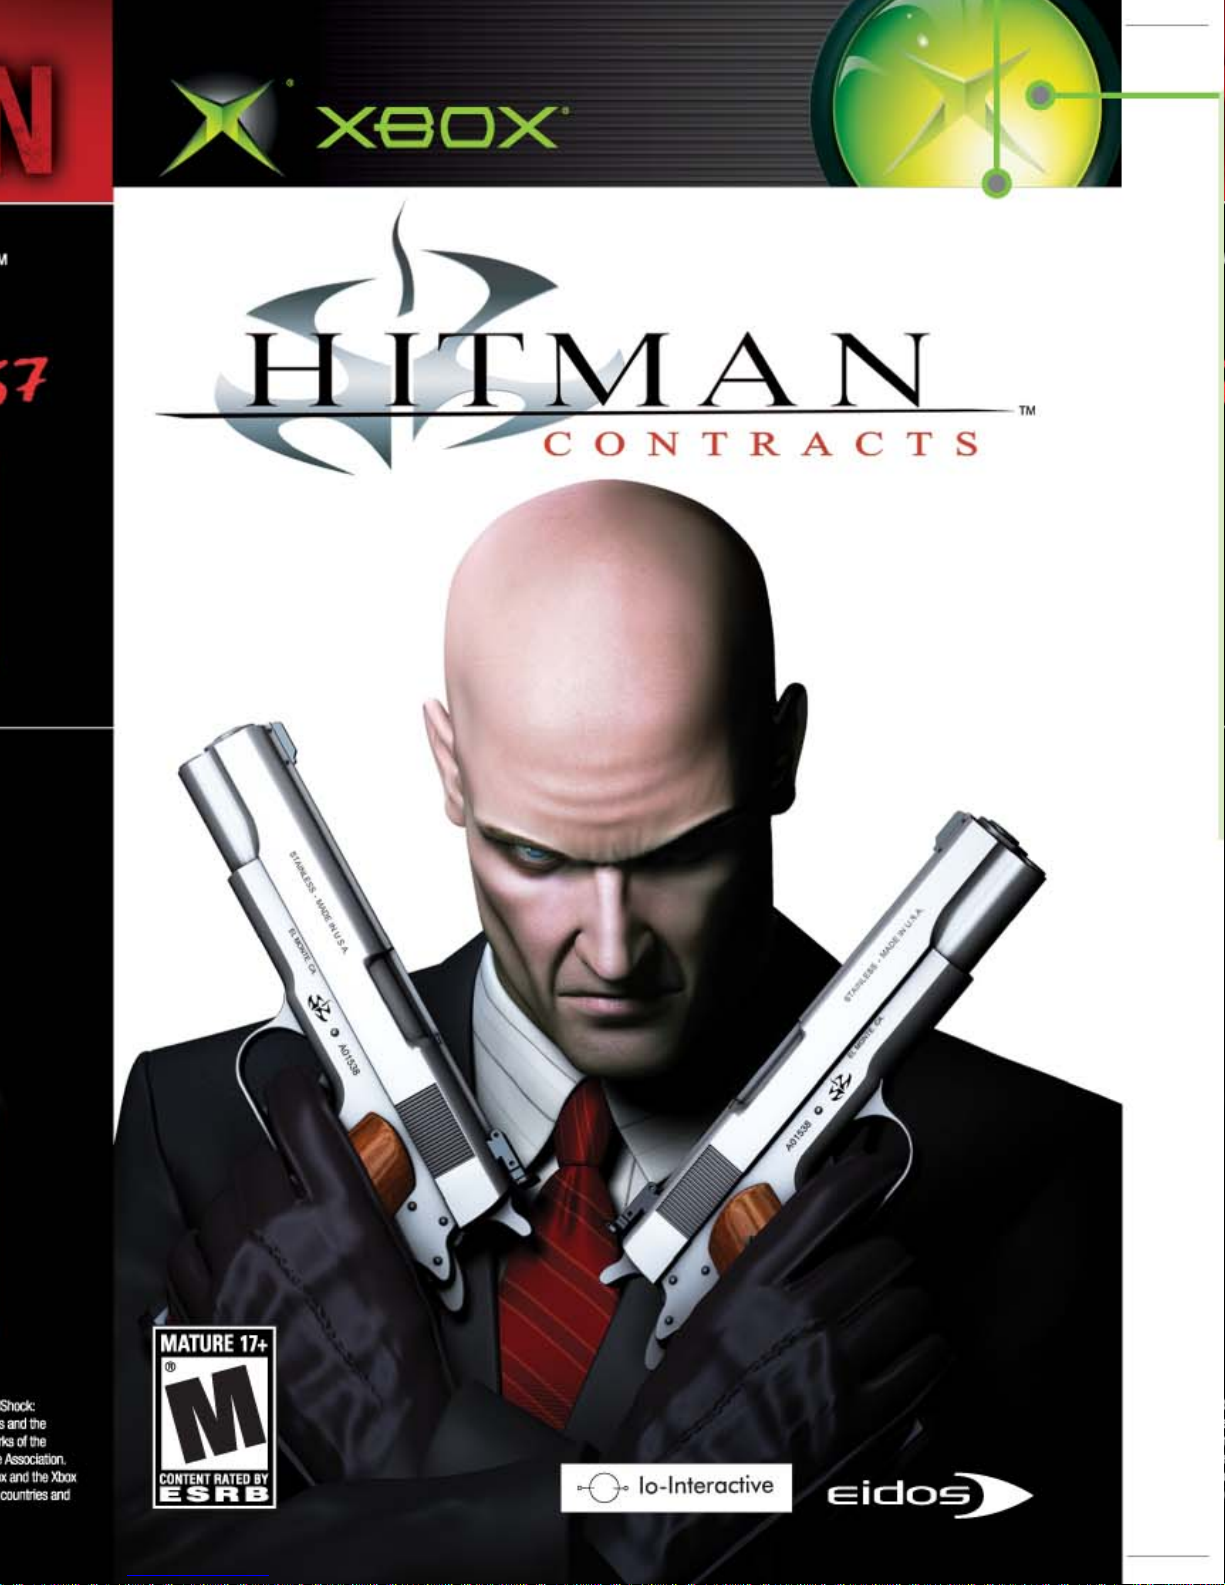
Eidos HITMAN-CONTRACTS User Manual
SELECTION . . . . . . . . . . . . . 11
WEAPON SELECT SCREEN . . 11
INVENTORY . . . . . . . . . . . . 11
DISPLAYS . . . . . . . . . . . . . . . 12
ON-SCREEN DISPLAY . . . . . 12
STATISTICS . . . . . . . . . . . . . . 13
TECHNIQUES . . . . . . . . . . . . 14
DISGUISES . . . . . . . . . . . . . . 14
SNEAKING . . . . . . . . . . . . . . 14
CLOSE COMBAT AND
SILENT KILLS . . . . . . . . . . . 14
WEAPONS . . . . . . . . . . . . . 15
PISTOLS AND
HANDGUNS . . . . . . . . . . . 15
SUB-MACHINE GUNS
(SMGs) . . . . . . . . . . . . . . . 15
ASSAULT RIFLES . . . . . . . . . .15
SHOTGUNS . . . . . . . . . . . . . 16
MACHINE GUNS . . . . . . . . . 16
SNIPER RIFLES . . . . . . . . . . . 16
EQUIPMENT . . . . . . . . . . . . 17
BINOCULARS . . . . . . . . . . . .17
MAP . . . . . . . . . . . . . . . . . . 17
NIGHT VISION GOGGLES
(NVGs) . . . . . . . . . . . . . . . 17
HINTS AND TIPS . . . . . . . . . 17
CREDITS . . . . . . . . . . . . . . . .18
™
disc on the disc tray with the label
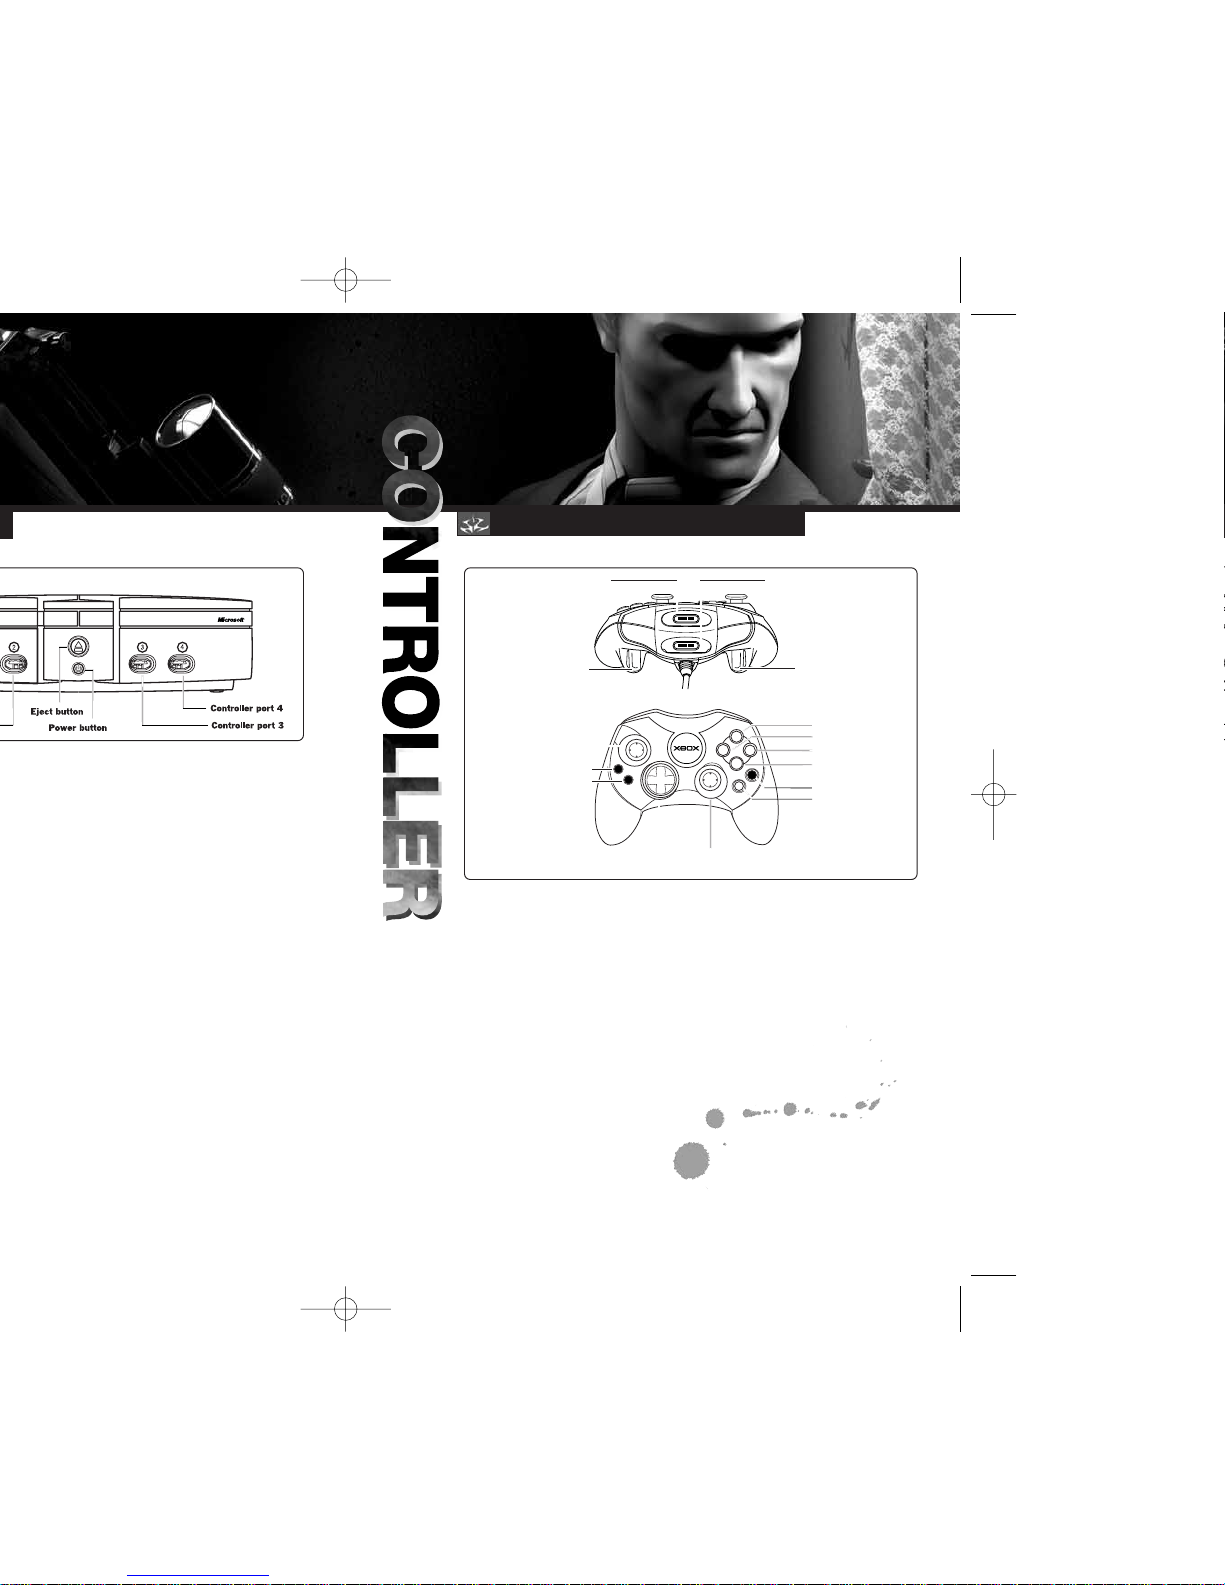
USING THE XBOX CONTROLLER
2
3
Y
A
B
X
B
S
A
T
T
R
K
A
C
Expansion slot A
Right trigger
Expansion slot B
Directional pad
Black button
White button
Y button
X button
B button
A button
Right thumbstick
Left thumbstick
BACK button
START button
Left trigger
1. Insert the Xbox Controller into any controller port of the Xbox console.
2. Insert peripherals into the controller expansion slots as appropriate.
3. Follow the onscreen instructions and refer to this manual for more
information about using the Xbox Controller to play this game.
4 5
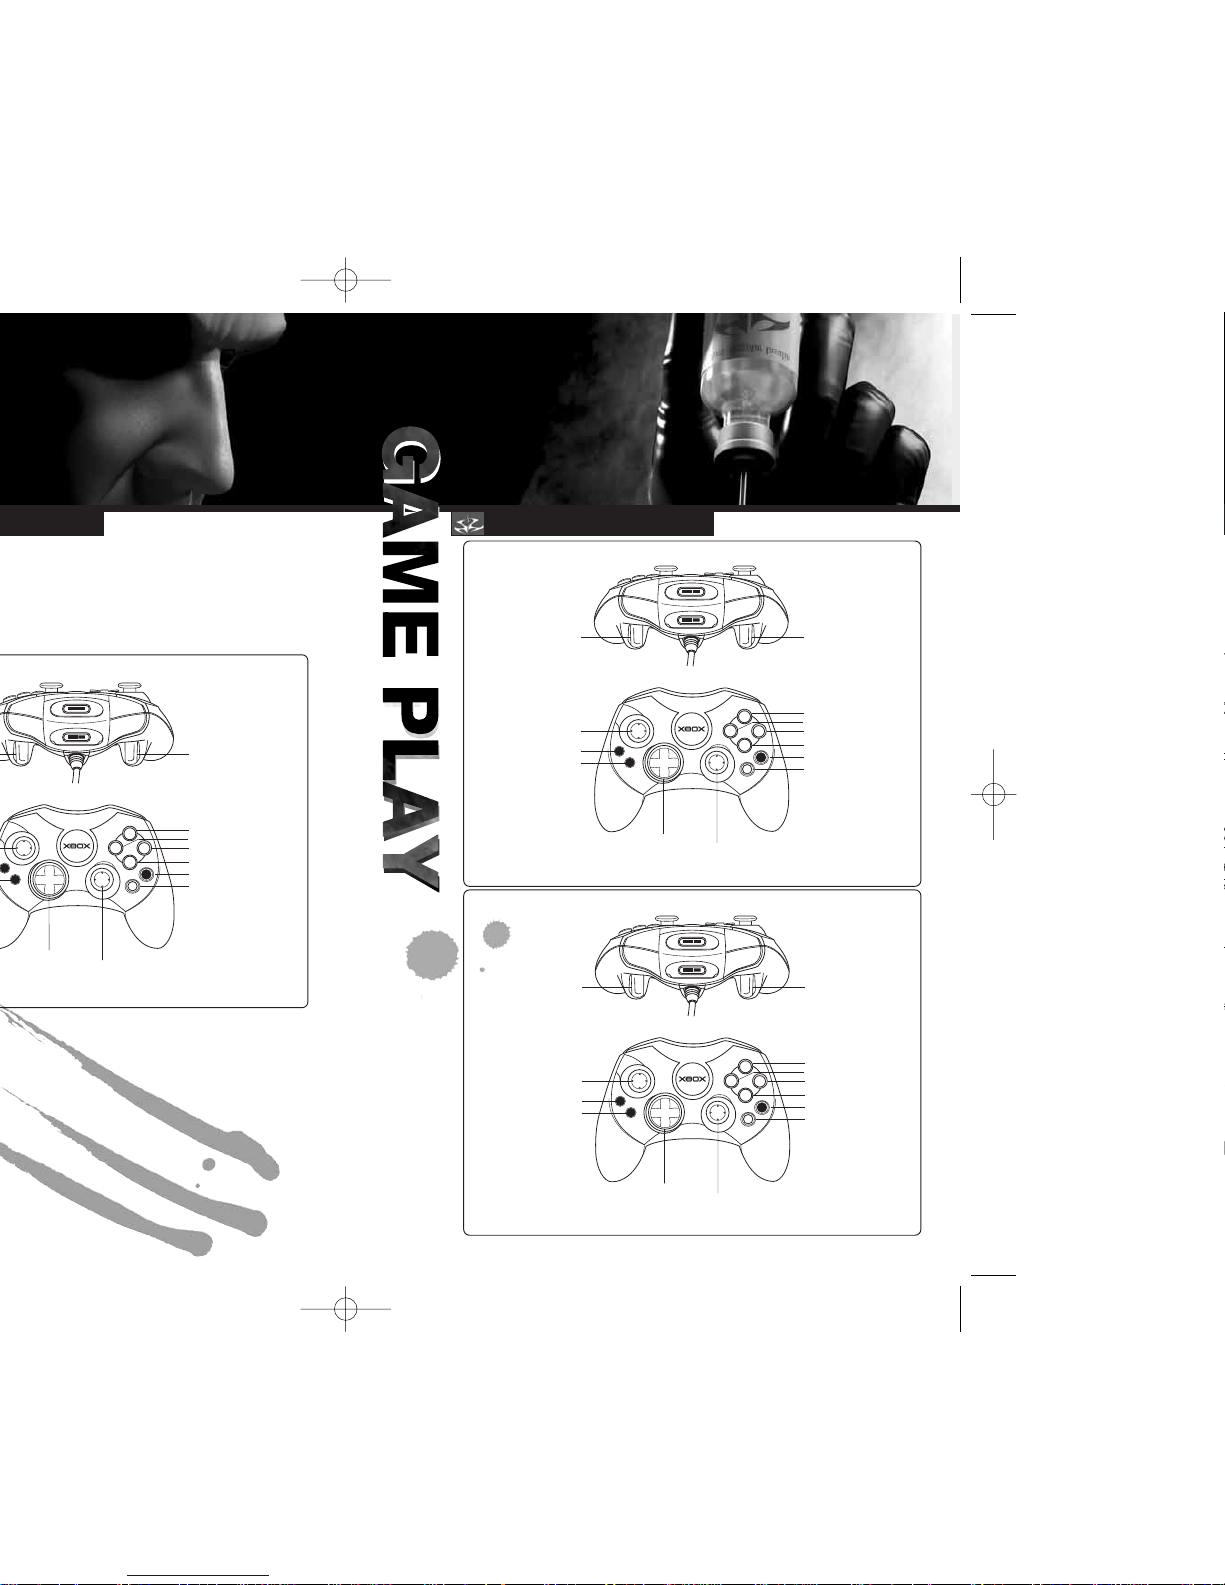
Y
A
B
X
B
S
A
T
T
R
K
A
C
FIRE
CROUCH/SNEAK
LOOK UP/DOWN
TURN LEFT/RIGHT
PRECISE AIMING
(CLICK IN AND HOLD)
MISSION BRIEFING
PAUSE/OPTIONS MENU
LEAN LEFT/RIGHT
ZOOM IN/OUT (UP/DOWN)
SCROLL UP/DOWN LIST
INVENTORY/EXIT SNIPE
R
ACTION/USE
HOLSTER/UNHOLSTER
RELOAD
DROP
MAP
MOVE FORWARD/BACK
STRAFE LEFT/RIGHT
TOGGLE 1ST/3RD PERSON
CAMERA MODE (CLICK IN)
LEFT-HANDED GAMEPLAY CONTROLS
Y
A
B
X
B
S
A
T
T
R
K
A
C
FIRE
CROUCH/SNEAK
MOVE FORWARD/BACK
TURN LEFT/RIGHT
PRECISE AIMING
(CLICK IN AND HOLD)
MISSION BRIEFING
PAUSE/OPTIONS MENU
LEAN LEFT/RIGHT
ZOOM IN/OUT (UP/DOWN)
SCROLL UP/DOWN LIST
INVENTORY/EXIT SNIPER
ACTION/USE
HOLSTER/UNHOLSTER
RELOAD
DROP
MAP
LOOK UP/DOWN
STRAFE LEFT/RIGHT
TOGGLE 1ST/3RD PERSON
CAMERA MODE (CLICK IN)
SIMPLE GAMEPLAY CONTROLS
Y
A
B
X
B
S
A
T
T
R
K
A
C
CROUCH/SNEAK
LEAN LEFT/RIGHT
SCROLL UP/DOWN LIST
INVENTORY/EXIT SNIPER
ACTION/USE
HOLSTER/UNHOLSTER
RELOAD
DROP
MAP
LOOK UP/DOWN
TURN LEFT/RIGHT
TOGGLE 1ST/3RD PERSON
CAMERA MODE (CLICK IN)
DEFAULT GAMEPLAY CONTROLS
/
3
/
3
A number of different factors ar e
influenced by the difficulty level
you choose. These factors include:
• The amount of damage Hitman
can receive before dying.
• The amount of accuracy shown
on the map.
• The reaction speed and firing
accuracy of guards and targets.
Each difficulty level has its own
permitted number of progr ess saves
per mission.
• NORMAL – 7 saves allowed
per level.
• EXPERT – 2 saves allowed per level.
• PROFESSIONAL – 0 saves allowed
per level.
OPTIONS
Adjust various graphics, sound
and control settings in the game.
(See page 8.)
LOAD
If you previously saved your game
to the Xbox Hard Disk, you can
continue it from the Load Screen
accessed from the Main Menu.
When you select LOAD
from the Main Menu, a list of your
save games will be displayed.
Press the directional pad
7/3
to highlight the save game you want
and press
A
to load it. The game
will be restored at the point where
it was saved.
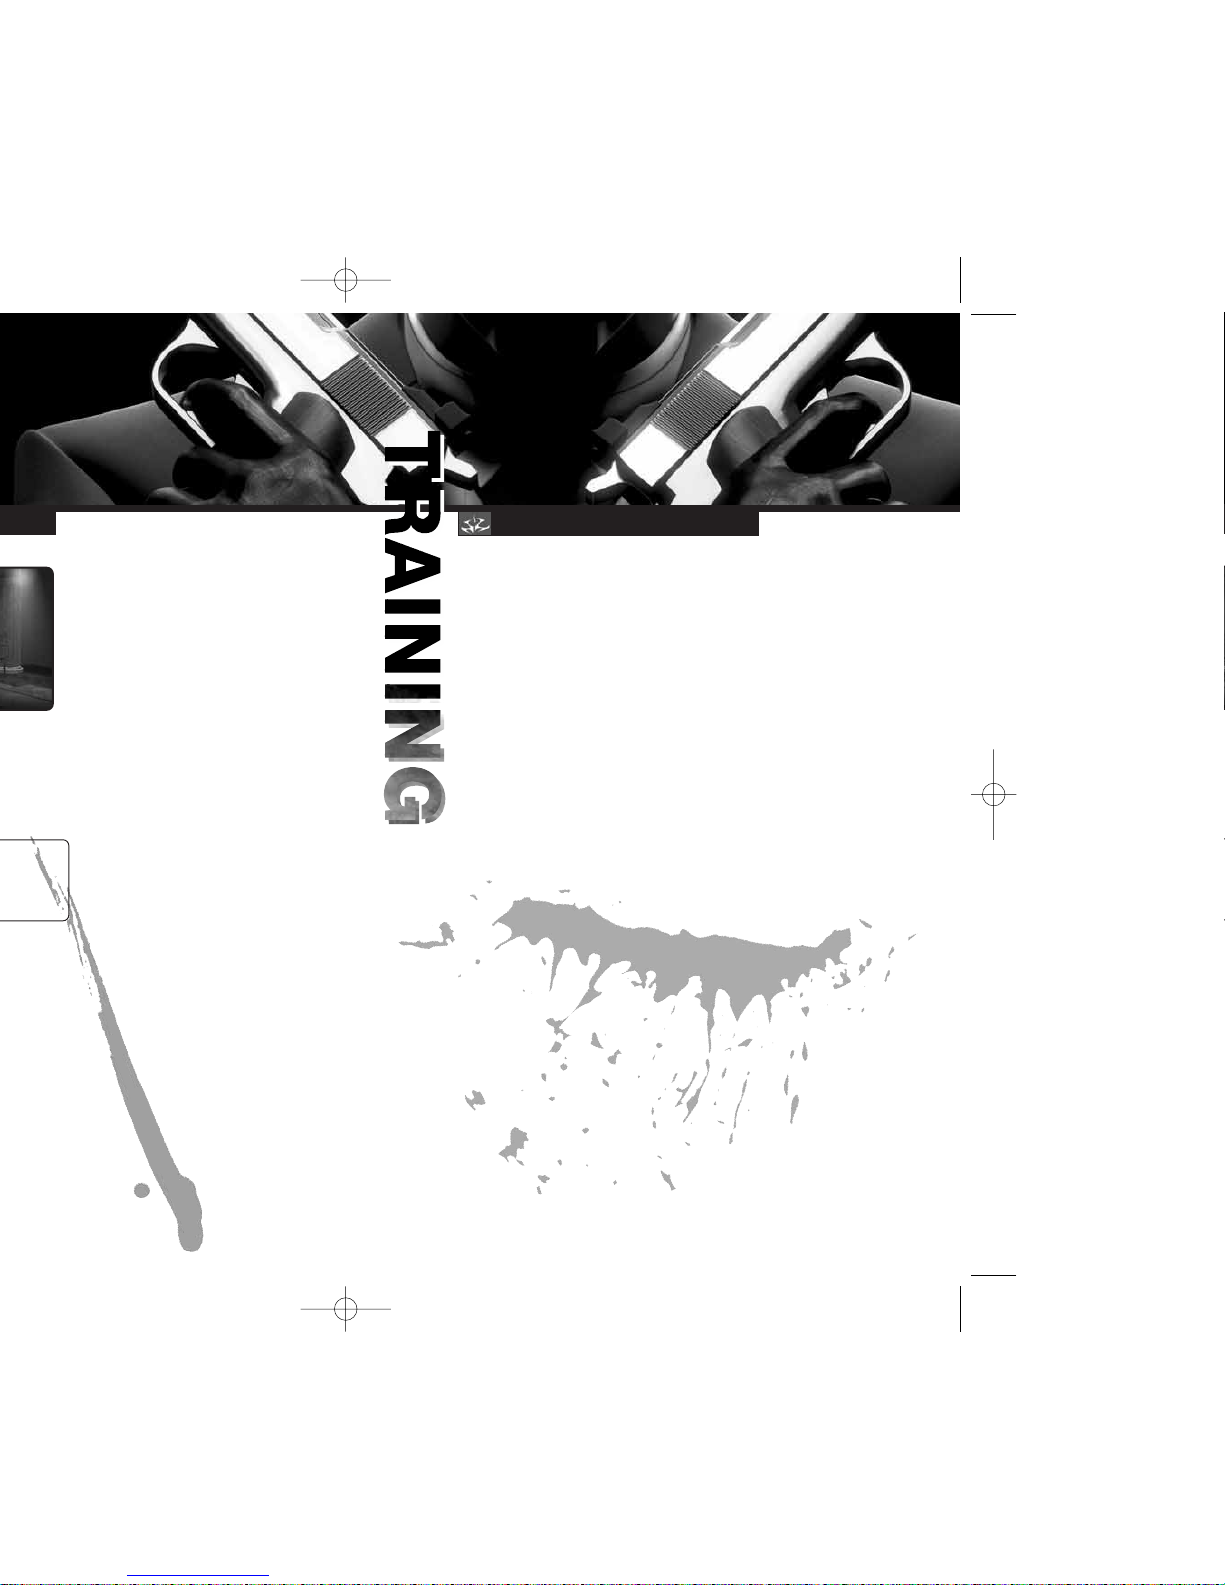
TRAINING
The training area allows you to
become familiar with the controls
and various abilities of Hitman
in a non-hostile environment.
It is highly recommended that you
practice the techniques you will need
before starting your missions.
The training area also serves
as a storage area for the weapons
you collect during missions. Each
silhouette represents a weapon
that you can collect or unlock
during the game.
CREDITS
Select CREDITS from the Main Menu
to see a roster of those responsible
for HITMAN: CONTRACTS.
LOAD, TRAINING, CREDITS
6 7
 Loading...