

Eibach Multi-Pro R1 Installation Instructions Manual
Installation Instructions
2
Eibach Springs, Inc. • 264 Mariah Circle • Corona, California 92879-1751 • USA • Tech Support 800-222-8811 Ext 114
Eibach Multi-Pro R1 Coilovers - #8598.71
2006-2011 Volkswagen, GTi, 2.0L Turbo
2005-2010 Volkswagen, Jetta V, 2.0L Turbo, 2.5L 5cyl.
2006-2009 Volkswagen, Golf V/Rabbit, 2.5L 5cyl.
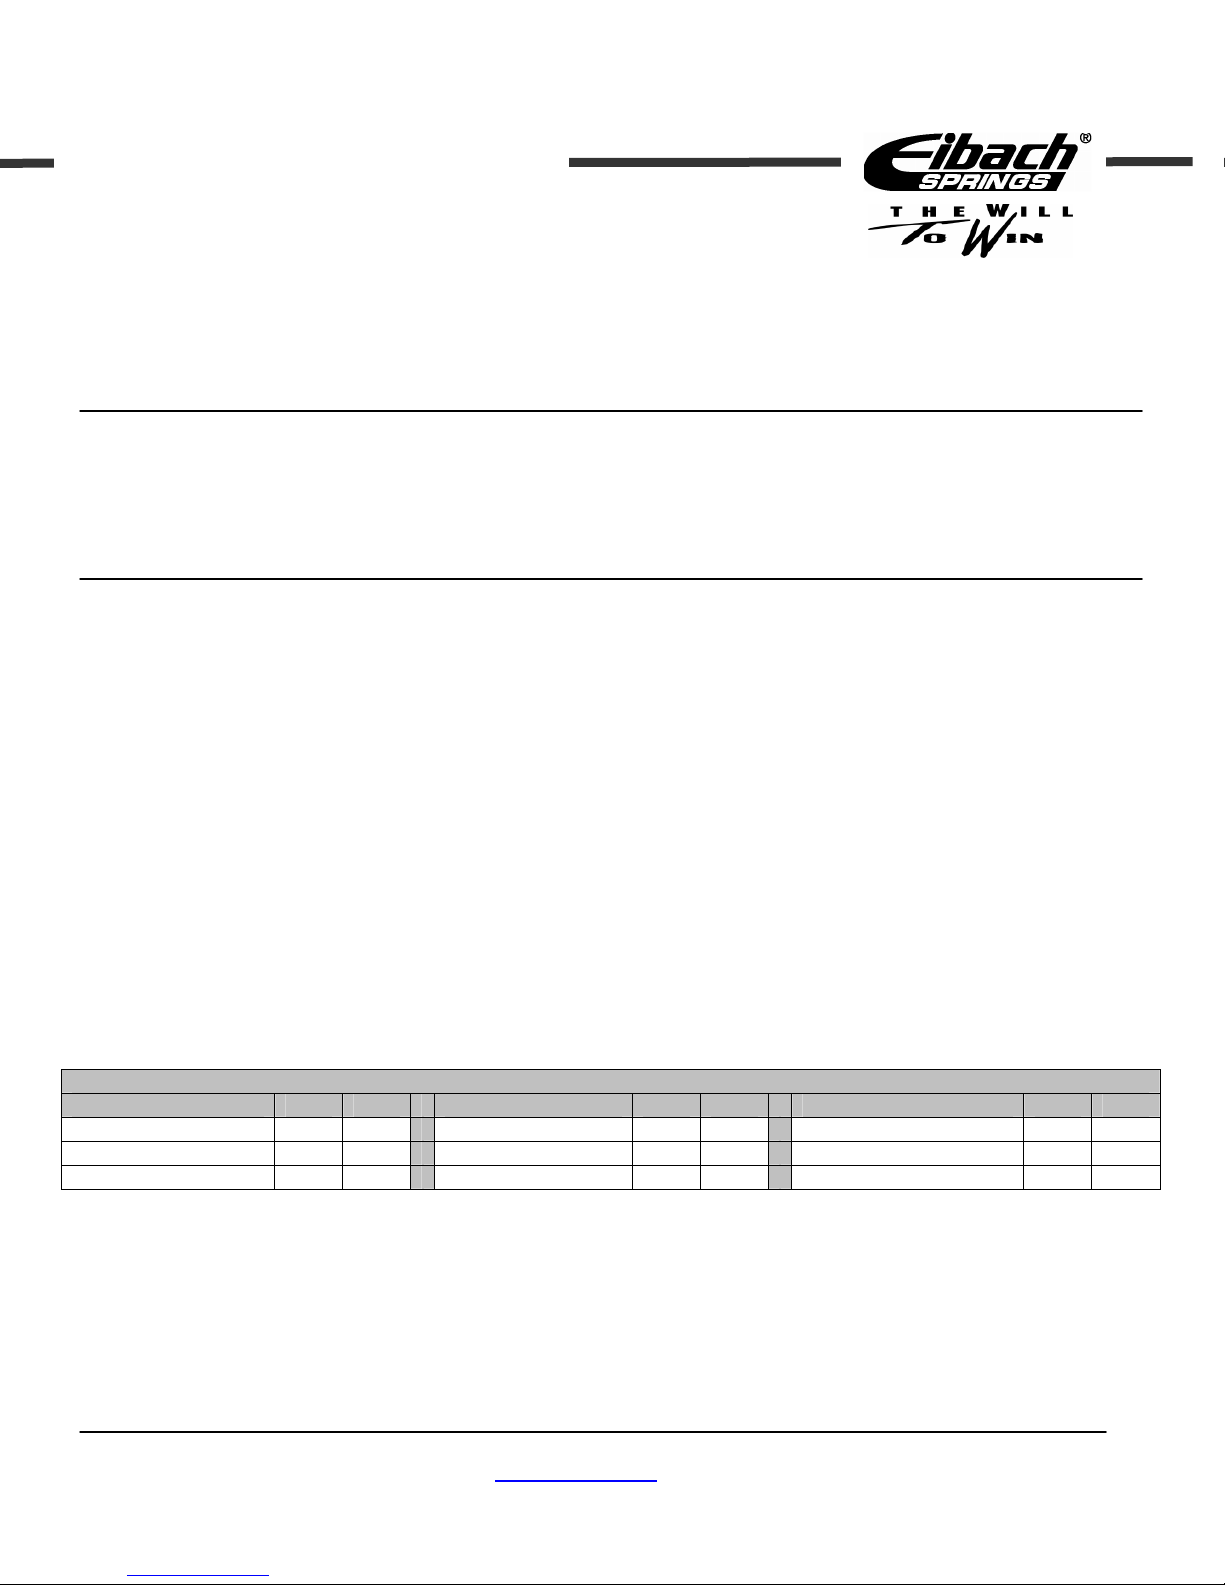
Kit Contents Description Part Number Qty
Rear Damper 8598.8600 2
Rear Main Spring 0800.250.0300 2
Perch, Rear 8000155 2
Perch, Rear Threaded 8000084 2
Height adjustment tool PDK.TOOL 1
Rebound adjustment tool PDR.TOOL 1
Front Coil Over Assembly 8598.8500 2
NOTES: Read All Instructions Before Beginning Installation
• Installation of a Eibach Multi-Pro Coil-Over set should only be performed by a qualified mechanic
experienced in the installation and removal of suspension componentry.
• Use of a hoist is highly recommended and will substantially reduce installation time.
• Never work on or under a vehicle unless it is properly supported by safety stands and wheels are blocked.
• Never use impact wrenches or guns to install or remove shock absorber piston components, shafts and
piston rod nuts.
• After installation, it is always important to inspect and adjust the following if necessary:
- Wheel alignment such as camber, caster & toe.
- Tire and/or wheel fender clearance.
- Brake line clearance and attachments.
- Brake anti-locking and anti-skid system sensors.
• Alignment: After installation, you will need a full vehicle alignment to ensure proper tire wear and
performance.
• Height Adjustment – Should be performed with the wheels completely off the ground and with the springs
fully unloaded.
Tightening torque for piston rod nut
Thread Size Nm ft-lb Thread Size Nm ft-lb Thread Size Nm ft-lb
M8 25 18 M12 x 1.25 35 26 M14 x 1.50 50 37
M10 x 1.0 20 15 M12 x 1.50 40 29 M16 x 1.50 50 37
M10 x 1.25 20 15
D2747Rev2
www.eibach.com Page 1
FRONT SUSPENSION REMOVAL
1. Raise the vehicle off the ground and firmly support
it with safety stands. NOTE: Do not work
underneath the car without the proper safety
equipment
2. After the vehicle is raised and supported at the
frame by safety stands or a hoist, remove the front
tires.
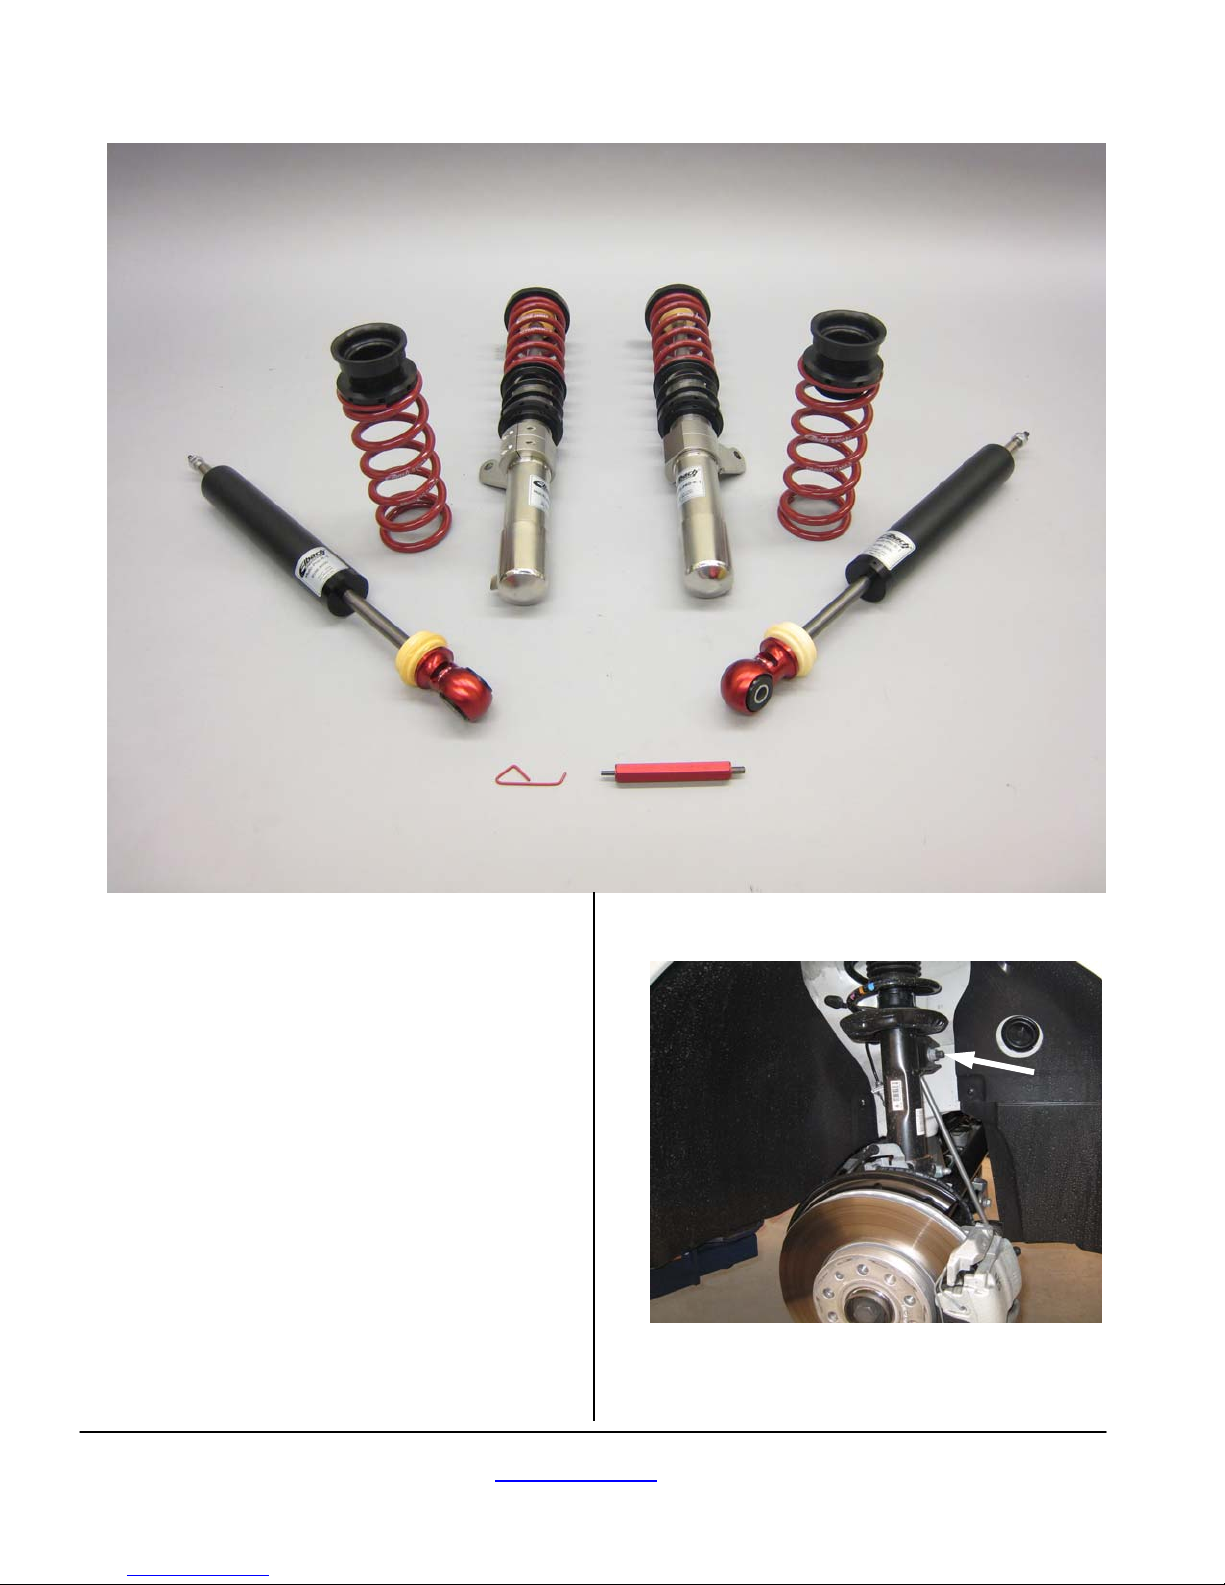
3. Remove the nut that secures the sway bar end link
to the strut. (See Photo 1)
4. Unclip the brake line from the front of the strut.
(See Photo 2)
5. Unclip and disconnect the wheel speed sensor
secondary connection and move it out of the way.
(See Photo 2)
D2747Rev2
www.eibach.com Page 2
Photo 1
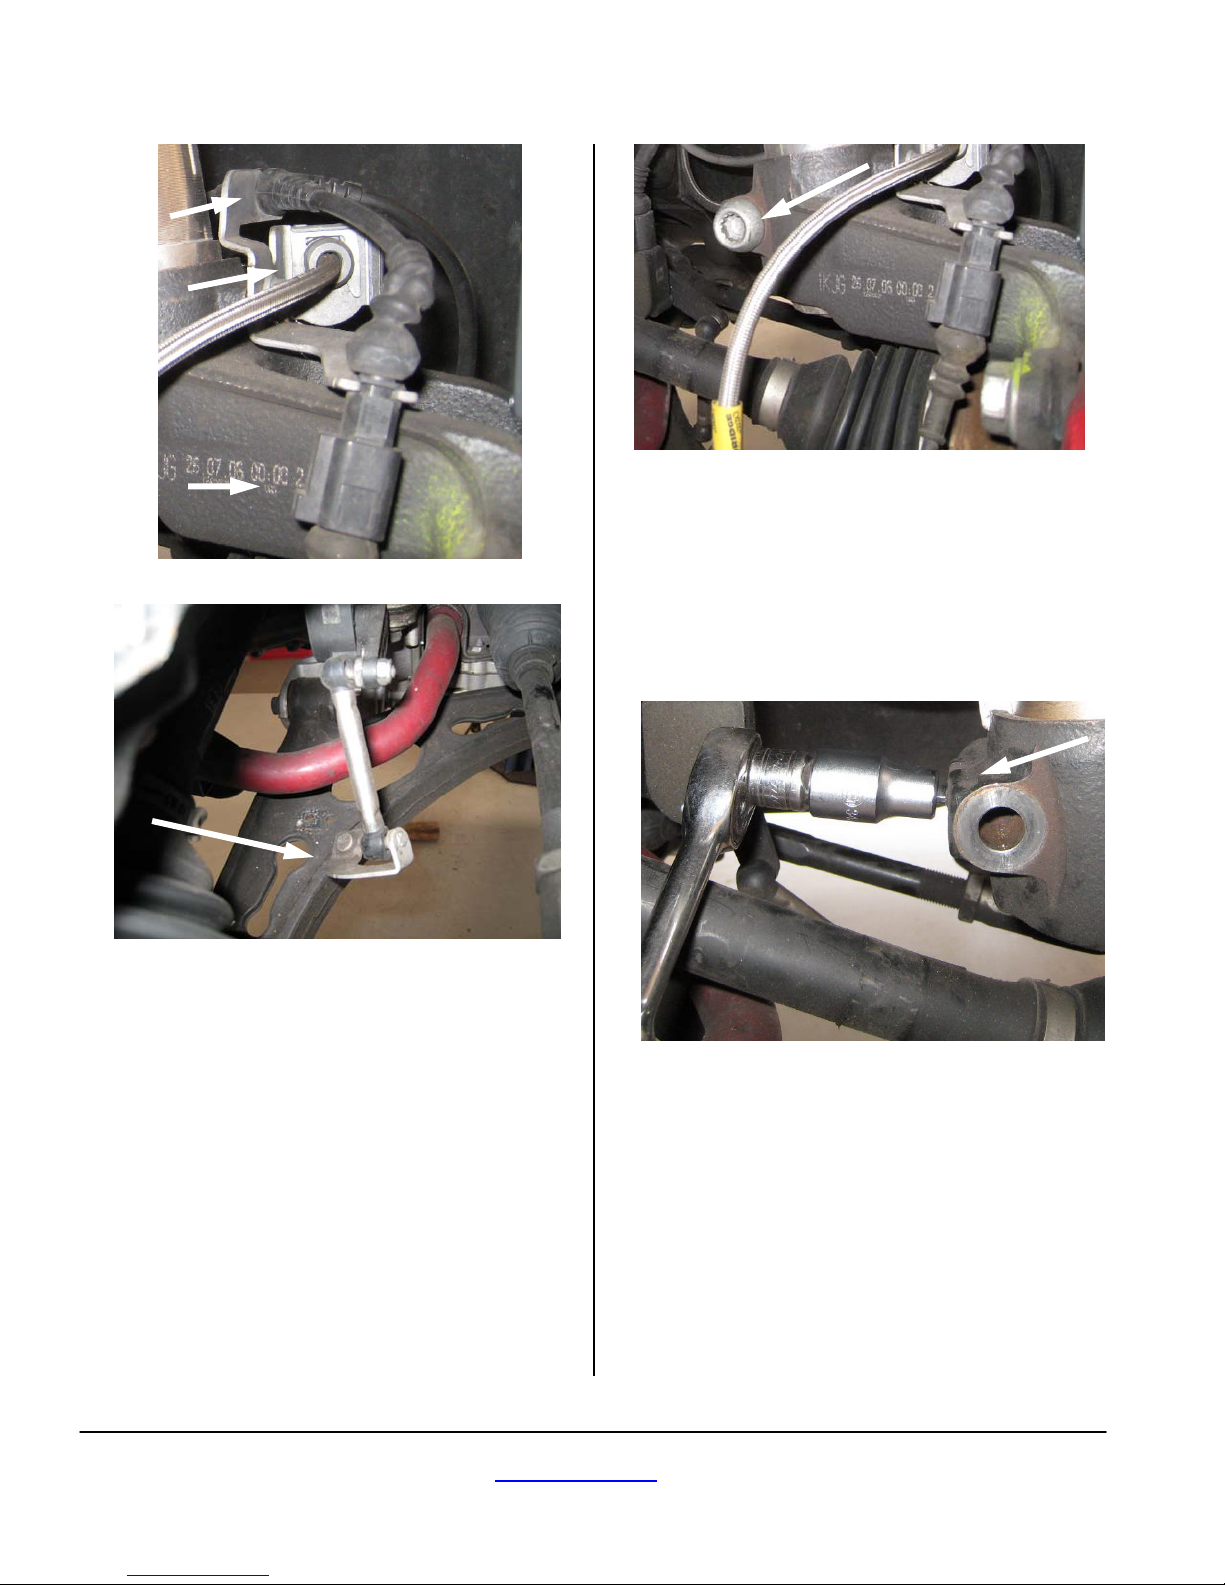
Photo 2
Photo 4
10. Loosen and remove the pinch bolt from the back of
the hub/strut. (See Photo 4)
11. Loosen and remove the axle bolt.
12. Knock the axle out of the hub, being careful not to
damage the splines on the inside of the hub or
damage the end of the axle.
Photo 3
6. Loosen and remove the nut that secures the sensor
link to the lower control arm. (See Photo 3) Note:
this is on the driver side only.
7. Loosen and remove the nut that secures the tie rod
to the hub, then remove the tie rod from the hub
8. Loosen and remove the bolts that secure the brake
caliper to the hub, then, remove the brake caliper
and move to the side out of the way. Note: Safely
hang the caliper using a zip tie or wire hanger
so that it doesn’t over-extend or damage the
brake line.
9. Loosen and remove the three nuts that secure the
ball joint to the end of the lower control arm.
D2747Rev2
www.eibach.com Page 3
Photo 5
13. Use a strut spreader tool to expand the hub and
wiggle things a little bit pulling firmly downwards
until the hub is free from the strut, then remove the
hub. (See Photo 5)
 Loading...