

Eibach E60-82-005-02-10, E60-82-007-02-10 Installation Instructions Manual
r
–
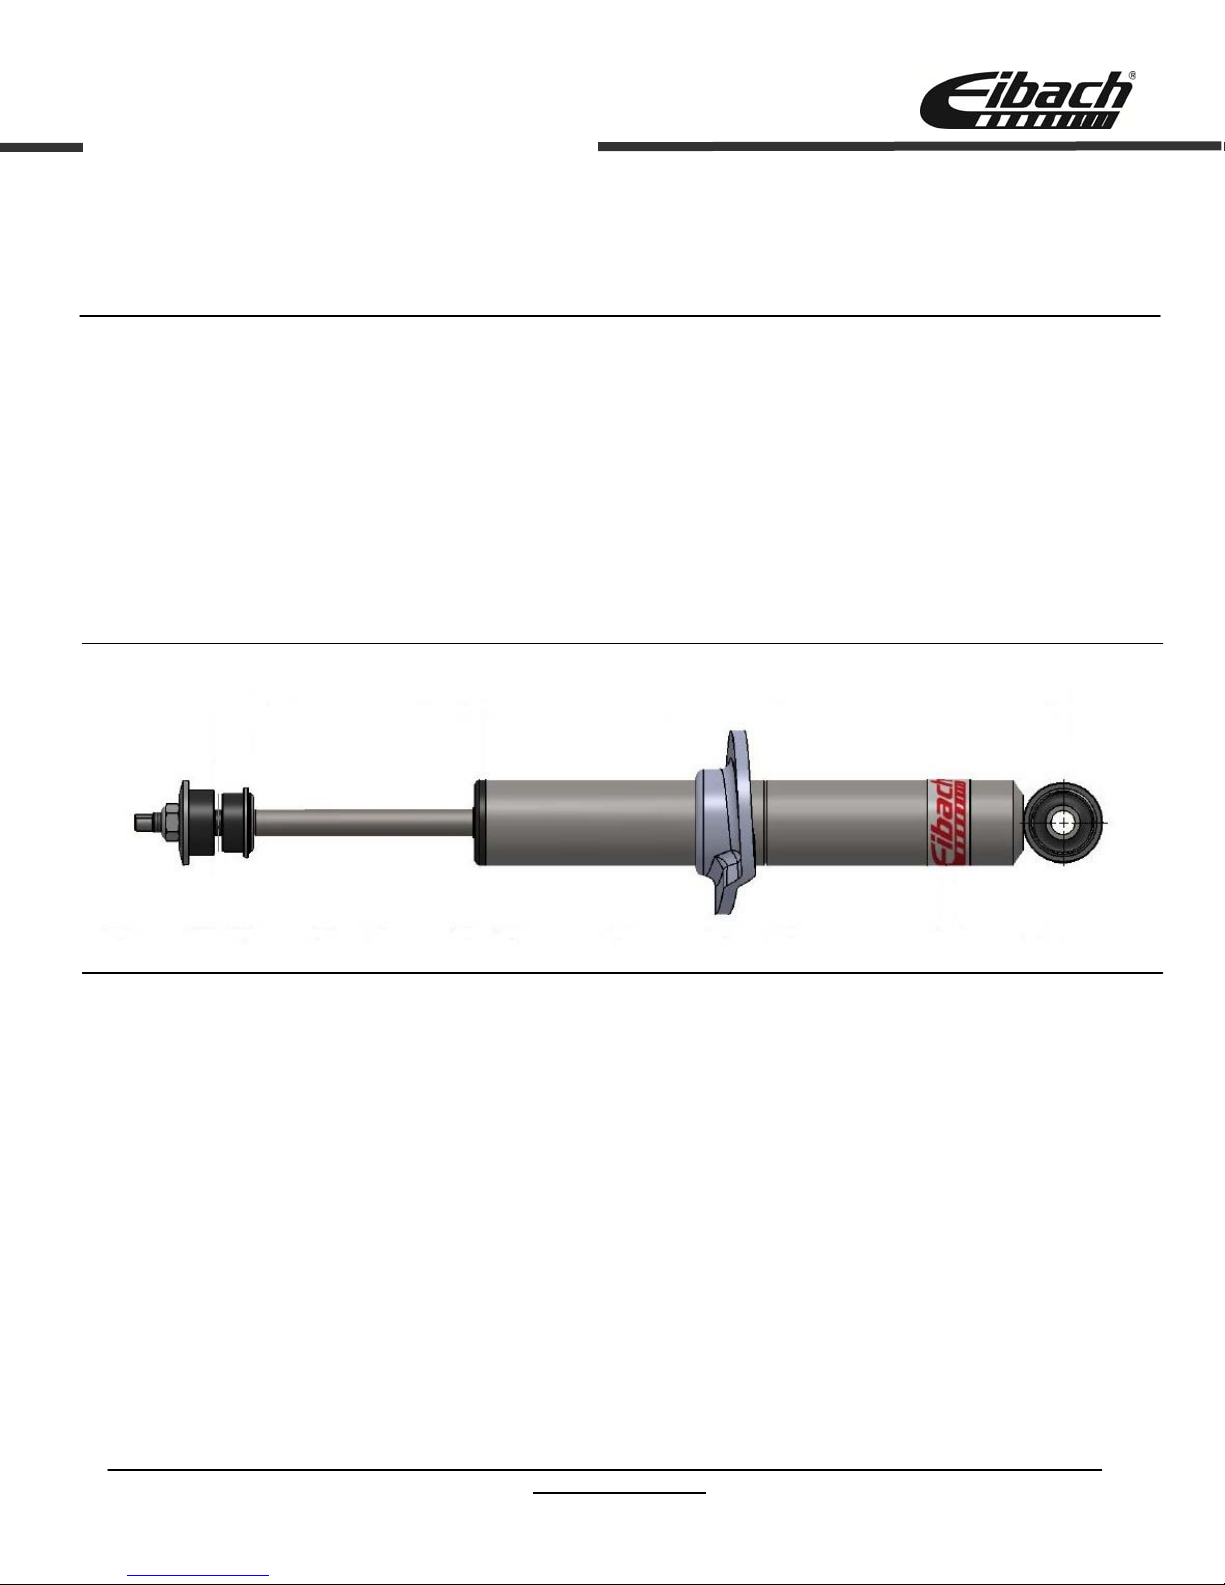
Installation Instructions
Eibach Springs, Inc. 264 Mariah Circle Corona, California 92879-1751 USA Tech Support 800-222-8811 Ext 114
Pro-Dampe
Contents Description Part Number Qty
External Snap Ring 84-1804 1
Bump Stop Cap 8000795 1
Rod Wiper 8000796 1
Bushing 90389-A0001 1
Lower Stem Washer 84-1335 1
Lower Stem Bushing 84-1333 1
Upper Stem Bushing 84-1331 1
Cupped Washer 84-1334 1
Nut, Nylock M12-1.25 H63075400 1
Spring Perch 28-3016 1
Information Kit EPAK 1
Installation Instructions 82109.8001INST 1
# E60-82-005-02-10
Damper Assy. 82109.8003.1 1
NOTES:
1. Park vehicle on level surface and set emergency brake. Raise and support the vehicle with safety stands.
2. Power washing your chassis will make the installation cleaner.
3. Loosen and remove the OE shock per the factor y recomme nded removal procedure.
4. Installation of the Eibach Pro Damper shock should be done in the reverse order of removal.
D3353Rev2
Read All Instructions Before Beginning Installation
Refer to factory manual for proper location of safety stands.
NOTE: Never work on or under a vehicle unless it is properly supported by safety stands.
www.eibach.com Page1

Shock Instructions and Safety Tips
Installation
IMPORTANT NOTES:
• Any time you are working under a vehicle, be sure to use the proper jack stands and tire chocks to prevent any
shifting or slipping of the car. Never use a jack only to support the vehicle while changing shocks.
• Inspect shock brackets or mounting points before installation to make sure they are not broken or bent.
• Do not attempt to disassemble these shocks. Return damaged shocks to EIBACH SPRINGS for any necessary
service or repairs.
PLEASE READ THESE INSTRUCTIONS ENTIRELY BEFORE BEGINNING
• Proper installation is a must to realize the maximum performance improvements. Follow these steps carefully.
USE THE RIGHT SHOCK FOR YOUR VEHICLE
• Use EIBACH SPRINGS shocks only for the applications for which they are listed. Each shock is specifically tuned
for that vehicle’s weight, suspension geometry, and other characteristics.
• Compare original shock mounting style and hardware with your new shocks before starting installation. If original
hardware is not reusable, it should be replaced with OEM quality and style hardware.
• Shocks are tuned to vehicle manufacturer’s recommendation for tire pressure, not necessarily the max inflation
pressure listed on sidewall of tire.
IMPORTANT INSTALLATION NOTES
• If you are uncertain of proper shock installation procedure, please consult appropriate service manual. Torque all
fasteners to vehicle manufacturer’s specs. Note: On Post Mount shocks, finger tighten nut to achieve zero
clearance between the retaining washers and the bushings, then continue to tighten approximately 5-6 turns to
achieve proper pre-load. Bushings should be slightly bulged. Secure with Jam Nut. On some vehicles, nut may
bottom out on stud before 5-6 turns, which is proper for those applications.
• OEM mounting hardware may be either standard or metric. Make sure you have the proper tools before starting.
Do not interchange hardware. Use new mounting hardware provided with your shocks, and re-use original
mounting hardware in all other locations.
• EIBACH SPRINGS shocks have a high-pressure nitrogen gas charge and may come with a restraining strap, which
holds the shock in a compressed position. To ease most installations, leave the strap on until you have secured
one end of the shock, then cut the strap and quickly guide the other end of the shock into position as it expands.
Strap must be cut before some installations, such as when strap goes around post.
• Wire ties are provided to secure the shock boot to the shock body. On some installations (especially where the
shock must pass through a hole in the lower control arm), it is necessary to put the wire tie on after the shock is
installed.
• After installing shocks and before driving vehicle, check for clearance of exhaust, brake or gas lines, electrical
wiring, etc.
• After installation, drive the vehicle cautiously for the first few miles to develop a feel for the improved handling and
ride quality. After 10 miles, inspect installation, re-check torque on all fasteners, and verify adequate component
clearance.
D3353Rev2
www.eibach.com Page2
 Loading...