

eHealthyNet MBP-022-B User Manual
Wrist Blood Pressure Monitor
MBP-022-B
User Manual


3
TABLE OF CONTENT
INTRODUCTION ............................................ 4
PACKAGE CONTENT .................................... 4
INTENDED USE ............................................. 5
PARTS ............................................................ 5
HARDWARE SET UP ..................................... 6
eHealthyNet APP ............................................6
MODE SETTING ............................................ 8
MEASUREMENT .......................................... 11
ABOUT BLOOD PRESSURE ....................... 14
SPECIFICATION .......................................... 16
SAFETY PRECAUTIONS .............................17
CARE & MAINTENANCE ............................. 18
TROUBLESHOOTING ................................. 19
WARRANTY .................................................20
EXPLANATION OF SYMBOL ....................... 21
ELECTROMAGNETIC
COMPATIBILITY INFORMATION ................. 22

4
INTRODUCTION
Thank you for purchasing the eHealthyNet Wrist Blood
Pressure Monitor. The eHealthyNet Wrist Blood Pressure Monitor is compact and easy to use that uses the
oscillometric principle to measure your blood pressure
data. The monitor works with your mobile device to
track your blood pressure data and share it with your
family via eHealthyNet App.
PACKAGE CONTENT
• 1 eHealthyNet Wrist Blood Pressure Monitor
• 1 Storage Box
• 1 User Manual
• 2 AA Batteries
5
INTENDED USE
The eHealthyNet Wrist Blood Pressure Monitor is intended for use at home or medical center. It is a non-invasive blood pressure monitoring system designed to
measure the systolic and diastolic blood pressures and
pulse rate of an adult individual with an inatable cuff
wrapped around the Wrist. Please follow the instruction
of this user manual in order to use the monitor safely
and properly. The measurement range of the cuff circumference is 22cm to 32cm.
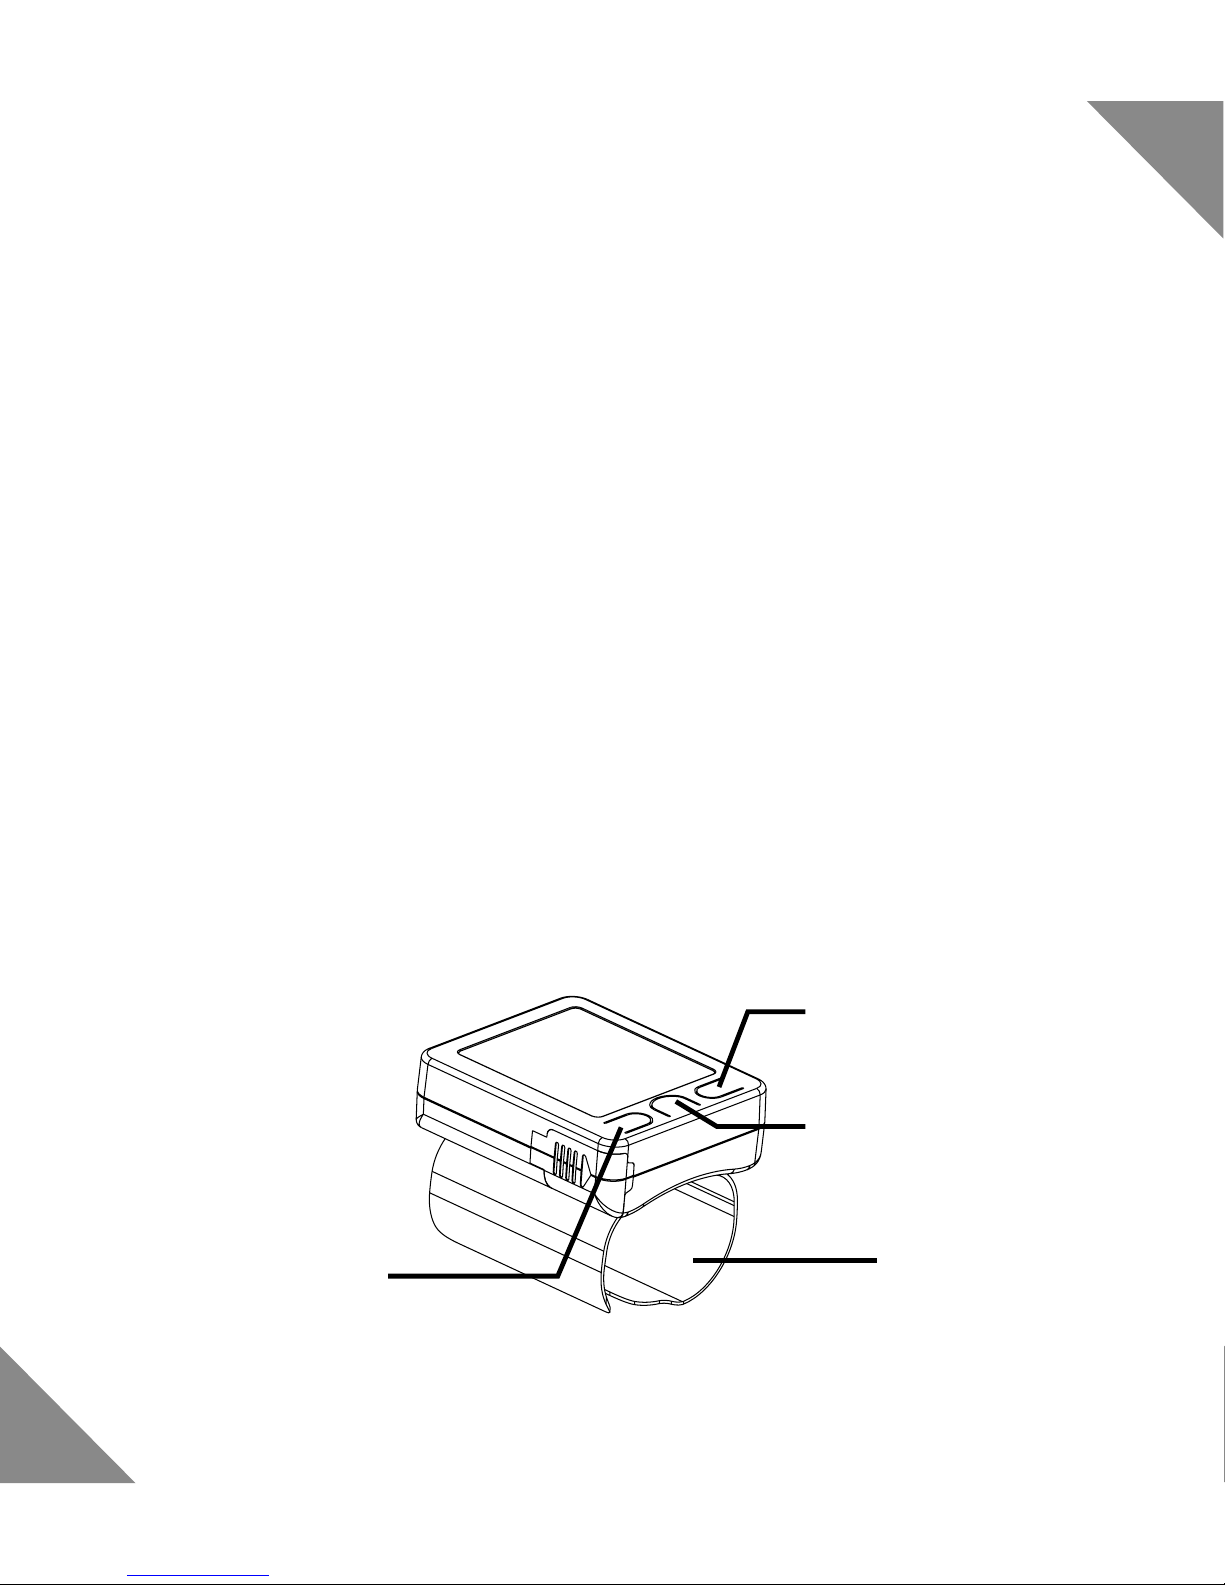
PARTS
Cuff
Setting Button
Memory Button
Start/Stop Button
6
HARDWARE SET UP
eHealthyNet APP
Download eHealthyNet App
The App is available in both Google Play and Apple App
Store. Before the rst use of the monitor, download the
“eHealthyNet” App from Google Play and Apple Store.
Account Setting
Follow the on-screen instruction to register and set up
your personal account.
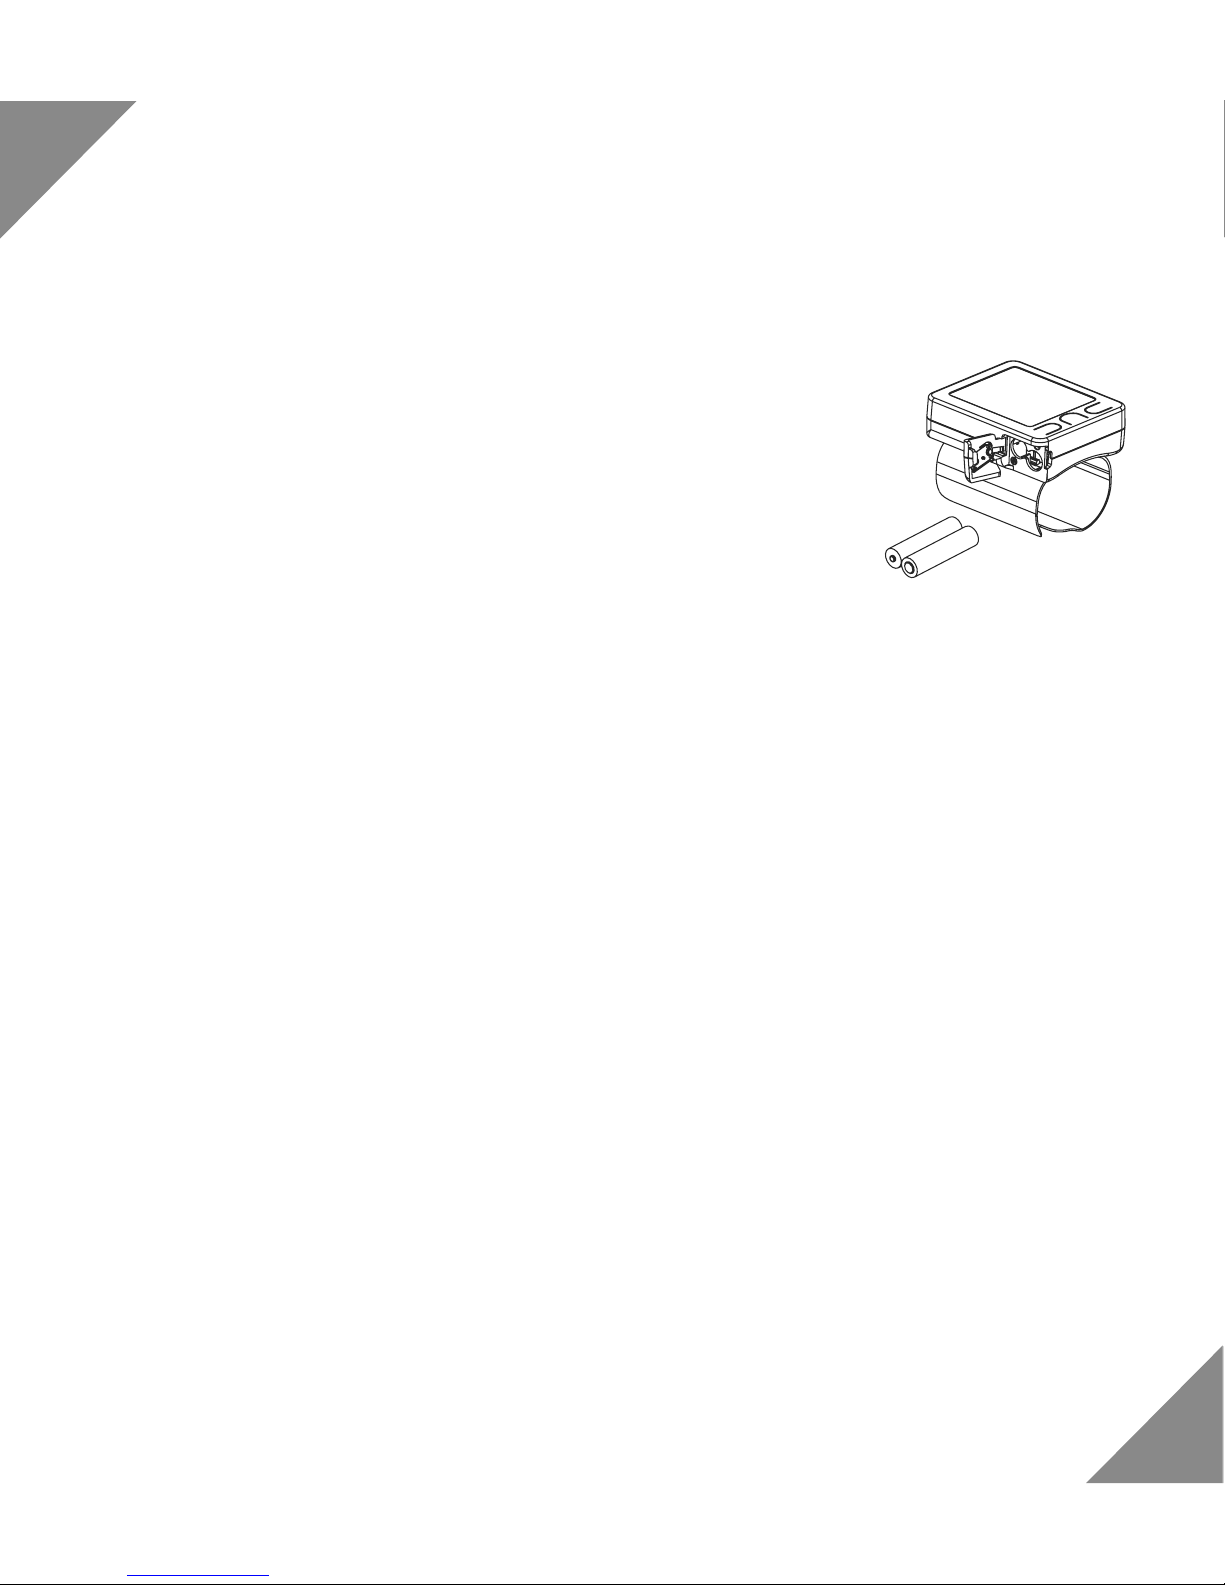
Batteries
Remove the battery cover. Insert 2 AAA
batteries into the compartment.
7
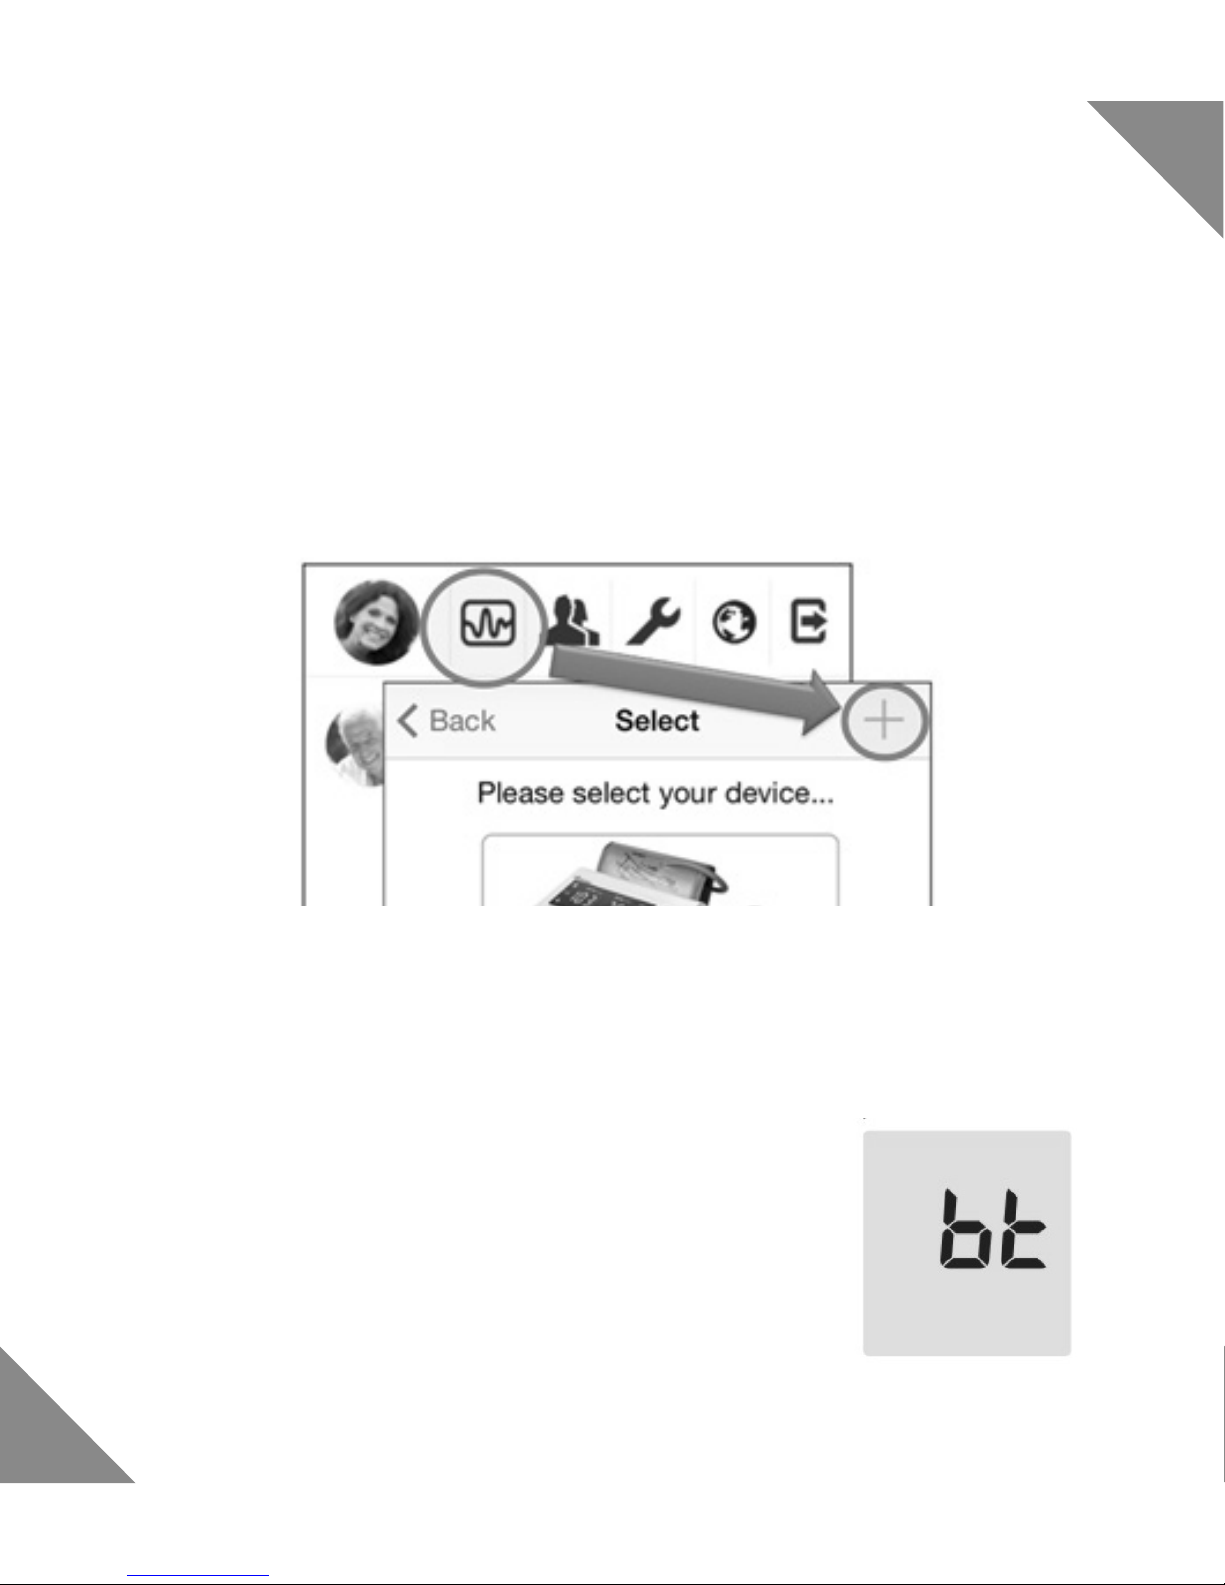
Connect the monitor with mobile devices
1. Switch “bluetooth” on under the “Settings” menu on
IOS or Andriod devices.
2. Select the “Measure” button in the main screen and
then “+” button in the upper right corner.
3. Press and hold the Start/Stop Button on the monitor
until you see a bluetooth sign appears on screen.
Wait the monitor pairs with your mobile device, it
may last for 30 seconds.
8
4. After successful pairing, select the paired device
under “Measure” Button of the App. And Press
Start/Stop Button on the monitor to start measurement.
MODE SETTING
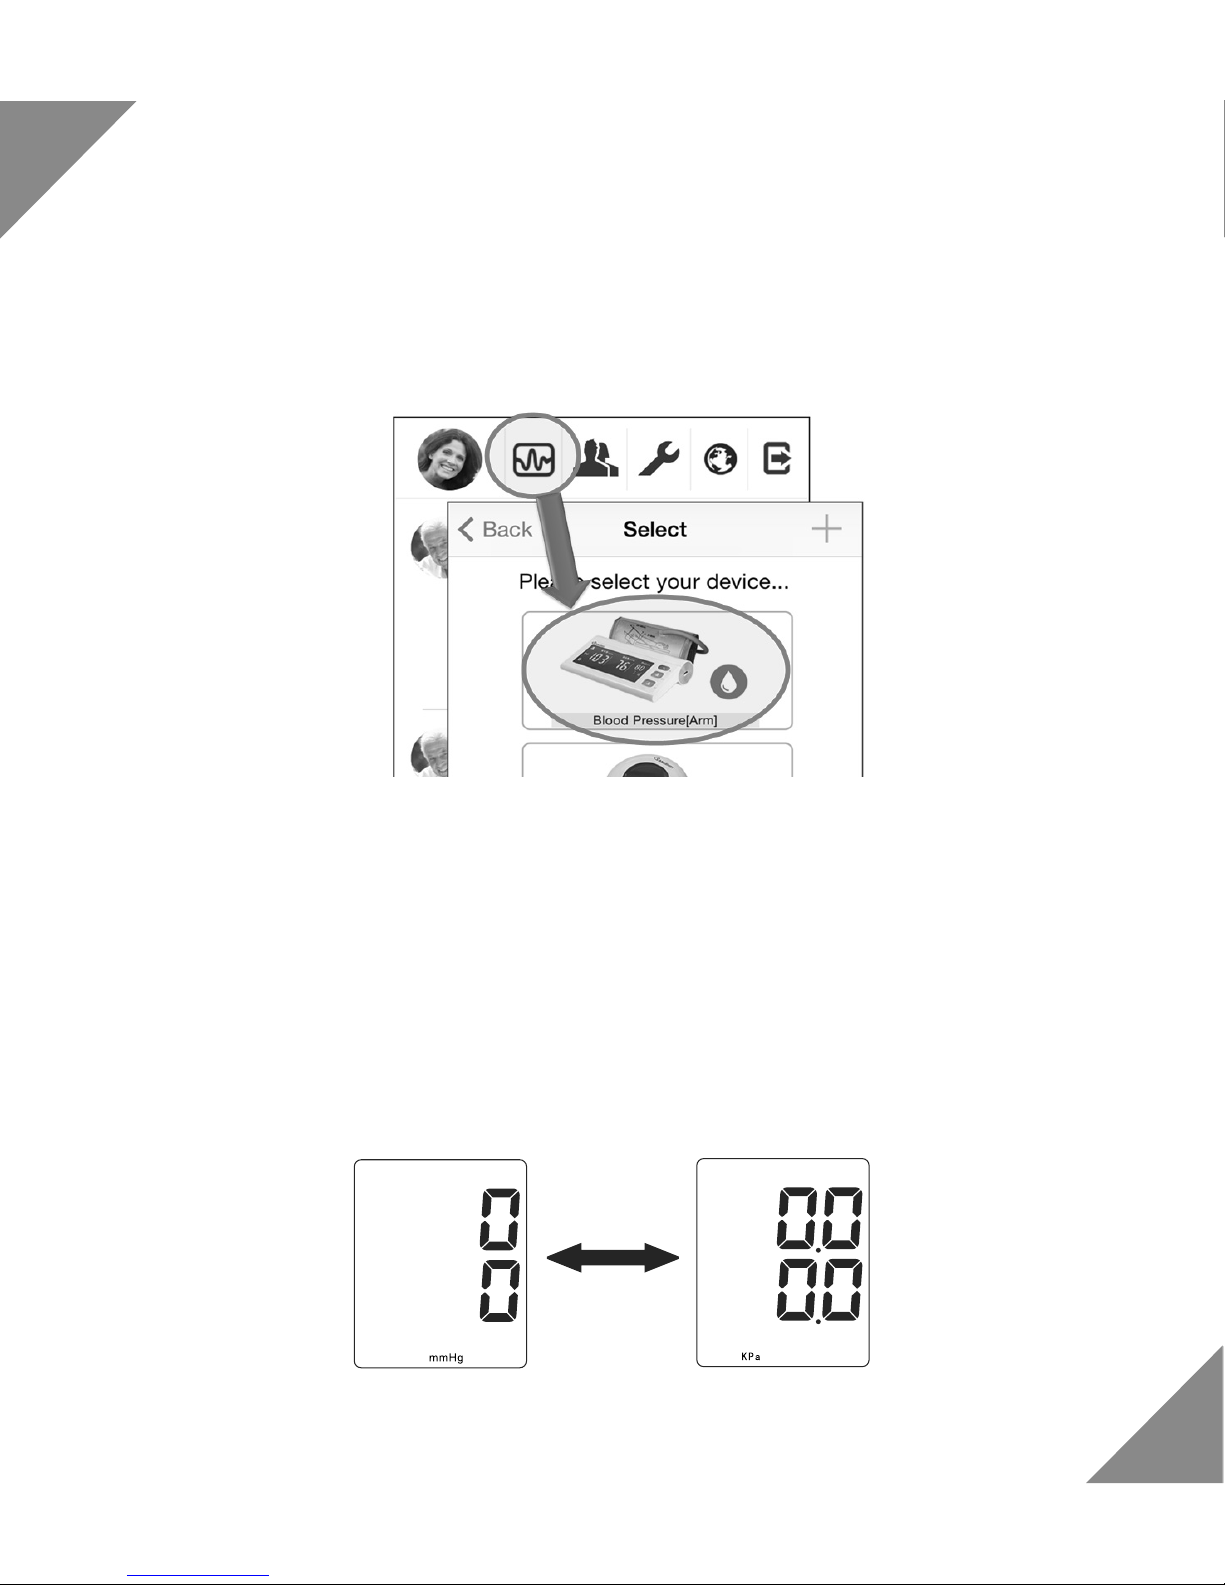
Measurement Unit
Press Setting (SET) Button when power is off, the
screen displays as the picture below, press Memory
(MEM) Button to switch between mmHg (Default) and
KPa units.
9
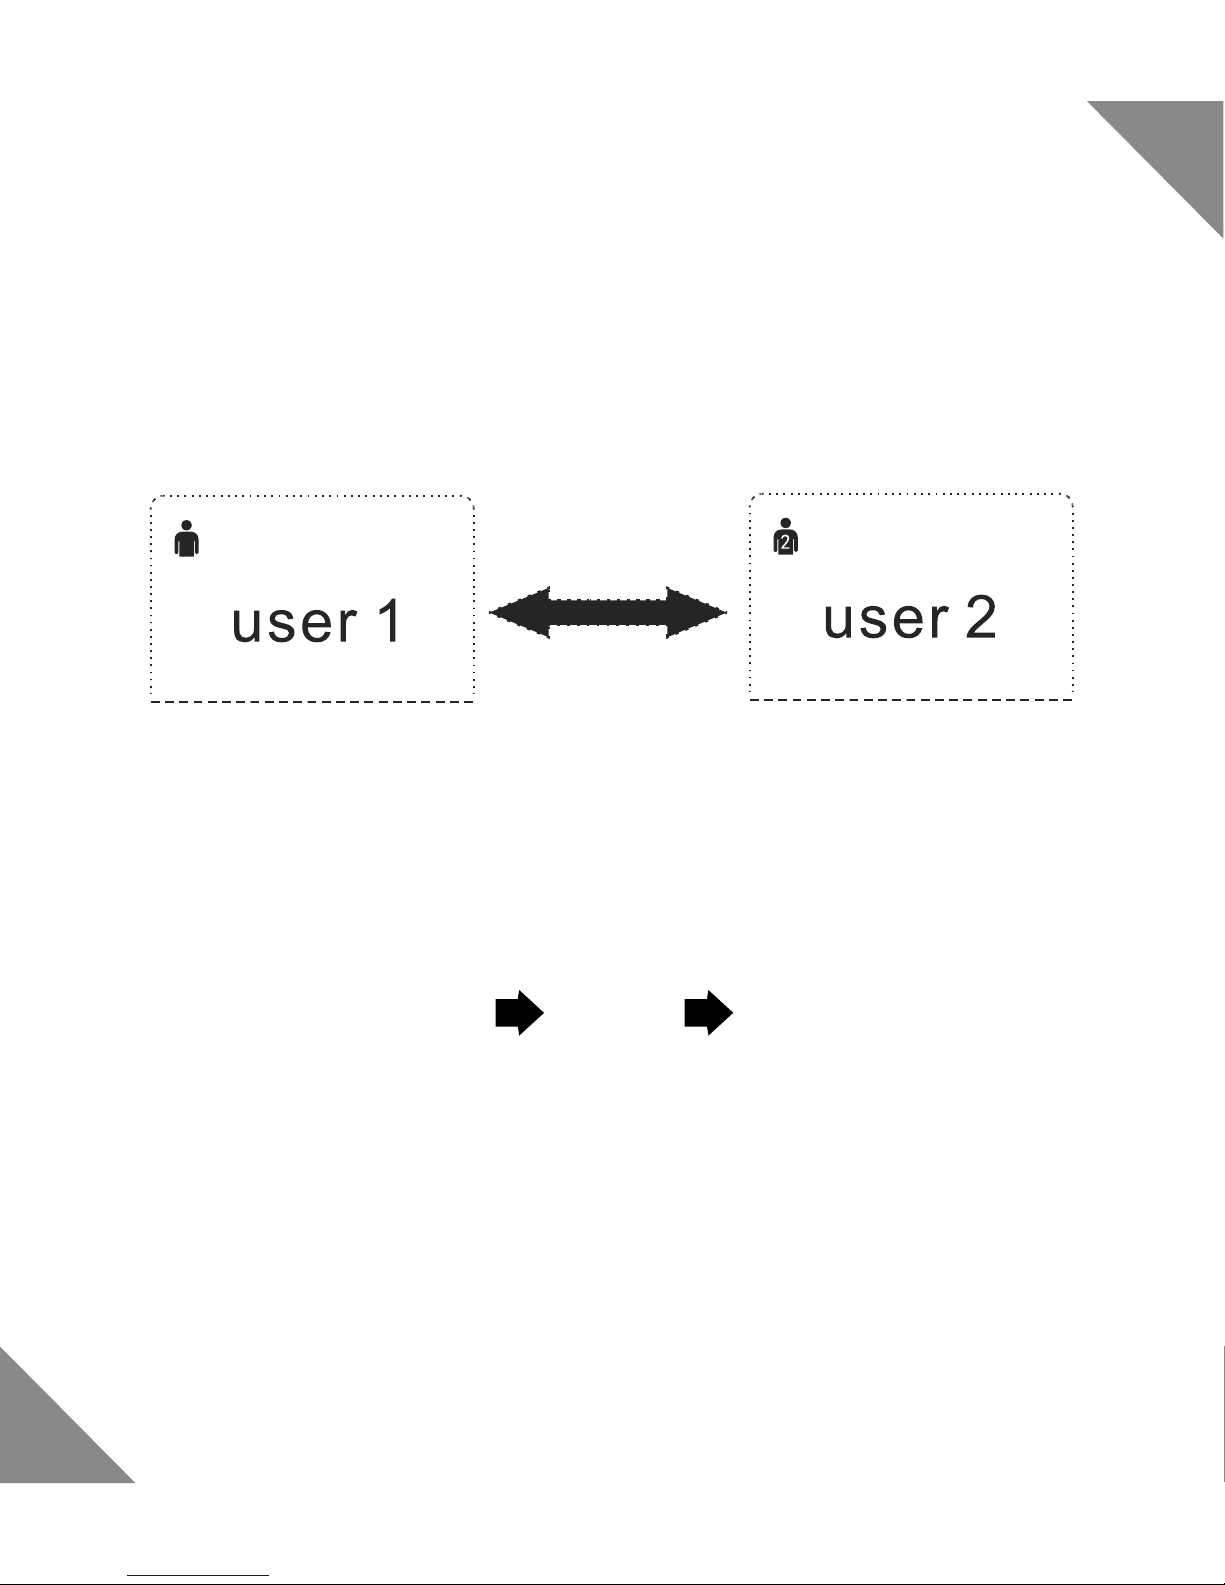
User
Press SET Button when it is in Measurement Unit Set-
ting Mode, the screen displays as the picture below,
press MEM Button to switch between User1 and User2.
Date
Press SET Button when it is in User Setting Mode, press
it 3 times to enter Date Setting Mode in a sequence:
Year Month Day
In each time pressing SET Button, the screen displays
as the pictures from left to right in the next page, press
MEM Button to increase the value by 1.
 Loading...