

Page 1
Charging the Flight Battery
Your Apprentice can be ready to fly in as little time as it takes
to charge the flight battery. Since this takes approximately 60
minutes, let's get the battery charging right away so it's on
charge while you're assembling your new Apprentice. That way
you can start flying as soon as possible.
Required Parts
Charger
3200 3S 11.1V LiPo battery
Power supply or 12-volt battery (not included)
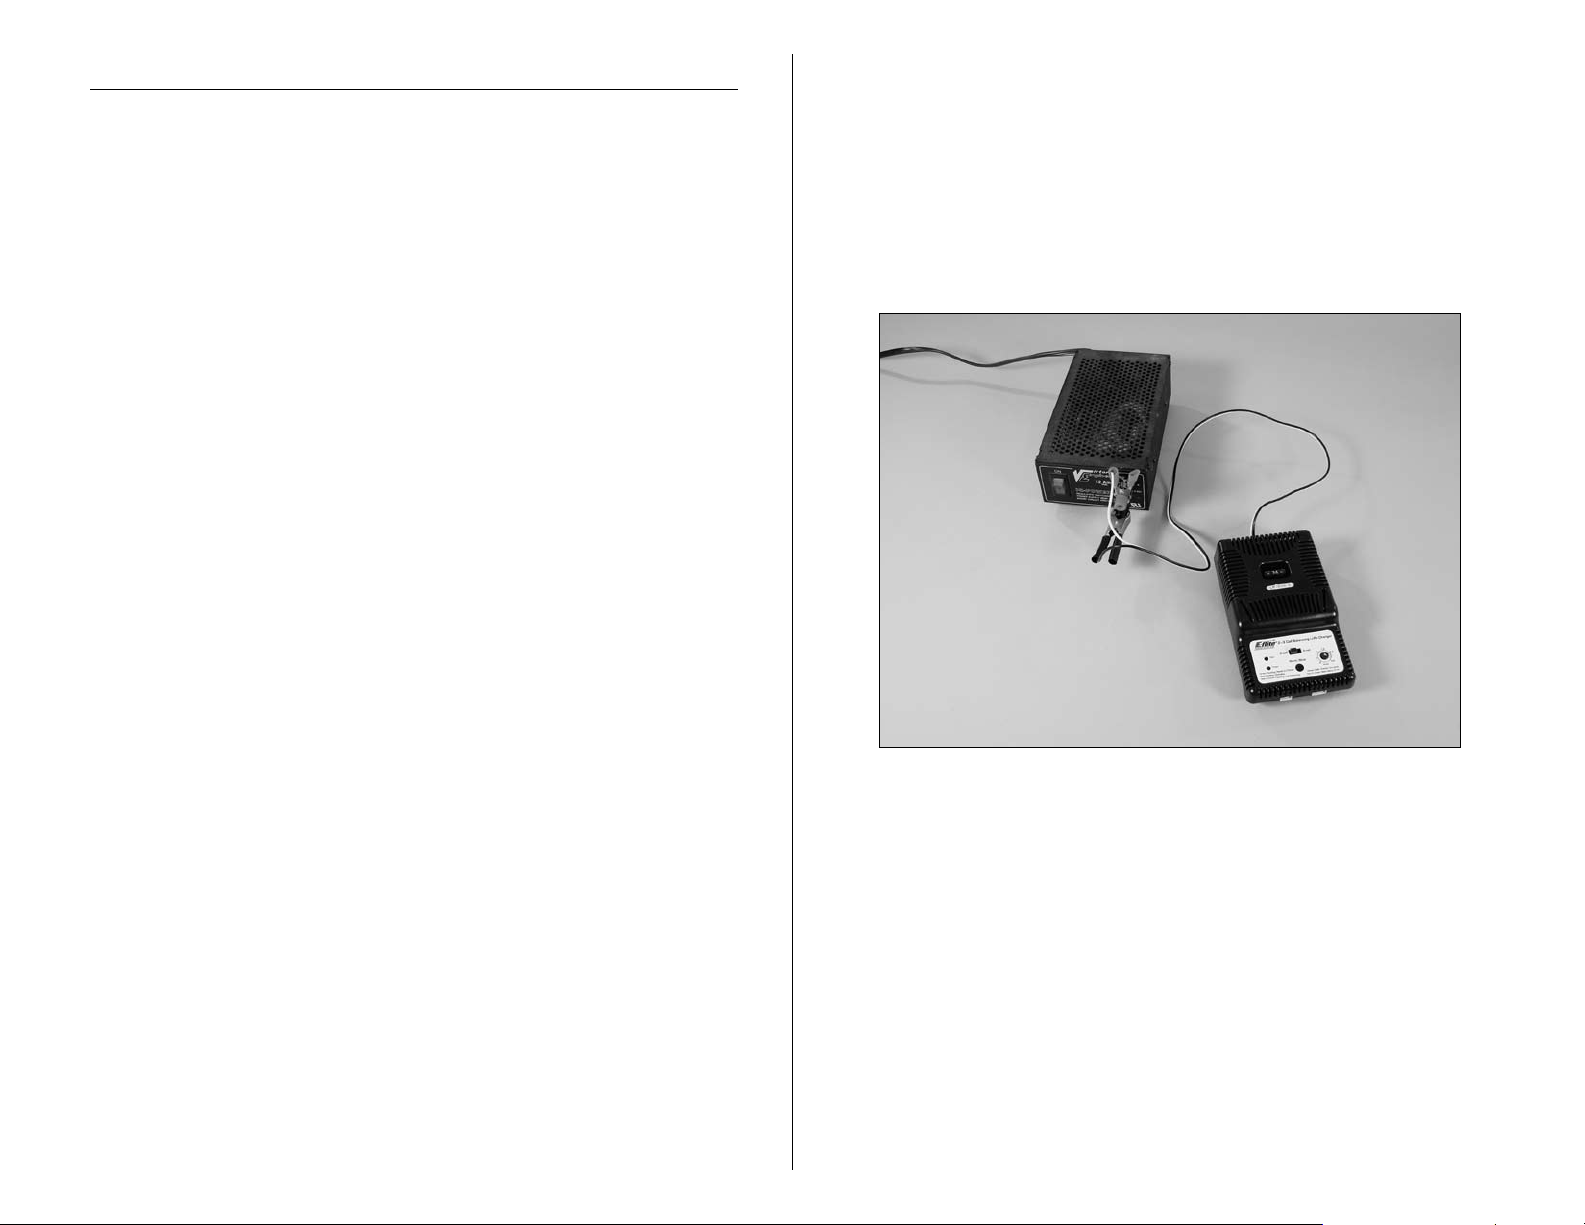
Note: The battery charger can be connected to a power
supply or 12-volt battery. For the pictures in this manual
we will show the use of a power supply.
1. Connect the charger to a 12-volt battery or 12-volt
power supply. Connect the red lead to the positive (+)
terminal of the power supply or battery. Connect the
black lead to the negative (-) terminal of the power
supply or 12-volt battery. Once your charger has been
correctly powered up, there will be an approximate
3-second delay and then you will hear an audible “beep”
and the green (ready) LED will flash.
4 E-flite Apprentice Assembly Manual
Page 2
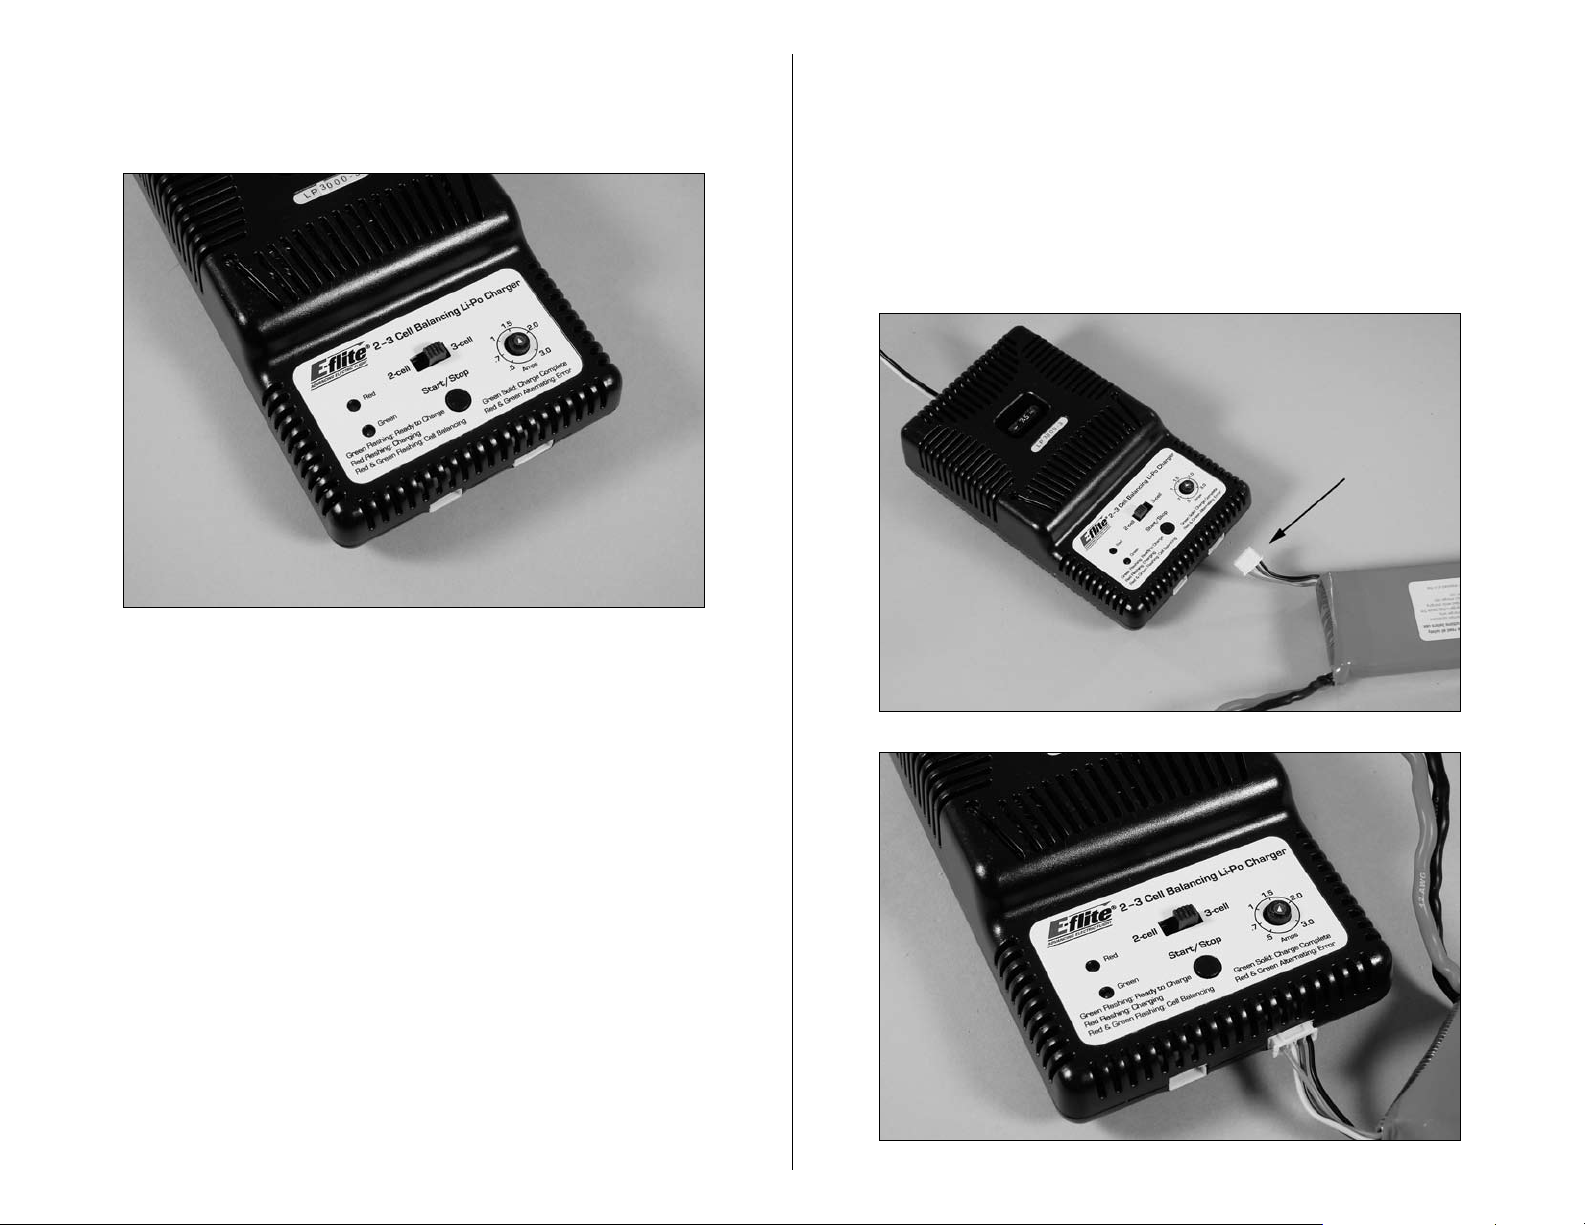
2. Select the proper number of cells that you will be
charging. Your Apprentice includes a 3-cell flight pack,
so set the charger to 3 cells.
4. Locate the balance charge lead on the battery pack.
The charge lead of a 3-cell LiPo battery will plug into
the larger 4-pin port on the bottom right of the charger.
A 2-cell pack will need to plug into the 3-pin port on
bottom left of the charger. Once the battery is properly
plugged into the correct port, it will beep 3 times if it is a
3-cell, and twice if it is a 2-cell pack. Once this is done,
you are ready to proceed to charge the battery pack.
3. Set the charge rate for your battery to 3 amps.
Warning: Selecting a charge rate higher than 1x battery
capacity may cause a fire. If the battery capacity is
3000mAh, then set your charger no higher than 3 amps.
5E-flite Apprentice Assembly Manual
Page 3

5. Push the start button to begin the charging process.
Once this is done, the charger will make an audible beep
that matches the cell count, and then the red (charge)
LED will begin to flash. Do not adjust the current once the
charger has begun to charge.
Note: At times, the green LED may also flash during
the charging process, indicating that the charger is
balancing one or more of the cells at the same time it
is charging the battery pack. When this is occurring,
the red and green LEDs will both be flashing. It will not
always be necessary for the cells to be balanced.
6. When the battery pack is fully charged, you will hear
an audible beep for about 3 seconds, and the green LED
will be solid. Always unplug the battery from the charger
immediately upon completion. Failure to do so could
cause a fire.
Note: Lithium Polymer batteries, commonly known as
LiPos, are not quite like other batteries.
Tail Installation
Required Parts
Fuselage Assembly Stabilizer/Elevator
Fin/Rudder
2.5mm x 12mm sheet metal screw (2)
Required Tools
Phillips screwdriver: #1
1. Position the stabilizer on the fuselage. Align the holes
in the stabilizer with the holes in the rear of the fuselage.
The decals on the stabilizer will face toward the top of
the fuselage.
First, they do not develop any sort of memory
characteristics due to partial use or partial charging.
They can be used as little or as much as needed,
then charged back up to capacity without any loss in
performance.
Second, they do have one quirk that should be
explained. If a LiPo battery is discharged to a voltage
less than about 3.0V per cell (9.0 volts total for the
battery in the Apprentice), then it will be permanently
damaged and cannot be restored. The electronic speed
control in the Apprentice is pre-set to a cutoff voltage that
will not allow the battery to drain less than this amount.
6 E-flite Apprentice Assembly Manual
 Loading...