

Efel KAMINA, RUSTIC, KAMINETTE, Kiruna User Manual
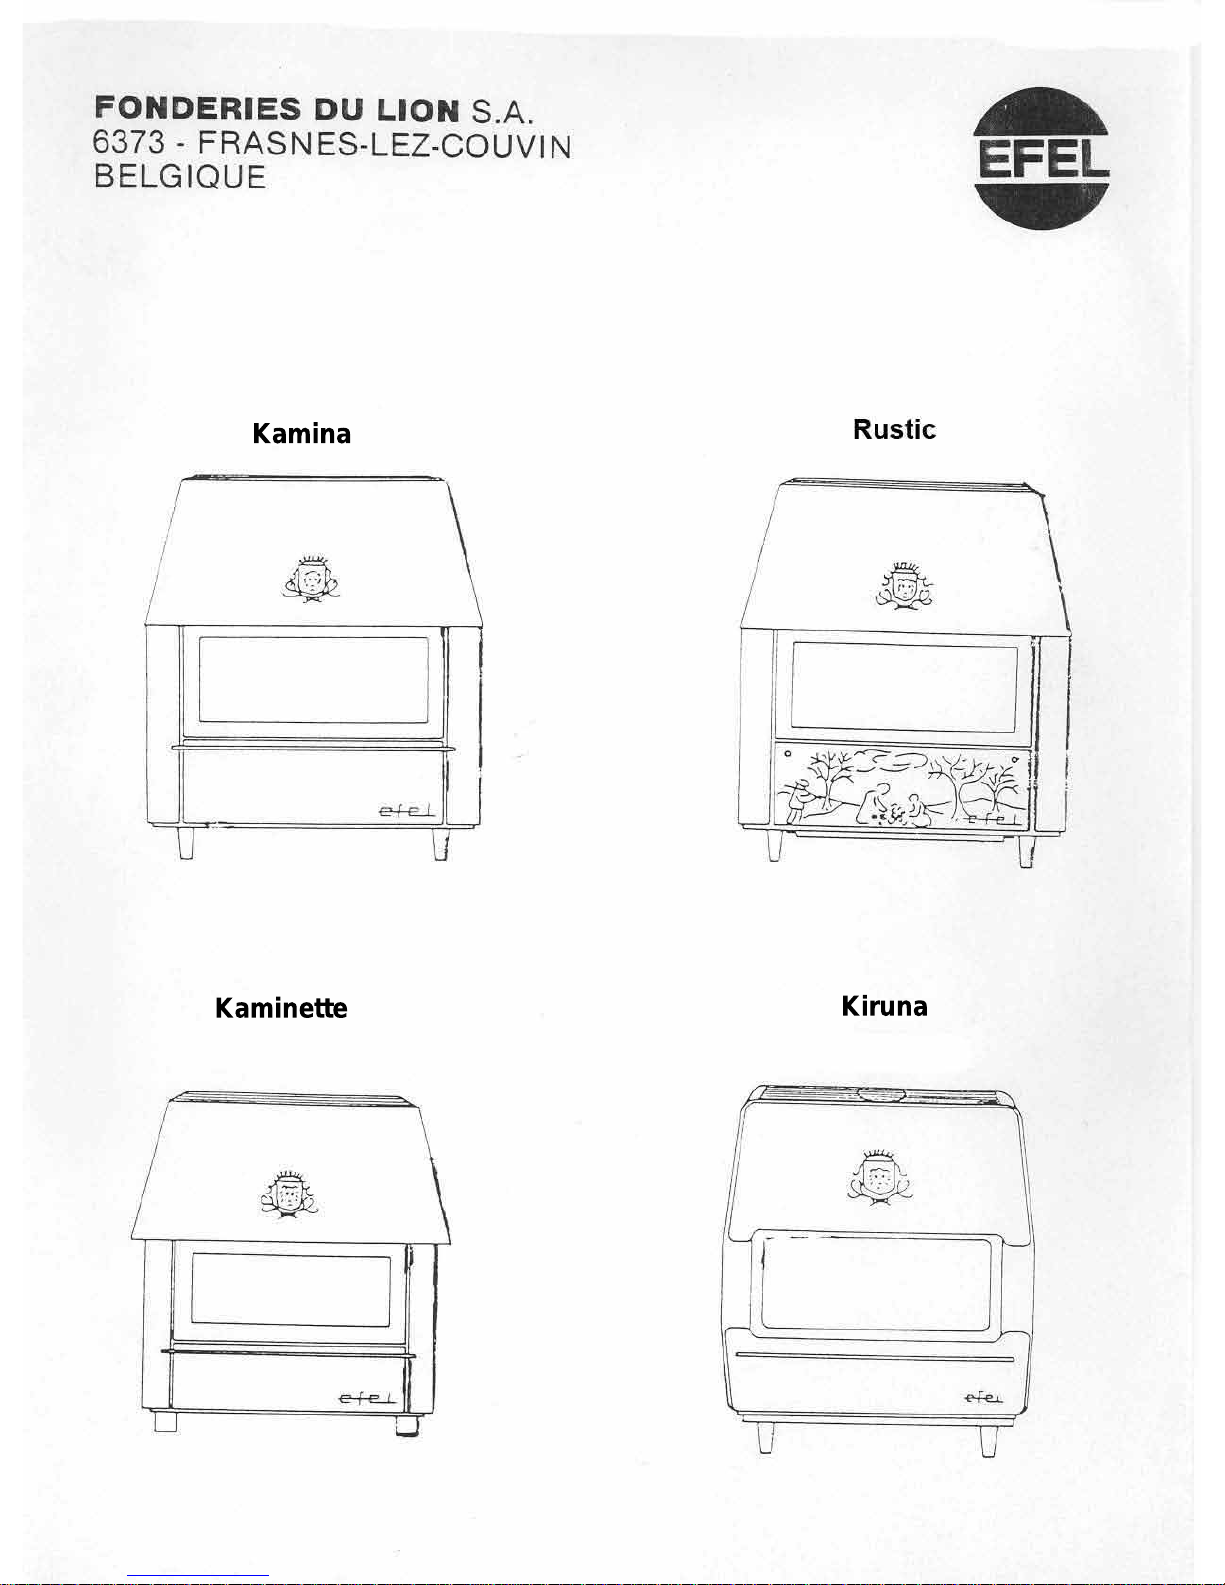
Kamina
Kaminette
Kiruna

ASSEMBLY
1. Raise hood.
2. Place glass door in open position. Lower hood to retain glass door in the open position.
3. Remove flue collar from combustion chamber.
4. Open ash compartment door and remove ash pan containing legs, holts, nuts, washers
and service tool.
5. Lay heater on its back and attach legs with bolts, nuts and washers provided.
6. Place heater upright and replace ash pan.
7. Attach flue collar to flue discharge by means of the six screws provided.
Your log burning appliance has been scientifically designed and constructed to give you
the best possible service and satisfaction Complete success with your unit depends on
the following:
1. A good chimney with nominal draught (In the event of high draught conditions, consult
your installer).
2. A clean fire.
3. A normal rate of burning avoiding excessive overheating. 4. Regular removal of ashes
but keeping the embers. 5. Keep chimney free 0 f soot and any obstructions.
INSTALLATION.
See that your chimney is free of soot and obstructions.
The unit should stand on an incombustible hearth and be level. A space of 6 ins. should
be left between the appliance and 'the rear wall.
Any connection of the heater to chimney should allow for: a) a good seal .between heater
flue and register plate
b) A good seal between fire surround and register plate c) In the event of general
excessive draught, a 6 ins. draught stabiliser can be fitted in the register plate.
METHODS AVAILABLE.
-
1. Fire opening sealed with brickwork and flushed off. A short length of pipe according to
size of heater flue spigot to be built in, with end cut at an angle shown.
If a draught stabiliser be required, this may be incorporated into the brickwork under the
fluepipe.
 Loading...