

EDTM PPG Solarphire AR1750 Operator's Manual
OPERATOR'S MANUAL
The instrument is powered by a 9-volt alkaline battery (supplied). The instrument
will notify you when the battery is starting to get low. The meter will continue to
operate, as this is just a warning that you will need to replace the battery in the
near future. Once the battery has reached a level that is too low, the instrument
will lock up the display with a “REPLACE BATTERY” message. To access the
battery, remove the battery cover and replace with a new 9-volt alkaline
battery. If the unit is going to be stored for more than a month without use, we
recommend removing the battery during storage.
WARNING: The instrument includes a UV(A) LED in the design. Do not look directly at
the aperture on the back of the instrument while the instrument is testing.
Do not tamper with the enclosure of the instrument. Opening the enclosure WILL
affect the calibration of the instrument AND will void the warranty.
Do not apply excessive force to the switch. Doing so could affect the performance
of the instrument, especially if excessive force is applied during testing.
The instrument has been calibrated for testing Solarphire AR glass. Testing of
materials other than Solarphire AR glass is not warranted to produce the correct test
results. If you have a custom application, consult the factory to find out if the product
is applicable.
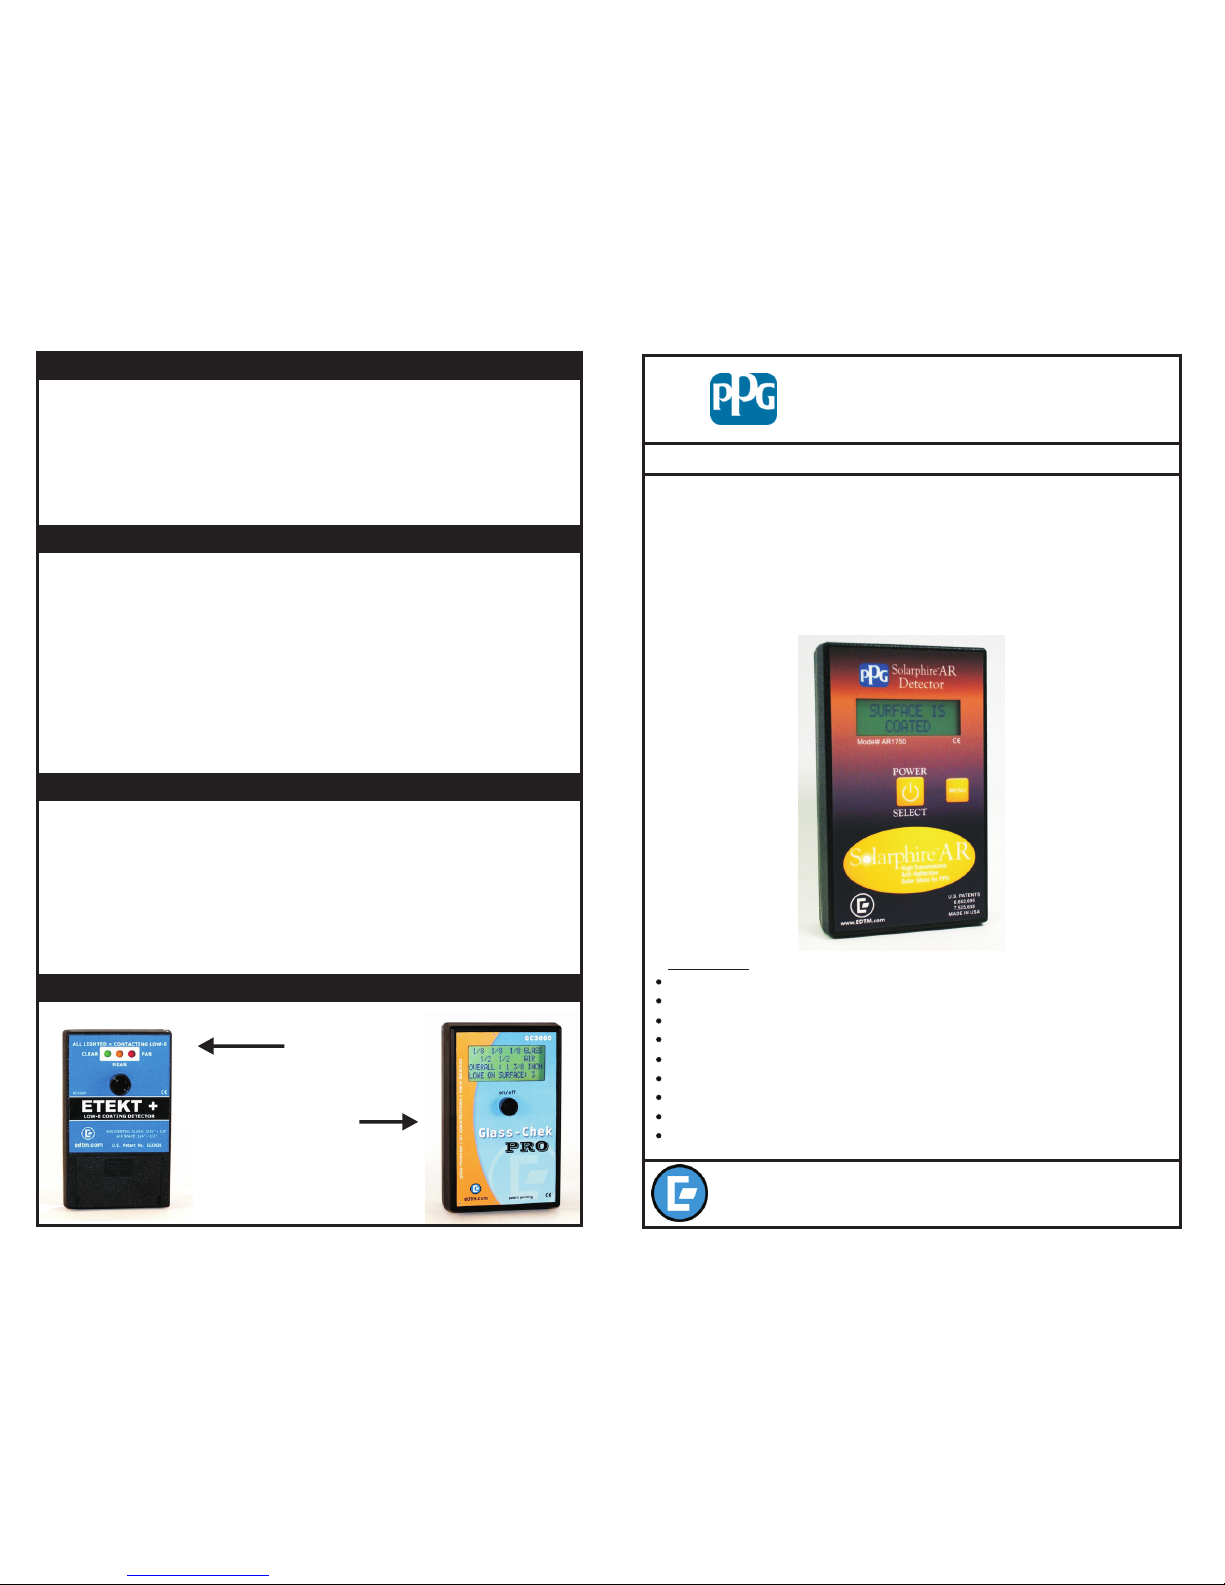
Solarphire AR Detector
BATTERY REPLACEMENT
WARRANTY
USE / MIS-USE
The manufacturer warrants the electronics included in all models of the AR1750 to be free from defects in material
and workmanship under normal use and service as specified within the operator's manual. The manufacturer shall
repair or replace the unit within twelve (12) months from the original date of shipment after the unit is returned to the
manufacturers factory, prepaid by the user, and the unit is disclosed to the manufacturers satisfaction, to be thus
defective. This warranty shall not apply to any unit that has been repaired or altered other than by the
manufacturer. The aforementioned provisions do not extend the original warranty period of the unit which has been
repaired or replaced by the manufacturer. Batteries, enclosures, lenses and front panel interface components are
not covered by warranty.
EDTM, Inc. assumes no liability for the consequential damages of any kind through the use or misuse of the
AR1750 product by the purchaser or others. No other obligations or liabilities are expressed or implied. All
damage or liability claims will be limited to an amount equal to the sale price of the AR1750, as established by
EDTM, Inc.
1
4
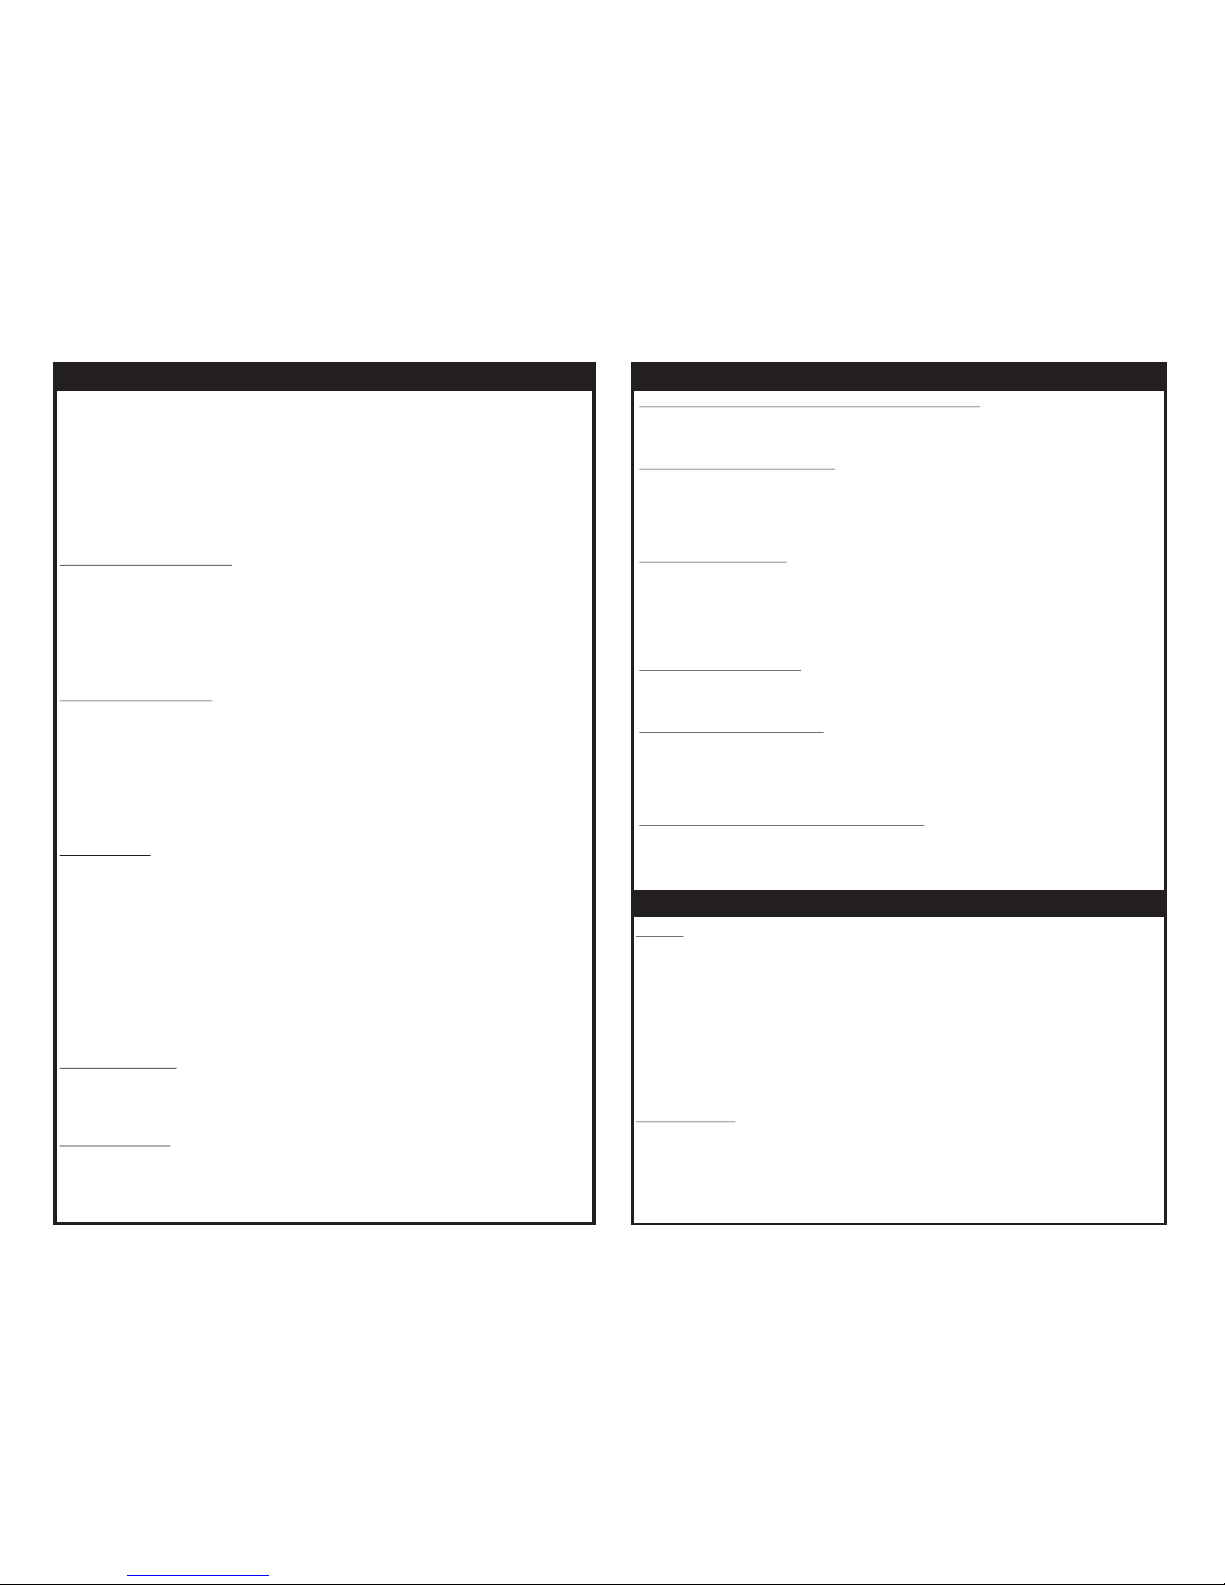
Low E Coating
Detectors
(Model# AE1601)
EDTM, INC.
745 Capital Commons Drive Toledo, Ohio 43615 USA
Ph. 419-861-1030 Fx. 419-861-1031
EMAIL: SALES@EDTM.COM WEB: WWW.EDTM.COM
The Solarphire AR Detector allows the user to easily identify the coated side of the
glass. Simply place the meter against the glass surface and push the button. The
results will instantly be displayed on the LCD screen. The instrument includes a
MENU button that allows the user to operate the meter in SINGLE TEST MODE
or FREE RUNNING MODE. Repeatedly pushing the MENU button will scroll
through all of the available options of the meter. When you find the mode you
would like to choose, simply push the POWER/SELECT button and it will make
your selection for you.
OTHER PRODUCTS FROM EDTM, INC.
FEATURES
SINGLE TEST mode or FREE RUN continual measurement operating mode
Able to recalibrate instrument in the field
Backlit LCD display for testing in any light condition
User-friendly LCD display operation with step-by-step directions on how to use
TM
OPTO-CLEAN Error protection against dirty glass and dirty lens on the meter
Powered by standard 9-volt alkaline battery (included)
Automatic power-down feature to extend battery life
Rugged and compact instrument
Tactile membrane switches on the front panel
DIGITAL!
Glass & Air Space Laser Meters
with Low E Type Detection
(Model# GC3000)
Model# AR1750
MISCELLANEOUS
OPERATION
TEST RESULTS
2
3
POWER
If the user wants to turn the power off manually, you need to press AND HOLD the power button for 2
seconds. After 2 seconds the powering-down screen will appear, and the meter will begin its
countdown to shutting off. You must continue to hold the button down during the countdown to
complete the powering off sequence. If you let up on the button too early, the instrument will resume
operation.
The instrument also has a built-in timer that will automatically power down the product if no button
presses occur for approximately 2 minutes. This energy conservation design helps to extend the life of
the battery in the instrument in case the user forgets to turn it off. To turn the meter back on, simply
push the button.
MAINTENANCE
You will want to occasionally inspect the cleanliness of the viewing window on the back side of the
meter. If you see dust or dirt in the window, please use compressed air to blow it off. If you begin
getting a large number of error messages during your testing, telling you to “CLEAN GLASS & TEST
AGAIN”, this may be a sign that the back window needs cleaned. If there are smudges on the window
that do not clean off with compressed air, use a soft lint-free cloth to wipe the lens. Always use
compressed air first to remove any particles that may scratch the surface of the lens.
To begin, make sure the glass you are testing is clean. Dirty glass or dust and dirt
on the surface of the glass can affect the results of your test. Also make sure the
lens on the back side of the meter is clean. To turn the instrument on, hit the
momentary power switch on the front of the meter. The display will direct you to
place the meter on the glass you want to test. Place the meter FLAT against the
glass. Here are the various operating modes and features you can select with the
MENU button:
“SINGLE TEST” MODE
Each push of the button will result in one test being done on the surface of glass you
are touching. The meter will not test the opposite side of the glass, rather only the
side you are in contact with. The display will register a measurement of
“SURFACE IS COATED” or “SURFACE IS UNCOATED”. Hold the
instrument stationary while conducting the measurement.
“FREE RUN” MODE
In this mode, the meter will continually take measurements. There is no need to
continually push the power button when you want to take a measurement, as the
meter will continually be doing so. Measurements will be updated nearly every
second. It should be noted that this operating mode will tend to shorten the life of
the battery, as the electronics are powered for a much longer period of time, as
opposed to the Single Test mode.
CALIBRATE
If the coating you are testing has changed in chemistry, or if the warning message
on the display has encouraged you to recalibrate, select this option. Before
beginning, be sure to clean the back lens of the meter, and find a clean sample of
the Solarphire AR coating. Use the menu button to select “calibrate” mode.
Follow the instructions on the display to take a measurement on both sides of the
Solarphire AR sample. It does not matter which side of the glass you choose for
Side 1 during the calibration process. The meter will indicate if the calibration was
successful or not. If not, try the calibration process again. If it still fails, check to
see that the meter lens is clean, and that your Solarphire AR sample is valid.
USE PREV. CAL
If you do not like the new calibration that you performed, you can restore the
previous calibration that was stored in the instrument.
USE FACTORY
If you want to return the meter to the calibration that was originally shipped in the
meter as new from the factory, make this selection.
“SURFACE IS COATED” or “SURFACE IS UNCOATED”
One of these two screens will appear after a successful test, indicating if the glass surface contains the
Solarphire AR coating, or if it is clear glass.
“CLEAN GLASS & TEST AGAIN”
This result screen will show up if the measurement was not in the range anticipated by the meter. This
typically happens when the glass is dirty. Clean the glass and test again. If this does not correct the
problem, you may want to use compressed air to blow off the lens area on the back side of the
instrument.
“SURFACE IS INVALID”
This result screen occurs when the measurements are not inside the anticipated range of
measurements for Solarphire AR. This can occur when you place the meter on glass that is coated
with other types of coatings that do not have the same characteristics as Solarphire AR. This can also
happen if the glass or lens of the meter are extremely dirty. Confirm the type of glass you are testing
or clean the meter and/or glass and re-test.
“CLEAN THE BACK LENS”
This message will appear if the meter has determined that its back lens may be dirty. Simply use
compressed air to blow off any dirt or dust from the back lens of the meter.
“CLEAN AND RECALIBRATE”
If the meter determines that the back lens has continually been degrading in cleanliness, this message
will appear. Before any re-calibration is performed, it is pertinent that the back lens of the meter is
cleaned first. Also before re-calibrating, make sure the glass sample of Solarphire AR is a valid sample
and that it is clean.
“KEEP METER FLAT ON GLASS DURING TEST”
If you pick up the meter or the instrument is not setting flat against the glass during the test, this error
message will occur. The instrument is monitoring the measurement and if it determines that the
meter has been pulled away from the surface of glass, it will display this message and ask you to start a
new test.
 Loading...