

Edis E62 User Manual

E62 Ceiling Speakers
User Guide
Installation Procedure
Speaker placement
Ceiling speakers have a uniform dispersion and do not require special orientation for good sound.
E62 User Guide Rev A Page 1 of 4
Speaker Dimensions
Copyright ©2009 Edis Trading (HK) Limited
For stereo music listening place the speakers in the ceiling or wall, to the left and right of the stereo
system, but closer to the main listening area.
Precautions
• Turn off all system power before connecting speakers.
• Always wear protective eye-wear when using tools.
• Wear gloves when working with fiberglass insulation.
Recommended Tools
• Electric Drill
• Drill Bit ¼’ ~ ½’
• Stiff Wire (coat hanger or fish tape)
• 1’ Flat Bit (use if drilling through studs)
• Rubber Gloves
• Spirit Level
• Phillips Screwdriver
• Wire Strippers
• Keyhole or Drywall Saw
• Pencil
CHECK FOR OBSTRUCTIONS
If an obstruction is found behind the drywall in the proposed location, you will need to choose a
different location for the speaker.
Before installing ceiling speakers in plasterboard, check for joint or any other obstructions, such as
metal pipes, which are hidden from your view.
Stud Locator
The easiest, most efficient way to detect obstructions behind drywall is to use a stud finder. At each
speaker location, use the stud locator to find an open space. Try to center each speaker between
the ceiling studs. Slide the stud locator horizontally across the ceiling or walls to locate the studs.
Scan vertically to pinpoint fire blocks.
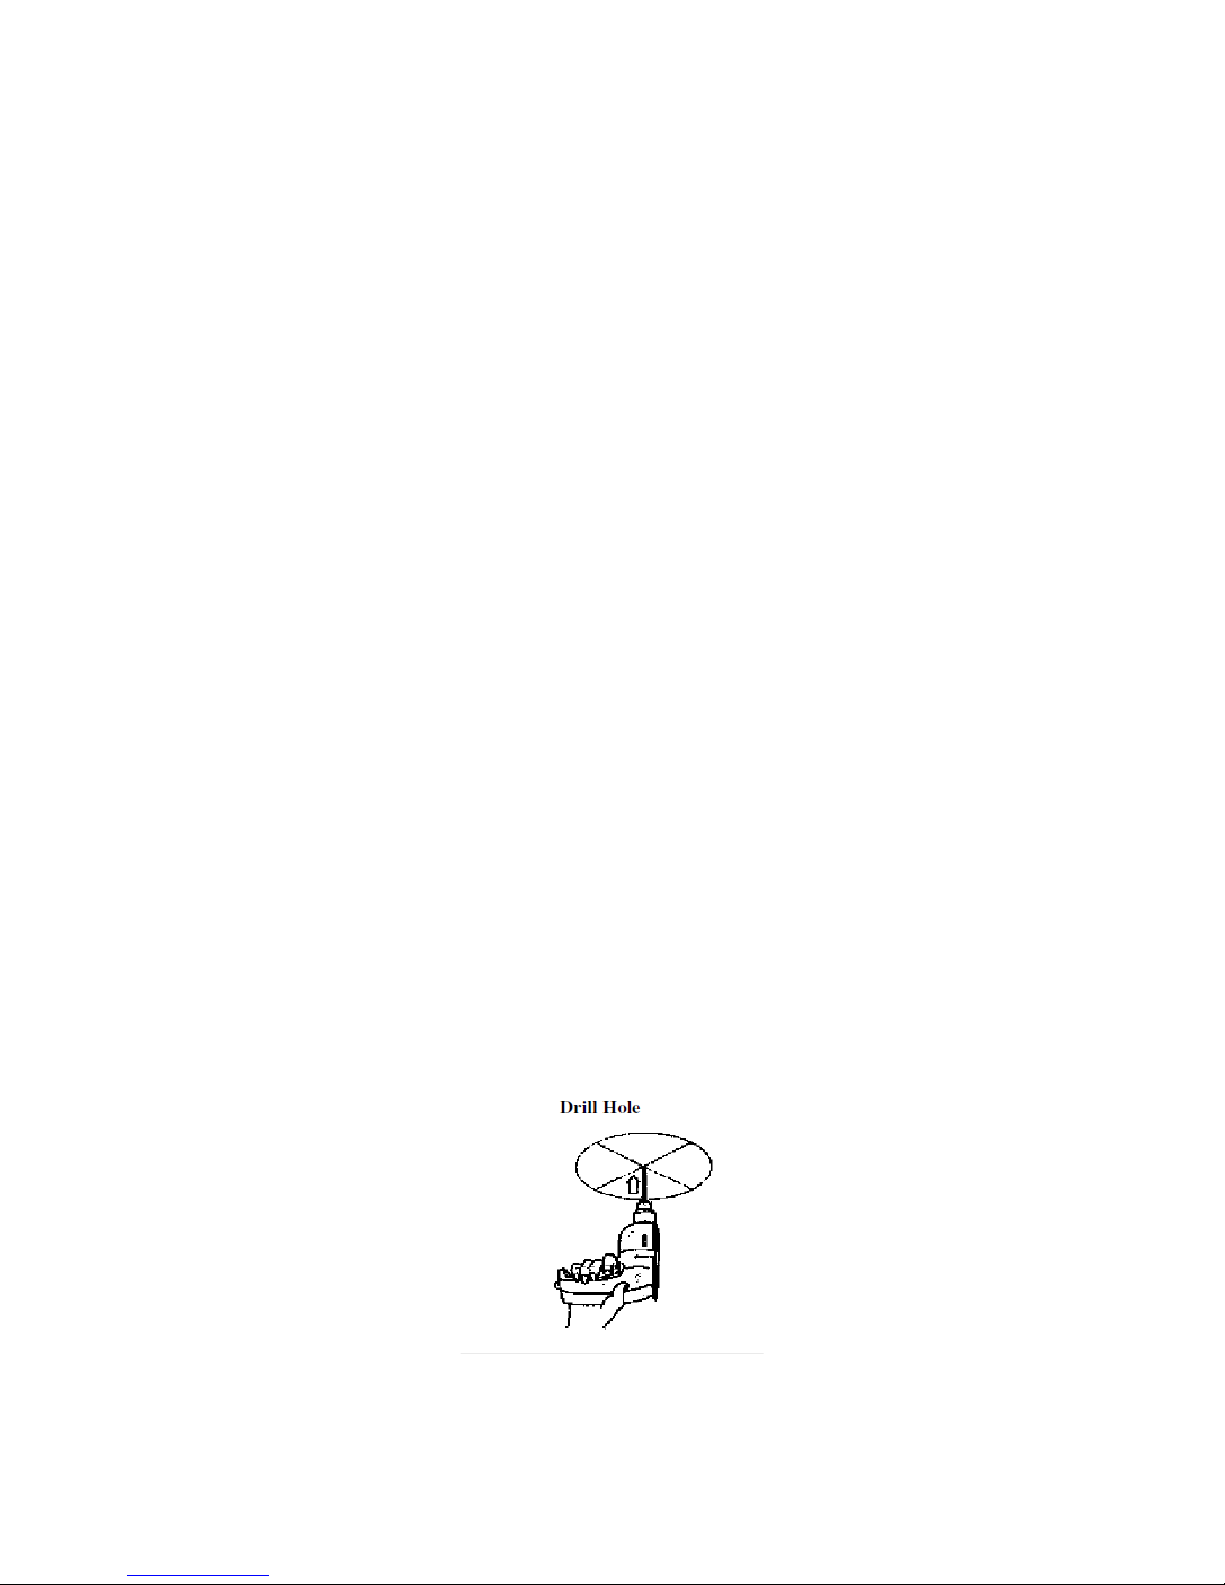
Check again for Obstructions
At each site, drill a small hole at the center of the outline, If you feel any obstructions while drilling
stop immediately.
Bend a piece of stiff wire (e.g. coat hanger) about 6 inches from the end at a 90 – degree angle.
E62 User Guide Rev A Page 2 of 4
Copyright ©2009 Edis Trading (HK) Limited
 Loading...