

Page 1
IPRISM 55H APPLIANCE UPGRADE GUIDE
IMPORTANT: PRIOR TO UPGRADING YOUR IPRISM 55H APPLIANCE YOU MUST COMPLETE THE FOLLOWING STEPS. YOUR SOFTWARE
UPGRADE WILL NOT WORK IF YOU HAVE NOT COMPLETED THESE STEPS
1. Upgrade your memory – To determine the proper memory please reference knowledge base article: iPrism 8.001 Memory Upgrade
Requirements – h series
2. Change your BIOS settings
Memory Upgrade Procedure for a 55h
Initial Preparation
Properly shutdown your iPrism. Once it’s halted disconnect iPrism and place on a table or workbench.
IMPORTANT: ELECTROSTATIC DISCHARGE ESD CAN DAMAGE ELECTRONIC COMPONENTS. PLEASE UTILIZE THESE PRECAUTIONS.
Make sure that you are working in a static-safe environment. Remove any plastic bags or papers from your work space.
1. Shut down your system and make sure the power is completely o.
2. After disconnecting the power cords, discharge residual power by pressing the power button.
3. It is recommended to use a grounded wrist strap designed to prevent static discharge.
4. Touch a grounded metal object before removing the module from the antistatic container.
5. Handle memory modules by its edges only; do not touch its gold contacts.
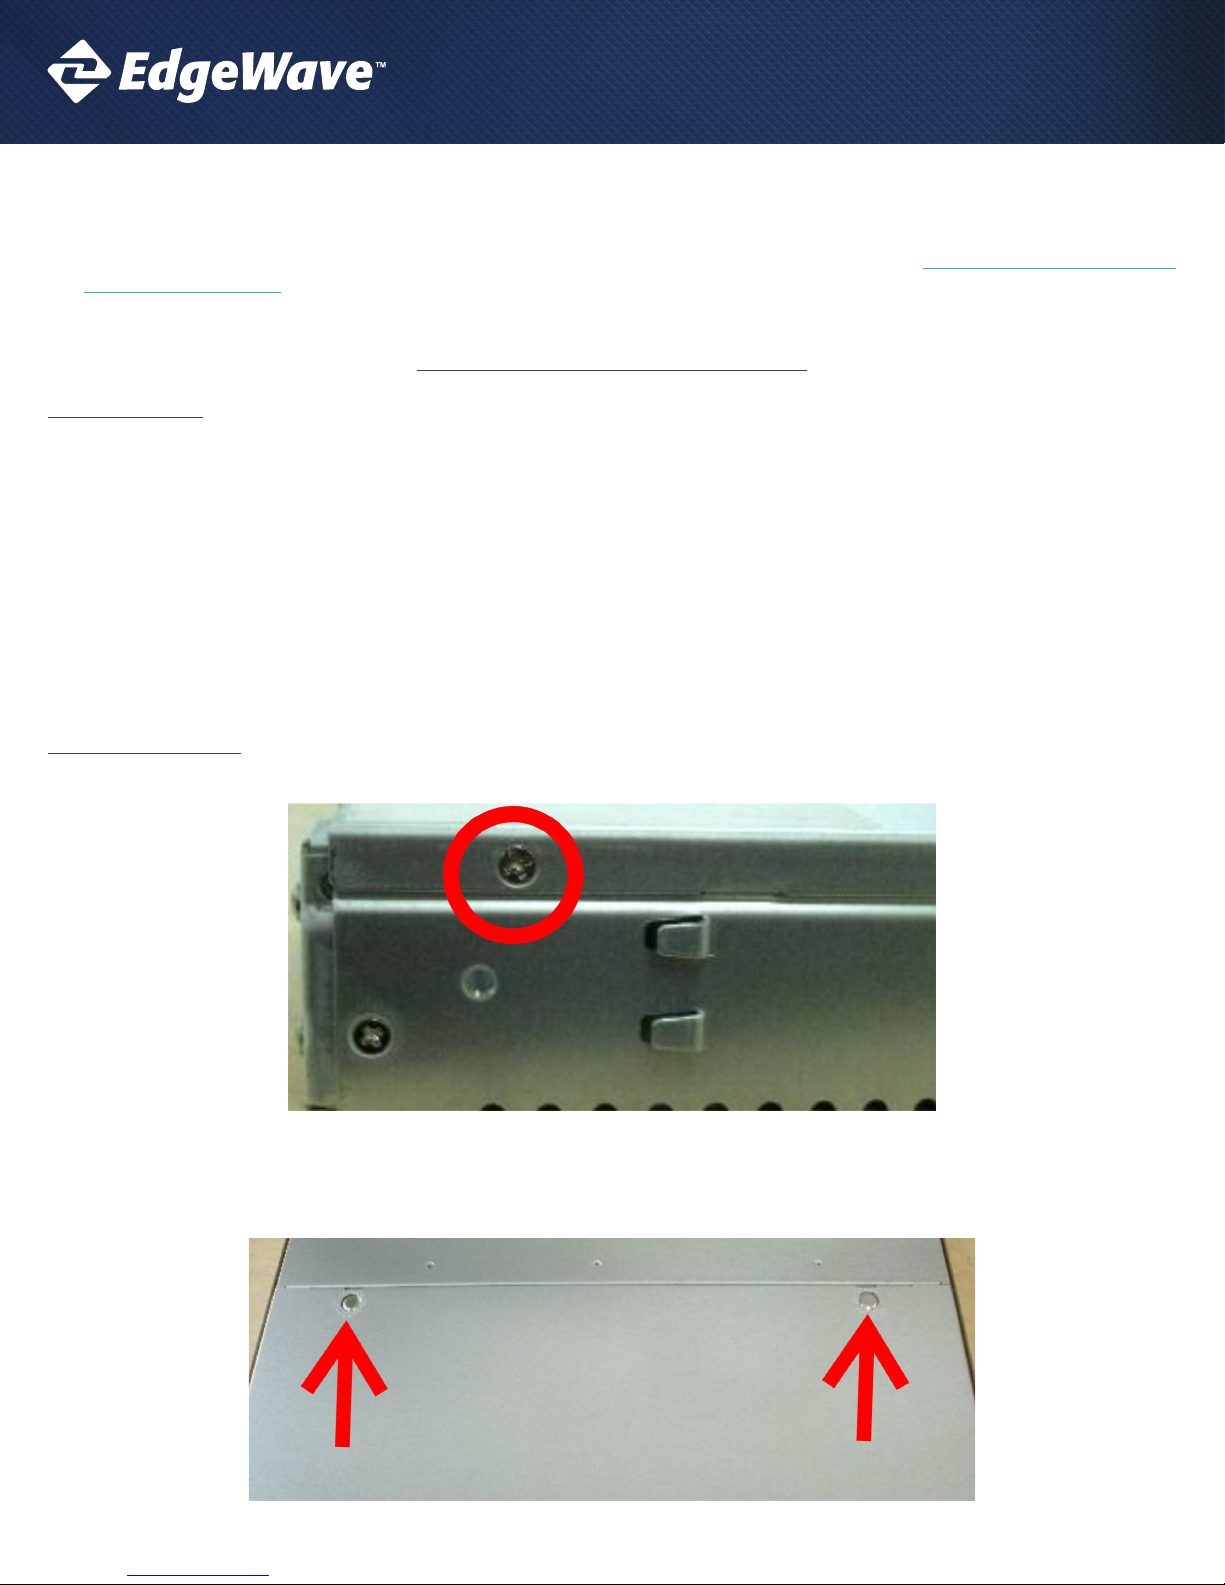
Remove the chassis lid
1. Remove the holding screw from the side of the iPrism holding the chassis lid in place.
2. To remove the chassis lid press down on the buttons to release the tabs holding the lid. Please be careful not to press the tabs too far
down as this will bend them out of place and the lid may no longer properly latch.
1
Page 2
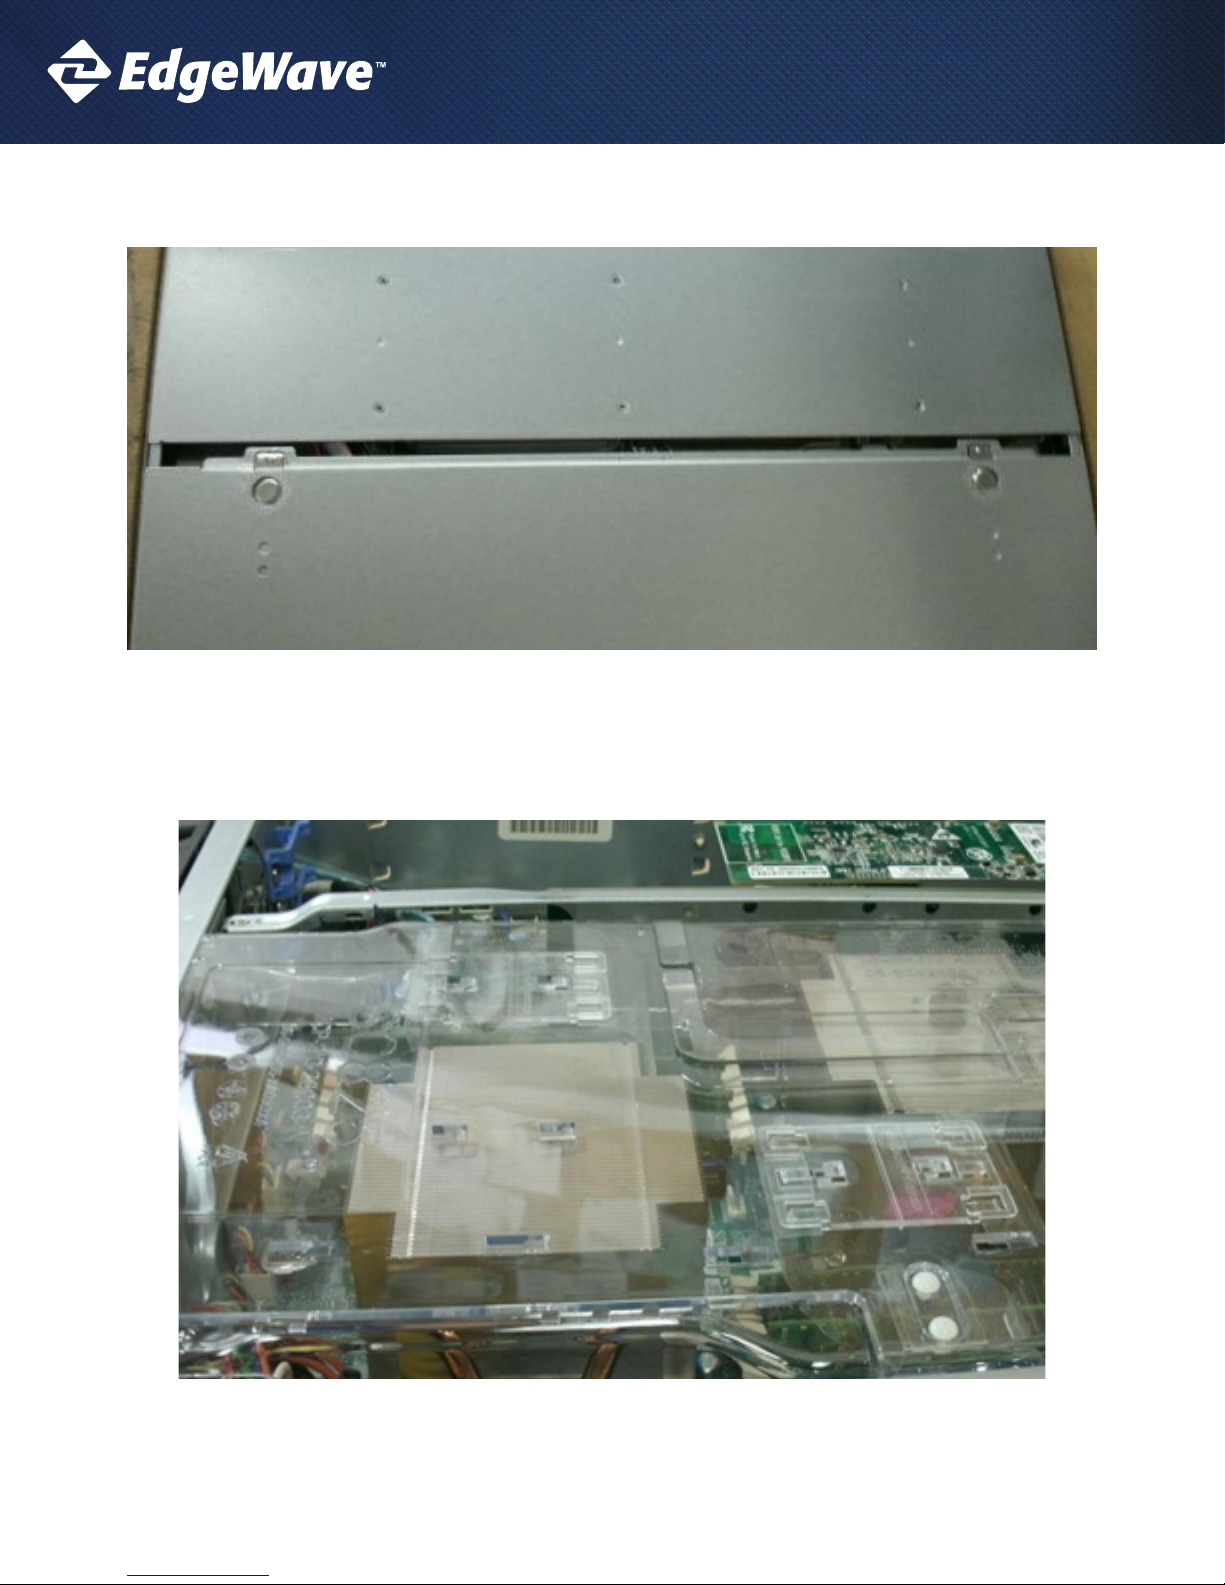
3. Pull back the lid and remove.
IPRISM 55H APPLIANCE UPGRADE GUIDE
4. Next remove the plastic air ow guide, making note of the direction it’s installed. It only ts properly in one direction. The chassis lid
will not t if the air ow guide is installed backwards and or not seated properly.
2
Page 3

IPRISM 55H APPLIANCE UPGRADE GUIDE
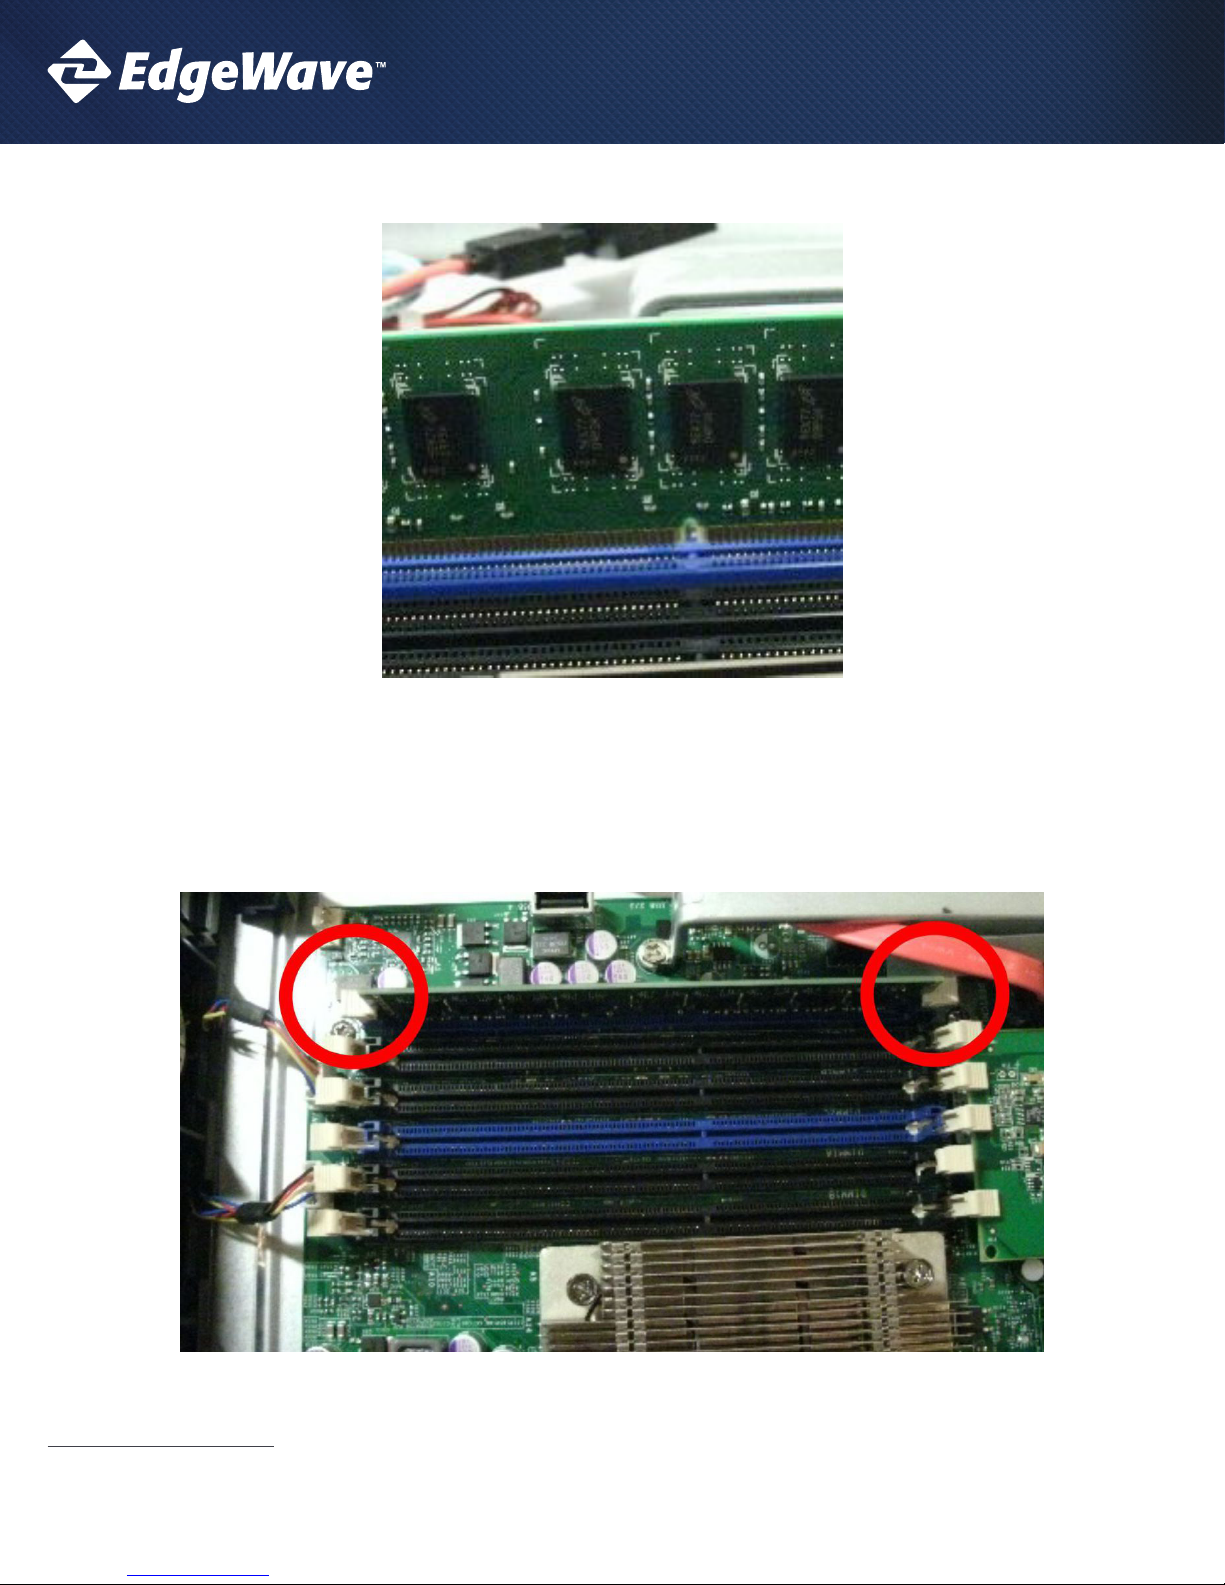
INSTALL REPLACEMENT MEMORY
1. Next press down on the white tabs holding the current memory modules in place and remove the modules.
2. Remove the new memory modules from their containers using the Electro-Static Discharge (ESD) Precautions mentioned in the
beginning of this document. The new modules go into the 2 Blue slots (where the original modules were).
3
Page 4
IPRISM 55H APPLIANCE UPGRADE GUIDE
3. Position the module’s bottom key so it aligns with the receptive point on the slot.
4. Be sure the lock/release tabs are back.
5. Insert the modules vertically and press down until the module snaps into place. You will likely need to press rmly but if the module
seems to need lot of force, check to be sure the module is properly aligned with the slot.
6. When the module is properly inserted the lock/release tabs will automatically secure the module in place.
7. Repeat this for the second Blue slot.
REPLACE THE CHASSIS LID
1. Replace the plastic air ow guide making sure it’s in the proper direction and seated properly.
2. Replace the chassis lid and reinsert the holding screw(s).
4
Page 5

IPRISM 55H APPLIANCE UPGRADE GUIDE
BIOS PROCEDURE CHANGE FOR A 55H
IMPORANT: DO NOT MAKE ANY OTHER BIOS CHANGES AS THAT WILL LIKELY CAUSE YOUR IPRISM NOT TO WORK OR NOT WORK CORRECTLY.
Enter BIOS Setup
1. Connect a keyboard, monitor, and power cords to the iPrism.
2. Turn on the iPrism (if it doesn’t start on its own).
3. Watch for the SuperMicro logo to appear on your monitor and then press “Delete” several times to access the Motherboard BIOS.
4. It will take a few minutes for your iPrism to power up.
5. Please do not enter the 3-ware RAID card BIOS.
6. You will come up to the BIOS Setup Utility.
5
Page 6

IPRISM 55H APPLIANCE UPGRADE GUIDE
BIOS CHANGE
1. Navigate to the “Advanced” page using the arrow keys on your keyboard
2. Use the down arrow on your keyboard to select “Processor & Clock Options” and press “Enter”.
6
Page 7

IPRISM 55H APPLIANCE UPGRADE GUIDE
3. Use the down arrow to select “Intel (R) Virtualization Tech”. Press “Enter” and select “Enabled” using the down arrow. Then press “Enter”
to select “Enabled”.
7
Page 8

IPRISM 55H APPLIANCE UPGRADE GUIDE
4. Press the “Escape” key until you get back to “Advanced” page.
5. Use the down arrow on your keyboard to select “Advanced Chipset Control” and press “Enter”.
8
Page 9

IPRISM 55H APPLIANCE UPGRADE GUIDE
6. “Memory Remap Feature” should already be highlighted in white. If not use the keyboard arrows to sellect it. Press “Enter” and select
“Enabled” using the down arrow. Then press “Enter” to select “Enabled”.
9
Page 10

IPRISM 55H APPLIANCE UPGRADE GUIDE
7. Press the “Escape” key until you get back to the menu at the top.
8. Navigate to “Exit”. “Save Changes and Exit” should already be highlighted in White. If not use the keyboard arrows to select it and press
“Enter”.
9. Power o the iPrism
10
Page 11

IPRISM 55H APPLIANCE UPGRADE GUIDE
Verify Memory Size in BIOS
1. Restart iPrism
2. Watch for the SuperMicro logo to appear on your monitor and then press “Delete” several times to access the Motherboard BIOS.
3. It will take a few minutes for your iPrism to power up.
4. Please do not enter the 3-ware RAID card BIOS.
5. You will come up to the BIOS Setup Utility. Conrm that the “System Memory” is now 8 GB.
11
Page 12

IPRISM 55H APPLIANCE UPGRADE GUIDE
6. Navigate to “Exit”. “Save Changes and Exit” should already be highlighted in White. If not use the keyboard arrows to select it and press
“Enter”.
7. Power o the iPrism.
This completes the memory upgrade and BIOS change procedure for your iPrism 55h appliance.
15333 Avenue of Science, Suite 100
San Diego, CA 92128
Give us a call
1-800-782-3762
Send us an email:
wavesupport@edgewave.com
For more info, visit us at:
www.EdgeWave.com
 Loading...