

Page 1
EDELBROCK LOWER TRAILING ARMS RELOCATION BRACKETS
for 1982-2002 Camaro / Firebird
Catalog #5275
INSTALLATION INSTRUCTIONS
Please study these instructions carefully before installing your new trailing arms relocation brackets. If you have any
questions, please contact our Technical Hotline at: 1-800-416-8628, 7:00 am to 5:00 pm, Monday through Friday,
Pacific Standard Time or e-mail us at edelbrock@edelbrock.com. Please fill out and mail your warranty card.
Application: Designed for 1982-2002 Camaro/Firebird vehicles. These trailing arm relocation brackets are designed to
correct the rear suspension trailing arm angle on vehicles that have been lowered.
Suggested Tools for Installation:
❑ Jack and proper load rated jackstands ❑ Blue Locktite
❑ Tire chocks ❑ Torque wrench
❑ Lug wrench ❑ Grease gun
❑ 18mm socket and combination wrench ❑ Mig welder
❑ Hand grinder
REMOVAL OF STOCK TRAILING ARMS
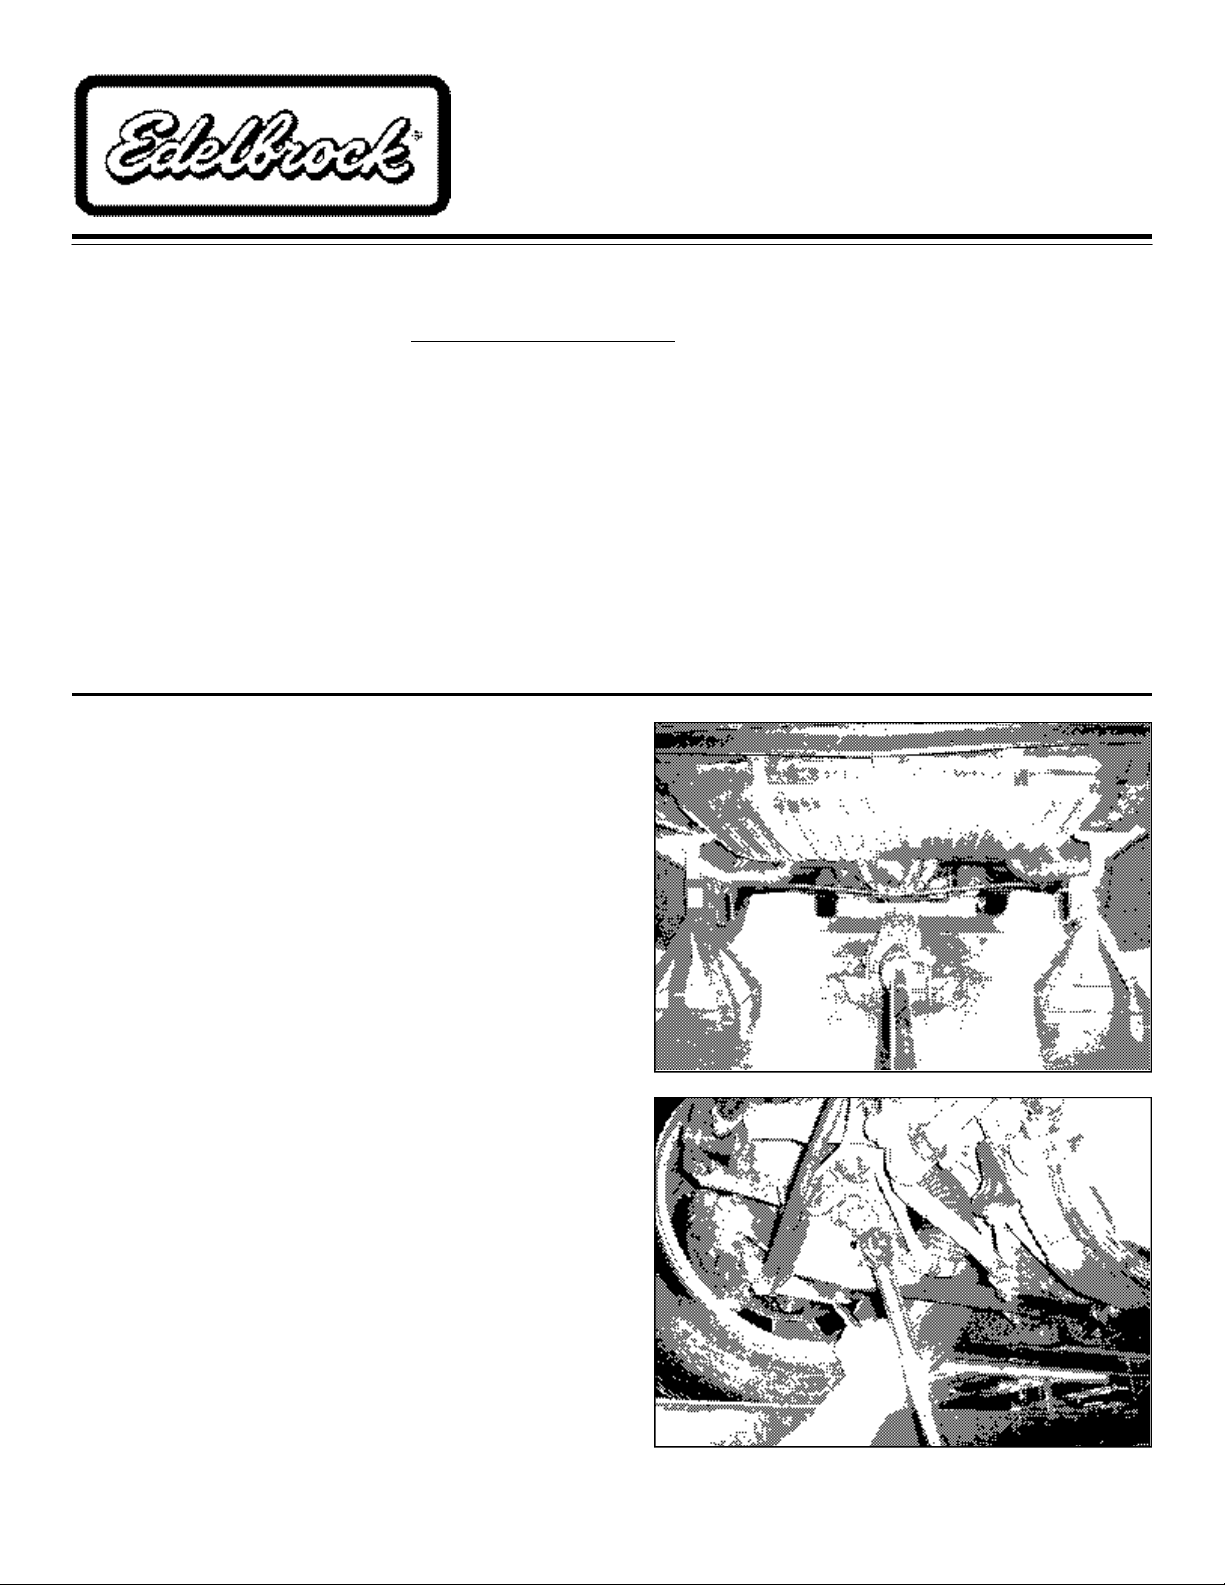
1. Place vehicle on level surface and place tire
chocks in front of and behind front tires.
2. Support rear of the vehicle on the jackstands
and remove the rear wheels (See Figure. 1).
3. Place a floorjack under the differential and lift up
slightly to remove tension from the trailing arm
bolts. Make sure not to lift the vehicle off the
jackstands (See Figure 1).
NOTE: Keep floorjack under vehicle during
the complete removal and installation
procedure.
CAUTION: Do not remove both trailing arms
at the same time or the axle will rotate and
the trailing arm installation will be much
more difficult.
Fig. 1
4. Remove rear bolt of trailing arm and rotate arm
out of the way (See Figure 2).
5. Using the relocation bracket as a reference,
clean the surface of the stock lower trailing arm
mount bracket for welding.
©2005 Edelbrock Corporation
Brochure No. 63-0440
Page 1 of 2
Fig. 2
Catalog #5275
Rev. 8/05 - DA/mc
Page 2
NOTES:
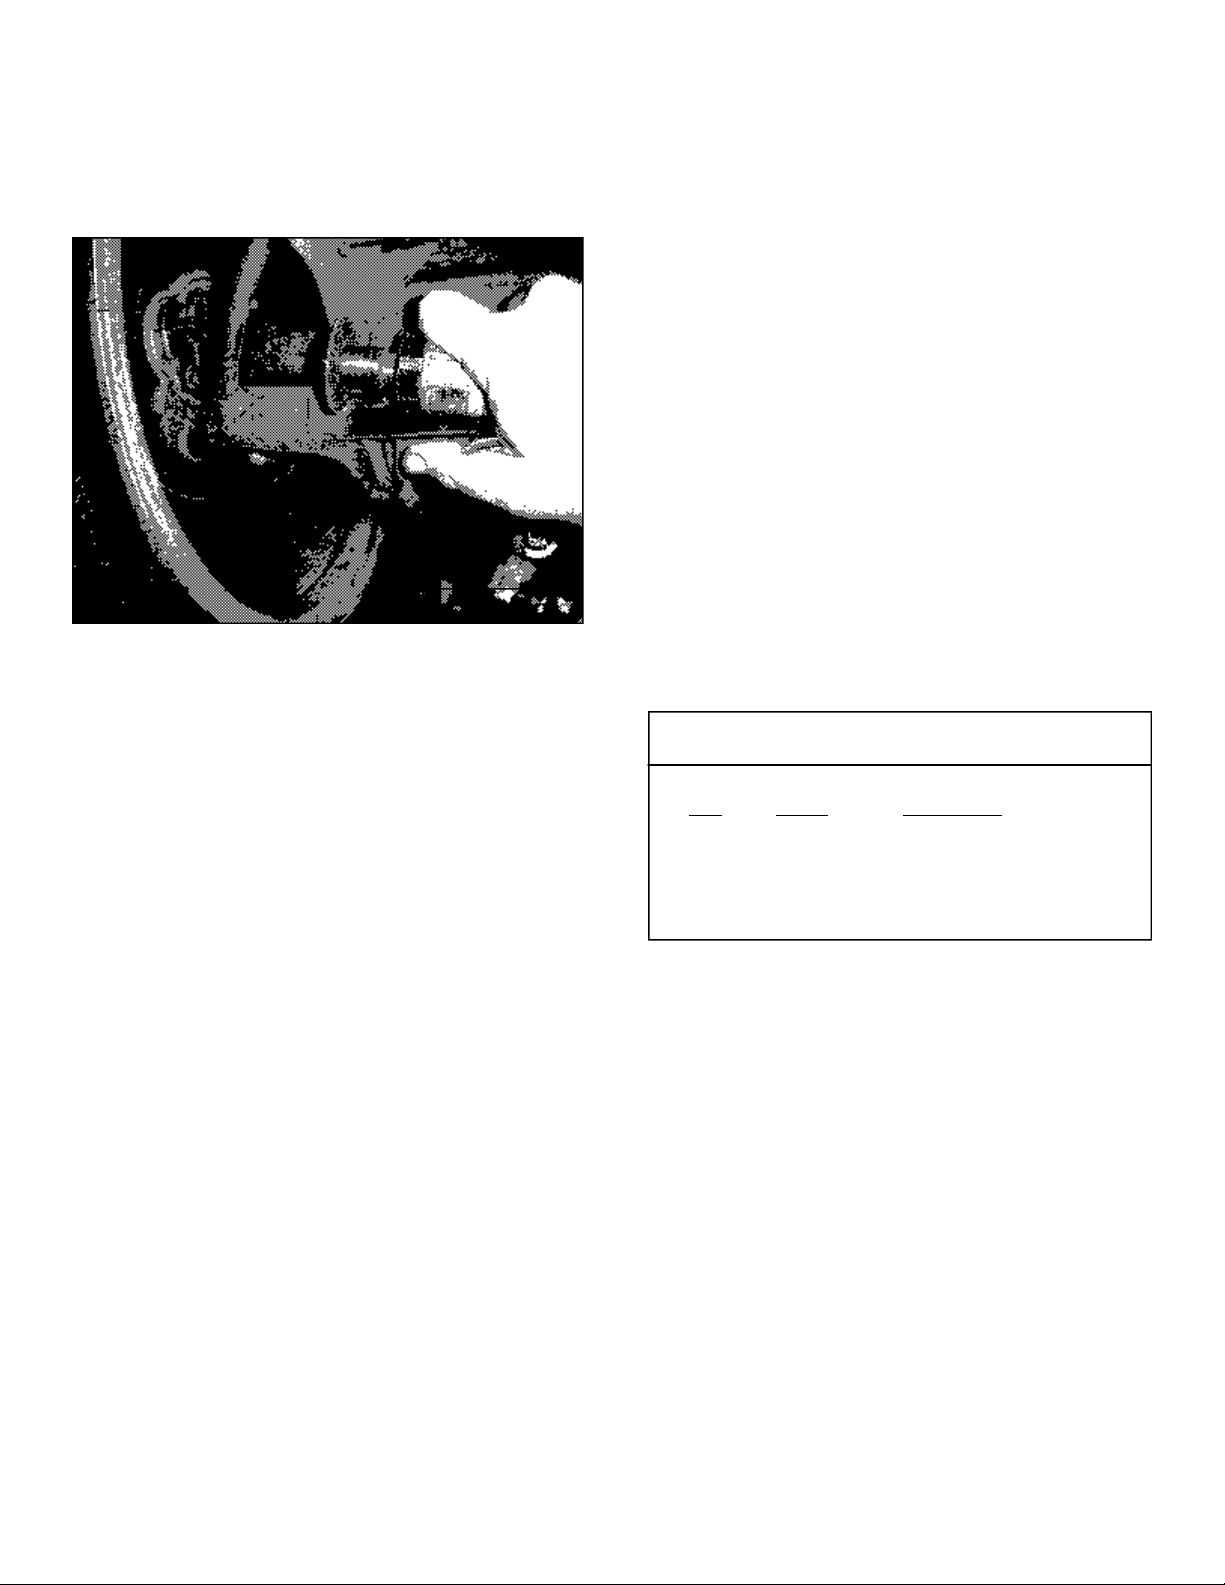
a. The parking brake cable retaining bracket
on later model cars will need to be modified
(See Figure 3).
7. Make several tack welds around edges of
relocation bracket. Remove the lower arm from
relocation bracket and stitch weld around edges
of relocation bracket.
NOTE: Welding should be done by an
experienced welder.
8. After welding is complete, paint bracket and
welded area to keep from rusting. Re-install the
lower arm into the relocation bracket using
Locktite on threads (torque to 70 ft./lbs.) and
repeat steps 4-8 on other side of vehicle.
NOTE: It is highly recommended that you run
Edelbrock tubular lower control arms part
#5274. Stock arms tend to flex and twist under
Fig. 3
b. The spacer sleeves in this kit are used to go
between the factory lower arm brackets in
the OE arm location. Using the supplied
bolts in stock arm location along with nuts
and thick hardened washers, install the
relocation bracket onto the stock lower
trailing arm bracket. Relocation bracket
should sit tight against the stock bracket for
proper welding (torque bolts to 70 ft./lbs.).
6. Using the supplied bolts, nuts, spacer sleeve,
and thick washers, attach the lower trailing arm
to the relocation bracket. Snug but do not
torque at this time.
hard acceleration and aggressive cornering.
Check out other Edelbrock suspension upgrades
for your 1982-2002 Camaro or Firebird.
Kit Contents
Qty. Part # Description
❑ 1 25-4070 Left Relocating Bracket
❑ 1 25-4071 Right Relocating Bracket
❑ 1 22-5275 Installation Kit
©2005 Edelbrock Corporation
Brochure No. 63-0440
Edelbrock Corporation, 2700 California Street, Torrance, CA 90503
Toll-Free Tech Line: 1-800-416-8628
Tech E-Mail: edelbrock@edelbrock.com
Page 2 of 2
Catalog #5275
Rev. 8/05 - DA/mc
 Loading...