


CONTENTS
INTRODUCTION ............................................................................. 2
Document Conventions........................................................... 3
Key Panel................................................................................ 3
Display .................................................................................... 5
Power Supply.......................................................................... 6
SETUP MAIN MENU ....................................................................... 7
Display's Language................................................................. 8
Real Time Clock...................................................................... 8
Daily Alarm.............................................................................. 9
Display's Format ...................................................................10
Memory Check...................................................................... 10
Data Deletion ........................................................................ 10
Set Contrast.......................................................................... 11
Speech Frequency................................................................ 11
Speech Speed ...................................................................... 11
Security................................................................................. 12
Key Tone On/Off................................................................... 14
Set Sleep Time ..................................................................... 14
MAIN DICTIONARY....................................................................... 15
General Dictionary Function.................................................. 15
Advanced Word Recognition................................................. 16
Instant Reverse Translation .................................................. 17
Spell-Checker Vector Ultima
Pronunciation of Words and Sentences................................ 18
USER DICTIONARY...................................................................... 19
GRAMMAR .................................................................................... 21
DIALOGS....................................................................................... 21
IRREGULAR VERBS..................................................................... 22
IDIOMS .......................................................................................... 23
TELEPHONE DIRECTORY ........................................................... 24
SCHEDULE ................................................................................... 25
CALCULATOR...............................................................................27
METRIC CONVERSION ................................................................ 27
CURRENCY EXCHANGE.............................................................. 28
WORD GAME................................................................................ 29
WORLD TIME................................................................................ 30
LOCAL TIME.................................................................................. 30
PC COMMUNICATION.................................................................. 31
ADDITIONAL FEATURES .............................................................31
.............................................. 17

INTRODUCTION
Congratulations on purchasing the English ↔ French ↔ Polish Digital Language
EFP630T. The Language Teacher EFP630T is
Learning System Language Teacher
a result of combined efforts of Ectaco's staff of linguists, engineers, and programmers,
representing the fifth generation of the highest performance electronic educational tools.
You are now owner of the most advanced electronic device that has ever been produced
for foreign language studies.
The digital Language Learning System Language Teacher
♦ Main vocabulary of over 550,000 words, including medical, technical, legal, and business
terms, as well as slang and general expressions
♦ English and French Grammar electronic book with topic search function
♦ Instant reverse translation
♦ 128K bilingual organizer
♦ High-speed data communication with PC
♦ Screen and key panel backlight for operation under limited light conditions
♦ New words recording function for dictionary expansion
spell-checking system
♦ Vector Ultima
♦ 200 popular American idioms
♦ Advanced word recognition system
♦ English and French irregular verbs
♦ Over 1200 commonly used and emergency phrases
♦ Word game
♦ Currency conversion
♦ Metric conversion
EFP630T features:
♦ World time
♦ Clock
♦ Alarm
♦ Calculator
♦ External power jack for non-battery operation
EFP630T allows
The latest speech technology employed by the Language Teacher
you to listen to the pronunciation of English and French words and sentences, which
makes it an ideal language tutor for you.
Enjoy your Language Teacher
business companion.
For best results and to ensure that you are able to employ all of the sophisticated
features of your Language Teacher
carefully and keep it on hand for future reference.
Note: The Language Teacher
can input any date from 1900 till 2099 year.
Note: As continuous efforts are made by the manufacturer to improve quality and
performance of the Language Teacher
features of the actual device you purchased may slightly differ from their description in
this manual.
EFP630T and make it your personal travel and
EFP630T to their fullest, read this user's manual
EFP630T has no problems in working with dates – you
products, some characteristics or the design

Document Conventions
Whenever the keys' captions are referenced in text, they will be shown using
UPPERCASE, e.g. ENTER.
Whenever a section's name or information displayed on screen is referenced in text, it
will be shown using italics, e.g. Currency Exchange.
Boldface is used for emphasis.
Symbols ◄ ►▲▼ (arrow keys) refer to four cursor control keys located at far right on
the key panel.
Following icons mark paragraphs dealing with:
step by step directions within a section
•
control keys
talking function
important notes.
Key Panel
The character section of the key panel emulates the American QWERTY keyboard
layout, upgraded with additional French or Polish characters marked on the keys.
The English, French and Polish character sets, as well as a numeric layout, are each
linked to their input modes, indicated in the screen’s upper right-hand corner (whenever
editing is available) by symbols
Input modes can be switched consecutively in the above sequence by pressing the ↔
key. In the main dictionary, however, the input mode selection is handled automatically
to comply with the current source language, and the ↔ key is used for changing the
translation direction.
To enter specific French letters À, Â, Ç, È, É, Ê, Ë, Î, Ï, Ô, Œ, Ù, Û and Polish Ą, Ć, Ę, Ł,
Ń, Ó, Ś, Ź, Ż press and release SHIFT prior to using a corresponding letter key.
An additional symbols set is available through SHIFT+▲. Press ►
Press the indicated number key to insert a selected symbol.
Both the key panel and the display can be backlit by pressing the
E, F or P, respectively.
to see more symbols.
key.
Description of Control Keys
ON/OFF On/Off switch
DICT Main dictionary
GRAM English and French grammar
DIAL Dialogs
TEL Telephone directory
TIME Local time

Screen and key panel backlight
↔ Change of input mode or translation direction
MENU Icons menu
Talking
PREV / NEXT Paging
◄ ► Cursor movement or highlighting
▼▲ Cursor movement or line scrolling
ENTER Execute
ESC Cancel / Go to previous level
SHIFT+▲(SYMB) Display set of additional symbols
SHIFT+◄(DEL) Delete character or record
SHIFT+►(MARK) Mark record as password protected
SHIFT+▼(EDIT) Enable record editing /
Change Insert/Overwrite
SHIFT+ENTER Launch the spelling checker in the (SPELLER) main dictionary
SPC Enter a space
SHIFT+SPC Enter a hyphen
Computational symbols and operations are available with the Calculator.

Display
The Language Teacher EFP630T is equipped with a four-line high-resolution display.
Both the display and key panel can be backlit by pressing the
key.
The right-hand border of the display is reserved for system symbols, which light up to
signal an activated or available function:
EDIT Current record opened for editing
SHIFT SHIFT key engaged
MARK Current record marked as protected
INS Insert mode is active
BATT Batteries discharged: replace promptly
Password protection on (Unit locked)
Alarm on
◄ ► Highlight bar can be moved horizontally
▼▲ Vertical scrolling or paging enabled / more text available.
Highlight bar is an
inverse video display of an icon or a portion of text. To select a
screen item highlight it and press ENTER.

Cursor appears either as a blinking underscore
(Overwrite). It marks the position where (or to the left of which in the Insert mode) a
character will be entered or deleted.
_
(Insert) or a blinking solid rectangle █
Icons Menu
The Language Teacher EFP630T features a graphical start-up interface with four sets
of functional icons, which visually organize and facilitate access to the dictionary's
multiple sections.
To display the Icons Menu, press MENU, or close a current section using the ESC key.
To alternate between four icon sets, use NEXT and PREV or ▼▲ keys.
Move highlight bar within the current set with the ◄► keys.
To open a section, whose icon is highlighted, press ENTER.
The icons of the Icons Menu represent following sections of the Language Teacher
EFP630T:
Main Dictionary
User Dictionary
Grammar
Dialogs
Irregular Verbs
American Idioms
Telephone Directory
Schedule
Calculator
Metric Conversion
Currency Exchange
Power Supply
The Language Teacher EFP630T is powered by three (3) AAA batteries. When the
batteries become weak, the warning symbol BATT will light up in the lower-right corner
of the display. To prevent the unit's malfunction and possible loss of user's data in case
Word Game
World Time
Local Time
PC Communication
Setup Main Menu

of a complete battery discharge, promptly replace the whole set of batteries as soon as
the warning symbol appears. Do not mix old and new batteries.
Note: After purchasing the Language Teacher
insulation stripe from the battery compartment. It is used to prevent the discharge of
batteries during storage and transportation.
Press the ON/OFF key to turn the unit off.
•
Remove the battery compartment cover by pushing its latch down and away from the
•
unit.
Take out the middle battery first, then slide toward center and remove two remaining
•
batteries.
Insert three new batteries, placing the last one in the middle.
•
Note: Make sure to place the batteries according to the polarity markings (+ -) inside the
compartment.
Align the cover at the bottom of the battery compartment and slightly press on the latch
•
to engage the lock.
You have 2 minutes to replace the batteries without risk of a system reset, which may
cause loss of user's data stored in RAM.
Do not exceed the 2 min. limit!
Neither manufacturer nor dealer may be held responsible for the loss of user’s
data.
EFP630T you might have to remove an
Note: Never try to remove batteries from the unit when the power is on. This can
seriously damage the device. Accidentally doing so, as well as certain other
circumstances (e.g. forgotten password), may compel you to reset the dictionary
manually. Use a pointed device to press the reset button located on the front panel next
to the A key.
During a system reset, press the N key at the prompt System Initialization. Press (Y/N)
key to attempt preserving user’s data and a customized system configuration. However,
if RAM has been corrupted, or if you turn the dictionary on for the first time, you will have
to press Y to reinitialize the system.
Note: The Language Teacher
which is stored in the special battery compartment on the back side of the unit. The
validity period of the battery is 1-2 years.
Note: The Language Teacher
supply. To order a compatible AC/DC adapter, contact your dealer or an Ectaco service
center listed at the end of this book.
Use of an inappropriate external power supply may cause failure of the unit and
void the warranty.
EFP630T is equipped with a reserve CR 1220 battery,
EFP630T is equipped with a jack for external power
SETUP MAIN MENU
To be able to adjust the Language Teacher EFP630T's configuration to better suit your
needs, read this section first to familiarize yourself with options of the Setup Main Menu.
To access the Setup Main Menu:
Press ON/OFF to turn the unit on.
•
If needed, press MENU to display the Icons Menu.
•
Locate and highlight icon .
•
Press ENTER.
•
•
Display's Language
•
Display's Language
Real Time Clock
Daily Alarm
Display’s Format
To select an option, highlight it with ▼ or ▲ and press ENTER.
Note: All prompts and messages appear in English by default. To change the display
language to French or Polish, start the customization from the option Display's
Language.
Use this option to select the language in which all menus, screen titles, and messages
will appear. English is chosen by default.
Select the option Display's Language on the Setup Main Menu.
Set Language
English √
French
Polish
v
v
To change a setting, highlight the desired option and press ENTER. The current setting
•
appears checked.
Press ESC to return to the Setup Main Menu.
•
Real Time Clock
On the Setup Main Menu, make sure Real Time Clock is highlighted and press ENTER
•
to open the Set Time screen.
Specify the current date and time.
•
Move the cursor with the arrow keys. Change value in a selected field by pressing a
number key on the key panel. In the 12-hour format specify A for AM, P for PM.
Press ENTER to display the Set Local Time screen.
•
Set Local Time
YY/MM/DD=2000/01/12
10:00
►
▼
Set Local Time
Enter first letter
for
►
City: Country:
Select the field CITY or COUNTRY using the ◄► keys, and type a letter. Names of a
•
city and country first on the alphabetical list in the selected category, as well as the city's
GMT offset, will appear on the screen.
Note: If you press ENTER without specifying a letter, the currently selected city
(Warsaw, Poland is the default) will be shown.
For example, type M in the field City.
•
Macao
Macao
+08:00 v
Use the ▼▲ keys to list all cities in alphabetical order, or use NEXT / PREV to move by
countries (and cities within each country). At any time you can press a letter key as a
shortcut to the alphabetically first city listed under this letter.
Press ENTER to advance to the next screen.
•
Speaking clock:
On
▼
Note: You may use your Language Teacher
you open the Local Time screen, you will hear the current time announcement.
To disable or re-enable the announcement of time, use the ▼ key.
•
Press ENTER to save the changes and return to the Setup Main Menu.
•
as a talking clock (default setting). When
Daily Alarm
Select the option Daily Alarm on the Setup Main Menu.
•
Set Daily Alarm
►
07:30
Specify the Daily Alarm time.
•
Move the cursor with the ◄► keys. Change value in a selected field by pressing a
number key on the key panel. In the 12-hour time format specify A for AM, P for PM
Press ENTER to advance to the next screen.
•
Daily alarm:
Off
◄
►
v
To turn the Daily Alarm on or off (default setting), use any arrow key.
•
Press ENTER to save the changes and return to the Setup Main Menu. If the Daily
•
Alarm is on, a bell sign
time you will hear the alarm tone which will continue for 30 seconds or until you press
any key.
will light up on the right side of the display. At the specified
Display's Format
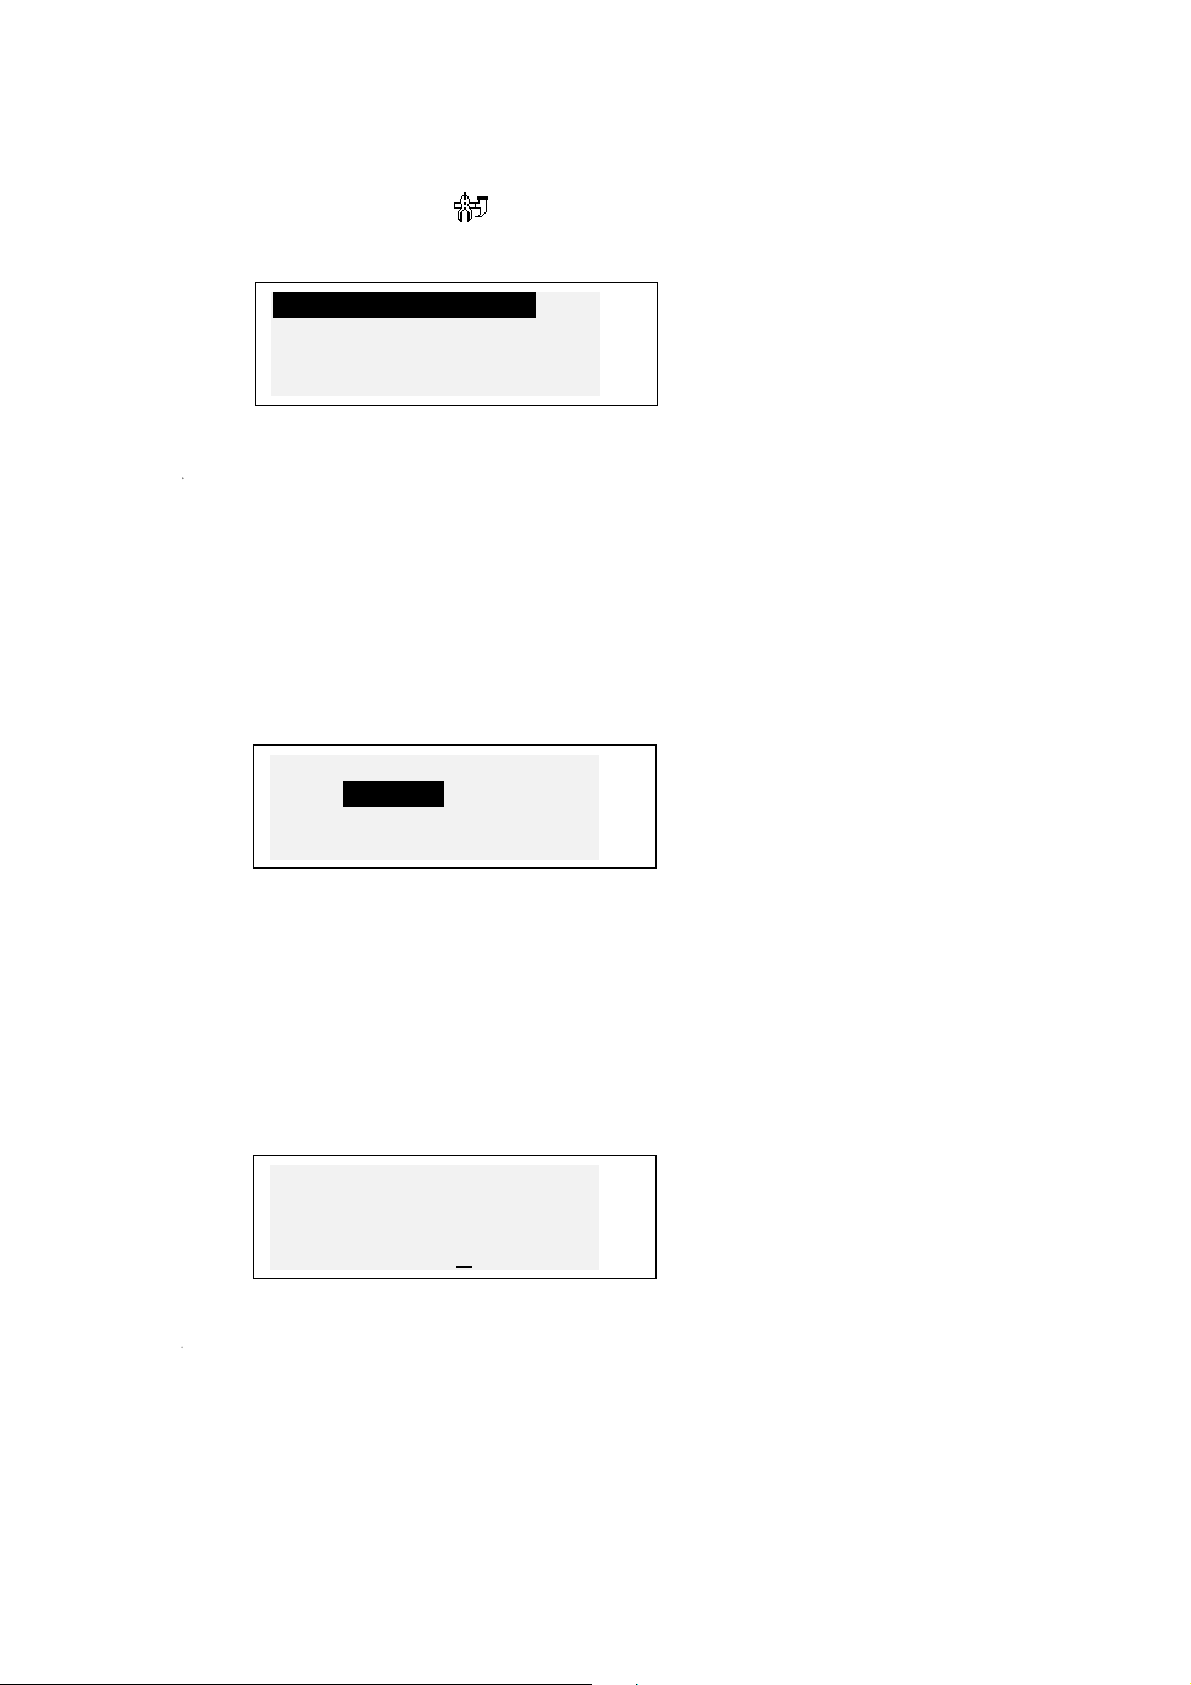
Select the option Display’s Format on the Setup Main Menu.
•
12-Hours
24-Hours √
DD/MM/YY
MM/DD/YY √
To change a setting, highlight the desired option and press ENTER. Current settings
•
appear checked (24-hour and MM/DD/YY formats are the default).
Press ESC to return to the Setup Main Menu.
•
v
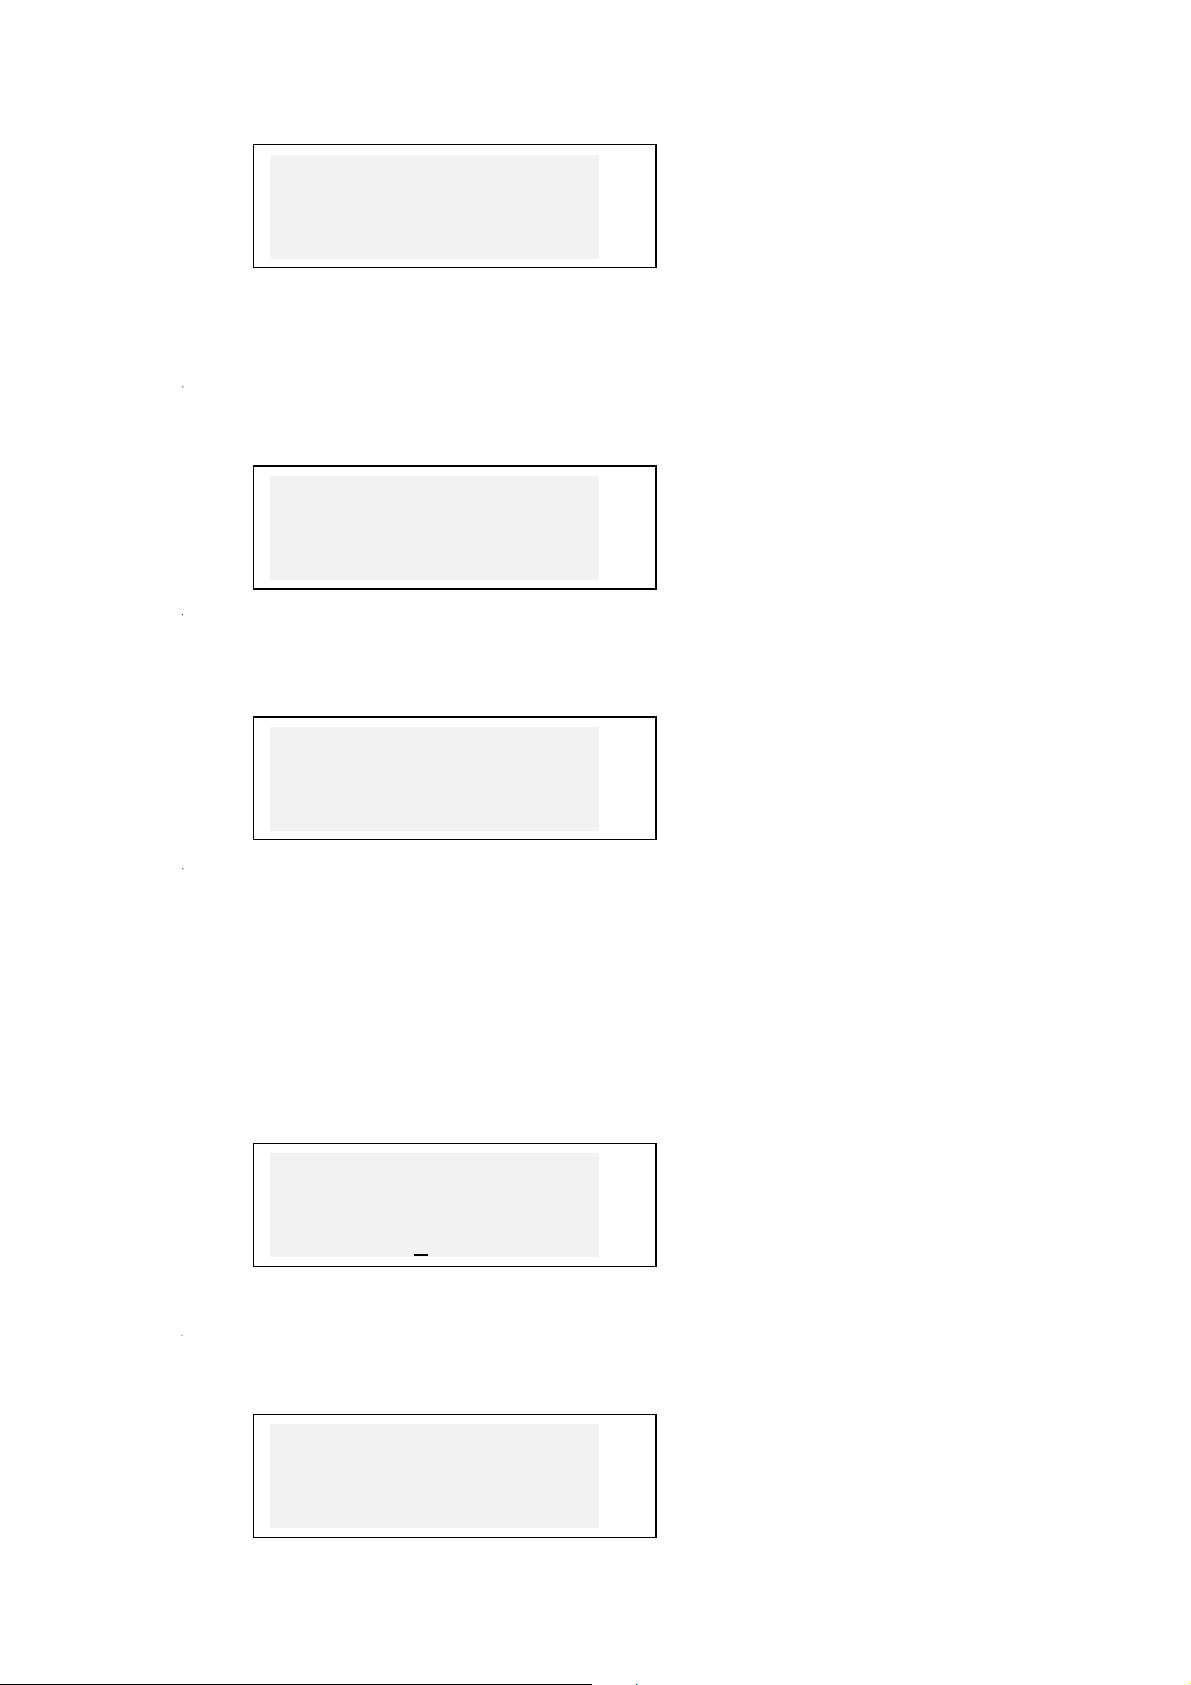
Memory Check
Select the option Memory Check on the Setup Main Menu to view the current status of
•
available user's memory.
Memory remaining:
82%
Press ENTER or ESC to return to the Setup Main Menu.
•
Data Deletion
Select the option Data Deletion on the Setup Main Menu.
•
Data Deletion
Telephones
Schedule
Marked records v
To delete all records in the Organizer section, select the Telephones, Schedule, or a
•
User Dictionary option and confirm a displayed prompt.
To delete all records marked as protected, select the Marked Records option and
•
confirm a displayed prompt.
Note: The Marked Records option allows you to release memory kept by inaccessible
records if you forget your password.
Press ESC to return to the Setup Main Menu.
•

Set Contrast
Select the option Set Contrast on the Setup Main Menu.
•
Contrast Level
◄
Dim Bright
Use the ◄► keys to adjust the contrast level.
•
Press ENTER to save the changes and return to the Setup Main Menu.
•
Speech Frequency
Select the option Speech Frequency on the Setup Main Menu.
•
Speech Frequency
Low High
►
◄
►
Use the ◄► keys to adjust the speech frequency.
•
Press to check the changed
pronunciation.
Press ENTER to save the changes and return to the Setup Main Menu.
•
Speech Speed
Select the option Speech Speed on the Setup Main Menu.
•

Speech Speed
◄
Low High
Use the ◄► keys to adjust the speech speed.
•
Press to check the changed pronunciation.
Press ENTER to save the changes and return to the Setup Main Menu.
•
Security
With this option you can set, change, and clear a password used to secure your records
in the Telephone Directory and Schedule sections, as well as enable and disable the
password protection.
Note: Always remember your password. If you forget the password, records marked as
protected will become unavailable. You will have either to reset the dictionary (see
Power Supply), which may lead to loss of all stored user's data, or to remove the
password from the system, releasing memory taken up by marked records (option
Marked records on the Data Deletion menu described above).
►
Setting Password
Select the option Security on the Setup Main Menu.
•
If no password is set, a prompt to enter a password is displayed:
•
•
•
•
Locking the Unit
Enter password:
[_ ]
Specify your password. The length of the password cannot exceed 7 characters, English
letters only.
Press ENTER. A confirmation message is displayed.
Password
[LOCK ]
successfully set
Press ENTER or ESC to return to the Setup Main Menu.
Select the option Security on the Setup Main Menu.
•
If a password is set but not activated, the following menu is displayed:
•

•
1 Lock the unit
2 Clear password
To enable the password protection of marked records and return to the Setup Main
Menu, press the 1 key. A confirmation message will be shown, and a key symbol
will light up at right indicating that the
password protection is on.
Note: For information about how to mark records to protect your private data refer to the
sections Telephone Directory and Schedule.
Unlocking the Unit
Select the option Security on the Setup Main Menu.
•
If the password protection is currently enabled, you will be prompted to enter the
•
password in order to turn the protection off:
•
Unlock the unit
[_ ]
Specify your password at the prompt and press ENTER to disable the password
protection and return to the Setup Main Menu. A confirmation message will be shown,
and the key symbol will disappear.
Note: If you make a mistake typing your password, the message Wrong password will
appear. The password protection will not be disabled.
Clearing Password
If password protection is on, disable it as described above.
•
Select the option Security on the Setup Main Menu.
•

•
•
Key Tone On/Off
1 Lock the unit
2 Clear password
To delete the password, press the 2 key and specify your password at the prompt:
Enter password:
[_ ]
Press ENTER to delete the password and return to the Setup Main Menu. A confirmation
message will be shown.
Note: If you make a mistake typing your password, the message Wrong password will
appear. The password will not be cleared.
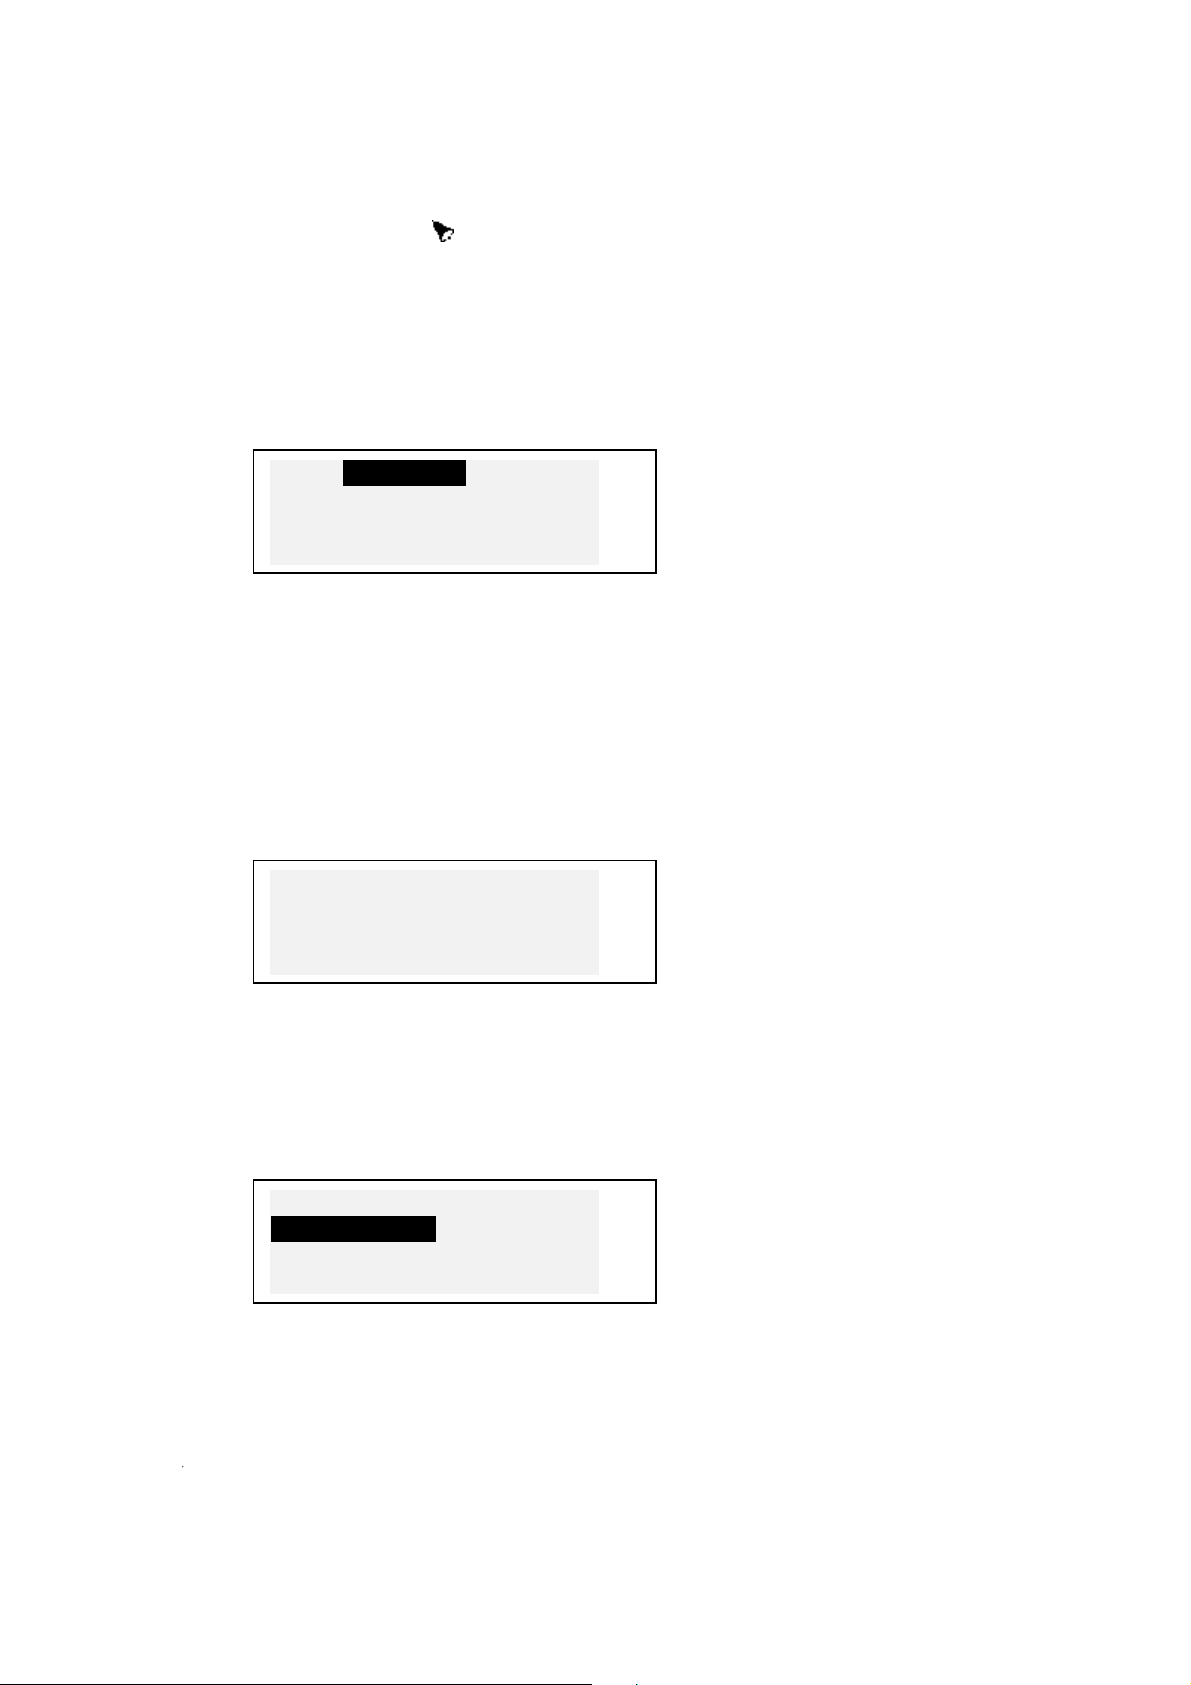
When the Key Tone is on (default), you hear a short beep every time you press a key on
the key panel.
Select the option Key Tone on the Setup Main Menu.
•
Key Tone
Off
On √ v
To change a setting, highlight the desired option and press ENTER. The current setting
•
appears checked.
Press ESC to return to the Setup Main Menu.
•
Set Sleep Time
The unit turns off automatically if it has been idle for a specified amount of time. The
Sleep Time option allows you to change this period of time.
Select the option Sleep Time on the Setup Main Menu.
•
Sleep Time
3 min v
Use the ▼ ▲ keys to adjust the sleep time in the range from 3 (default) to 12 minutes in
•
3-minute increments.
Press ENTER to save the changes and return to the Setup Main Menu.
•

MAIN DICTIONARY
The Digital Language Learning System Language Teacher EFP630T contains the
most advanced English↔Polish, English↔French and Polish↔French electronic
dictionaries on the market. In order to fully utilize the unit's potential, carefully read this
section of the user's manual.
General Dictionary Function
Press the ON/OFF key to turn the dictionary on.
•
Press the DICT key or choose on the Icons Menu to enter the Main Dictionary
•
section. The title of the dictionary you used last time appears on the input screen.
Note: The English-Polish dictionary defaults after the system initialization.
•
•
•
Use the ◄► keys to move the cursor in the edited line. Use SHIFT+◄ to delete the last
_
Select the direction of translation by pressing the ↔ key.
On the Dictionary input screen under the current dictionary's title, you see a cursor
where the first letter you enter will appear.
Using the key panel, type in a word you want to have translated.
To switch to other dictionary options, press the DICT and ↔ key.
_
Select the direction of translation by pressing the ↔ key.
letter. Use SHIFT+▼ to switch between Overwrite and Insert editing modes. Press SPC
for space, SHIFT+SPC for hyphen.
The additional symbols set is available through SHIFT+▲. Press ►
symbols. Press the indicated number key to insert a selected symbol.
English-Polish E
English-French E
to see more
For example, enter catch in the English-French dictionary.
•
•
CATCH_
CATCH
Press ENTER to retrieve the entry. You will see translations of the word catch.
CATCH
[N]
PRISE,CAPTURE,
ATTRAPE,CHASSE,
English-French E
►
▼

Symbol ▼ at right signals that more translations are available.
Use ▼ to scroll down and see more translations. To scroll back up, press ▲.
•
To go to the next or previous entry, use NEXT or PREV.
Note: Translations are listed in the alphabetical order of their respective grammatical
labels, which appear in square brackets and have the following meaning:
A adjective
ABBR abbreviation
ADV adverb
ART article
AUX auxiliary or modal verb
CONJ conjunction
ID idiom
INTRJ interjection
N noun
NUM numeral
PART particle
PHR phrase
PREF prefix
PREP preposition
PRON pronoun
SUFF suffix
Vverb
To specify the gender of a noun, the following abbreviations are used in the Main
Dictionary:
F feminine
FPL feminine plural
M masculine
MF masculine and feminine
MPL masculine plural
N neuter
NM neuter and masculine
NPL neuter plural
PL plural
Gender is defined as follows: for Polish nouns in English-Polish dictionary and for
French nouns in French-Polish dictionary. No gender is specified for nouns in EnglishFrench dictionary.
To return to the input screen, use ESC. To translate another word in the same dictionary
while an entry is displayed, just start typing, and the input screen will appear
automatically.
Advanced Word Recognition
Your Language Teacher EFP630T is equipped with an Advanced Word Recognition
feature. While you are keying in the word you want to have translated, a word closest in

spelling to the portion entered so far appears on the screen's bottom line. If you saw the
desired word before you finished typing, press ENTER to display its translations.
Start typing, for example, the word daughter in the English-French dictionary. When you
•
reach the letter G, the whole word will appear below.
•
Instant Reverse Translation
•
•
DAUG_
DAUGHTER
Press ENTER to retrieve the entry.
Note: Proper usage of this function lets you effectively accelerate your work while
translating large texts.
For your convenience, the Language Teacher EFP630T is designed to provide an
Instant Reverse Translation for all words in the main Dictionary.
Display translations for a word, e.g. catch in the English-French dictionary.
CATCH
[N]
PRISE,CAPTURE,
ATTRAPE,CHASSE,
Press the ► key to highlight the translations consecutively.
English-French E
►
▼
•
•
Spell-Checker Vector Ultima
•
CATCH
[N]
PRISE,CAPTURE
ATTRAPE,CHASSE,
Press ENTER to make an instant reverse translation of the highlighted word.
PRISE
[N]
BOOTY,CATCH,
CLUTCH,GRASP,GRIP,
To return to the original entry, press ESC.
The spelling checker Vector Ultima is one of the most advanced proofing tools on the
market. It can be very useful when you are unsure of a word’s exact spelling.
Type, for example, mountain as you hear it in the English-French dictionary.
◄
►
▼
▼

•
MAUNTIN_
MAUSOLEUM
To run a spell-check, press SHIFT+ENTER. A list of suggestions will be displayed.
English-French E
•
Pronunciation of Words and Sentences
MAINTAIN
MANTIS
MAUDLIN
MOUNTAIN
Use the ▼ key to scroll down and highlight MOUNTAIN and press ENTER to retrieve the
entry.
MOUNTAIN
[N]
MONTAGNE,TAS,
MONTAGNARD
Note: If the Spell-checker is unable to make a suggestion, the message No suggestion!
Press [NEXT] to find the nearest word is displayed. Press NEXT for the closest match or
ESC to return to the input screen.
One of the most exciting features of the Language Teacher EFP630T is the unlimited
pronunciation for all English and French words and phrases based on the T-T-S (text–tospeech) technology.
▼
►
Display translations for an English word, e.g. catch.
•
CATCH
[N]
PRISE,CAPTURE,
ATTRAPE,CHASSE,
Press to listen to the pronunciation of
the English headword.
►
▼

Press SHIFT + to listen to the pronunciation of all displayed French translations.
Note: T-T-S is able to generate pronunciation of any English or French text, not limited
to dictionary entries. Simply type a word or phrase on the input screen of the English-
French dictionary and press to have
the text pronounced. This function is not available in Polish.
On the Setup Main Menu you may adjust the frequency and speed of speech shaping
your own pronunciation style.
Note: The Language Teacher
the left-hand edge of the unit's case.
The Language Teacher EFP630T allows you to create your own vocabulary, which
automatically links to the unit's main Dictionary.
Creating a Record
Select on the Icons Menu. The User Dictionary selection menu is shown.
•
Select an option, for example, French User Dictionary, and create a French headword
•
you want to add to your vocabulary.
User Dictionary
English
French
Polish
EFP630T is equipped with a volume control, located on
USER DICTIONARY
v
Use arrow keys to move the cursor, SHIFT+◄ to delete a character to the left of (Insert)
French word: F
PYGARGUE
or above the cursor (Overwrite).

Press SPC for space, SHIFT+SPC for hyphen.
Use SHIFT+▼ to switch between Overwrite and Insert editing modes.
Press ENTER to open the next page Explanation.
•
If needed, select an input mode with the ↔ key and enter your definition of the
•
headword, for example:
You may want to use additional symbols available by pressing SHIFT+▲ (► for more).
•
•
Managing Records
•
•
Explanation: E
SEA EAGLE
To save a record, press ENTER. A new record template will be opened.
To exit without saving, use ESC repeatedly.
Select on the Icons Menu and open one of the User Dictionaries. A new record
template will appear.
Use NEXT or PREV to view existing records.
PYGARGUE
SEA EAGLE
3
To edit a record, press SHIFT+▼ and follow instructions in Creating a Record.
•
To delete a record, press SHIFT+◄ and confirm a displayed prompt.
•
Press to listen to the pronunciation of the headword.
Press SHIFT + to listen to the
pronunciation of the explanation.

To open an existing User Dictionary record from the main Dictionary, enter your record's
•
headword in full on the input screen of a corresponding main Dictionary and press
ENTER.
GRAMMAR
The Language Teacher EFP630T offers an extensive grammatical aid programmed
into the electronic device.
Press the GRAM key, or select on the Icons Menu.
•
You will be offered two grammar options – English and French. The menu and grammar
•
rules are available in Polish only. Select the language by pressing the ENTER key.
•
Specify a topic code in the format X.X (use the “. ,” key to enter a decimal point) and
•
Press the corresponding letter key to select a menu option.
1. Search by screen
code
2. Sequential search
Press 1 to retrieve a topic by its screen code.
Note: To search by screen code from within the text press S for an input prompt.
press ENTER.
Press 2 if you want to use multilevel menus to navigate through topics.
Press ESC to return to a previous level.
Use NEXT/PREV or ▼▲ keys to scroll the text within each topic.
DIALOGS
Over a thousand American common and emergency phrases translated into French and
Polish are stored in the Language Teacher
phrases are organized into conversational dialog topics listed below:
EFP630T's memory. For ease of reference,
1. Everyday Conversation 7. Communication
2. Traveling 8. At the Bank
3. Hotel 9. Transport
4. In the Restaurant 10. Health
5. Shopping 11. Beauty care
6. Sightseeing 12. Calling for Police
Each topic contains a number of episodes.
Press the DIAL key or select on the Icons Menu to open the Dialogs section. The
•
title of the first topic will be displayed in English and French. Use ↔ key to switch to
English-Polish Dialogs option. Continue scrolling ↔ key to switch between Polish and
French.

•
1.Everyday
conversation.
PHRASES
QUOTIDIENNES.
Choose a topic, then an episode. Use ▼▲ to browse topic or episode titles, ENTER to
open a displayed title.
Use NEXT / PREV to move between entries, ▼▲ to scroll individual entries, ESC to
return to a previous level.
Press the key to listen to the pronunciation of an English phrase.
▼
Press the SHIFT + to listen to the
pronunciation of a French phrase.
IRREGULAR VERBS
Forms of all commonly used English and French irregular verbs may be quickly looked
up in the Language Teacher
section are arranged in the alphabetical order.
Select on the Icons Menu to open the Irregular Verbs directory.
•
You will be offered two options – English or French irregular verbs. Select the language
•
by pressing the ENTER key.
English irregular verbs. French translations are set by default. Use ↔ key to switch to
•
Polish. Continue scrolling ↔ key to switch between French and Polish.
French irregular verbs. English translations are set by default. Use ↔ key to switch to
•
Polish. Continue scrolling ↔ key to switch between English and Polish.
EFP630T's Irregular Verbs directory. Verbs in each
First letter: _
Specify a letter to display the first verb starting with this letter.
•

Use NEXT / PREV to move between entries, ▼▲ to scroll individual entries, ESC to
return to the letter input prompt.
Press the key to listen to the pronunciation of an irregular verb's forms in English.
Press the SHIFT + to listen to the
pronunciation of a translation in French.
IDIOMS
Over 200 popular American idioms and their translations or equivalents in French or
Polish are listed in the alphabetical order in the Idiom section.
Select on the Icons Menu to open the Idioms section.
•
English idioms with their French translations or equivalents are set by default. Use ↔
•
key to switch to Polish. Continue scrolling ↔ key to switch between French and Polish.
First letter: _
Specify a letter to display the first idiom starting with this letter.
•
Use NEXT / PREV to move between entries, ▼▲ to scroll individual entries, ESC to
return to the letter input prompt.
Press the key to listen to the pronunciation of an idiom in English.

Press the SHIFT + to listen to the
pronunciation of an idiom in French.
TELEPHONE DIRECTORY
You may store names, telephone numbers, and addresses within the Telephone
Directory in English, French or Polish, view, edit, delete the entries, and listen to the
pronunciation of a record's contents.
Creating a Record
Select on the Icons Menu or press TEL control key to open the first Telephone
•
directory record in the viewing mode.
The letters
may change the language option by using the ↔ key.
Press ENTER to open a new record template.
•
Fill out the first page Name, changing the input mode with the ↔ key if needed.
•
Use arrow keys to move the cursor, SHIFT+◄ to delete a character to the left of cursor.
Press SPC for space, SHIFT+SPC for hyphen.
Use SHIFT+▼ to switch between Overwrite and Insert editing modes.
You may want to use additional symbols available by pressing SHIFT+▲ (► for more).
Press ENTER and fill out the next page Number. Numeric mode is enabled
•
automatically.
Press ENTER and type in an Address, switching the input mode as necessary.
•
E, F, P in the upper right corner indicate the language of your data entry. You
NAME: E
MR. SMITH_

To mark (or unmark) a record as password protected, press SHIFT+►. A label MARK
•
will light up (or go out, respectively) at right.
To save a record, press ENTER. A new record template will be opened.
•
To close a record without saving, use ESC repeatedly.
•
Managing Records
Select on the Icons Menu or press TEL control key to open the first Telephone
•
Directory record in the viewing mode.
Use NEXT or PREV to view other existing records.
•
Note: If the password protection is turned on (see Security), marked records will not
appear on the record list. To see them, first disable the password protection as
described in section Setup Main Menu.
To edit a record, press SHIFT+▼ and follow instructions in Creating a Record.
•
To delete a record, press SHIFT+◄ and confirm a displayed prompt.
•
To listen to a record's contents, press .
SCHEDULE
You can effectively plan out your time using the Schedule section of your Language
Teacher
delete records, and listen to the pronunciation of a record's contents.
Creating a Record
Select on the Icons Menu to open the first Schedule record in the viewing mode.
•
Press ENTER to open a new record template. The current date appears on the screen.
•
MM/DD/YY=01/01/2000
Note: The date and time display format can be adjusted on the Setup Main Menu.
Type, if needed, another date with number keys, using ◄ ► to move the cursor, and
•
press ENTER to go to the Time page.
EFP630T. You may enter records in English, French or Polish, edit, search,
Date:
Specify a start and end time for a scheduled event with number keys, using ◄► to
•
move the cursor. In the 12-hour format type A for AM, P for PM.

•
•
Use arrow keys to move the cursor, SHIFT+◄ to delete a character to the left of the
•
•
•
Managing Records
Time:
11:30AM-01:00PM
If you wish to set on an alarm to remind you about the meeting at the scheduled time,
press SHIFT + Z. A bell icon appears on the screen.
Press ENTER and type in Schedule contents, changing the input mode with the ↔ key if
needed.
cursor. Press SPC for space, SHIFT+SPC for hyphen. Use SHIFT+▼ to switch between
Overwrite and Insert editing modes.
You may want to use additional symbols available by pressing SHIFT+▲ (► for more).
To mark (or unmark) a record as password protected, press SHIFT+►. A label MARK
will light up (or go out, respectively) at right.
To save a record, press ENTER.
To close a record without saving, use ESC repeatedly.
Select on the Icons Menu to open the first Schedule record in the viewing mode.
•
Use NEXT or PREV to view other existing records.
•
Note: If the password protection is turned on (see Security), marked records will not
appear on the record list. To see them, first disable the password protection as
described in section Setup Main Menu.
To edit a record, press SHIFT+▼ and follow instructions in Creating a Record.
•
To delete a record, press SHIFT+◄ and confirm a displayed prompt.
•
To listen to a record's contents, press .

CALCULATOR
Calculator is one of the Language Teacher EFP630T's features designed for your
convenience.
Select on the Icons Menu to open the Calculator.
•
The numeric layout, including symbols of arithmetic and memory operations, is enabled
automatically (no need to press SHIFT). The memory register is displayed on the screen
for easy reference.
Use this function the way you would use an ordinary calculator.
•
Note: If a memory overflow or an error (e.g. as a result of division by zero) occurs so
that E appears on the screen, press SHIFT+C/CE to clear the display.
With your Language Teacher EFP630T you may easily convert measurements from
the American system into the metric system commonly used in Europe and vice versa.
The following measurements and measurement units are available for instant
conversion:
Length: centimeter, meter, kilometer, inch, foot, yard, mile
M=[ 0. ]
Calculator
METRIC CONVERSION
Area: sq.centimeter, sq.meter, sq.inch, sq.foot, sq.yard
Volume: liter, pint, gallon
Weight: gram, kilogram, ton, ounce, pound
Temperature:
Power: kilowatt, horsepower
Select on the Icons Menu to open the Metric Conversion menu.
•
Press a corresponding number key, or highlight an option with ▼▲ and press ENTER.
•
Use ◄► to select a unit's pair, ▼▲ to reverse the conversion direction.
Type a numeric value in the highlighted field and press ENTER. The result will appear
•
on the bottom line.
o
Celsius (centigrade), oFahrenheit, Kelvin
Metric Conversion
1. Length
2. Area
3. Volume
Cm <> Inch
| 0. Cm
Inch
v
v
◄
►

To make a new calculation, press ENTER.
•
To exit to the Metric Conversion menu, press ESC.
•
Cm <> Inch
12. Cm
4.724409449 Inch
◄
►
v
CURRENCY EXCHANGE
The Currency Exchange function built into your Language Teacher EFP630T allows
you to instantly convert amounts in several pre-installed currencies and two user defined
currencies.
With Language Teacher
may be set up, and amounts calculated: USA (USD), France (FFR), Poland (PLN),
Germany (DEM), Canada (CAD), Great Britain (GBP), Japan (JPY), Finland (FIM),
Switzerland (CHF), Italy (ITL) as well as the currency of the European Union (EURO).
Also, an editable currency name marked with '?' is provided for any other currency.
Select on the Icons Menu to open the Currency Exchange menu.
•
To set up the exchange rates, press the 2 key, or highlight the second option and press
•
ENTER.
To specify a rate, highlight its field using the ▼▲ keys and type a value with number
keys (press “. ,” key for a decimal point).
Note: One currency, usually US dollar, must be selected as a base currency with rate
1.000. Rates for other currencies are set relative to the selected base.
Currency Exchange
1. Display rates
2. Set rate
3. Calculation
USD
FFR
PLN
DEM
EFP630T, rates for the currencies of the following nations
v
1,000
1,000
1,000
1,000
v
To set up a user currency, scroll down to one of two bottom lines, press ◄ to highlight
•
the '?' in the label field and type in a currency abbreviation.
•
•
•
CHF
ITL
EURO
?
Press ► to highlight the rate field and enter an exchange rate for the new currency.
To return to the Currency Exchange menu, make sure all rate fields contain values, and
press ESC.
Use the option 1. Display Rates to quickly look up the current exchange rate settings.
1,000
1,000
1,000
1,000

To make a calculation, press the 3 key, or highlight the third option and press ENTER.
•
Align the highlight bar with a currency label and type in an amount for conversion.
•
•
•
•
USD
FFR
PLN
16.50
DEM
Press ENTER to make a calculation.
Scroll with the ▼▲ keys to see amounts in other currencies.
WORD GAME
The Language Teacher EFP630T features a learning word game, which improves your
spelling ability and enhances your personal vocabulary.
Select on the Icons Menu to open the Word Game menu.
Game Direction
1. English-French
2. French-English
3. English-Polish
v
Use the ▼ key to get to other language pairs:
•
4. POLISH-ENGLISH; 5. FRENCH-POLISH;
6. POLISH-FRENCH
By pressing the corresponding number key select a dictionary you want to guess words
•
from.
•
•
_______
Enter letters trying to guess a hidden word. Correctly guessed letters appear in place of
underscores in their actual positions in the word. The counter on the right shows the
number of missed tries (total of 8 allowed).
E__M__E
You can use help: To have a hidden word pronounced, press . Use the ► key to see
the translation of the hidden word. To continue playing press ESC. To uncover one
letter, press ENTER. Each of these actions counts as an attempt.
When a game ends, the message You win! or You failed!, depending on the outcome,
appears on the screen for a second, and the word translation is displayed. Press ENTER
to start a new game.
English-French
English-French

WORLD TIME
You may view the time around the world using your Language Teacher EFP630T's
World Time section. Over 200 cities around the world with their time zone differences
are pre-stored.
Select on the Icons Menu to access the World Time section.
•
Use the ▼▲ keys to move through the alphabetical list of all cities, NEXT or PREV to
•
New York
USA
(Fri) Dec 31,1999
18:06
Note: New York, USA defaults after the system initialization. To select another city, reset
the date and time or adjust their display format, follow instructions in the Setup Main
Menu section.
move by countries (and cities within each country). You can use a letter key as a
shortcut to the alphabetically first city listed under this letter.
If you wish to see the time, for example, in Seattle, first press the S key. S. Marino will
be displayed. Then press ▼ until the desired city appeared:
SEATTLE
USA
(Fri) Dec 31, 1999
19:37
Note: Keep in mind the possibility of the daylight-saving time adjustment. You may need
to add one hour to or subtract from the time you see on the screen.
v
v
LOCAL TIME
You can use this feature of the Language Teacher EFP630T to see the exact time of
day, the day of the week, and the current date. This information is provided for the time
zone represented by a city name selected on the Setup Main Menu.
Select on the Icons Menu to open the Local Time section.
•
Depending on the setting in the Setup Main Menu, you might hear the announcement of
current time.
Warsaw
Poland
(Sat) Jan 1, 2000
1:21 PM
Note: Warsaw, Poland defaults after the system initialization. The displayed date and
time format can be adjusted on the Setup Main Menu.
v

PC COMMUNICATION
With the aid of a Language Teacher PC-Link cable (to be purchased separately) and
the LT PC-Link software for Windows 95/98/NT (included with the package), you may
EFP630T to a
transfer data from the organizer sections of your Language Teacher
personal computer and back.
Note: The LT PC-Link for Windows 95/98/NT (you will find it on the CD belonging to the
package) must be installed on your PC prior to using this function. Upon installation
consult the application's Help section for details.
Connect your Language Teacher® EFP630T to a computer with a PC-Link cable.
•
Select on the Icons Menu to open the PC Communication section.
•
Choose a transfer mode, for example, Send data and press Enter.
•
Select an organizer section for the data transfer and press Enter. The following stand-by
•
message will appear:
Launch the PC-Link application on your PC and choose a transfer mode complementing
•
the unit's mode (Receive in this example). Follow instructions on the screen.
By pressing ENTER, start transmission first on the receiving, then on the sending end.
•
Processing messages will appear in both applications.
Amount of transmitted data will be announced.
•
Note: Always back up your important records! Manufacturer assumes no
responsibility for lost or corrupted data.
PC Communication
Send data
Receive data
Start receiver and
press Enter...
v
ADDITIONAL FEATURES
Volume Control
The volume control switch is located on the left-hand edge of the Language Teacher
EFP630T’s case.
External Power Jack
The Language Teacher EFP630T is equipped with a jack for external power supply,
located on the unit's right-hand edge. Use of an inappropriate external power supply
may cause failure of the unit and void the warranty.

PC-Link Jack
The PC connection cable jack is located on the Language Teacher EFP630T’s righthand edge nearby the external power jack.
Note: To order a compatible AC/DC adapter or a PC-Link cable, contact your dealer or
an Ectaco service center listed at the end of this book.
 Loading...