

Page 1
UTV-A2 USB 2 .0 TV
- 1 -
USB2.0 TV BOX
USB2.0 TV
Quick Reference Guide
Page 2

UTV-A2 USB 2 .0 TV
- 2 -
Table Of Contents:
Chapter 1:Introduction and Features………………………………….2
Chapter 2: Minimum System Requirements………………………….3
Chapter 3: Package Contents…………………………………………4
Chapter 4: Hardware and Driver Installation…...…………………….5
Chapter 5: Remote Control..……………………………………….…9
Chapter 1 Introduction and Features
An external USB2.0 High-Speed TV tuner box enables you to enjoy
the television program with high quality performance on you
notebook or PC. The bundled remote controller let you select the
channels easily and freely. In addition, it can also import video from
you VCR, camcorder, VCD/DVD or any other analog appliances into
your PC. With software, the video can be burned into VCD, DVD or
saved in a HD. The features are as following:
• USB 2.0 connection to the PC
• Capture audio and video via the USB 2.0 port
• Pause live TV in Time-Shift mode
• Use remote to jump to last viewed channel
• Time-Shift Recording - Rewind, pause or fast forward live TV
• Scheduled recording with Electronic Program Guide
• Full screen TV viewing on PC monitor
• Record video from any analog video source
Page 3

UTV-A2 USB 2 .0 TV
- 3 -
• Direct to Disk capture - Capture TV shows directly to re-writable
disks (CD-RW, DVD+RW or DVD-RW disks)
• Edit and update re-writable disks - Add shows to a disk, add
chapters and menus
• Integration with full DVD Authoring software applications
* DVD burner for burning DVD disks
* CD burner for burning VCD and SVCD disks
Chapter 2 Minimum System Requirements
• Intel Pentium IV 2 GHz or faster
• Windows XP (home or professional)
• 256 MB of RAM
• Available USB 2.0 port
• Microsoft USB 2.0 drivers
• 30 MB of free hard disk space for software installation
• CD-ROM drive for software installation
• AGP 2X Graphics card running at 800 x 600 or higher resolution
• Internet Connection to access www.TitanTv.com
• 4 GB of hard drive space for approximately 2 hours of TV record
time
Chapter 3 Package Contents
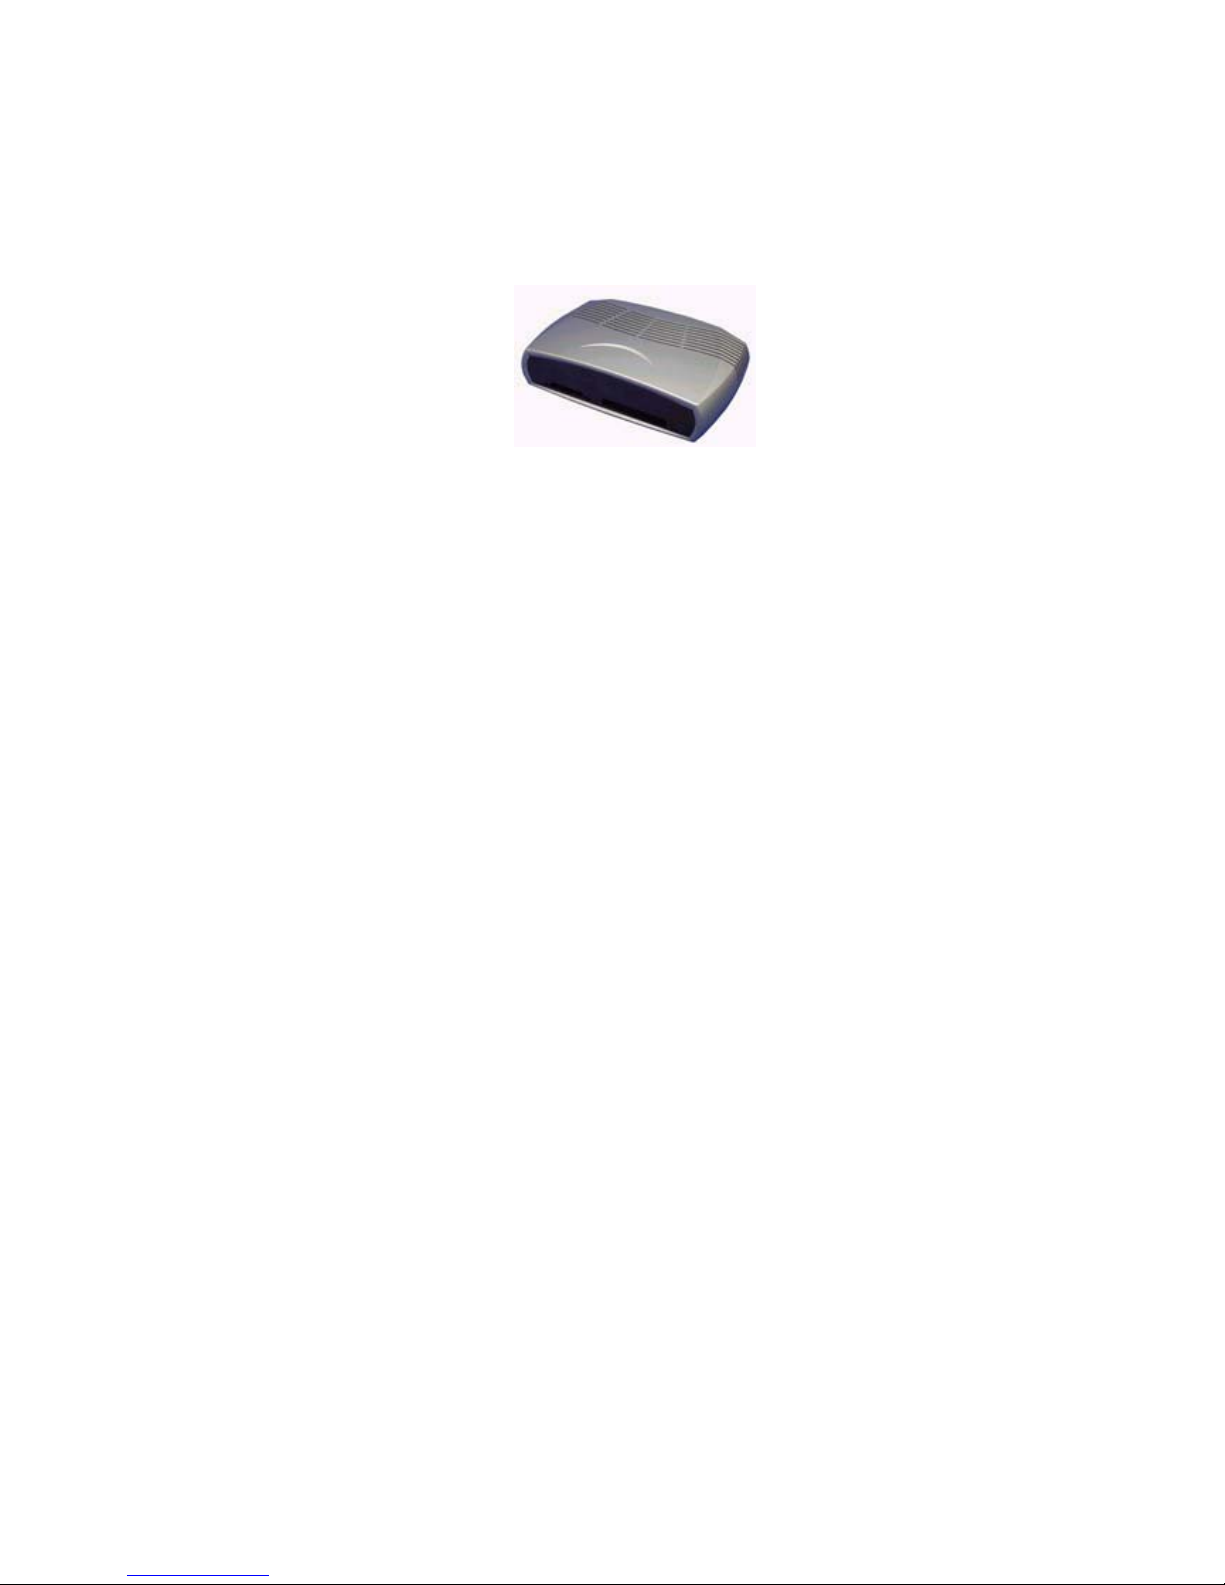
•UTV-A2 USB2.0 TV Tuner device
•Remote Control
Page 4

UTV-A2 USB 2 .0 TV
- 4 -
•Battery for Remote control
•USB Cable
•A/V Cable
•CD for driver and bundled software
•Users’ Guide
Chapter 4 Hardware and Driver Installation
Note 1: INSERT the CD and install the Drivers before plugging
the UTV-A2 USB2 TV device in your computer!
Note 2: The Installation of hardware and device drivers is quick and
simple. Please follow the instructions to install the drivers first, before
connecting the Instant TV hardware to your PC. The Driver Install
step will check for a Microsoft USB Update. This patch has already
been distributed by Microsoft’s Windows Update. If your updates are
current, you probably already have this update. If this patch is not
present on your system, we will install the patch during this
installation step. Once the patch is installed you will be required to
re-boot your PC. Once you have installed the drivers and the
Microsoft update, then you can connect the UTV-A2 to your USB 2.0
port, it will be recognized and the drivers will load.
1.) Insert the CD into your Windows XP CD-ROM drive. The
auto run program will lead you to install the Video and
Audio drivers, please choose the language and click
“Next.”
Page 5

UTV-A2 USB 2 .0 TV
- 5 -
2.) During the Driver install process an update from Microsoft for
your Windows XP system will also be installed, if it is not
already present on your system.
Page 6

UTV-A2 USB 2 .0 TV
- 6 -
4.) If this Microsoft patch is installed, you will be asked to
re-boot your PC. If the patch is already present on your
system, this step is bypassed and the install process goes
very quickly
.
Connect UTV-A2 to your PC
1.) Once your PC has restarted use the USB 2.0 cable supplied and
connect the cable between a USB 2.0 port on your PC and the USB
connection on the Instant TV.
2.) Windows will recognize the device and load the drivers associated
with the UTV-A2. When the “New Hardware Wizard” appears on
your screen, Select “Install software
Fig. 2
Automatically”. There
will be a video device driver and an audio device driver
loaded, so
you will go through this process twice.
Page 7

UTV-A2 USB 2 .0 TV
- 7 -
3.) The drivers for UTV-A2 are Windows XP compatible but at the
time of this printing, the device drivers have not yet been
submitted to Microsoft for a digital signature. When you see a
warning dialog box, click “Continue Anyway” and the driver will
install properly. Once the video device driver is loaded, you will
go through this same process a second time to install the USB
Audio driver.
4.) At the end of the installation process for both the Video and Audio
drivers the New Hardware Wizard will confirm that it has finished
installing the software – Click Finish.
5.) Connect a Cable TV source to the TV tuner or use the
Audio/Video cables to connect to a video source such as a
VCR.
Page 8

UTV-A2 USB 2 .0 TV
- 8 -
6.) If you had any problems during hardware installation or you want
to verify that the UTV-A2 is present and recognized by Windows,
go to the trouble shooting steps for instructions on how to check
Windows Hardware Device Manager.
The UTV-A2 has the following connections:
• USB Port (USB 2.0 ONLY)
• Audio In (to record audio from external audio/video sources)
• Audio Out (p ass-t h ro u gh audi o fr om external sources)
• RCA (composite) Video In
• S-Video (Y/C) Video In
• Cable TV connector (F-Connector for NTSC, IEC for PAL)
USB Port - The USB Connection for this product is for USB 2.0
connections only. USB 2.0 is required because the video is coming
from the Instant TV device as un-compressed RAW (YUV) video.
Your PC and the TV Plus 3.0 software will do the work to convert the
video stream into VCD, SVCD or DV D vi d e o fi l es.
Audio In - The audio in 3.5mm stereo jack is used to capture audio
from your video sources. Use the A/V cable included to connect your
other video sources such as VCR’s, Camcorders, DVD players, etc. to
the Instant TV for recording video from these sources to your
computer hard drive.
Audio Out - This is audio pass-through from your external video
sources such as VCR’s or DVD players. The Instant TV device is a
capture only device. There is no audio or video export on this model.
RCA Video In - Use the supplied A/V cable to connect other video
Page 9

UTV-A2 USB 2 .0 TV
- 9 -
sources to this video input jack.
S-Video In - If you have video sources with an S-Video output, you
can connect an S-Video cable (not supplied) to Instant TV to capture
from S-Video sources. Generally S-Video provides improved video
quality over RCA (composite) video sources.
TV Tuner - The Instant TV includes a Cable Ready TV tuner. Connect
your cable TV source to Instant TV to tune up to 125 channels of
Cable television.
Chapter 5 Remote Control
Use the Remote Control just like you would any TV Remote control.
This remote can open and Close the TV Plus 3.0 application, change
TV channels, raise and lower audio volume and even allow one
button TV or video recording.
Instant TV Remote Control Buttons Overview
• Power - You can press the POWER button to open or close the
TV Plus 3.0 application any time, as long as the TV Plus 3.0
Scheduling icon is present in the icon tray on your Windows desktop.
• Input - The Input button allows you to switch from TV to RCA or
S-Video inputs on the Instant TV device.
Page 10

UTV-A2 USB 2 .0 TV
- 10 -
• Mute - Pressing the Mute button will mute the TV audio. Pressing a
second time will un-mute the audio.
• T/S Time Shift Mode - Pressing the T/S button will put you into the
Time-Shift mode in TV Plus 3.0. When you are in the Time-Shift
mode you can pause, rewind and fast forward through TV shows. The
Time-Shift mode creates a TV recording buffer that allows you use
the Time-Shift features.
• Live - Use the LIVE button to shift to full screen.
• Vol + Pressing the Vol+ button will increase the audio monitoring
level
• Vol -Pressing the Vol – button will decrease the audio monitoring
level
• Record - Press the Record button to begin video recording.
• Play/Pause - Use the Play/Pause button to start playback or Pause
video in the Time-Shift mode or when playing back previously
recorded video.
• CH + Press the CH+ to change the TV Channel by incrementing up
the channel list.
• CH -Press the CH- button to change the TV Channel by
decrementing down the channel list.
Page 11

UTV-A2 USB 2 .0 TV
- 11 -
• Rewind - Use the Rewind button to step through several rewind
speeds in the Time-Shift mode or when watching pre-recorded video.
• Fast Forward - Use the Fast Forward button to step through
several Fast Forward speed in Time-Shift mode or when watching
pre-recorded video.
• STOP - Use the Stop Button to Stop video playback, Stop
Recording or to Exit the Time-Shift mode.
• 0 – 9 buttons - Use the number buttons to change TV channels. Yo u
need to enter at least 2 digits to change a TV channel so tuning to
channel 4 you would press 0 + 4, and for channel 39, you would press
3 + 9.
• Jump - The Jump button will toggle between your current TV
channel and the previously tuned channel. Use the Jump button to
bounce between your two favorite TV stations.
 Loading...