

Page 1
Assembling the ReefLink POP Display
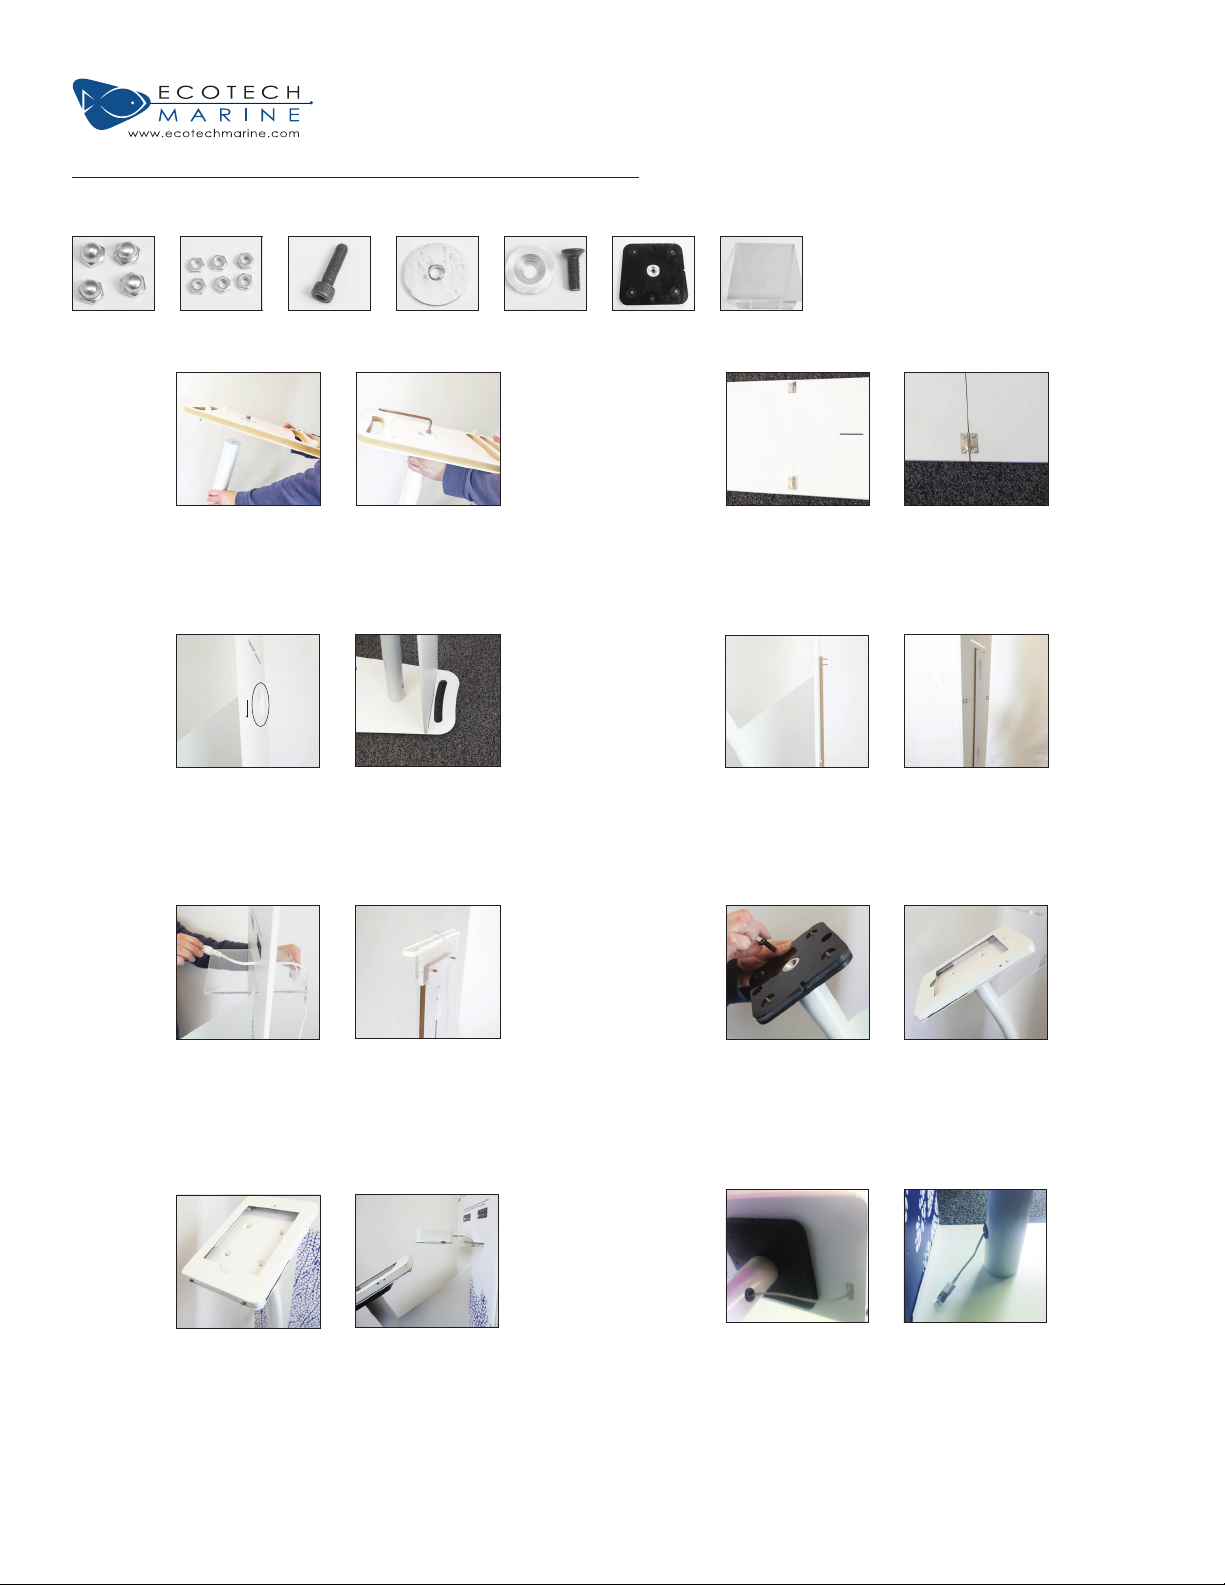
Included with stand:
4 Capped
Hex Nuts
Step 1: Step 2:
6 Hex Nuts
7mm
1 Hex Bolt
6mm
Metal Washer Washer and
Hex Bolt
5mm
Flip the support pole upside down.
Use the 6mm hex bolt and metal
washer to attach the base to the
support pole using the included 6mm
allen key.
Step 3: Step 4:
Slide graphic display backing over
the hooks on the support pole while
guiding the bottom into the slot on the
base.
Step 5: Step 6:
Swivel Plate Acrylic Shelf
Fasten the hinges on the back of the
bottom half of the graphic display
backing to the top half, using 4x 7mm
hex nuts.
Slide the slotted backing support
over the hooks on the back to lock
the graphic display backing in place.
Make sure to have the bolts facing
outward.
Tools needed:
5mm Allen Key (or Hex-Key)
6mm Allen Key (or Hex-Key)
7mm socket or wrench
Phillips head screwdriver
Thread the ReefLink plug through the
slot as shown, then slide the acrylic
ReefLink shelf through slot. Make sure
to line up the holes with the bolts on
the back. Secure acrylic shelf using 2x
7mm hex nuts.
Step 7: Step 8:
Make sure that the iPad holder is
oriented with the key holes towards
the bottom. Secure the iPad holder
using 4x 7mm capped hex nuts.
Questions? Call EcoTech Marine Customer Service at 1-800-785-0338 Option 2
Attach the swivel plate with machined
washer to the support pole with the
5mm hex bolt using 5mm allen key.
Place the iPad holder over the exposed bolts.
Route the extended iPad cable
through the opening in the top of the
support and out of the bottom. The
cable plugs in to the iPad via the hole
in the bottom of the iPad holder.
 Loading...