

Page 1
Thank you for purchasing this product.
Please read this instruction manual carefully and use the product correctly.
Before using the product, please read the "Important Safety Instructions" section.
Please keep this instruction manual together with the original product purchase receipt in a place
where it can be referred to when necessary.
Instruction Manual
ENGLISH
JAPANESE
ENGLISH
FRANÇAIS
Page 2

22
Contents
Audio etiquette
Your enjoyable music may be bothersome depending on the location. Please enjoy your
music at an appropriate volume so that it does not bother your neighbours.
In particular, even music at a low volume can easily travel through your surroundings at
night.
Please be considerate of your neighbours and help create a comfortable living
environment.
•
•
Features......................................... 23
Checking the main unit and
accessories ................................... 23
Important Safety Instructions ...... 24
Important items for safety ................. 27
Part names and functions............ 29
Rear panel ........................................ 29
Front panel ....................................... 30
Remote control ................................. 30
Inserting batteries into the remote
control ........................................... 32
Setting up the subwoofer ............ 33
Attaching the feet ............................. 33
Setup location ................................... 33
Connecting the subwoofer .......... 34
Typical connection ............................ 34
Connection with the speaker terminals
... 35
Basic usage (listening to audio)
... 36
Mute ................................................. 36
Automatically turning the power on and
off (auto power) ................................ 36
Adjusting the audio ...................... 37
Adjusting the volume ........................ 37
Adjusting the LPF ............................. 37
Switching the phase polarity ............. 38
Switching bass emphasis (BASS) .... 38
Care and cleaning......................... 39
When a problem occurs ............... 39
Specifi cations ............................... 40
Warranty and customer service .. 41
Page 3
23
JAPANESE ENGLISH FRANÇAIS
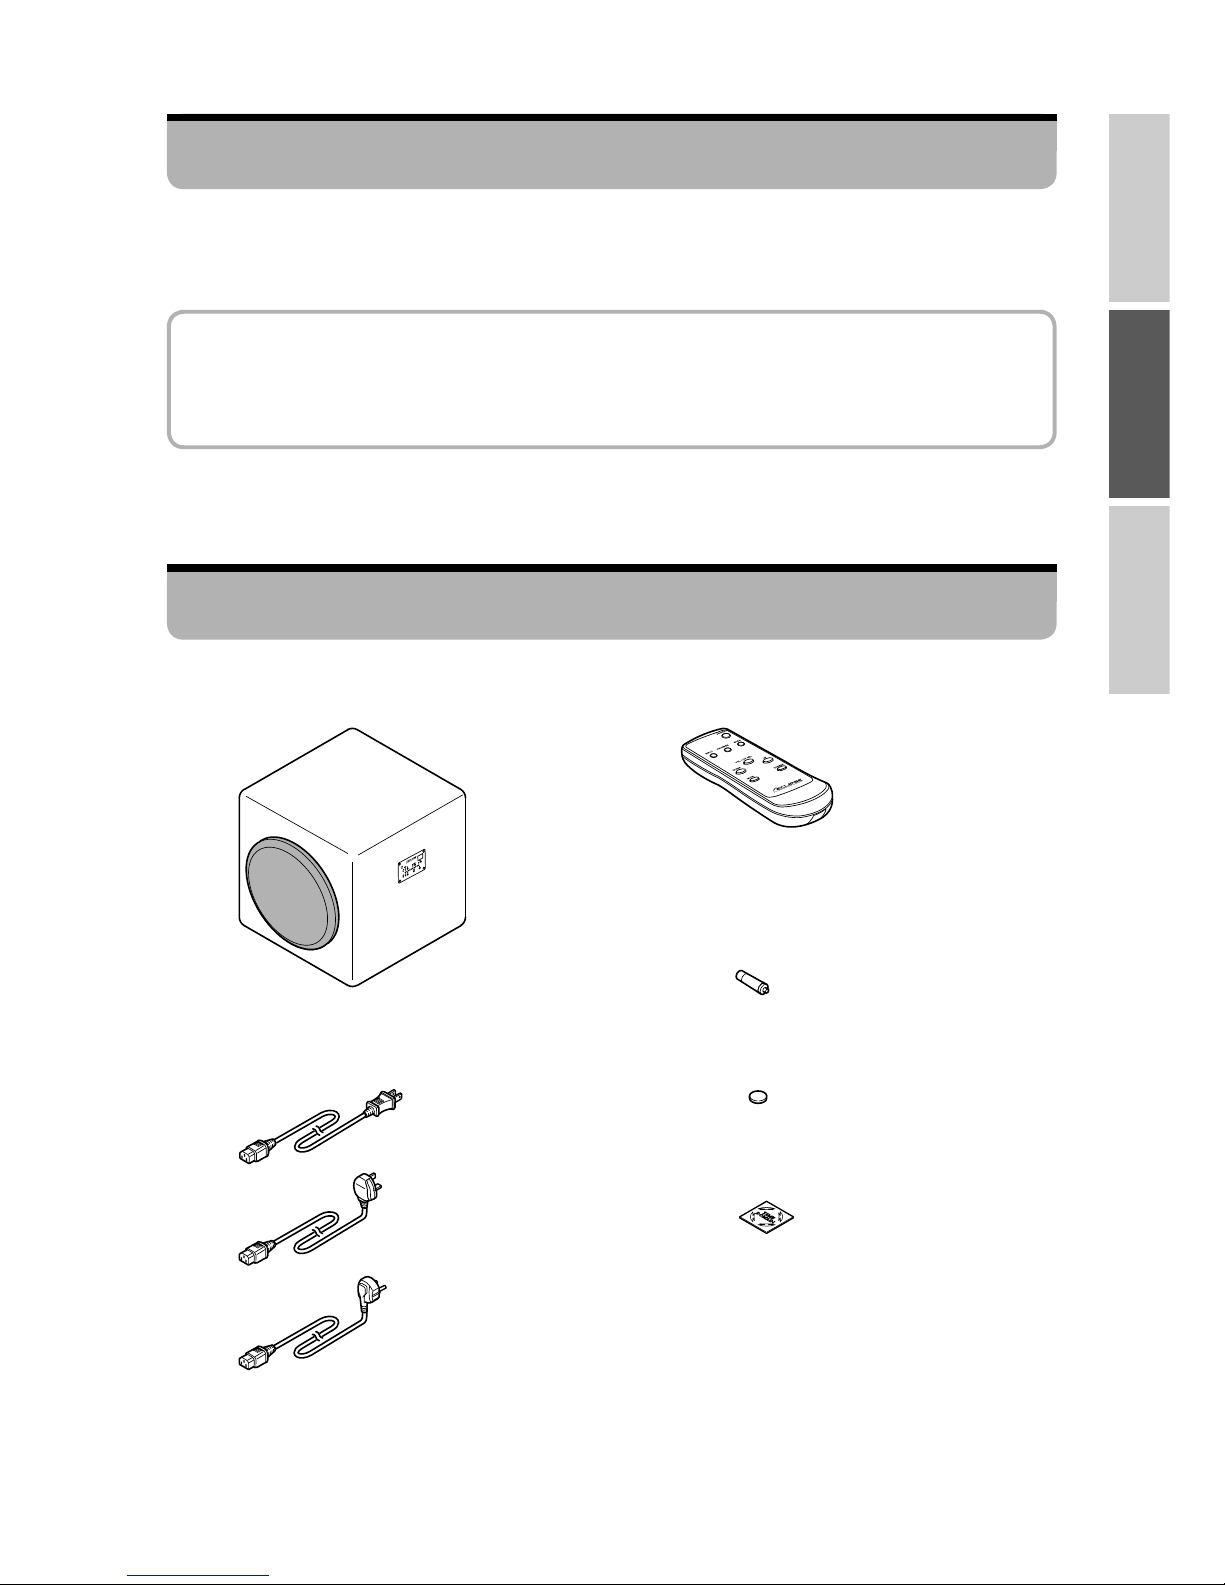
Subwoofer x1•
Checking the main unit and accessories
Instruction manual x1•
Power cable x1 (P.34, 35)•
For the USA
For the UK
For Europe
Remote control x1•
Battery for remote control (size AA) x2
(P.32)
•
Foot x4 (P.33)•
Logo sticker x1•
This product is a subwoofer system that has been designed based on Time Domain theory.
This will give you an enjoyable, fast and crisp bass sound.
Features
Time Domain theory
Theory with the goal of reproducing accurately the audio waveforms carefully created by
artists and engineers. This conveys the delicate expressions that musicians have included
in their music and creates a space that feels alive.
Page 4
24
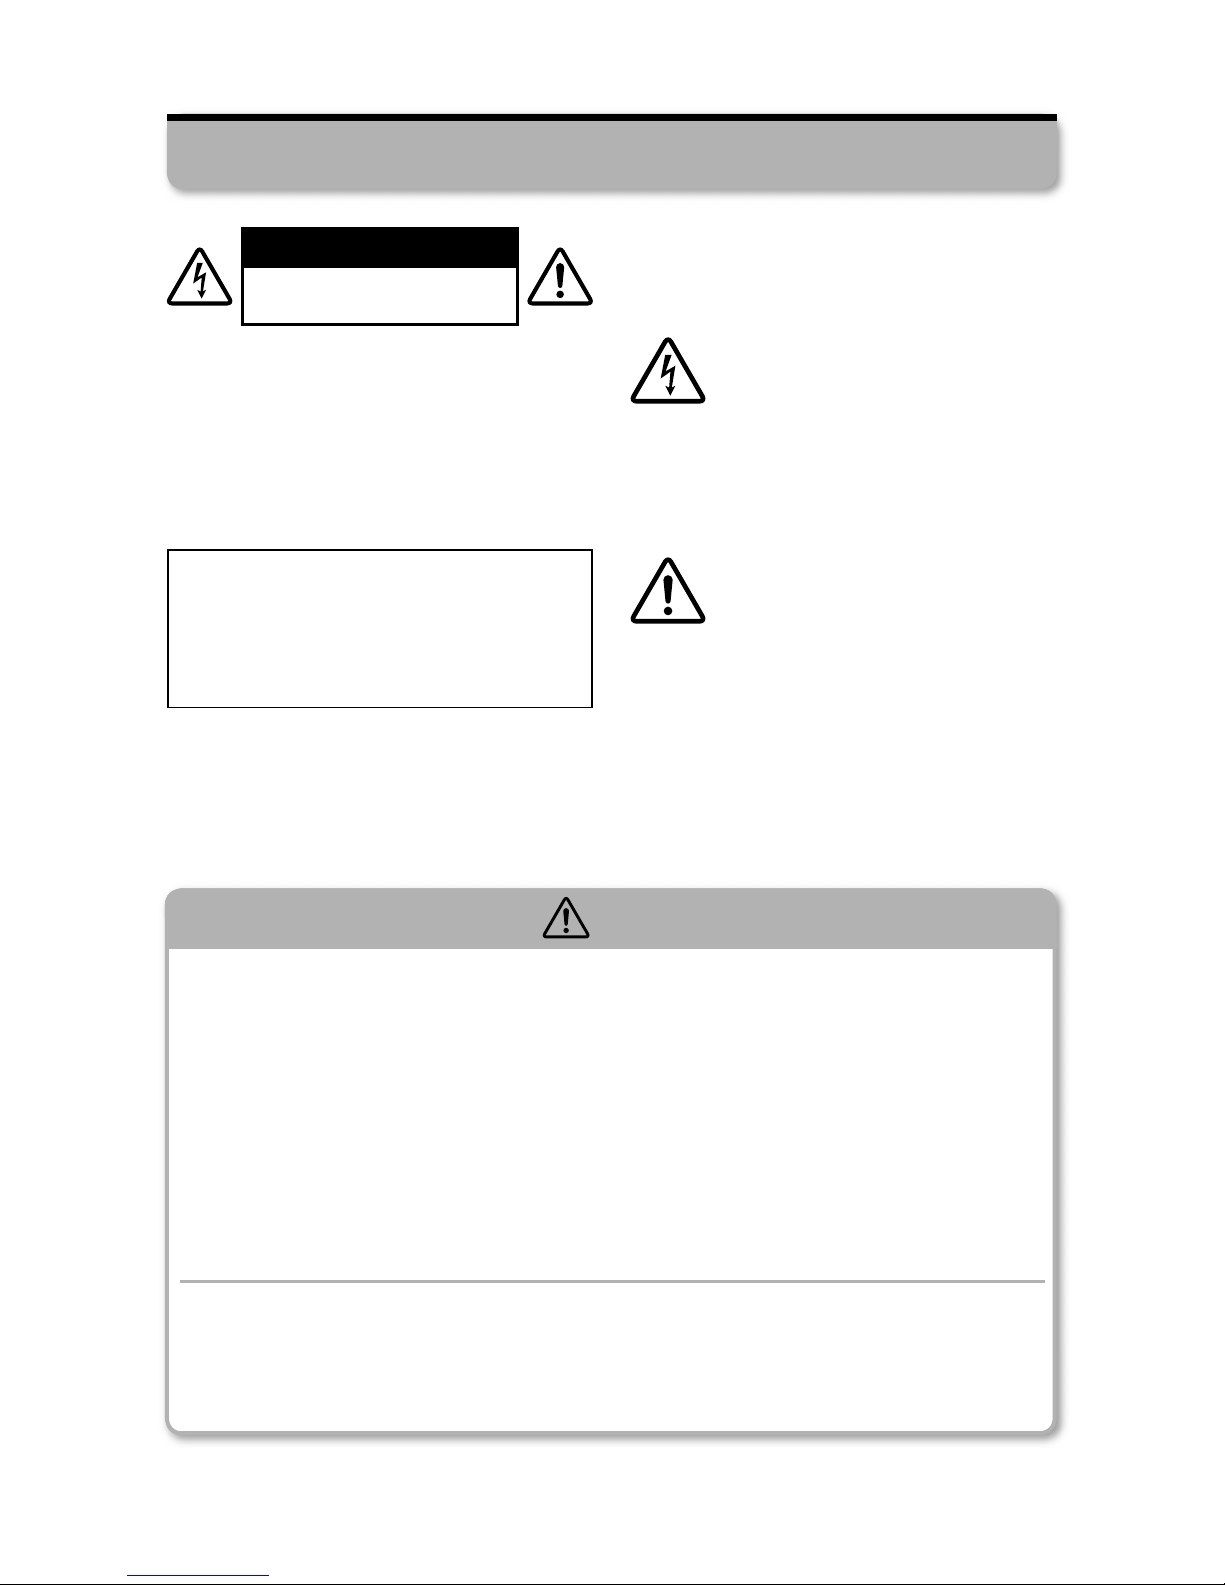
CAUTION
RISK OF ELECTRIC SHOCK
DO NOT OPEN
CAUTION : TO REDUCE THE RISK OF
ELECTRIC SHOCK, DO NOT REMOVE
COVER (OR BACK). NO USER-
SERVICEABLE PARTS INSIDE. REFER
SERVICING TO QUALIFIED SERVICE
PERSONNEL.
WARNING
TO REDUCE THE RISK OF FIRE OR
ELECTRIC SHOCK, DO NOT EXPOSE
THIS APPLIANCE TO RAIN OR
MOISTURE.
• Explanation of Graphical Symbols
The lightning fl ash with arrowhead
symbol, within an equilateral
triangle, is intended to alert you
to the presence of uninsulated
dangerous within the product's
enclosure that may be of suffi cient
magnitude to constitute a risk of
electric shock.
The exclamation point within an
equilateral triangle is intended
to alert you to the presence
of important operating and
maintenance (servicing) instructions
in the literature accompanying the
appliance.
CAUTION
TO PREVENT ELECTRIC SHOCK, MATCH
WIDE BLADE OF PLUG TO WIDE SLOT
AND FULLY INSERT.
Important Safety Instructions
WARNING
When there is a problem or malfunction...
When one of the following problems occurs, immediately stop using the product,
turn off the power, and unplug the power plug from the power outlet.
- The product produces an unusual noise or smell - The product produces smoke
- The product is falls or is damaged
If you continue using the product when there is a problem, there is a risk of fi re or
electric shock.
Do not repair, disassemble, or modify the product yourself.
There is a risk of fi re, electric shock, or injury.
For repair, inspection, and adjustment, contact customer service. (P.41)
During use...
Do not place vases, fl ower pots, cups, makeup, chemicals, or other containers
that contain liquids on or near the product.
There is a risk of fi re or electric shock due to leaks and foreign substances.
■
■
■
Page 5
25
JAPANESE ENGLISH FRANÇAIS
Power plug and cable...
Do not use the product with a power supply voltage outside that displayed on the
main unit.
There is a risk of fi re, electric shock, or malfunction.
Always use the included power cable.
There is a risk of fi re or accidents.
Do not overload the power outlet by plugging in many devices.
There is a risk of fi re due to the heat generated.
Do not damage the power cable in the following ways.
- Scratching the cable - Forcibly bending the cable - Twisting the cable
- Working on the cable - Heating the cable - Pulling the cable
- Placing heavy objects on the cable
There is a risk of fi re or electric shock due to damage.
If the power cable is damaged such as when the core is exposed or the cable is broken,
please replace it.
When there is a risk of lightning, unplug the power plug from the power outlet and
do not touch the plug.
There is a risk of fi re, electric shock, or malfunction.
■
■
■
■
■
CAUTION
During setup or when moving the product...
Do not place the product in the following kinds of locations.
- Rickety platforms, inclined and unstable locations, and elevated locations
There is a risk of falls, malfunction, or injury.
- Locations exposed to oily smoke or steam such as kitchen countertops and
near humidifi ers
- Locations exposed to direct sunlight for long periods of time and near heaters
or open fl ames
There is a risk of fi re, deformation, discoloration, accidents, or malfunction.
- Locations directly exposed to cold air
- Extremely cold locations
There is a risk of electrical leakage or burnout, accidents, or malfunction due to
condensation.
Be aware of the following items when moving the product.
- This product is heavy. Always open the product packaging and carry the product
with two or more people.
There is a risk of injury.
- Turn off the power to the connected devices and unplug the power cable,
connection cables, and speaker cables.
If the product is moved with the cables connected to it, there is a risk of fi re, or electric
shock due to damaging the cables.
■
■
WARNING
Page 6
26
During setup or when moving the product... (Continued)
First turn off the power to all devices to connect to the product before making the
connections.
Connect each device according to its instruction manual.
If you connect devices with the power turned on, there is a risk that product may
suddenly produce a loud noise and malfunction.
Power plug and cable...
Do not use an unstable or loose power outlet.
There is a risk of fi re or electric shock due to the heat generated.
Ask an electrician to replace the power outlet.
Do not plug or unplug the power plug with wet hands.
Do not touch the power plug's pins.
There is a risk of electric shock.
Plug the power plug all the way into the power outlet.
There is a risk of fi re due to the heat generated or from accumulated dust.
Do not place the power cable near heaters. Do not use the power plug and cable
when they are hot.
The cable jacket will melt causing a risk of fi re or electric shock.
Regularly remove any accumulated dust on the power plug pins.
There is a risk of fi re or electric shock.
Unplug the power plug and wipe it with a dry cloth.
During use...
Do not climb on the product or use it as a step or a seat.
There is a risk of injury due to the product falling over or being damaged. Households
with small children should be particularly careful.
Do not take the following actions with the remote control.
- Dropping the remote control - Hitting the remote control - Getting the remote
control wet - Placing the remote control in humid or dusty locations
These actions will cause the remote control to break, malfunction, or increase the
consumption of the batteries.
Before turning on the power, set the volume of the amplifi er and subwoofer to the
minimum level.
A loud noise may suddenly occur causing the risk of hearing loss or damage to the
product.
When the product produces unusual sounds during playback at high volumes,
lower the volume.
If the product is used in this state or the product is used for a long period of time when
the sound is distorted, the speaker will generate heat causing the risk of fi re.
■
■
■
■
■
■
■
■
■
■
■
■
CAUTION
Page 7
27
JAPANESE ENGLISH FRANÇAIS
Important items for safety
1) Read these instructions.
2) Keep these instructions.
3) Heed all warnings.
4) Follow all instructions.
5) Do not use this apparatus near water.
6) Clean only with dry cloth.
7) Do not block any ventilation openings. Install in accordance with the manufacturer’s
instructions.
8) Do not install near any heat sources such as radiators, heat registers, stoves, or other
apparatus (including amplifi ers) that produce heat.
9) Do not defeat the safety purpose of the polarized or grounding-type plug. A polarized plug
has two blades with one wider than the other. A grounding type plug has two blades and
a third grounding prong. The wide blade or the third prong are provided for your safety. If
the provided plug does not fi t into your outlet, consult an electrician for replacement of the
obsolete outlet.
10) Protect the power cord from being walked on or pinched particularly at plugs, convenience
receptacles, and the point where they exit from the apparatus.
11) Only use attachments/accessories specifi ed by the manufacturer.
12) Use only with the cart, stand, tripod, bracket, or table specifi ed by the
manufacturer, or sold with the apparatus. When a cart is used, use caution when
moving the cart/apparatus combination to avoid injury from tip-over.
13) Unplug this apparatus during lightning storms or when unused for long periods of time.
14) Refer all servicing to qualifi ed service personnel. Servicing is required when the apparatus
has been damaged in any way, such as power-supply cord or plug is damaged, liquid has
been spilled or objects have fallen into the apparatus, the apparatus has been exposed to
rain or moisture, does not operate normally, or has been dropped.
■
During care and cleaning...
Turn off the power and unplug the power plug from the power outlet.
There is a risk of electric shock or injury.
When not using the product for a long period of time...
Turn off the power and unplug the power plug from the power outlet.
There is a risk of fi re.
■
■
CAUTION
Page 8

28
<For the customers in European union>
The batteries, accumulators, or equipment incorporating batteries or accumulators which are
labeled with crossed-out wheeled bin may not be disposed of with household waste.
This mark is based on European Directive 2006/66/EC for the batteries and accumulators.
To dispose of waste batteries, accumulators or equipment incorporating them, please take
them to the designated collection facilities.
Waste batteries and accumulators have the potential effect on the environment and human
health as a result of the presence of hazardous substances, particularly heavy metals such as
cadmium, lead, or mercury, the chemical symbol for an element of which is indicated beneath
crossed-out wheeled bin.
You can contribute to eliminate this effect by your cooporation.
In accordance with the European Directive 2002/96/EC (for Waste Electric and Electronic
Equipment=WEEE), this product, which is labeled with crossed-out wheeled bin, may not be
disposed of with household waste in member states of the EU.
WEEE : Waste Electrical and Electronic Equipment
When disposing of this product in an EU member state, dispose properly in accordance with
the laws of that state, for example by returning it to the distributor. WEEE has the potential
effects on the environment and human health as a result of the presence of hazardous
substances. You can contribute to eliminate these effects and to enhance reuse/recycle/ other
forms of recovery by your cooperation.
Page 9

29
JAPANESE ENGLISH FRANÇAIS
Part names and functions
Volume control (P.37)
Adjusts the volume.
L.P.F control (P.37)
Adjusts (cuts) the high-pass frequency.
Adjustment range: 30 Hz to 150 Hz
L.P.F selector switch (P.37)
Turns the LPF on and off.
XLR input terminal
Connect this terminal if the subwoofer
output or line output on your AV amplifi er
is an XLR connector.
* TD725SWMK2 only
LINE input terminals (P.34)
Connect these terminals to the subwoofer
output or line output on your AV amplifi er.
LINE output terminals
Converts the signal input to the XLR input
terminal, LINE input terminals, or speaker
input terminals to line level and outputs
it. (This is not linked to the subwoofer's
volume control on this product.)
Speaker input terminals (P.35)
Connect these terminals to the speaker
output on your AV amplifi er if it does not
have a subwoofer output.
Speaker output terminals (P.35)
Outputs the signal input to the speaker
input terminals without modifi cations.
POWER switch (P.36)
Turns the power on and off.
AUTO POWER switch (P.36)
Turns auto power on and off.
AC IN terminal (P.34, 35)
Connect to a household AC power outlet
with the included power cable.
Rear panel
■
* , , , and are only
for INPUT 2
***
*
Page 10

30
Remote control
■
Front panel
■
Page 11

31
JAPANESE ENGLISH FRANÇAIS
Indicator
POWER indicator (P.36)
Lit in blue when the power is on and in
red when in the standby status.
INPUT indicator (P.36)
The indicator for the selected input turns
on.
REVERSE indicator (P.38)
Turned off when set to the positive phase
and turned on when set to the negative
phase.
BASS indicator (P.38)
Turned on during bass emphasis and
turned off when bass emphasis is off.
Remote control photoreceptor (P.33)
Receives signals from the remote control.
VOL indicator (P.37)
When turned on, you can adjust the
volume with the UP/DOWN buttons.
LPF indicator (P.37)
When turned on, you can adjust the LPF
with the UP/DOWN buttons.
VOL/LPF level indicator (P.36)
Shows the volume or the LPF.
Button
POWER button (P.36)
Switches between power on and the
standby status.
INPUT button (P.36)
Switches between INPUT 1 and INPUT 2.
REVERSE button (P.38)
Switches between the positive and
negative phase.
BASS button (P.38)
Turns bass emphasis on and off.
VOL/LPF SEL button (P.37)
Switches between adjusting the volume
and the LPF.
DOWN button (P.37)
UP button (P.37)
Adjusts the volume or the LPF.
MUTE button (P.36)
Mutes the sound.
DIMMER button
Adjusts the brightness of the indicators.
The brightness changes with each press
of the button in the following order:
bright → normal → dark → off.
(When set to off, only the POWER
indicator remains on.)
Page 12

32
Inserting batteries into the remote control
The service life of the included batteries is approximately one year. When the remote control
no longer works well, replace the batteries with new batteries.
1
Open the rear cover on the
remote control by pressing it
and pulling it in the direction
of the arrow.
2
Insert two batteries into the
battery compartment as
indicated.
Use size AA batteries.
3
Push the rear cover in the
direction of the arrow to close
the battery case.
Do not mistake the polarity of the batteries (positive (+) and negative (-)
directions).
Do not mix new batteries and old batteries.
Do not mix different types of batteries.
If a battery has leaked, wipe up the fl uid in the battery compartment and replace
the batteries with new batteries.
■
■
■
■
CAUTION
Page 13

33
JAPANESE ENGLISH FRANÇAIS
Setup location
Position the front panel in the direction of viewing and listening.
If you position the driver unit parallel to the room, sound cancellation may occur due to the
sound being refl ected from the walls. We recommend placing the subwoofer at an angle to
parallel surfaces.
■
•
•
Setting up the subwoofer
Attaching the feet
If the subwoofer will be placed on solid fl ooring, attach the feet to its bottom.
■
Driver unit
Front panel
(Remote control
photoreceptor)
Subwoofer
Foot x4
Advice
When performing this work, lay out
a soft towel or cloth so you do not
scratch the subwoofer or fl oor.
Advice
Place the subwoofer so that the remote control photoreceptor is not exposed to strong
light, such as direct sunlight. (Remote control operations may not be received or there may
be malfunctions.)
Page 14

34
After you complete all of the connections,
confi rm that the POWER switch is off, and
then plug the power plug into the power
outlet.
To power outlet
Power cable
AV amplifi er
Front speaker
output (L)
Center speaker output
Front speaker
output (R)
Surround
output (L)
Surround output (R)
Speaker cable
(sold separately)
TD712zMK2
TD712zMK2
TD725SWMK2
Connecting the subwoofer
Typical connection (when the AV amplifi er has a subwoofer output)
5.1 channel system connection example
Player + AV amplifi er + TD712zMK2 + TD725SWMK2
(The TD510MK2 + TD520SW can be connected in the same manner.)
■
* Cables that are sold separately can be purchased from your local dealer.
If your AV amplifi er has only one subwoofer output channel, connect the
cable to either line-in terminal, or use a splitter cable (sold separately)
and connect the cables to both line-in terminals.
Connect to
either side
To DVD player or other
device output terminal
RCA cable (sold separately)
Page 15

35
JAPANESE ENGLISH FRANÇAIS
Connection with the speaker terminals (when the AV amplifi er has no
subwoofer output)
2.1 channel system connection example
Player + AV amplifi er + TD712zMK2 + TD725SWMK2
(The TD510MK2 + TD520SW can be connected in the same manner.)
■
AV amplifi er
Speaker cable
(sold separately)
To power outlet
Power cable
TD712zMK2
TD725SWMK2
* Cables that are sold separately can be purchased from your local dealer.
Speaker
cable
(sold
separately)
Speaker
cable
(sold
separately)
After you complete all of the connections,
confi rm that the POWER switch is off, and
then plug the power plug into the power
outlet.
Advice
The volume (P.37) and LPF (P.37) can be independently adjusted by using the inputs.
Connection example: Connect a surround system subwoofer output to INPUT 1
Connect a stereo source L/R outputs to INPUT 2
Page 16

36
Mute
You can temporarily turn off the
subwoofer audio.
To return to normal, press the
MUTE button once again.
■
Basic usage (listening to audio)
1
Turn on the power.
2
Select the desired input.
3
Play the audio source.
To adjust the audio quality, see "Adjusting the audio" (P.37).
4
When you are fi nished
listening, set the power to the
standby status.
Rear panel
POWER switch
Remote
control
Remote
control
The indicator for the
selected input turns on
Lit in blue
Flashes white
(VOL/LPF level
indicator)
Front panel
(INPUT)
or
Remote
control
Lit in red
Advice
When using the subwoofer at extremely low volumes, turn the AUTO POWER
switch off to prevent malfunction.
Rear panel
AUTO POWER switch
Power on Standby
Lit in blue
10 minutes
No input signal
Input signal
Lit in orange
Automatically turning the power on and off (auto power)
The subwoofer is capable of automatically turning the power on and off by detecting
the presence of the input signal.
■
Page 17

37
JAPANESE ENGLISH FRANÇAIS
2
Play the audio source.
Set the amplifi er volume to the level you normally listen at.
3
Increase the subwoofer's
volume and balance the
volume with the speakers
being used.
You can also adjust the
volume with the volume
control on the rear panel.
Adjusting the LPF
This function cuts off audio with a frequency higher than the set frequency.
For CDs and similar materials, we recommend adjusting the LPF with the subwoofer, and for
surround audio sources such as Blu-rays, we recommend turning the L.P.F selector switch off
and adjusting the LPF on the player or AV amplifi er.
1
Turn on the L.P.F selector
switch.
■
Adjusting the audio
2
Set the LPF.
You can also adjust the
volume with the L.P.F
control on the rear panel.
If the mid-low range is insuffi cient, set the frequency higher.
(Range: 30 Hz to 150 Hz)
Rear panel
L.P.F selector switch
Turned on
Adjusting the volume
1
Set the volume to "-"
(minimum).
■
Rear panel
Volume control
Turned on
Remote
control
Front panel
(VOL/LPF)
or
Remote
control
Front panel
(VOL/LPF)
or
Page 18

38
Switching the phase polarity
1
Switch the polarity to select
the method where the bass
sounds the richest.
■
Switching bass emphasis (BASS)
You can turn bass emphasis on
and off.
To return to normal, press the
BASS button once again.
■
Remote
control
Positive phase: Turned off
(default setting)
Negative phase: Turned on
ON: Turned on
OFF: Turned off
(default setting)
Front panel
Front panel
or
Remote
control
or
Page 19

39
JAPANESE ENGLISH FRANÇAIS
If the dirt is particularly bad, gently wipe it off with a soft cloth moistened with a diluted
neutral detergent, and then fi nish with a dry cloth.
Do not use paint thinner, benzine, or other solvents.
(This may damage the subwoofer cabinet fi nish.)
•
•
Thinner
Benzine
Care and cleaning
When a problem occurs with the operation of the subwoofer, turn off the POWER switch on the
rear panel, and then turn it back on.
When a problem occurs with the operation of the subwoofer, turn off the POWER switch on the
rear panel, and then turn it back on.
Causes of problems
The subwoofer has been affected by an excessive shock, static electricity, or a power
supply voltage problem due to lightning.
The subwoofer was mistakenly operated.
•
•
If the problem continues to occur, please contact customer service. (P.41)
→
When a problem occurs
Before cleaning the subwoofer, always turn off the power and unplug the power plug
from the power outlet.
There is a risk of electric shock or injury.
■
CAUTION
Page 20

40
TD725SWMK2 TD520SW
Rated output 500 W (when THD: 1%) 250 W (when THD: 1%)
Total harmonic
distortion
0.05%
(at 50 Hz, 1/2 rated output)
Signal-to-noise ratio 95 dB or higher
Playback frequency
response
20 Hz to 150 Hz (-10 dB)
(BASS MODE, LPF 150 Hz)
25 Hz to 150 Hz (-10 dB)
(BASS MODE, LPF 150 Hz)
Input
LINE (stereo), 2 inputs
Speaker Level, 1 input
XLR (stereo), 1 input
* Pin number 2 is HOT.
LINE (stereo), 2 inputs
Speaker Level, 1 input
Input sensitivity LINE 50 mVrms (100 Hz)
Input impedance
During LINE and XLR input
10 kΩ or higher
During Speaker Level input
3 kΩ
During LINE input
10 kΩ or higher
During Speaker Level input
3 kΩ
Output LINE (stereo), 1 output and Speaker Level, 1 output
Power consumption 110 W 65 W
Standby power 0.5 W or less
Drive unit dimensions 25 cm × 2 20 cm × 2
External dimensions
(mm)
W545×H500×D524
(Including protrusions)
W459×H420×D444
(Including protrusions)
Weight (1unit) Approx. 51 kg Approx. 37 kg
* The specifi cations and appearance may change without prior notifi cation due to product
improvements.
Specifi cations
Page 21

41
JAPANESE ENGLISH FRANÇAIS
Customer service for enquiries related to usage, care, and repair of the
product
For UK: Fujitsu Ten (Europe) GmbH, UK Offi ce
For other countries: Please contact the retailer/
distributor of your country.
Tel : +44 (0)20 7328 4499
Fax : +44 (0)20 7624 6384
mailto : info@eclipse-td.co.uk
■
Warranty and customer service
Warranty
Warranty period: One year (two years for
EU Countries) from the date of purchase.
Even during the warranty period, you
may be charged for services. Please be
consulted about the details.
Minimum retention period of
performance parts for repair
Performance parts for repair are parts
required to maintain the performance of the
product.
The minimum retention period of performance
parts for repair for this product is eight years
from the end of production.
■
■
Repairs during the warranty period
The product will be repaired in accordance
with the warranty provisions.
Repairs after the warranty period
elapses
If the product can be made usable through
repairs, it will be repaired for a fee at your
request.
■
■
Check your audio equipment for a long service life!
Have you noticed
any of these
symptoms?
The power cable or plug is unusually hot.
There is a burning smell.
There is a deep cut in the power cable or it has
deformed.
Other problems or a malfunction.
•
•
•
•
Stop using the product
To prevent the product from malfunctioning or causing an accident, turn the POWER
switch off, unplug the power plug from the power outlet, and request an inspection of the
product.
For the likely charge to inspect and repair the product, contact as above.
•
Safety check
Page 22

MEMO
 Loading...