

Eaton Quick Connect Installation Manual
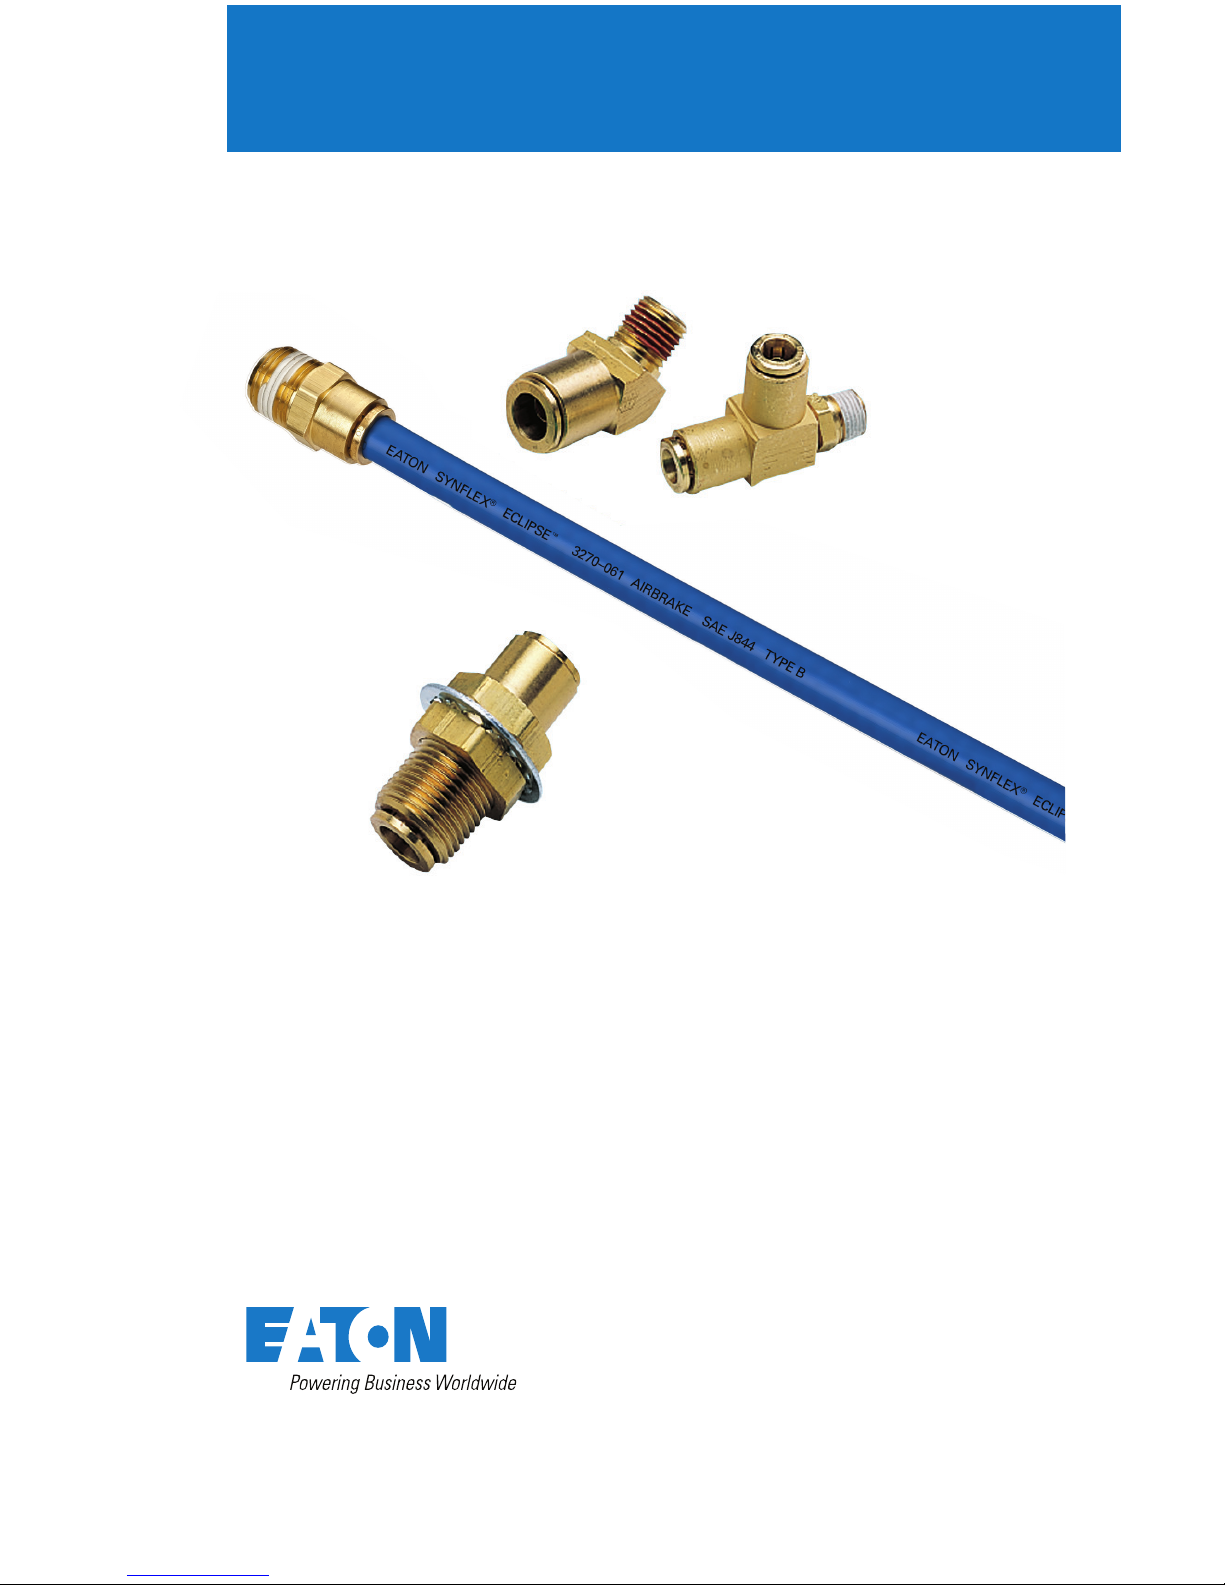
Eaton® Quick Connect® Air Brake
Installation Guide
2
EATON Quick Connect Installation Guide E-BRQC-MR001-E July 2013
3
EATON Quick Connect Installation Guide E-BRQC-MR001-E July 2013
Assembly Procedures
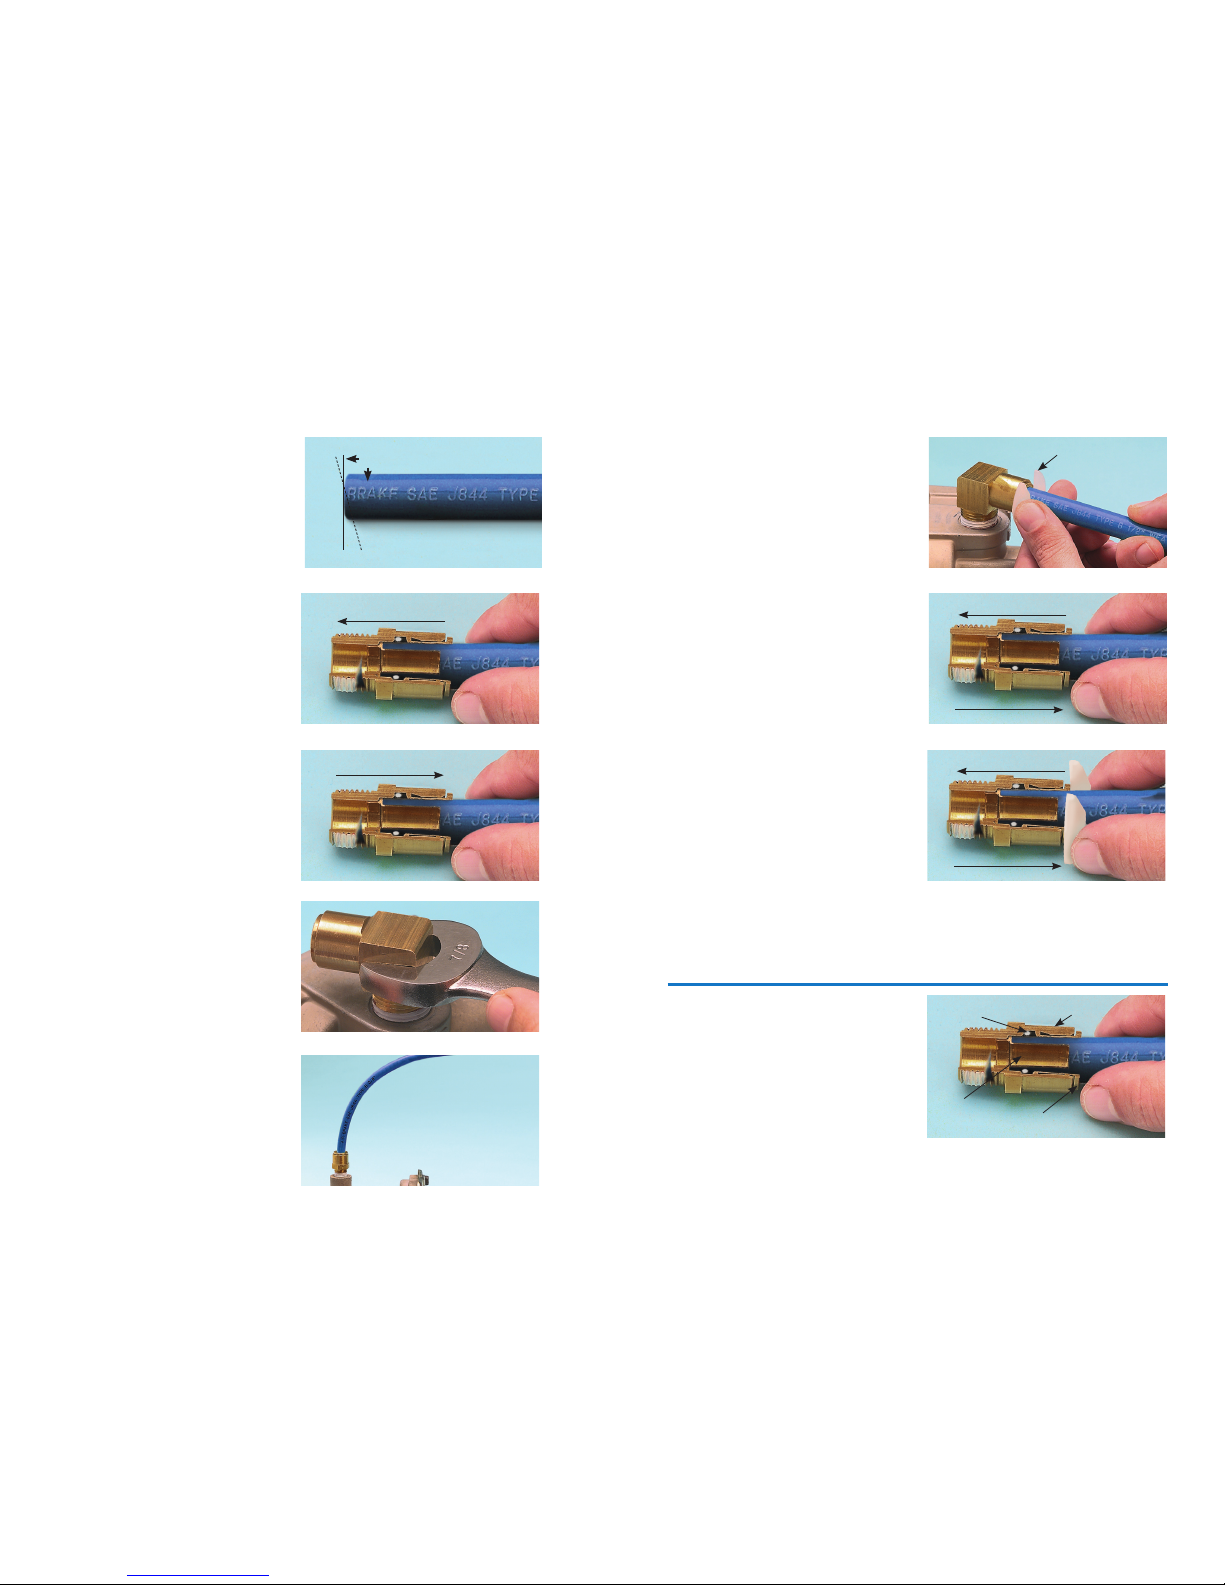
Step 1:
Using a tube cutter, make a square cut
edge (maximum 15˚ cutting angle allowed).
Note:
Dull knives, side-cutters, or other cutting tools
may NOT ensure a good, clean cut. Burrs, oval
tubing, and contamination can damage seals
and other system components.
Tube Insertion
Gentle Tug
90˚
15˚ max.
Collet
Tube Support
O-Ring
Body
Step 5:
Allow the tube ample room for
a gradual bend.
Note:
Severe bends can collapse tubing,
resulting in leaks, line blockage, or
flow restriction.
Step 2:
Insert tubing straight into fitting until
a solid stop is felt. The tubing grip
and seal (on the O-ring) is now
accomplished.
Step 3:
Gently tug on tubing to ensure
tubing is secure.
Parts Reference
Step 4:
Install threaded end of fitting hand
tight and make final adjustment with
wrench on hex or flats of fitting body.
Note:
Never use a wrench near the
tubing entry or collet head of fitting.
Disassembly Procedures
Step 1:
Check to be sure there is no
air pressure.
Step 2:
Depress collet head using fingers
or Weatherhead
®
tube-release tool
to release grip on tubing.
Step 3:
With the collet depressed,
pull the tubing from the fitting.
Tube Release Tool
Keep Collet Depressed
Remove Tube
Keep Collet Depressed
Remove Tube
 Loading...