

Eaton 900, 950B Installation, Operation & Maintenance Manual
Installation, Operation & Maintenance Manual
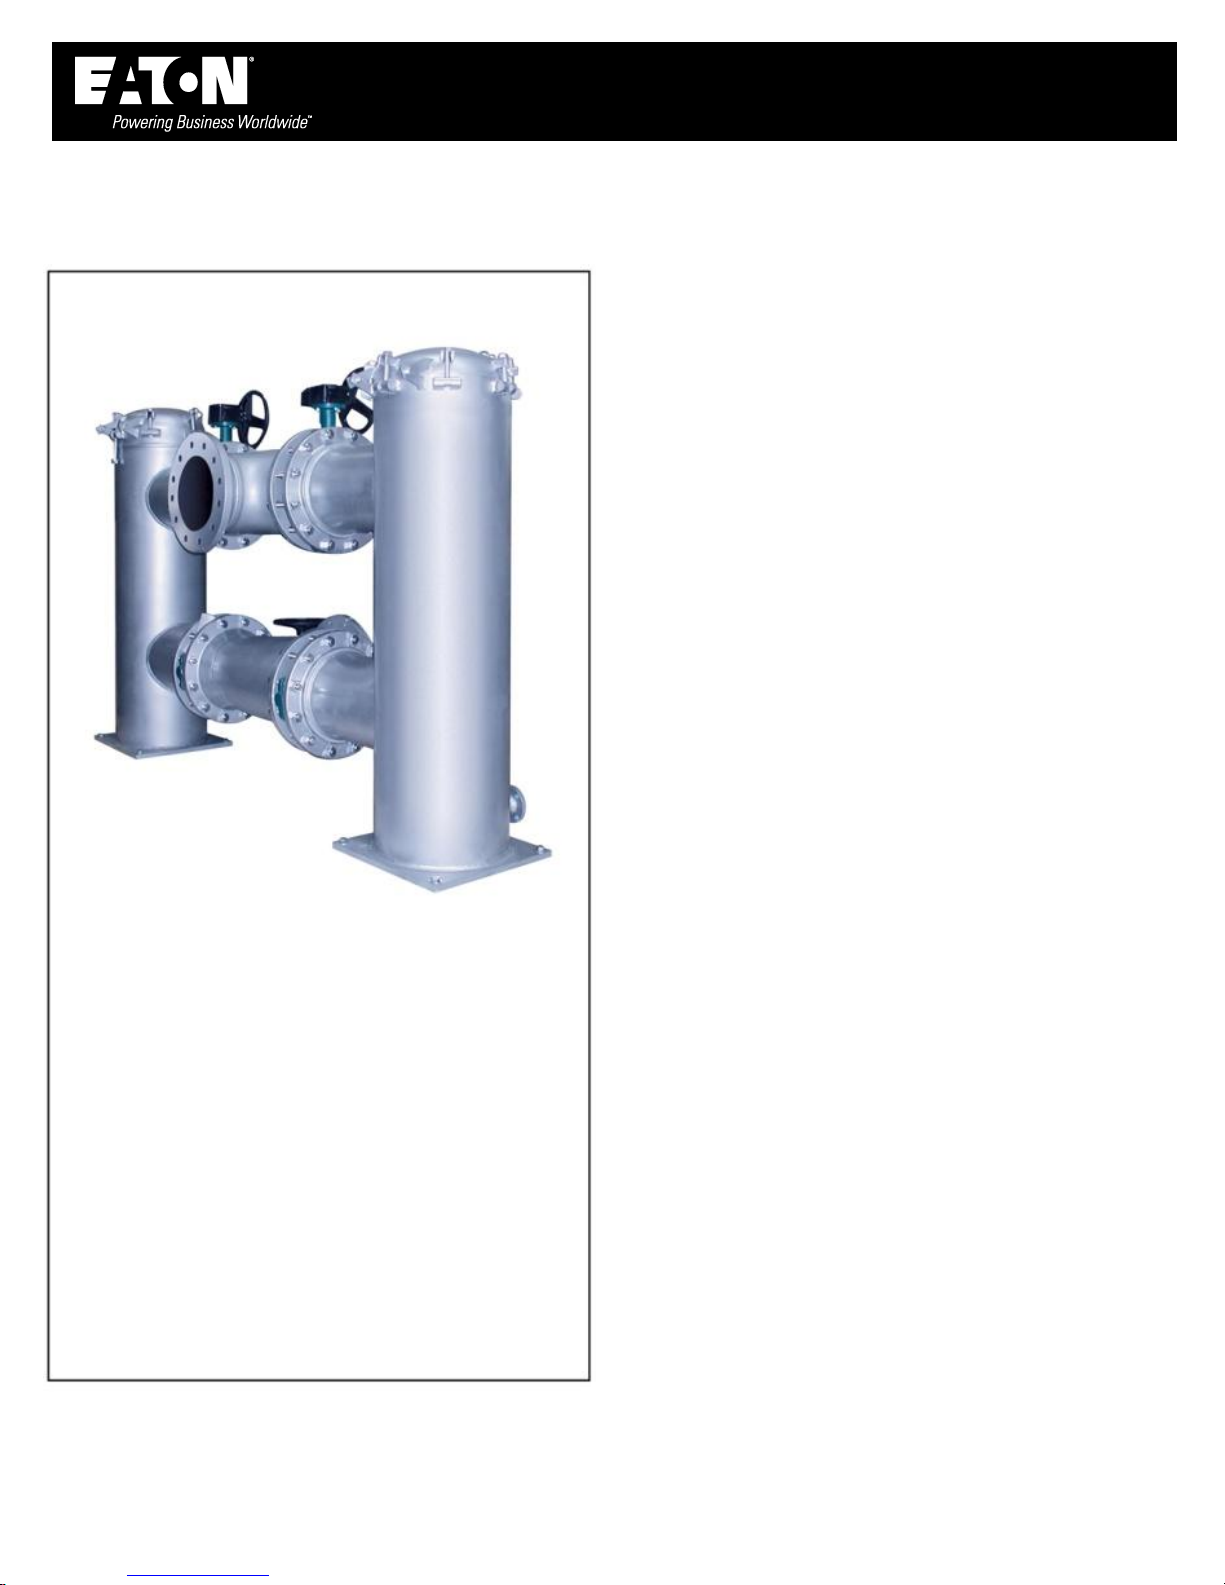
Model 900 & 950B Duplex Basket Strainer
Failure to comply with these instructions could result in bodily injury or property damage.
mdi - Manufacturers Distributor, Inc Phone: (727) 835 - 0665 | Fax: (813) 571 – 0422 Strainers.mdiSales.com | Sales@mdiSales.com
Read all the following information and instructions prior to installing and operating the equipment.
TABLE OF CONTENTS
Introduction ...................................................................... 1
Receiving, Handling, and Inspection ................................. 2
Installation ......................................................................... 2
Start Up ............................................................................. 2
Basket Removal, Cleaning, and Replacement ................... 3
Shut Down ......................................................................... 4
Recommended Spare Parts ............................................... 4
INTRODUCTION
A duplex strainer is a device installed in a pipeline to
remove dirt and other unwanted debris from fluids.
Straining is accomplished by directing the fluid through
sized openings in a basket. Duplex strainers are installed
where fluid flow cannot be interrupted while the basket
is removed for cleaning. Duplex strainers are designed to
withstand the rated pressure of the piping system.
Standard Model 900 and 950B strainers up to and
including 14” pipe sizes ship fully assembled. Secure the
strainer before moving and move as a single unit. Model
900 and 950B strainers sizes 26” and larger are shipped
disassembled. See Sales Drawing for assembly
arrangement
IOM 900 & 950B 06/2011 REV A. Page 1 of 4

Installation, Operation & Maintenance Manual
Model 900 & 950B Duplex Basket Strainer
CAUTION: Before installation, review the
application and chemical compatibility of the
process fluid to all the materials of construction
and components of the strainer.
CAUTION: Strainers are not designed to be
anchor supports in the pipeline. Be sure to
properly support process piping on both sides
of the strainer. Use care to prevent piping
forces and movements from acting on the strainer
connections. Damage may occur to strainer if improperly
connected.
CAUTION: To protect the operator when
draining and venting, the fluid must be piped to
a safe area. This is a requirement for all fluids
and for water with a temperature above 120˚F.
The operator should wear appropriate protective
equipment (goggles, gloves, vest, clothing etc.) consistent with
the process fluid for strainer operation and servicing.
mdi - Manufacturers Distributor, Inc Phone: (727) 835 - 0665 | Fax: (813) 571 – 0422 Strainers.mdiSales.com | Sales@mdiSales.com
RECEIVING, HANDLING, AND INSPECTION
1. After unpacking, inspect strainer for damage incurred
during transit. Report any damage to the carrier
immediately. If the strainer is not to be installed
immediately, store indoors in a clean, dry environment and
replace protective wrap, flange protectors, etc. which may
have been removed during receiving, handling and
inspection.
2. Remove preservative with solvent-dampened cloth.
Exercise care when using solvent and follow solvent
manufacturer’s instructions.
3. Check to be sure the rated pressure and temperature on
the strainer nameplate is not less than the maximum
pressure and temperature of the installation. The rated
pressure shown on the nameplate is the maximum
pressure, including shock, at which the strainer may be
operated.
4. Open the strainer covers (removing the cover nuts, Bolted
Cover; loosening bolt nuts, Quick Opening Cover—see
manufacturer’s instructions.) Lift or swing the cover away
until it is free of basket well.
5. Verify each basket handle has sufficient height that it is
compressed when the cover is bolted closed. Remove
basket and flange/nozzle protectors and check the inside
of the body for any foreign or loose material that could be
carried down stream when fluid is introduced into the
strainer. Remove this material and replace basket.
6. Close and bolt covers (cover nuts & studs, Bolted Cover;
bolt nuts, Quick Opening Cover.) Ensure that the sealing
surfaces are clean. The gasket or O-ring is to be seated
properly before tightening the cover hardware.
INSTALLATION
2. Standard Model 900 strainers up to and including 14” pipe
size ship fully assembled. Ensure the strainer is secured
before moving and move as a single unit. Strainers 16” and
larger are shipped disassembled. See Sales Drawing for
assembly arrangement. Position strainer components in
place and secure with strainer hardware. Use standard
piping practice for assembly.
3. Position the strainer in the pipeline so that the fluid enters
the connection marked “IN” or “INLET.” Be sure sufficient
clearance is provided for easy opening of the covers and
removal of strainer baskets. Refer to the Sales Drawing for
removal clearances. Support the strainer firmly in place.
4. Connect the strainer line flanges to the piping. Be sure to
use the same type flange faces. Do not bolt a raised face
flange to a flat face flange. Be sure flange gaskets are in
place and fasteners are tight. On strainers with other line
connections, use standard piping practice when installing.
5. Pressure gauges near the strainer inlet and outlet are
required to determine differential pressure across the
strainer and cleaning frequency. Pressure gauges are
essential for the safe operation of the strainer.
START UP
1. Remove protective wraps, caps, plugs etc. before installing
the strainer into operation after storage. Be sure to inspect
cover gasket or O-ring for possible damage and replace as
required.
IOM 900 & 950B 06/2011 REV A. Page 2 of 4
 Loading...