

Easy Home Technology EHDS01 User Manual
Specification
EH-DS-01 Door/Window Sensor Installation Guide
Frequency
908.42 / 908.40 / 916.00 MHz
Battery Type
CR123A Battery 1 PCS
Operating Temperature
C to 50 C (32°F - 122°F)
Storage Temperature
C to 60 C (-4°F - 140°F)
Operating Air Range
Up to 148 feet line of sight
Dimension
Device: 94.5 mm x 24.3 mm x 22.4 mm
Magnet: 46 mm x 12.8 mm x 13.3 mm
Introduction
Z-Wave Door/Window sensors are designed to secure the perimeter of the residential premise, and provide the
ability to add various automation services. The Z-Wave Door/Window sensor, which consists of a magnet that
attaches to a door or window, will communicate door events to the home security system. When the magnet is
moved away from the sensor, a signal will be sent to the control panel that communicates the changed state to the
security system. Signals can also be used to activate a chime or convenience lighting based on system settings.
Add (Inclusion) Sensor
For Adding in (Inclusion) a network: Put the Z-Wave Interface Controller into
following its instruction to add EH-DS-01 to your controller. This Door/Window sensor needs to be included
before installation.
“Add (Inclusion)”
mode, and
1.
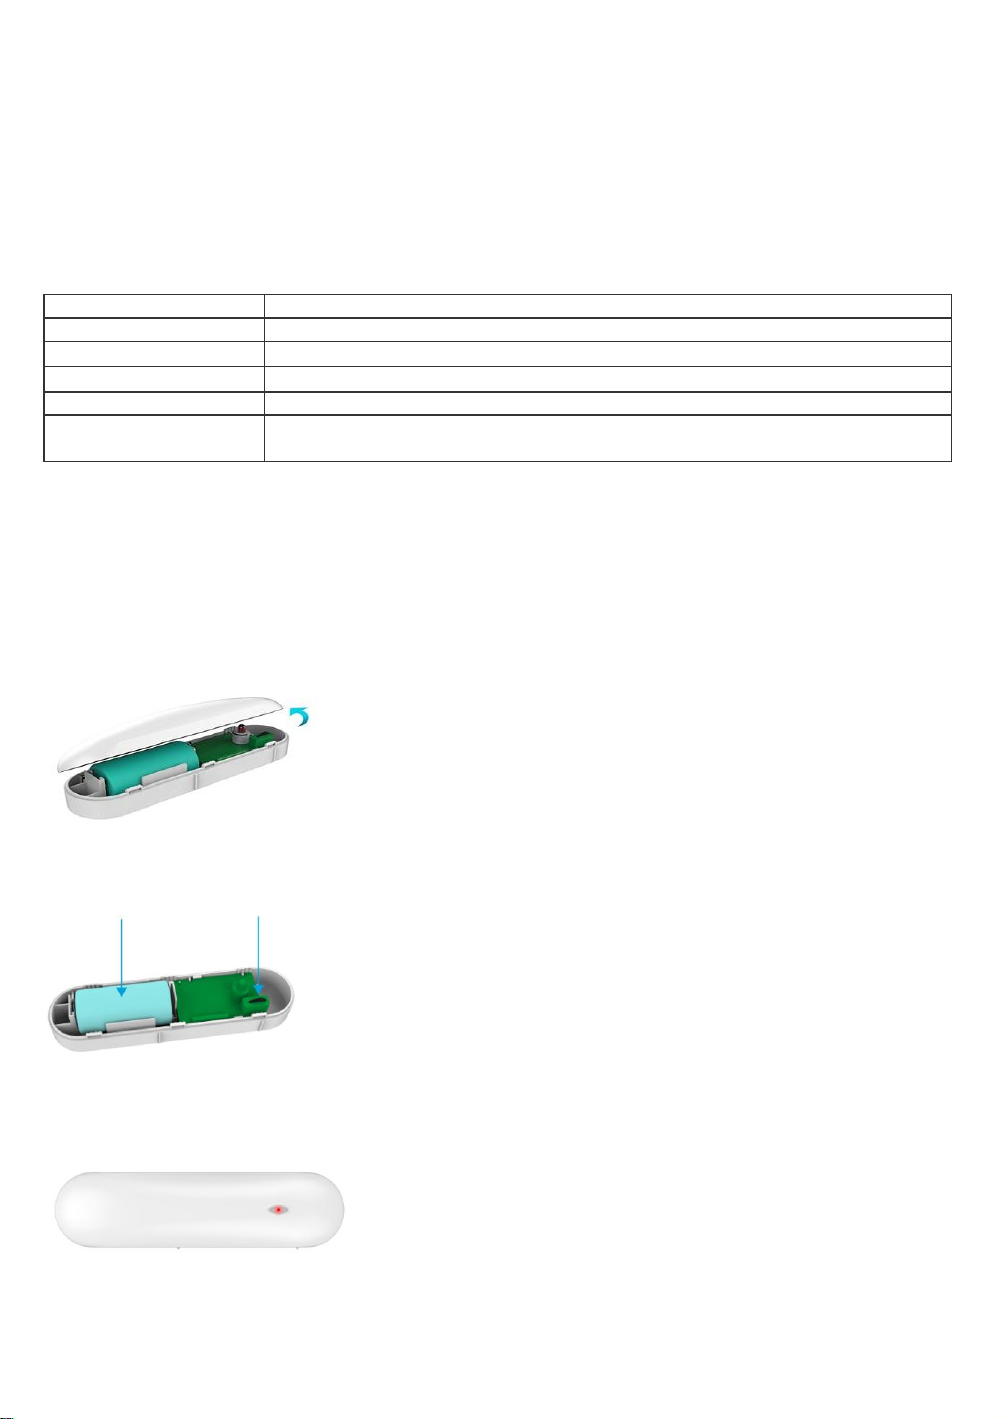
Open the device
. (Figure 1)
Figure 1
2. Pressing the function button three times.
CR123A BatteryFunction Button
3. Red led will blink three times while inclussion the network successful (Figure 2).
Red LED Indictor
Figure 2
Figure 3
4. If inclussion failed, the sensor will go into sleep mode. To wake the sensor again, you
need to use magnet or tamper (Figure 3) to trigger a Adding (Inclusion) process, and then sensor will repeat
steps from 3 to 4.
Remove (Exclusion) Sensor
Inclusion Sensor
For Removing from (Exclusion) a network: Put the Z-Wave Interface Controller into
and following its instruction to delete EH-DS-01 to your Z-Wave controller.
“Remove (Exclusion)”
1. Open the device and pressing the function three timesand enter exclusion mode. (Figure 4).
mode,
Pressing the funcation button
Figure 4
2. If remove (exclusion) successful, go auto Adding procedure.
3. Node ID has been remove.
Factory Default Reset
Installation
Pressing the function button while installing battary.
Note: Use this procedure only in the event that the primary controller is lost.
Installation
Inclusion Sensor
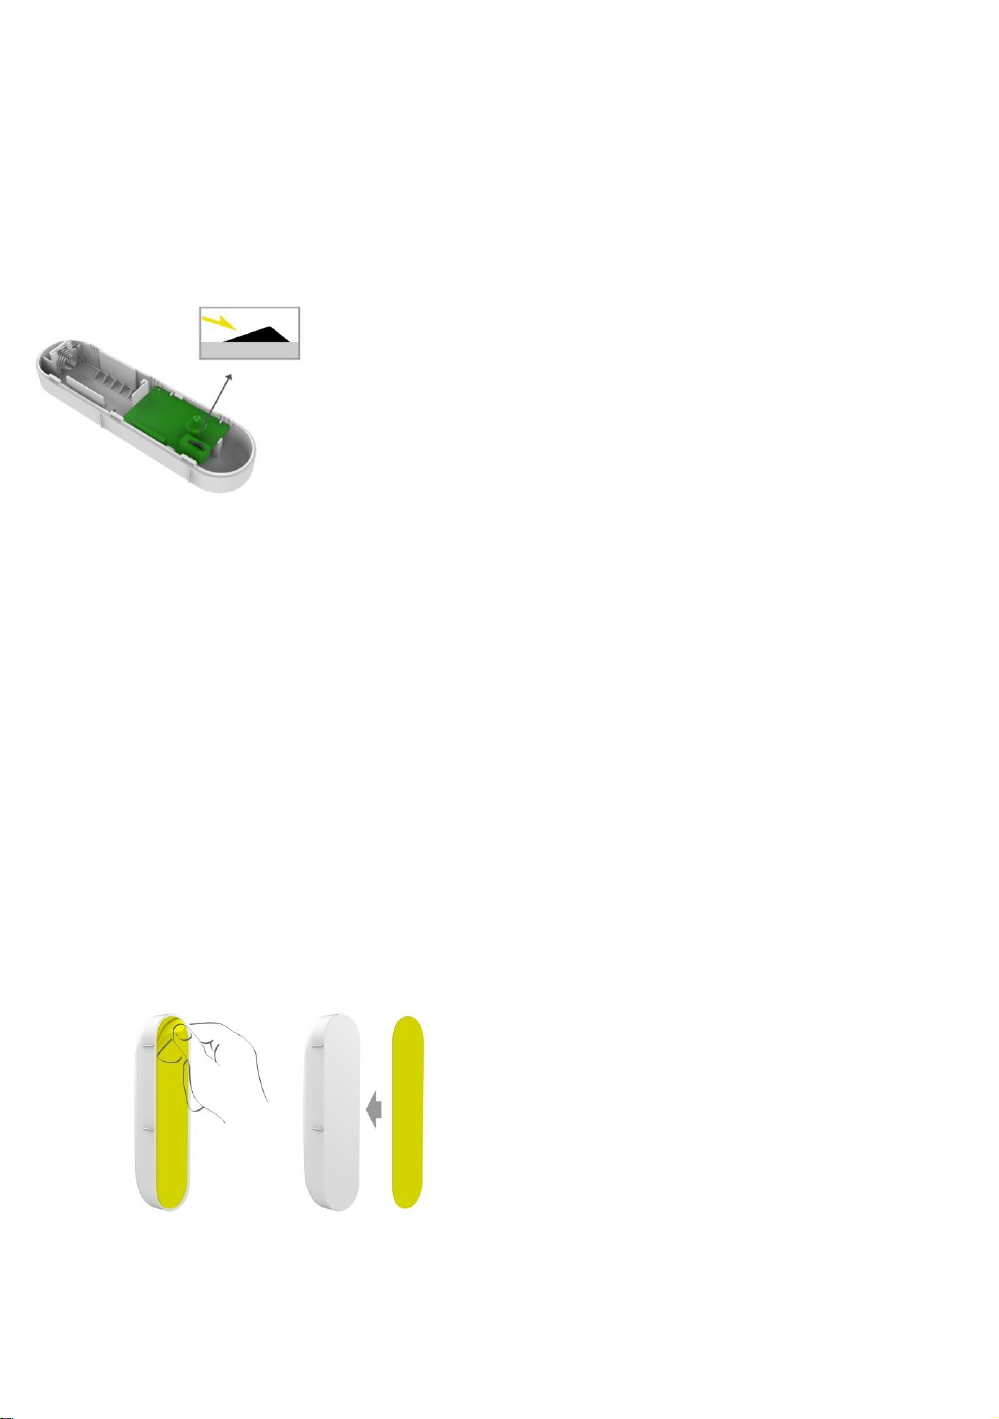
1. Please make sure that the sensor and magnet is located less than 0.7 inch from each other. For optimal
performance, it is highly recommended to install the Door/Window sensor on the fixed frame and the magnet
on the moving part of the door/window. Place the sensor near the top of the door that close to the opening
edge of the door. This is the mounting location for the sensor.
2. Use the provided double-sided tape on the sensor. Attach the sensor to the door. Press firmly and hold in place
for a few seconds (Figure 5). Secure it with silicone if needed.
Adhesive application surface: Acrylic, Glass
Aluminum and Stainless
steel…etc.
Figure 5
3. Use provided double-sided tape on the magnet. Make sure the alignment of both sensor and magnet alignment
mark are facing each other (Figure 6). Press firmly and hold in place for a few seconds. Secure it with
silicone if needed.
 Loading...