

Page 1

SF-SH04 Spot –1200W
〔220V 50/60HZ 〕
(18CH)
Moving Head Light
USER MANUAL
Page 2

1
○ Product instruction
Thank you for choosing our professional 1200W moving head
★ This user guide includes very important information to guarantee the safe and proper use of the light,
please read carefully and operate according to the instruction.
★ This moving head light applied advanced design and processing technique, adopted new type high
intensity high temperature resistant engineering injected plastics. With modern, streamlined and
beautiful outlook. The product used super-translucent lens and HMI1200W lamp, being able to
create accurate, bright and sharp beam, with 8 rotating gobos and 8 colors stream effect plus
rainbow effect, performing the completely new lighting effect; LED display can control DMX code
and function selection, built-in disturbance resistant circuit and over-heat protection; perfect and
compact construction, scan angle pan 540 degree and tilt 270 degree; high speed shutter flash
uninterruptedly 1-11 times per second, with console reset and self-correction function, especially
suitable for TV station, stage, disco and nightclub.
★ 1200W Moving Head light is a high-tech product with perfect function. It combines mechanism,
electron, and optics and adopted international standard DMX 512 signal.
○ Technology Parameter
● Voltage: AC220V/240V
● Frequency: 50-60HZ
● Power: 1500W (HMI1200 lamp)
● Channel: 18channels
● Color Temperature:7000K
● Applied modern ABS engineer plastic housing
● Digital display can be reversed 180 degree, suitable for different installation
● 16Bit super smooth scan, pan 540 °tilt 270 °, 8Bit or16Bit selectable, scanning speed adjustable
● The light adopted halls location release precise location and super quiet reset, overcomes noise
during reset.
● With advanced photo electricity reset system, when disturbed incidentally, the light can reset
automatically, that is with scanning location memory function.
● Two blades strobe, flash speed can reach 15Hz
● Motorized focus, super smooth focus adjustment
● 5%--100% linear dimmer reset via controller
● Can release reset via controller
● With built-in program, can set up program via digital display and make the light run automatically
● Built-in microphone, music activated
● can release master and slave control
● Directional: reverse or obverse direction of x axis and y axis selectable
● Double gobo wheel: 9 self rotating gobo + blank + shake
● Double color wheel: 9 co lour + white, with streamline effect
● With 3 facet prism, slant prism, 8-row lens, pillar prism
● Size: 495 x 400x 770mm
● Net Weight: 50Kg
Page 3
2
○ Safety instruction
!Please consult eligible persons before maintenance
! Please make sure the power supply has been cut off during installation, maintenance, and
transportation.
!Please do not use power supply and lamps of different specifications.
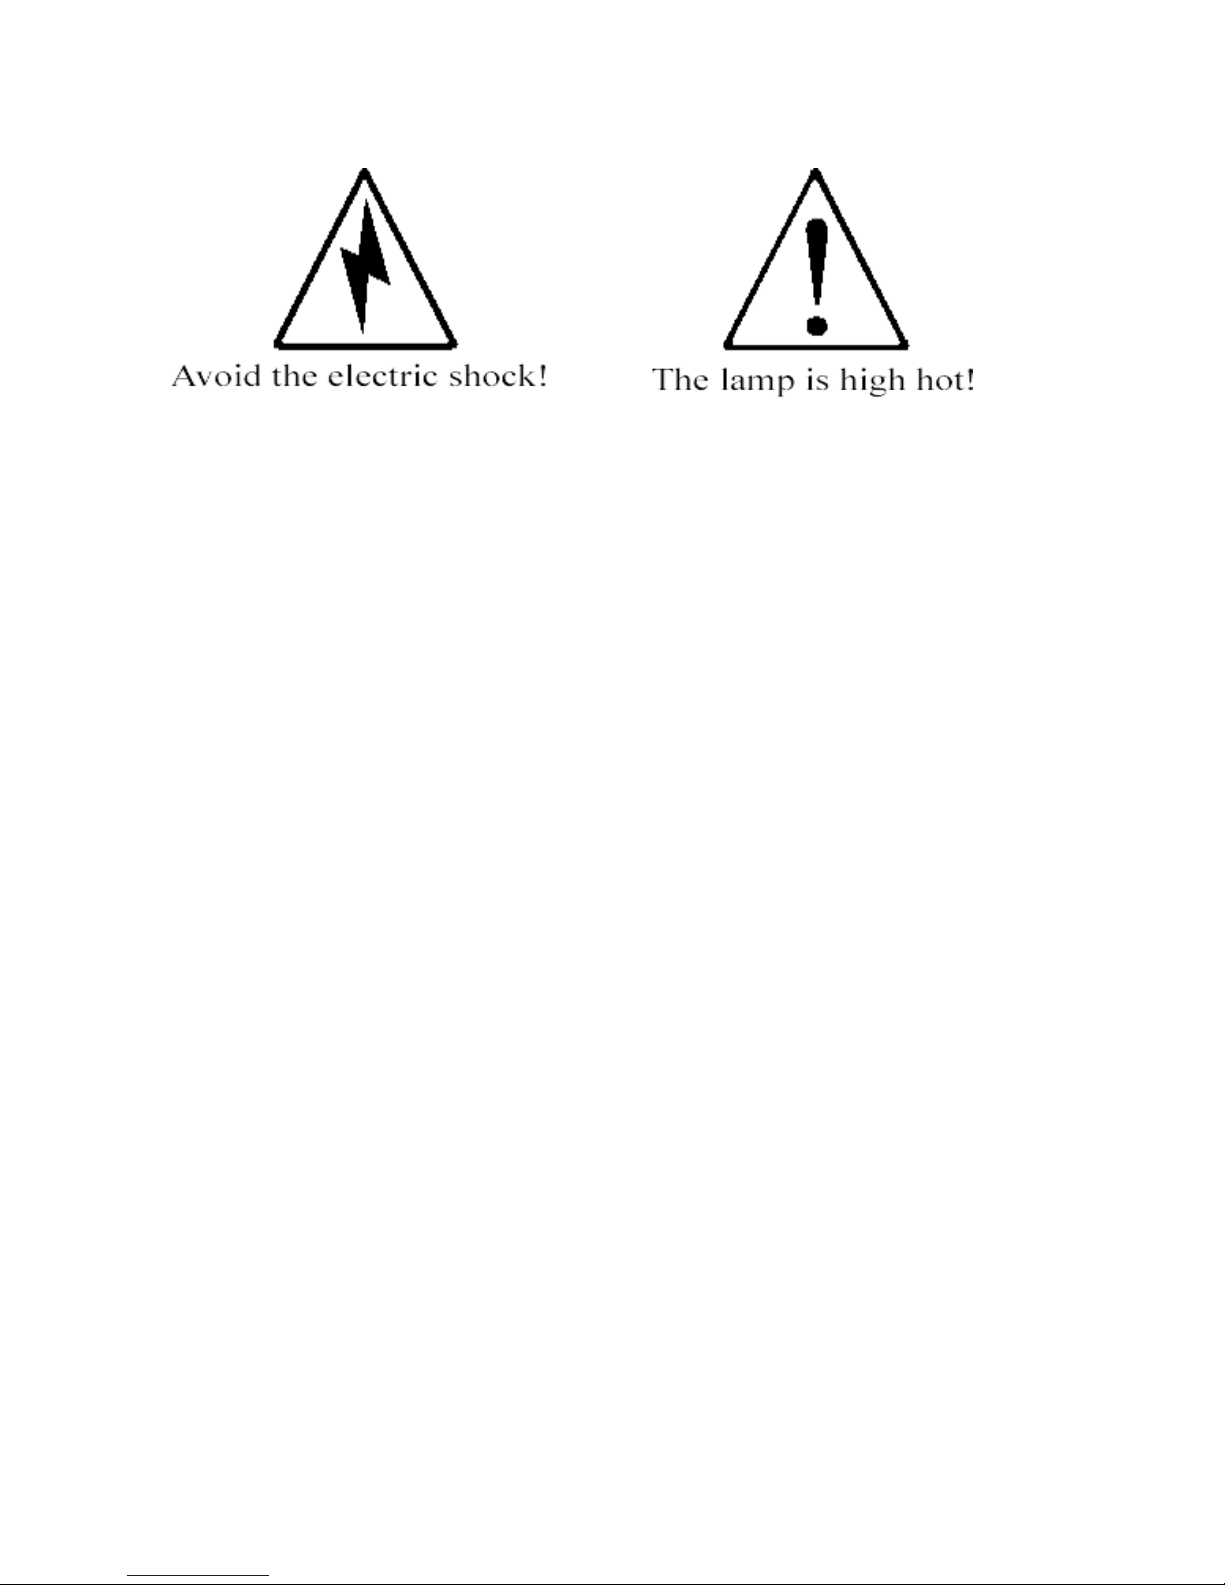
! During operation, the high temperature the light creates might lead to danger, therefore please don’t
put any inflammable and explosive things around the light, and please don’t touch the light body
during operation.
!Make sure there is more than 1 meter between the light and the irradiated objects.
!In order to avoid harming your eyes, please do not look at the light beam directly
○ Packing List
● 1200 light body (1PCS)
● The user manual (1PCS)
○ Installation Instruction
● The product is suitable for indoor use only; operation temperature is below 35 degree.
● The installation, operation and maintenance persons must get familiar with the light performance
before operation, so that to avoid damage to the machine.
● Please check if there is any damage during transportation before first usage.
● Before changing the bulb, please make sure the electric power is cut off and the lamp is cooled off.
(Bulb temperature can reach above 200 degree.)
● Push the maintenance cover, open the small bulb lid, encase the bulb, please note to put the air bulb
side up, and please don’t touch the bulb by hand.
● Cover the small lid.
● Install the product in well ventilated places and please note to check whether the fan and the fan net
are unimpeded or not.
● Connect the bicolor line (yellow and green) to the ground.
● 1200 moving head uses 15A/250V fuse, please use the fuse of same specification.
○ Operation guide
● 1200 use the Digital display to control DMX address set-up.
● 1200 Moving Head adopts international standard DMX-512 signal, multiple lights can be
controlled by the consol via address code setting (the details are listed in Appendix 3)
Page 4

3
● The original address code set-up before the products leave the factory:
patterns and colors streamline, X,Y axis is the positive direction
● Use the XLR-XLR cable from the signal output port of the consol to connect the signal input port of
the first light, connect the signal output port of the first light with the signal input port of the second
light, and so on, until all lights are connected. Then connect the terminal plug with the signal output port
of the last light. (Figure Appendix 1)
Warning: Please remember the signal output of the last light should be connected with the terminal plug.
This plug add a resistance around 120Ω between 2nd and 3rd pin of CANON plug. Use this plug could
effectively avoid the signal reflection created during DMX512 signal transmission.
● 1200 Moving Head Light uses 3 core XLR outlet(plug). A transfer line from 5 core to 3 core will be
needed if the controller you use is 5 core outlet (plug). (Please refer to Appendix 2)
● HMI 1200W lamp is discharge lamp, it is fully illuminated about 5-10 minutes after power is on. In
the meantime, please restart about 10 minutes after power is off.
● When power is on, the equipment will undertake self-examination, and can undertake operation
after the self-examination is finished.
● Please don’t shake the equipment during operation.
● Please do not use the light continuously for over 8 hours.
○ Control Channel
1200Moving Head Light adopts international standard DMX512 signal. There are 10 control channels
and the detailed information of control is as follow:
● Table of 18 control channels
Channel
0 – 255
Control content
1
Strobe
0 – 255
Shutter open/strobe slow~fast 10-10times/second
2
Vector mode
0 – 255
….. 3 PAN
0 – 255
0 – 255, pan 0-5400 scan
4
Tilt
0 - 255
0 – 255, tilt 0-2700 scan
5
X, Y speed adjustment
0 – 255
0 – 255 adjust speed from slow to fast
6
Color Wheel A
0 - 255
0 – 255, tilt 0-2700 scan
7
Color Wheel B
0 – 255
Page 5

4
8
Gobo
0 – 255
4 gobo + white
9
Gobo Rotation
0 – 255
4 gobo double directions rotation and gobo rotation
10
Static Gobo
0 – 255
……
11
Focus Zoom
0 – 255
Electric linear focus 11-24 degree
12
Prism
0 – 255
Prism on
13
Prism rotation
0 – 255
Prism rotating
14
Iris
0 – 255
1 adjustable electric iris, 10-100% adjust the big or
small of the beam
15
Effect Frost
0 – 255
……
16
Reset
0 – 255
Reset fixture
17
Pan Fine
0 – 255
Pan, rotation 1.8 degree
18
Tilt Fine
0 – 255
Tilt, rotation 1.8 degree
Appendix2:
The transformation between 3 core and 5 core XLR control outlet (plug)
The following figure is the connecting method of 3 core and 5 core XLR control outlet (plug)
3: 3 :
3:
5:
3:
5:
3 core plug:
3 core plug:
5 core plug:
3 core pl ug:
5 core pl ug:
3 core pl ug:
DMX512 signal circuit:
Pin 1 = screen Pin 2 = signal- Pin 3 = signal+
The Instruction Manual for Computer Lightings
The menu of control display boards is designed for various types of computer lights, equipped with
multiple functions of control mode, and controlled easily. For some special functions which computer
lights don’t have, the corresponding menu option set is invalid.
一、 DMX512(Address Value Setting)
This function let you to change the address value of the device.
1. Press the “ESC” button once or several time, until "A.001." appear. Then press the "up" or
"down" keys to browse other menus.
2. Press "enter" key, the letter “A” crush out; Use "up" or "down" keys to select the address value
Page 6

5
"001--512"; Press “ENTER” to confirm exit, press “ESC” to abandon exit.
3. To accept the mainframe synchronous (from the models), you have to set the address value as
"001".
4. In the address value situations, if you install DMX controller without connecting, the display
will twinkle; if you install connecting DMX controller, the display will not twinkle; but the
signal light will twinkle ,only the signal is exit.
二、 DN. Pr. (DMX Pre-Setting)
This function let you to choose different operating modes.
1. Press the "up" or "down" keys to browse other menus.
2. Press “ENTER” to enter, then press “UP” or “DOWN” and choose “nod.1” or “nod.2”,then
press “enter” to save and exit or press “ESC” to exit directly.
Nod.1: [mode 1] the normal channel value controlling
Nod.2: [mode 1] the fewer channel value controlling
3. To accept the mainframe synchronous (from the models), you have to pre-set the DMX as
“nod.1”.
三、 Testing Procedures
This function allows you to take inner demonstration procedures without external connector. This setting
will be kept up, If you don’t exit the testing procedure, you will automatically enter the testing procedure,
once you start up it every time.
Press “UP” or “DOWN” keys to browse other menus, press “ENTER” to enter.
1. nod. 1 [testing mode 1]
Press “ UP” or “DOWN” to select other modes, press “ ENTER” to enter, showing “RUN”
testing work. If you need to exit, please press “ ESC”.
2. nAst: [mainframe controlling]
This function allows you to test directly, which don’t require mainframe to send DMX synchronous
signal to deputy plane.
Press “UP” or “DOWN” to select other modes, press “ENTER” to enter, appear “ON” as mainframe
sending out signal, the DMX signal light on. Appear “OFF” as mainframe don’t sending out signal, the
DMX signal light crush out, press “ ENTER” to save and exit, press “ESC” to exit directly. After setting
“ON”, you have to cut off external DMX controller, which don’t allow two or more mainframes with
same setting in the same connecting road.
四、 Audi [ Sound- controlled Stimulating ]
This function allows you to use sound stimulated testing prosecutor.
1. Press “ UP” or “DOWN” to browse other menus.
2. Press “ ENTER” to enter, then press “UP” or “DOWN” and select “ON” or
“OFF” showing whether using sound stimulating or not while testing.. “ON”
shows to use sound controlling, “OFF” shows not to use sound controlling,
controlled automatically in the testing mode. After setting “ON”, the audio singal
light will twinkle together with the music in the testing procedure.
五、r.Pan. [ Pan reverse in horizontal ]
This function allows you to reverse in horizontal.
Press “ENTER” to enter, use “UP” or “DOWN”, if you need to reverse, please select “ON”; if
Page 7

6
you don’t need to reverse, please select “ OFF”, press “ENTER” to save and exit, press “ESC”
to exit directly.
六、r.tilt. [tilt reverse in vertical]
This function allows you to reverse in vertical.
Press “ ENTER” to enter, use “UP” or “DOWN”, if you need to reverse, please select “ON”; if you
don’t need to reverse, please select “ OFF”, press “ENTER” to save and exit, press “ESC” to exit
directly.
七、rset [device replacement]
This function allows you to restart up device to come back to original standard setting. Press
“ENTER” to confirm.
Esc
Down
Up
Enter
 Loading...