

Page 1
INSTALLATION AND OPERATING INSTRUCTIONS
2005/05
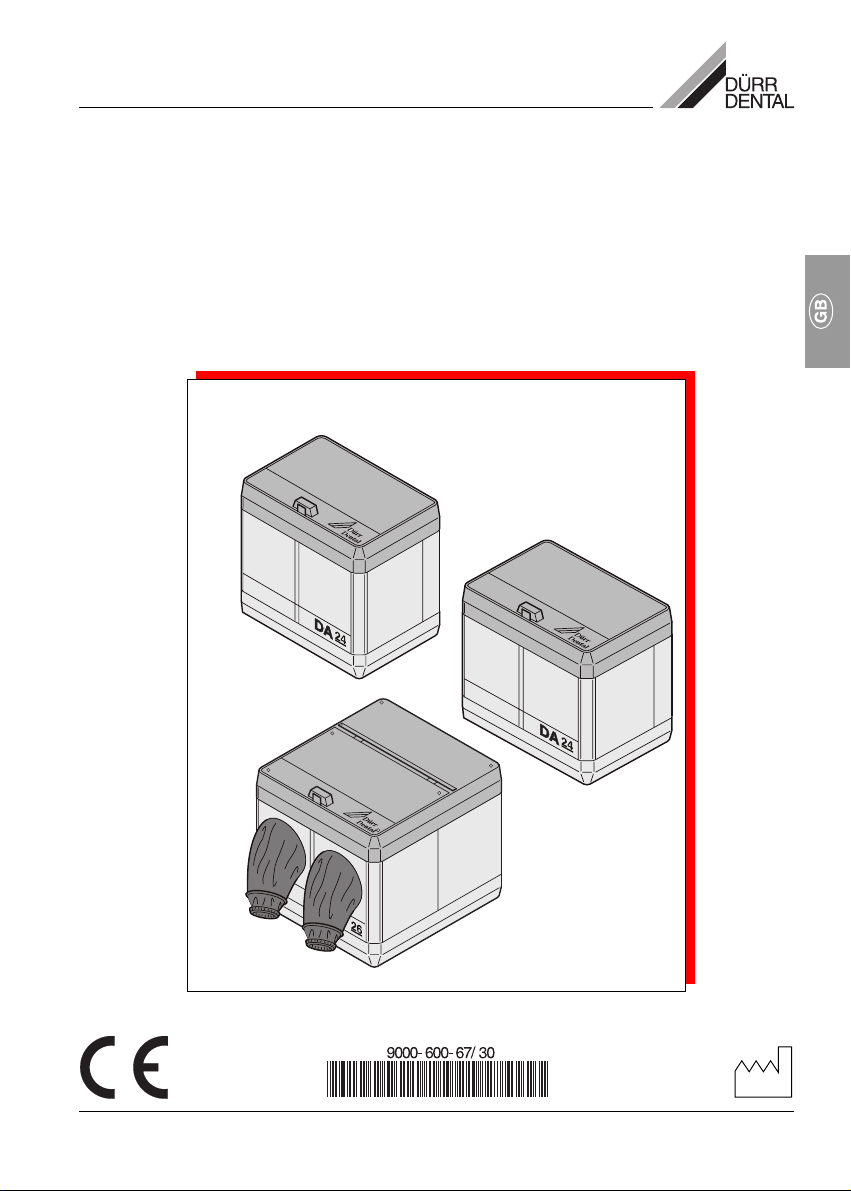
DÜRR DAYLIGHT LOADER
DL 24, DL 26, DA 24
Page 2

2
Page 3
CONTENTS
Important Information
1. Notes......................................................... 4
1.1 Conformity ......................................... 4
1.2 General Notes.................................... 4
1.3 General Safety Notes ........................ 4
1.4 Warning Information and Symbols .... 5
2. Product information ................................ 6
2.1 Use for the Intended Purpose ........... 6
2.2 Use other than that for the
intended purpose .............................. 6
2.3 Product Description ...........................6
3. Delivery Contents .................................... 6
4. Technical Data ......................................... 6
4.1 Measurements ................................... 6
Installation
5. Sleeve Attachment ..................................8
5.1 Mounting adjustable feet ...................8
5.2 Installation note ..................................9
5.3 Attaching seal ....................................9
Use
6. FilmProcessing ...................................... 10
7. Film Storage ........................................... 10
3
Page 4

IMPORTANT INFORMATION
1. NOTES
1.1 Conformity
This product was tested according to the
guidelines as laid down in 93/42/EWG of the
European Union. This product has been
shown to conform to all the fundamental re-
quirements as per these guidelines.
1.2 General Notes
• The installation and operating instructions
are part of the appliance. They should
always be at hand near the unit. Correct
observation of these instructions is a
prerequisite for correct usage and handling
of the appliance. New colleagues should be
made aware of the contents.
These instructions should be handed over to
any subsequent owner or user of the
appliance.
• The safety of operators and trouble-free
operation of the appliance can only be
guaranteed when original parts are used.
Furthermore, only parts as listed in the
technical documentation or parts explicitly
approved by Dürr Dental may be used.
Dürr Dental cannot guarantee either troublefree operation or functional safety where
parts or products from other manufacturers
are used. No claims for compensation of any
kind will be accepted, where damage
results from the use of parts or products
from other manufacturers.
• Dürr Dental does not accept responsibility
for the safety, reliability and function where
installation, resetting, alterations, additions
or repairs have not been carried out by
either Dürr Dental or by a responsible party
authorized by Dürr Dental, and where the
appliance has not been used in accordance
with the operating instructions.
• The installation and operating instructions
are designed for this appliance and conform
to the techno-logical standard valid at the
time the appliance was first used. All
switches, processes, trade marks, software
programs and appliances named in this
document are registered names.
• Copying of all or part of the technical
documentation is subject to the prior
approval of Dürr Dental.
1.3 General Safety Notes
This appliance has been so designed and
constructed by Dürr Dental that virtually no
possible danger can arise provided it is installed and operated according to the instructions. However, in order to avoid any possible
damage or injury we feel obliged to point out
the following safety measures.
•When operating this appliance observe all
local and national rules and regulations!
Converting or altering this appliance in any
way is not permitted. Dürr Dental cannot
provide any guarantee or admit liability
where any modifications have been carried
out. In the interests of ensuring problem-free
running the owner and operator are
responsible for observing all rules and
regulations.
• Retain all packing material in case the
device must be returned to the
manufacturers. Take care that it does not fall
into the hands of children. Only the original
packing guarantees optimal safety of the
appliance during transport. Should it be
necessary to return the product to the
manufacturer during the guarantee period,
Dürr Dental will not accept claims for
damage arising from using incorrect
packing materials!
• This product is a medical technical
appliance and may only be used by those
persons whose training and/or experience
guarantees correct usage.
• Before each use of the appliance the
operator should check both the safety and
that it is in fully working order.
• The operator must be fully aware of how to
use the appliance correctly.
4
Page 5

• This product is not suitable for use in areas
of medical rooms where there is the danger
of explosion. Examples of unsuitable
operating rooms are those where
combustible anesthetics, skin-cleaning
agents, oxygen or skin disinfectant materials
are present. The appliance is not to be used
in rooms with combustible-inducing
atmospheres.
1.4 Warning Information and Symbols
In the Installation and Operating Instructions
use is made of the following terms or symbols
to denote information of special importance.
Information and/or mandatory
regulations or prohibitions for the
prevention of personal injury or
substantial property damage
Special information regarding the
economical use of the equipment and
other information
Observe Installation and Operating
Instructions!
For the protection of both staff and
patients, protective gloves must be
worn when using X-ray processors
5
Page 6

2. PRODUCT INFORMATION
2.1 Use for the Intended Purpose
Dürr Dental daylight loaders DL 24, DL 26
and daylight attachment DA 24, are only
designed to be used in conjunction with the Xray processors XR24 etc.
The daylight loaders DL 24 and DL 26 are
attached where no darkroom is present.
The daylight attachment DA 24 can be
integrated where a darkroom already exists;
the darkroom can be more rapidly exited after
introduction of the X-ray film into the processor.
2.2 Use other than that for the
1
intended purpose
Any other use or use beyond what is specified is
deemed to be not for the intended purpose.
The manufacturer accepts no liability for
damage resulting therefrom. All risk is borne
solely by the user.
2.3 Product Description
DL 24 and DL 26 allow the sleeves to be used
as preferred, i.e. from in front or from the side,
as illustrated in figs. 1-2.
Daylight attachment DA 24 does not have
sleeves.
3. DELIVERY CONTENTS
2
DL24 (with red filter pane) ........... 1700-910-00
for intra- and extra-oral dental films
or
DL26 (with red filter pane) ........... 1700-920-00
e.g. for 24x30 films in cassette holder
or
DA24 (without red filter pane) ..... 1700-930-00
without sleeves
4. TECHNICAL DATA
4.1 Measurements
DL24 W = 28cm, L = 43cm, H = 38cm
DL26 W = 43cm, L = 43cm, H = 38cm
DA24 W = 28cm, L = 43cm, H = 38cm
3
6
Page 7

7
Page 8

4
INSTALLATION
5. SLEEVE ATTACHMENT
1
The side panels with the sleeves (2) can be
mounted as desired
• Remove screws from cover
DL24: 4 screws (4)
3
DL26: 6 screws (4)
2
• Remove lid (1) of daylight loader
• The side panels with the sleeves (2) are
lifted vertically and exchanged with the
4
5
appropriate side panel (3) as preferred
5.1 Mounting adjustable feet
• Attach daylight loader DL24/DL26 or
daylight attachment DA24 in place.
• Place the threaded sleeve (5) as supplied
into the daylight loader or daylight
attachment:
for DL 26 in the two central inside sockets,
for DL 24 in the two outside sockets.
• Place the threaded sleeve (5) with the
threaded flanges to the bottom onto the
adjustable foot (6) and rotate approx. 3
times.
The sleeve should not be screwed
onto the foot too far, otherwise the
sleeve cannot be placed properly
into the daylight loader or daylight
attachment.
• Place the sleeve together with foot into the
molding of the daylight loader or daylight
attachment. See Fig 5.
6
5
6
8
Page 9

5.2 Installation note
Fix the daylight loader or daylight attachment
to the X-ray processor XR24 using the 4 quicklock screws (7) at the back of the processor.
Turn the quick-lock screws clockwise until
they click in place!
7
7
Place the cassette holder (8) right or left on
the floor of the daylight loader as desired.
8
8
5.3 Attaching seal
After installation of the daylight loader the seal
must be placed in position:
9
• Open the cover of the daylight loader.
• Place the seal (10) of the film feed (9) in
position on the X-ray processor. The side
with moldings should be to the bottom.
In order to avoid faulty exposures
press the seal firmly in place.
After successful installation of the
daylight loader test that it totally
10
excludes all light.
9
9
Page 10

USE
11
6. FILMPROCESSING
During processing of thin layer
(Extraoral) films, lid (11) must be
completely closed otherwise films
will be pre-exposed
7. FILM STORAGE
10
11
The film depot (13) can be used to store a
maximum of 10 extra-oral films.
For the protection of both staff and
patients, protective gloves must be
worn when using X-ray processors.
When storing film in the film depot (13) the
following must be observed:
12
13
Use up all films once a pack has
been opened!
This prevents films from being
stored for too long and avoids the
consequent grain effect on such
film material.
• For films in the formats 12 x 30, 13 x 18,
15 x 30 hang the film holder (12) in the film
depot (13).
Place the film material in the film holder (12)
• For films in the format 24 x 30 or 24 x 18 the
film holder is not required.
Place the film material in the film depot (13);
24 x 18 films should be placed vertically in
position
Close the lid of the film depot (13)
after every removal of a film;
otherwise there is the danger of a
double exposure.
10
 Loading...