

Page 1
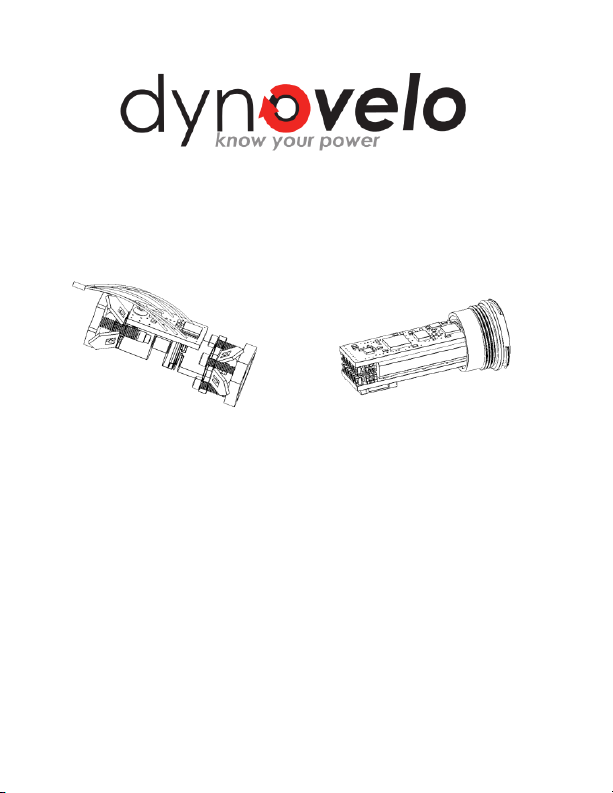
Quick Start Guide
What’s included:
a
Dyno Sensor Module Dyno Electronics Module
Long Handle Allen Key Quick Start Guide
What you will need:
Micro B USB to Type A USB Internet Connection
Dyno Velo www.dynovelo.com 2013
Page 2

Warning:
To reduce the risk of injury to persons and damage to the Dyno:
• Do not submerge in water.
• If charging, do not reach for a unit that has fallen into water
or other liquid.
• Use the Dyno only for its intended use.
• If the unit is damaged do not attempt to charge the battery.
Battery Warning and Environmental Notice:
If these guidelines are not followed, the internal lithium ion
battery may experience a shortened life span or may present
risk of damage to the device or personal injury. Dispose of
spent or damaged battery according to local laws and
regulations.
Do not use sharp objects to remove the battery.
Keep the battery away from children.
Do not disassemble, puncture, or damage the battery.
Do not expose unit to temperatures greater than 130F.
If using external battery charger, only use the Dyno accessory
approved for your product.
Only replace the battery with the correct replacement
battery.
Limited Warranty:
See www.dynovelo.com for warranty and on how to obtain
warranty support.
Page 3

Quick Start:
The Dyno power meter will be fully calibrated to the crankset
you purchased. You need to install your crankset in your bike
and you’re almost ready to go. Follow the following steps to
start riding with power.
1. Install the Dyno Calibration Wizard which can be found at
www.dynovelo.com/downloads. You will need the calibration
wizard in order to unlock the Dyno power meter. The Dyno is
locked in order to keep the unit from transmitting during
shipment.
2. Connect a micro USB cable to the Dyno and your PC. Your PC
will recognize a new device and install drivers automatically.
3. Launch the Dyno Calibration Wizard. The wizard will
recognize your Dyno and automatically unlock it.
4. Leave the Dyno connected to your PC and let it fully charge
the battery *. The red light on the Dyno Electronics Module will
shut off once charging has completed. That’s it! You’re ready to
ride with power.
*An external AC-DC USB adapter can be used to charge the
battery. Please following recommendations at
dynovelo.com/faq
Please feel free to drop us a line at dynovelo.com.
Dyno Velo www.dynovelo.com 2013
Page 4

FCC & Industry Canada Statement of Compliance:
This device complies with part 15 of FCC Rules and RSS-210 of Industry
Canada. Operation is subjected to the following two conditions: (1) This
device may not cause harmful interference, and (2) This device must
accept any interference received, including interference that may cause
undesired operation. The term “IC:” before the radio certification
number only signifies that Industry Canada technical specifications
were met.
Le présent appareil est conforme aux CNR d'Industrie Canada
applicables aux appareils radioexempts de licence. L'exploitation est
autorisée aux deux conditions suivantes : (1) l'appareil ne doit pas
produire de brouillage, et (2) l'utilisateur de l'appareil doit accepter
tout brouillage radioélectrique subi, même si le brouillage est
susceptible d'en compromettre le fonctionnement.
The manufacturer is not responsible for any radio or TV interference
caused by unauthorized modifications to this equipment. Such
modifications could void the user authority to operate the equipment.
This equipment has been tested and found to comply with the limits for
a Class B digital device, pursuant to part 15 of the FCC rules. These
limits are designed to provide reasonable protection against harmful
interference in a normal installation. This equipment generates, uses,
and can radiate radio frequency energy and, if not installed and used in
accordance with the instructions, may cause harmful interference to
radio communications. However, there is no guarantee that
interference will not occur in a particular installation.
The information herein is subject to change without notice.
 Loading...