

Page 1
Page 2

©1993-2002 Dynojet Research, Inc. All Rights Reserved.
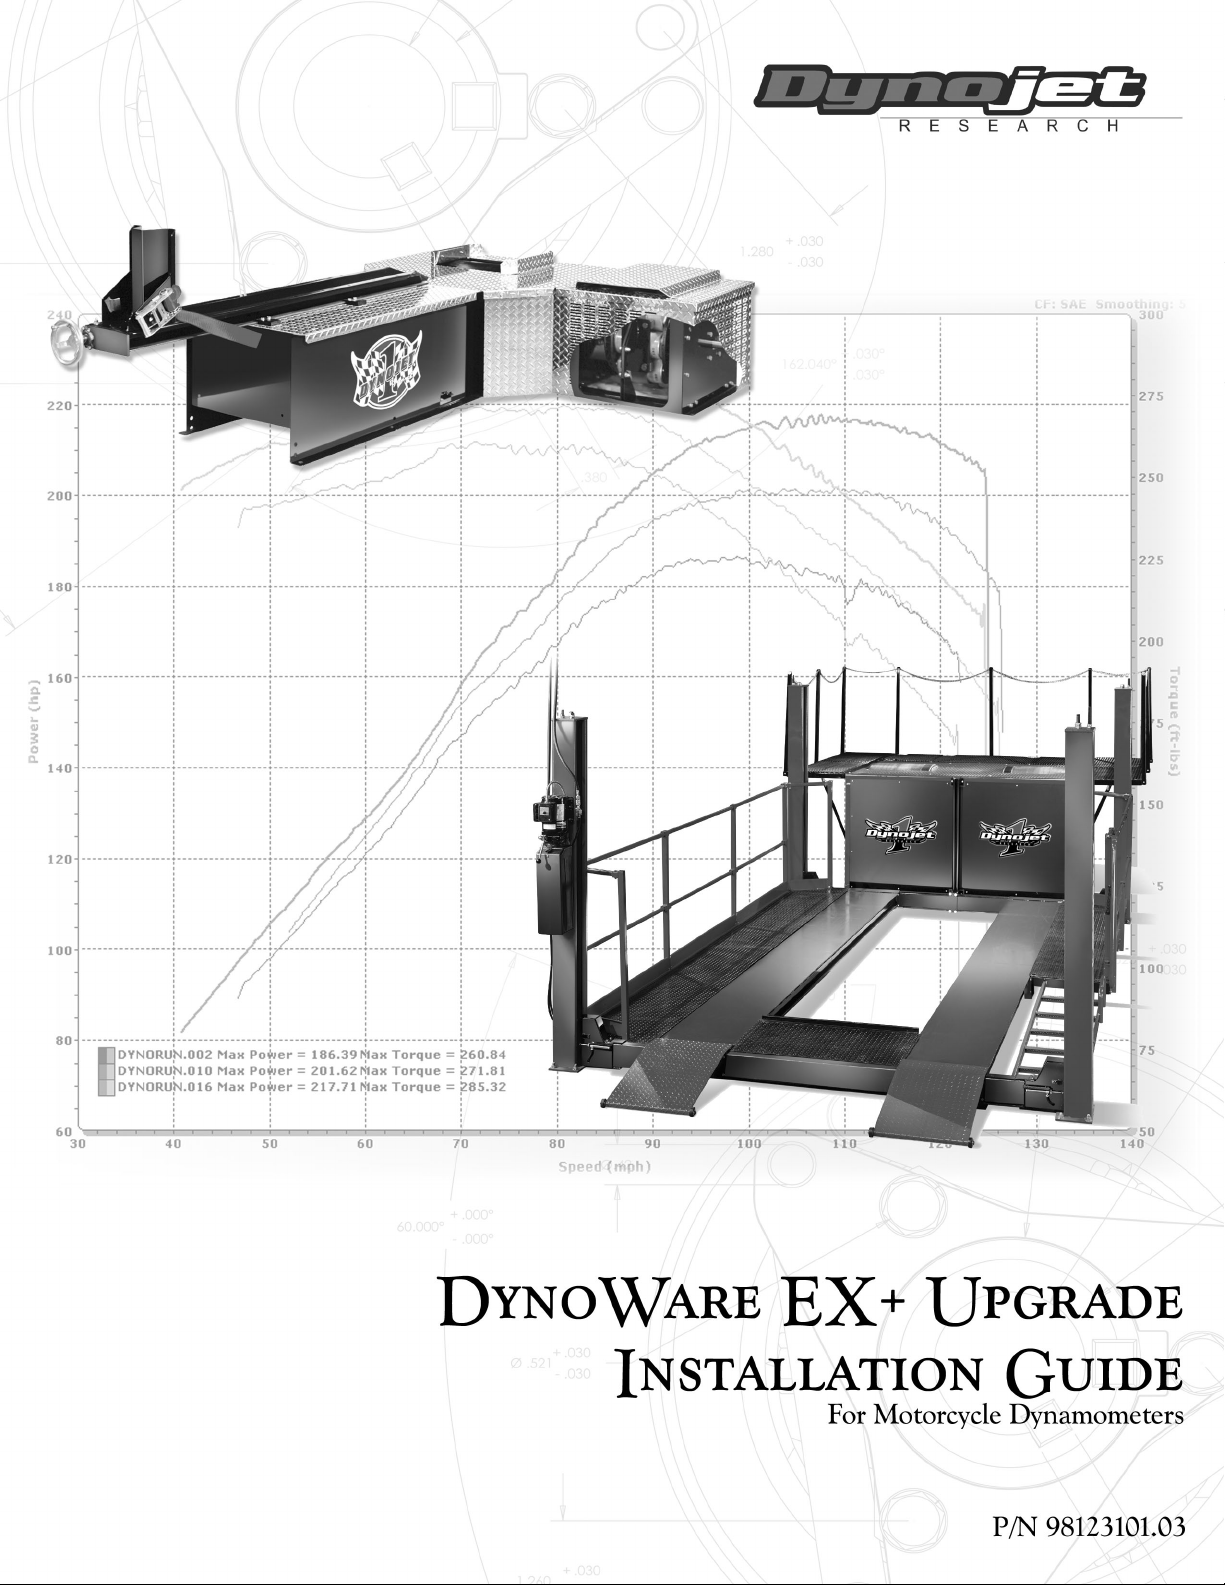
DynoWare EX+ Upgrade Installation Guide for Motorcycle Dynamometers.
This manual is copyrighted by Dynojet Research, Inc., hereafter referred to as Dynojet,
and all rights are reserved. This manual is furnished under license and may only be used
or copied in accordance with the terms of such license. This manual is furnished for
informational use only, is subject to change without notice, and should not be construed
as a commitment by Dynojet. Dynojet assumes no responsibility or liability for any error
or inaccuracies that may appear in this manual. Except as permitted by such license, no
part of this manual may be reproduced, stored in a retrieval system, or transmitted, in any
form or by any means, electronic, mechanical, recording, or otherwise, without the prior
written permission of Dynojet.
The Dynojet logo is a trademark of Dynojet Research, Inc.
Any trademarks, trade names, service marks, or service names owned or registered by any
other company and used in this guide are the property of their respective companies.
Dynojet Research, Inc., 2191 Mendenhall Drive, North Las Vegas, Nevada 89031, USA.
Printed in USA.
Part Number: 98123101 Version 3 (01/02)
Page 3

T
ABLE OF
C
ONTENTS
List of Figures. . . . . . . . . . . . . . . . . . . . . . . . . . . . . . . . . . . . . . . . . . . . . iii
DynoWare EX+ Upgrade
Conventions Used In This Manual . . . . . . . . . . . . . . . . . . . . . . . . . . . . . . . . . . . 1
Technical Support . . . . . . . . . . . . . . . . . . . . . . . . . . . . . . . . . . . . . . . . . . . . . . . . 1
Parts List . . . . . . . . . . . . . . . . . . . . . . . . . . . . . . . . . . . . . . . . . . . . . . . . . . . . . . . . 2
Installation . . . . . . . . . . . . . . . . . . . . . . . . . . . . . . . . . . . . . . . . . . . . . . . . . . . . . . 3
Removing the Hood . . . . . . . . . . . . . . . . . . . . . . . . . . . . . . . . . . . . . . . . . . . . 3
Removing the Original Hardware . . . . . . . . . . . . . . . . . . . . . . . . . . . . . . . . . . 4
Installing the Pickup Card . . . . . . . . . . . . . . . . . . . . . . . . . . . . . . . . . . . . . . . . 5
Air Brake Modifications . . . . . . . . . . . . . . . . . . . . . . . . . . . . . . . . . . . . . . . . . . 7
Drilling the Mounting Holes . . . . . . . . . . . . . . . . . . . . . . . . . . . . . . . . . . . . . . 8
Installing the Breakout Board . . . . . . . . . . . . . . . . . . . . . . . . . . . . . . . . . . . . . . 9
Wiring the DynoWare EX+ Modules . . . . . . . . . . . . . . . . . . . . . . . . . . . . . . . 11
Replacing the Hood . . . . . . . . . . . . . . . . . . . . . . . . . . . . . . . . . . . . . . . . . . . . 12
DynoWare EX+ Upgrade Installation Guide
i
Page 4

Page 5

L
IST OF
Figure 1: Components Included In the Upgrade Kit . . . . . . . . . . . . . . . . . . . . 2
Figure 2: DynoWare EX+ Modules . . . . . . . . . . . . . . . . . . . . . . . . . . . . . . . . . . . 3
Figure 3: Remove the Hood . . . . . . . . . . . . . . . . . . . . . . . . . . . . . . . . . . . . . . . . 3
Figure 4: Disconnect the Cables from the Pickup Card . . . . . . . . . . . . . . . . . . 4
Figure 5a: Remove the RPM Box . . . . . . . . . . . . . . . . . . . . . . . . . . . . . . . . . . . . 4
Figure 5b: Remove the RPM Box . . . . . . . . . . . . . . . . . . . . . . . . . . . . . . . . . . . . 4
Figure 6: Install the Pickup Card Bracket. . . . . . . . . . . . . . . . . . . . . . . . . . . . . . 5
Figure 7: Install the Pickup Card . . . . . . . . . . . . . . . . . . . . . . . . . . . . . . . . . . . . 5
Figure 8: Optical Pickup Alignment . . . . . . . . . . . . . . . . . . . . . . . . . . . . . . . . . . 6
Figure 9: Breakout Board Wiring—Pickup Card . . . . . . . . . . . . . . . . . . . . . . . . 6
Figure 10: Remove the Air Brake Solenoid Wires . . . . . . . . . . . . . . . . . . . . . . . 7
Figure 11: Breakout Board Wiring—Air Brake . . . . . . . . . . . . . . . . . . . . . . . . . . 7
F
IGURES
Figure 12: Template Placement . . . . . . . . . . . . . . . . . . . . . . . . . . . . . . . . . . . . . 8
Figure 13: Install the Vibration Dampening Mounts . . . . . . . . . . . . . . . . . . . . 9
Figure 14: Secure the Breakout Board and Cover. . . . . . . . . . . . . . . . . . . . . . . 9
Figure 15: Attach and Route the Cables . . . . . . . . . . . . . . . . . . . . . . . . . . . . . 10
Figure 16: Attach the DynoWare EX+ Cables . . . . . . . . . . . . . . . . . . . . . . . . . 11
Figure 17: Replace the Hood . . . . . . . . . . . . . . . . . . . . . . . . . . . . . . . . . . . . . . 12
DynoWare EX+ Upgrade Installation Guide
iii
Page 6

Page 7

D
YNO
W
ARE
EX+ U
PGRADE
This document provides instructions for installing the DynoWare EX+ components.
To ensure safety and accuracy in the procedures, perform the procedures as they are
described.
This manual will walk you through removing the original hardware, installing the
DynoWare EX+ components, and making air brake modifications.
Document Part Number: 98123101
Vers ion 3
Last Updated: 08 January 2002
CONVENTIONS USED IN THIS MANUAL
The conventions used in this manual are designed to protect both the user and the
equipment.
example of convention description
TECHNICAL SUPPORT
For assistance, please contact Dynojet Technical Support at 1-800-992-4993, or write
to Dynojet at 2191 Mendenhall Drive, North Las Vegas, NV 89031.
Visit us on the World Wide Web at www.dynojet.com where Dynojet provides state of
the art technical support, on-line shopping, 3D visualizations, and press releases
about our latest product line.
The Caution icon indicates a potential hazard to the
dynamometer equipment. Follow all procedures
exactly as they are described and use care when
performing all procedures.
DynoWare EX+ Upgrade Installation Guide
1
Page 8

DYNOWARE EX+ UPGRADE
Parts List
PARTS LIST
. . . . . . . . . . . . . . . . . . . . . . . . . . . . . . . . . . .
The following table lists all of the parts included in the DynoWare EX+ Upgrade
Installation kit. Check your kit against the parts listed to make sure you have received
all of the parts. If any part is missing, contact Dynojet Technical Support.
part number description quantity
66191001, 66192001,
66193001, 66493001,
21646100
761900001 Power Supply 1
318110301 Power Cord, 125V, 10A 1
65291001 Breakout Board 1
327-800-001 Dyno Pickup Card 1
66954001 Dyno Pickup Card Cable (Data Acq. Cable) 1
DM104-001 Dyno Pickup Card Bracket 1
A10Z2-304A Rubber Vibration Dampener Mounts 4
36540643 #8-32 Screws 6
DynoWare EX+ Four Basic Modules plus Mounting Base 1 each
134490301 #8-32 Nuts 4
91114A009 #8 Lock washers 6
DE100-109S Inductive Pickup Cable 1
DE100-104N Remote Switch 1
42924090 Breakout Board to DynoWare Cable 1
42924250 DynoWare to Computer Serial Port Cable 1
inductive pickup cable
pickup card bracket
Breakout board
power cord
pickup card
power supply
DynoWare EX+
modules
Breakout board to
DynoWare cable
DynoWare to
PC cable
remote switch
2
DynoWare EX+ Upgrade Installation Guide
screws, nuts, lock washers,
dampening mounts
Figure 1: Components Included In the Upgrade Kit
pickup card cable
Page 9

INSTALLATION GUIDE
INSTALLATION
. . . . . . . . . . . . . . . . . . . . . . . . . . . . . . . . . . .
The DynoWare EX+ system is comprised of four modules: the CPU Module, the
Dynamometer Input/Output Module, the RPM Module and the Atmospheric Sensing
Module. The upgrade requires a new pickup card and Breakout board (the interface
between the dyno and the new DynoWare EX+ hardware). This section will provide
you with the information necessary to install and connect the new components. If you
have an air brake you will need to make additional modifications; refer to “Air Brake
Modifications” on page 7 for more information.
atmospheric
sensing module
RPM module
dynamometer
input/output module
Installation
CPU module
REMOVING THE HOOD
1 Disconnect all power to the dyno.
2 Remove the four bolts securing the hood to the dyno.
3 Prop up the hood and disconnect all battery wires.
4 Remove the hood.
Figure 2: DynoWare EX+ Modules
Figure 3: Remove the Hood
Vers ion 3 DynoWare EX+ Upgrade Installation Guide
3
Page 10

DYNOWARE EX+ UPGRADE
Installation
REMOVING THE ORIGINAL HARDWARE
1 Disconnect the cables from the existing pickup card.
Figure 4: Disconnect the Cables from the Pickup Card
2 Disconnect the cables from the RPM box, if present.
3 Remove the cable clamps securing the wiring harness under the front dyno cover.
4 Remove the old cables. Be sure to leave the starter cable in place.
5 Remove the RPM box, if present.
5a Remove the nut and washer from the vibration dampening mount on the
right side of the RPM box.
Note: This dampening mount will remain in place due to the difficulty of
removing the screw that secures it to the frame.
screws
6 Remove the two screws securing the pickup card and remove the card.
4
DynoWare EX+ Upgrade Installation Guide
dampening mount
RPM box
Figure 5a: Remove the RPM Box
5b Remove the two screws securing the two remaining dampening mounts and
remove the RPM box.
this dampening mount
will remain attached
Figure 5b: Remove the RPM Box
Page 11

INSTALLING THE PICKUP CARD
extender bracket for
high inertia drums
INSTALLATION GUIDE
Installation
1 Remove the two 5/8-inch nuts and washers from the bearing case and set aside.
2 Remove the existing pickup card bracket.
3 Install the new pickup card bracket and secure the bracket using the two 5/8-inch
washers and nuts removed earlier.
4 Torque the nuts to approximately 150 ft. lb.
Note: If you have a high inertia drum, install the extender bracket on your
existing pickup card bracket.
pickup card bracket
Figure 6: Install the Pickup Card Bracket
5 Install the new pickup card in the notch on the new bracket using two
No. 8 screws and lock washers. Do not tighten, the card must be aligned first.
Figure 7: Install the Pickup Card
Vers ion 3 DynoWare EX+ Upgrade Installation Guide
5
Page 12

DYNOWARE EX+ UPGRADE
Installation
6 Align the optical pickup with the tab on the dyno drum axle. Once aligned,
tighten the screws to secure the pickup card in place.
The optical pickup is very delicate. Be careful not to damage the optical pickup
during alignment.
pickup tab
optical pickup
pickup card
Figure 8: Optical Pickup Alignment
7 Attach the small pickup cable to the Breakout board. The small pickup cable has
four wires which connect to the wiring block labeled DRUM 1.
• Red wire connects to R1
• White wire connects to W1
• Black wire connects to B1
• Ground wire connects to S1
8 Tighten the four screws in the top of the terminal block to secure the wires and
set the Breakout board aside.
Note: It is easier to attach the pickup cable wires to the Breakout board before
securing the board to the dyno.
drum 1
6
DynoWare EX+ Upgrade Installation Guide
Figure 9: Breakout Board Wiring—Pickup Card
Page 13

AIR BRAKE MODIFICATIONS
If your dyno has an air brake, wiring modifications will need to be made before
continuing with the installation. If you do not have an air brake, skip these
instructions and continue with “Drilling the Mounting Holes” on page 8.
1 Locate the wiring block mounted on the cross member just to the front of the
drum.
2 Loosen the two screws on the top left of the wiring block.
3 Remove the two wires that go to the air brake solenoid. Tighten the two screws.
air brake
solenoid wires
loosen screws
INSTALLATION GUIDE
Installation
Figure 10: Remove the Air Brake Solenoid Wires
4 Route the two wires through the hole in the dyno over to the Breakout board.
Note: You may need to extend these wires.
5 Attach the wires from the air brake solenoid to the wiring block labeled BRAKE on
the Breakout board.
Both wires are black and can attach in any order.
6 Tighten the two screws in the top of the terminal block to secure the wires.
The brake will now be controlled from the remote pendant.
brake
Figure 11: Breakout Board Wiring—Air Brake
Vers ion 3 DynoWare EX+ Upgrade Installation Guide
7
Page 14

DYNOWARE EX+ UPGRADE
Installation
DRILLING THE MOUNTING HOLES
Depending on the age of your dyno, you may need to drill the holes needed to mount
the Breakout board. If you dyno already has the required holes, skip these steps and
continue with the installation.
1 Locate the Breakout Board Mounting Hole Drill Template found at the end of this
manual.
2 Locate the existing holes in the dyno to the right of the pickup card bracket.
3 Align the template with the existing holes on the dyno and tape the template in
place.
4 Mark and drill the four mounting holes to 3/16-inch (5 MM).
Note: Before drilling the holes, place the Breakout board over the marked holes
to verify correct hole placement.
existing holes
existing holes
template
Figure 12: Template Placement
8
DynoWare EX+ Upgrade Installation Guide
Page 15

INSTALLING THE BREAKOUT BOARD
1 Install the four rubber vibration dampening mounts to the Breakout board using
four No. 8 nuts.
nuts
INSTALLATION GUIDE
Installation
breakout board
dampening
mounts
Figure 13: Install the Vibration Dampening Mounts
2 Secure the Breakout board cover and board to the dyno using four No. 8 screws.
Note: Be sure the large data plug on the Breakout board is facing towards the
front of the dyno (away from the drum).
Breakout board
and cover
Figure 14: Secure the Breakout Board and Cover
Vers ion 3 DynoWare EX+ Upgrade Installation Guide
9
Page 16

DYNOWARE EX+ UPGRADE
Installation
3 Attach the pickup card cable from the Breakout board to the pickup card.
4 Attach the appropriate end of the large PC data cable to the Breakout board and
secure with the plug screws (finger tight only).
5 Route the large PC data cable with the starter cable. Secure both cables back
under the lip of the front dyno cover using the cable clamps you removed earlier.
pickup card
cable
Breakout board
starter cable
PC cable
Figure 15: Attach and Route the Cables
cable clamp
front dyno cover
starter pendant
to PC
10
DynoWare EX+ Upgrade Installation Guide
Page 17

WIRING THE DYNOWARE EX+ MODULES
1 Place the DynoWare EX+ modules in a safe location in the shop that is close
enough to the computer and the dyno for the cables to reach.
2 Attach the cables to the DynoWare EX+ modules. Refer to Figure 16 for cable
placement.
• Attach the 9-pin shielded serial cable from the PC to the RS-232 socket on the
CPU module. Tighten the screws.
• Attach the 25-pin shielded cable from the dynamometer to the Dynamometer
Input/Output module. Tighten the screws.
• Attach the 9-pin connector from the hand-held pendant to the Dynamometer
Input/Output module. Tighten the screws.
• Attach the 3-pin plug from the power supply to the CPU module with the flat
side facing down.
3 Plug the power supply into an electrical outlet.
4 Turn the power switch on at the CPU module and verify operation with WinPEP.
Note: If you have an air brake, the air brake is now controlled from the remote
pendant.
INSTALLATION GUIDE
Installation
primary inductive
pickup socket
25-pin socket
9-pin, hand-held
pendant
9-pin, RS-232 socket
3-pin power plug
power switch
power LEDs
Figure 16: Attach the DynoWare EX+ Cables
Vers ion 3 DynoWare EX+ Upgrade Installation Guide
11
Page 18

DYNOWARE EX+ UPGRADE
Installation
REPLACING THE HOOD
1 Gently place the hood on the dyno leaving the hood propped up.
2 Reconnect the battery.
3 Secure the hood to the dyno using the four bolts removed earlier.
Figure 17: Replace the Hood
12
DynoWare EX+ Upgrade Installation Guide
Page 19

BREAKOUT BOARD MOUNTING
HOLE DRILL TEMPLATE
EXISTING HOLES
DRILL 4 HOLES AT 3/16" (5mm)
(86.4mm)
3.40IN
P:\Templates\ b.o.b. drill template 12/13/01
(76.2mm)
3.00IN
EXISTING HOLES
Page 20

 Loading...