

Dynascan DS55LX3, DS2 DS55LX3 User Manual

User Manual
Version 1.01
The use of diagrams and illustrations in the manual for reference only, actual product may be different.
Product design and specifications are subject to change without notice
Professional LCDs
Authorized Distributor: Follow Me GmbH, Herriotstraße 1, 60528 Frankfurt, Tel: +49 (0) 69 67 73 35 51

DS55LX3 User Manual 1
Contents
Safety Precautions........................................................................................................................................................3
Important Safety Information ........................................................................................................................................4
Declaration of Conformity .............................................................................................................................................6
Getting Started..............................................................................................................................................................7
Contents....................................................................................................................................................................7
Installing and Replacing Remote Control Batteries..................................................................................................8
Installation.....................................................................................................................................................................9
Mounting...................................................................................................................................................................9
Connecting To a Power Source..............................................................................................................................13
Connecting an External Video Source....................................................................................................................13
Connecting Multiple Displays for Video Wall Applications .....................................................................................14
Connector Positions................................................................................................................................................15
Input / Output Terminals .........................................................................................................................................16
Operating Instructions.................................................................................................................................................17
Powering On/Off the Display ..................................................................................................................................17
Using the Remote Control ......................................................................................................................................17
Using the Rear Panel Controls ...............................................................................................................................20
Navigating the On Screen Display (OSD) Menu ........................................................................................................21
Specifications..............................................................................................................................................................23
Input Mode..................................................................................................................................................................24
Pin Assignments.........................................................................................................................................................25
Digital RGB Output (DVI-D): DVI............................................................................................................................25

DS55LX3 User Manual 2
Digital RGB Input (DVI-D): DVI...............................................................................................................................25
RS-232 Output........................................................................................................................................................26
RS-232 Input...........................................................................................................................................................26
Troubleshooting..........................................................................................................................................................27
Recycling and Energy Information..............................................................................................................................28
Material Contents Declaration ....................................................................................................................................29
Limited Warranty.........................................................................................................................................................30
DS55LX3 User Manual 3
Safety Precautions
CAUTION
Do not install display in a wet environment or place anything on the top of the display filled
with liquid, such as vase or beverage.
Do not install near flammable objects, such as gasoline or other volatile liquids.
Do not install near any heat sources such as radiators or other heating devices.
Do not install in a dusty environment.
Do not damage the power cord or plug.
Do not disassemble the screen to avoid electric shock.
WARNING
After extended use the heat sink behind the screen may be hot. Do not touch to avoid being
burned.
Do not touch the screen panel with sharp objects or extreme pressure to avoid damage to the
panel.
The display should be installed in well-ventilated place, do not install in a confined space.
Do not drop or allow any object to fall on the screen.
Do not touch the screen with wet hands to avoid electric shock.
When cleaning, unplug the monitor. Use a soft, dry cloth to wipe the screen off. Do not use
alcohol or other chemicals.
If you smell smoke or hear a strange noise, immediately unplug the monitor and contact the
vendor.
Do not discard this product with general household waste. Please be sure to comply with the
local waste regulations.
Suitable for mounting on concrete or other non-combustible surface only.
IMAGE BURN-IN WARNING
When a stationary or fixed image is displayed for a long time on the screen, the image may be
permanently imprinted on the screen. This phenomenon is known as image burn-in and is
not covered by the manufacturer's warranty.
In order to avoid burn in, avoid prolonged display of static or fixed images on the screen.

DS55LX3 User Manual 4
Important Safety Information
Disassembling the LCD is strictly prohibited. Opening the cover may expose the user to shock or other
hazards. Please contact DynaScan certified service professionals for all maintenance requirements.
Do not allow any liquid to enter the LCD. Also avoid placing the LCD close to a water sources.
Do not place heavy objects on the power cord. A damaged power cord might cause electric shock or fire.
Do not bend, curl, or damage the power cord.
The power cord must comply with local safety regulations.
Do not damage or modify the prongs/pins and the ground contact on the power plug.
Do no place the LCD on an unleveled surface or an unstable vehicle. The LCD could fall over and cause
substantial damage.
Do not cover the vents and/or the heat sink.
Do not install the LCD beside radiators or other heat sources. The installation site should have sufficient
ventilation so the heat generated by the LCD can be dissipated.
Do not use the Signage in a hot, humid, dusty, or fumy environment.
Handle the LCD with care. Save the packaging materials for the next transport.
Please clean the backside of the LCD at least once a month for dust and other particles.
Unplug the LCD immediately and contact a DynaScan certified service professional as soon as possible
when any of the following situations occurs:
Damaged power cord or power plug.
If liquid or foreign objects has entered the LCD.
If the LCD has been exposed to rain or water.
If the LCD has been dropped or the casing has become damaged.
If you notice any structural damage such as cracks, or unnatural vibration.
If the LCD cannot be operated following the steps outlined in this manual.
If the LCD emits smoke or other odors, or generates strange noises.
Operating Suggestions
Avoid displaying a stationary image for a long period of time in order to prevent image sticking.

DS55LX3 User Manual 5
Cleaning the Panel
Use a soft, lint-free cloth to gently wipe dust off the screen panel.
Do not use any hard material to wipe the panel.
Do not poke the panel with your hand or any sharp object (such as a pen or a nail) or exert excessive pressure
to the panel to prevent damage to the panel.
Do not use any cleaning solution on the panel as it might cause discoloration.
Cleaning the Casing
Unplug the power cord.
Gently wipe the casing with a soft cloth.
Attention
Do not use any of the following solutions to clean the casing as they might damage the paint and cause it to
crack or peel: benzene solution, alkaline solution, alcohol-based cleaning solution, glass cleaner, wax, polisher,
or detergent.
DS55LX3 User Manual 6
Declaration of Conformity
FCC Verification
This device complies with Part 15 of the FCC Rules. Operation is subject to the following two conditions: (1) this
device may not cause harmful interference, and (2) this device must accept any interference received, including
interference that may cause undesired operation.
FCC Information
This equipment has been tested and found to comply with the limits for a Class A digital device, pursuant to Part 15
of the FCC Rules. These limits are designed to provide reasonable protection against harmful interference when
the equipment is operated in a commercial environment. This equipment generates, uses, and can radiate radio
frequency energy and, if not installed and used in accordance with the instruction manual, may cause harmful
interference to radio communications. Operation of this equipment in a residential area is likely to cause harmful
interference in which case the user will be required to correct the interference at his own expense.
Declaration of the Manufacturer
We hereby certify that the Professional LCD DS55LX3 is in compliance with
Low Voltage Directive 2006/95/EC
Electromagnetic Compatibility Directive 2004 /108 /EC
IEC60950-1:2005+A1(2nd Edition)
EN60950-1:2006+A1:2010
EN55022:2006+A1:2007 Class A
EN61000-3-2:2006+A1:2009+A2:2009
EN61000-3-3:2008
EN55024:1998+A1:2001+A2:2003
EN61000-4-2:2009
EN61000-4-3:2006+A1:2008+A2:2010
EN61000-4-4:2010
EN61000-4-5:2006
EN61000-4-6:2009
EN61000-4-8:2010
EN61000-4-11:2004
EN61000-4-11:2004
DynaScan Technology, Inc.

DS55LX3 User Manual 7
Getting Started
Contents
Confirm the accessories below are included with the display. If any item is missing, please contact your dealer.
The color and shape of the accessories may vary by product.
• DS55LX3 Professional LCD
• Remote Control x1 pcs
• Batteries (1.5V / AAA) x2 pcs
• Quick Start Guide x1 pcs
• Power cable x1 pcs
• RS-232 cable x1 pcs
• DVI cable x1 pcs
• CD-ROM x1 pcs
• Ethernet crossover cable x1 pcs
Attention: Please use the following table to check whether the included power cord is suitable for your region. If
the power cord does not match your region, please contact your local supplier. Please use matching AC socket in
order to meet local safety regulations.
Plug Type North America European Continental
Japanese Taiwanese
Plug Shape
Region U.S.A. / Canada
EU
(Except U.K.)
Japan Taiwan
Voltage 120V 230V 100V 110V

DS55LX3 User Manual 8
Installing and Replacing Remote Control Batteries
1. Open the battery compartment cover.
2. Insert 2 new AAA batteries.
3. Close the battery compartment cover.
Warning:
• Incorrect usage of batteries may cause leakage or explosion.
• Pay attention to the polarity when installing batteries.
• Do not use batteries from different brands together. Do not mix new and used batteries. Doing so may
shorten the battery life or cause leakage.
• Remove the batteries or replace them with a new pair when the batteries are depleted in order to prevent
battery leak in the battery compartment.
• Do not touch the leaked substance from the batteries in case of a battery leak. Doing so may damage
human skin.
Note: if you plan on not using the remote control for a long period of time, we recommend removing the batteries
from the remote control.
DS55LX3 User Manual 9
Installation
The LCD must be properly installed using a wall mount. Incorrect installation may cause injury or damage the
equipment. Product warranty does not cover damages caused by improper installation and DynaScan shall not be
held responsible in such incident.
Mounting
Hanging the Professional LCD from the ceiling or mounting it on the wall is the responsibility of the user. Not all
ceilings or walls provide enough strength to support the LCD. The LCD may drop and cause serious injury if it
is hanging from the ceiling with insufficient support or is mounted on a slanted wall. Product warranty does not
cover improper installation, modification, or damages caused by natural disasters. DynaScan recommends
hiring certified professionals to evaluate the installation site and mounting operation.
Do not to cover the vent and/or the heat sink in order to ensure proper heat dissipation.
Refer to the installation guide provided by manufacturer of the mount for proper installation.
When mounting on a wall or hanging from a ceiling
A wall mount is not included in the accessory. Please purchase a VESA Standard wall mount to secure the
LCD. DynaScan is not responsible for damages caused by using non-standard wall mounts.
Verify that the mounting location can support the weight of the LCD before installation.
The installation angle must be within 15 degrees of the vertical axis.
Do not install the wall mount while the power is turned on as it may cause serious injury from electrical shock.
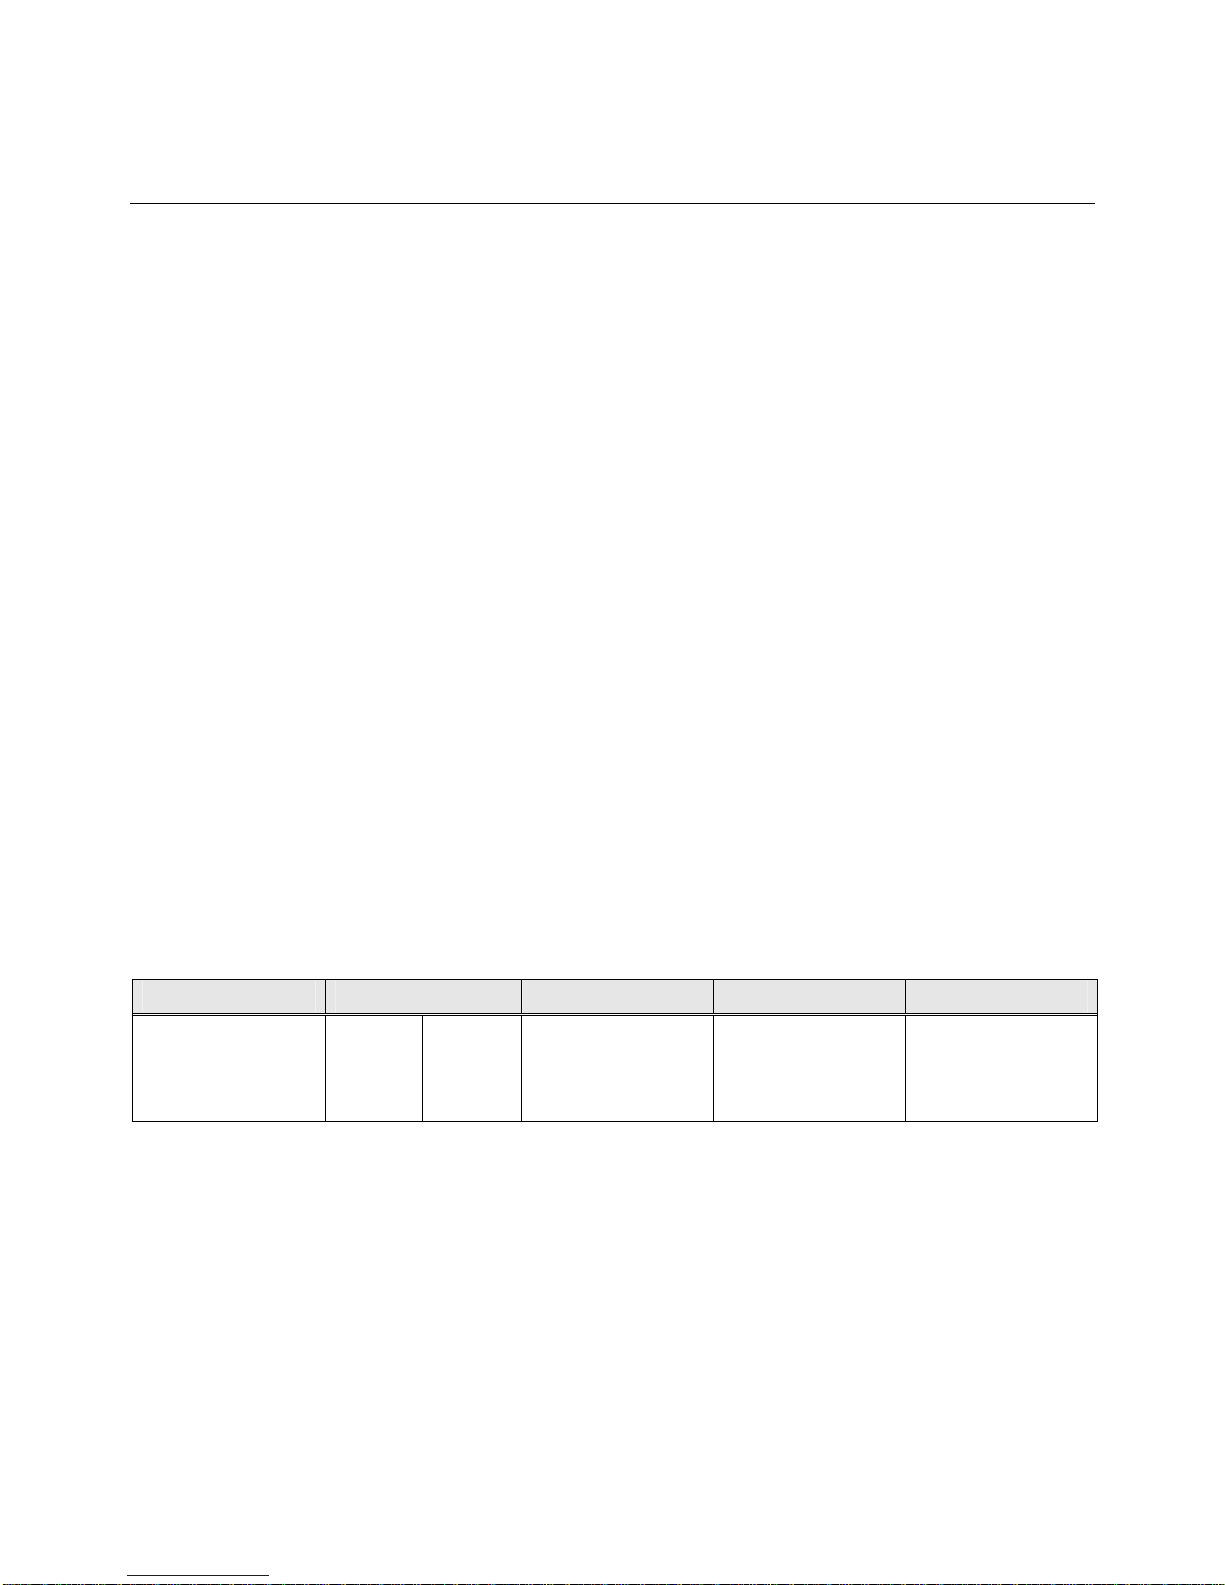
Model Number VESA (mm) Screw specification
Screw Length Number
DS55LX3 (A * B) 400 * 400
M6
Greater than 10mm
(not including wall
mount thickness)
4
 Loading...