

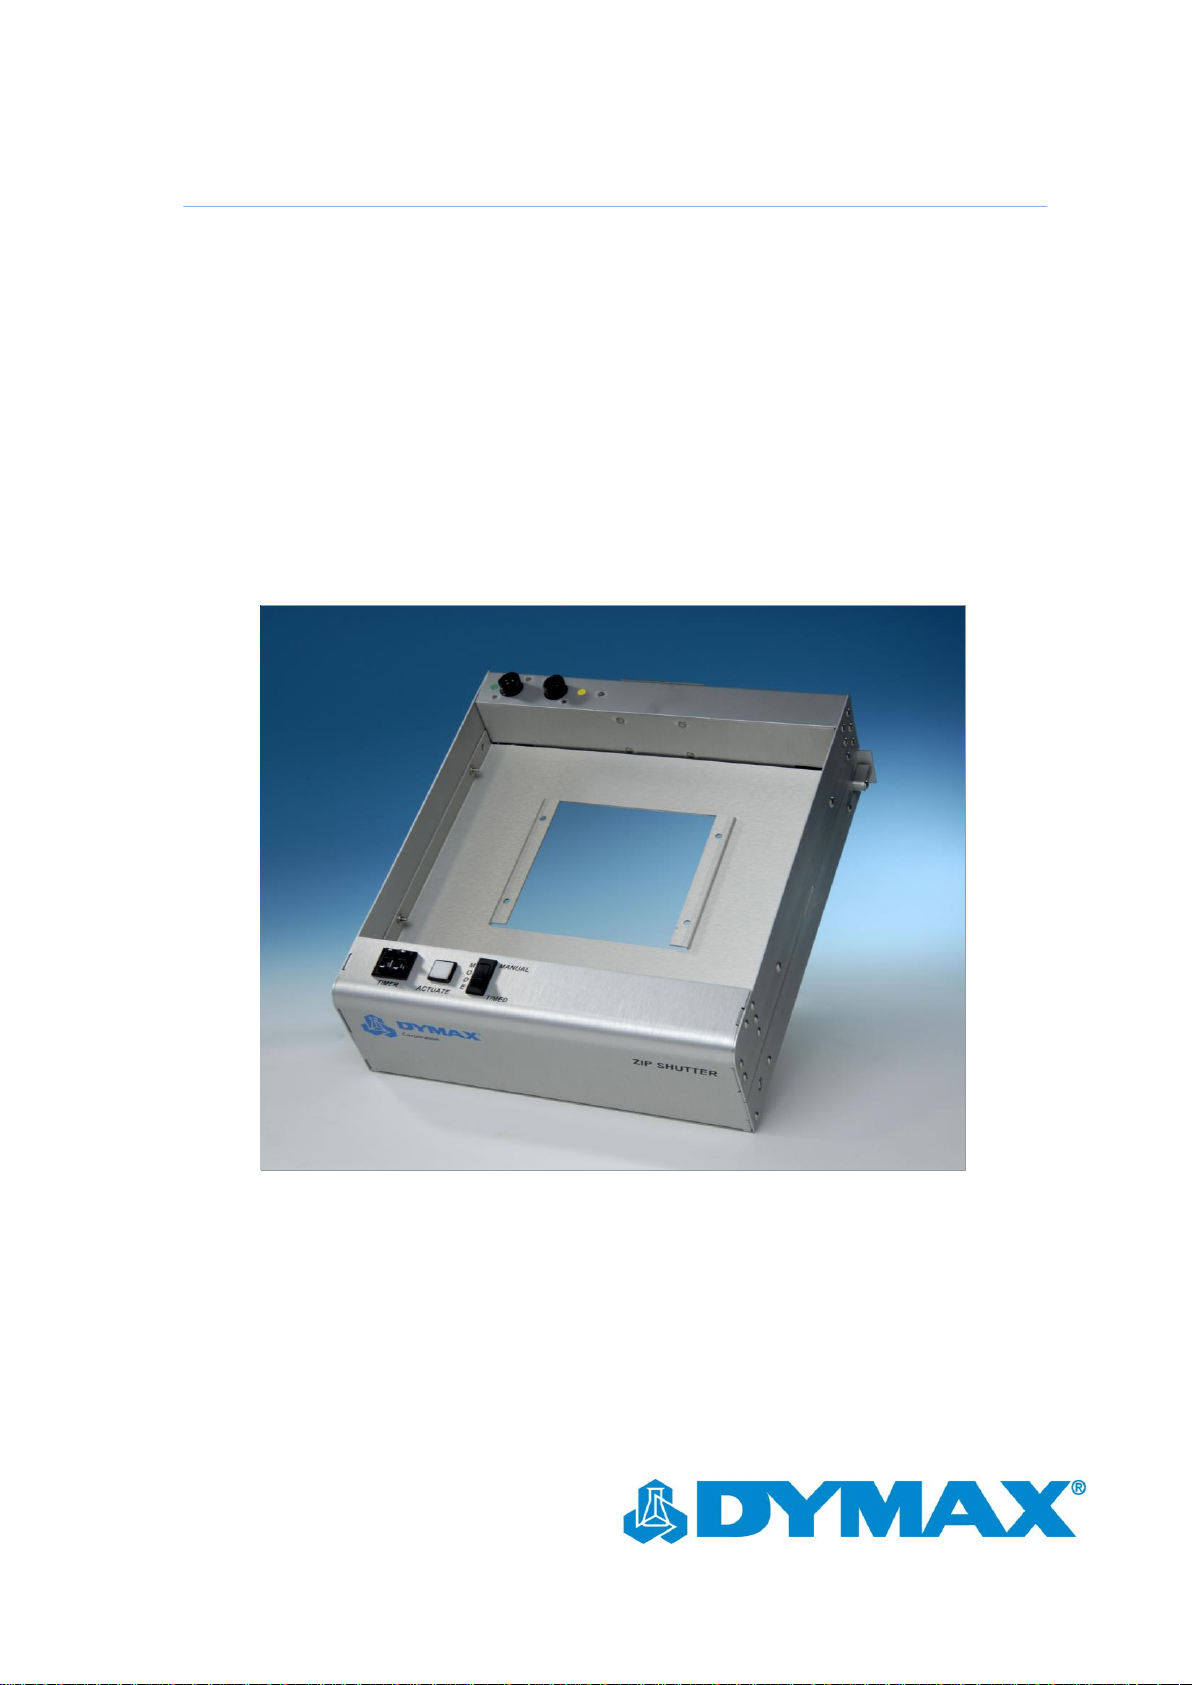
Dymax ZIP™ Shutter
For Use with Dymax EC & PC Flood Lamp Systems
Instructions for Safe Use
Setup and Operation
Maintenance
Ordering Spare Parts and Accessories

2
Dymax ZIP™ Shutter User Guide
About Dymax
UV/Visible light-curable adhesives. Systems for light curing, fluid dispensing, and fluid packaging.
Dymax manufactures industrial adhesives, light-curable adhesives, epoxy resins, cyanoacrylates, and activator-cured adhesives.
We also manufacture a complete line of manual fluid dispensing systems, automatic fluid dispensing systems, and light-curing
systems. Light-curing systems include LED light sources, spot, flood, and conveyor systems designed for compatibility and high
performance with Dymax adhesives.
Dymax adhesives and light-curing systems optimize the speed of automated assembly, allow for 100% in-line inspection, and
increase throughput. System designs enable stand-alone configuration or integration into your existing assembly line.
Please note that most dispensing and curing system applications are unique. Dymax does not warrant the fitness of the product for
the intended application. Any warranty applicable to the product, its application, and use is strictly limited to that contained in the
Dymax standard Conditions of Sale. Dymax recommends that any intended application be evaluated and tested by the user to ensure
that desired performance criteria are satisfied. Dymax is willing to assist users in their performance testing and evaluation by offering
equipment trial rental and leasing programs to assist in such testing and evaluations. Data sheets are available for valve controllers
or pressure pots upon request.

3
Dymax ZIP™ Shutter User Guide
Contents
Introduction ............................................................................................................................................. 4
Introduction to the User Guide ............................................................................................................................... 4
Where to Get Help .................................................................................................................................................. 4
Safety ....................................................................................................................................................... 4
General Safety Considerations ................................................................................................................................ 4
Specific Safety Considerations ................................................................................................................................. 4
Product Overview .................................................................................................................................... 5
Description of the Dymax ZIP Shutter ..................................................................................................................... 5
System Components ................................................................................................................................................ 5
Assembly and Setup ................................................................................................................................. 6
Unpacking and Inspecting Your Shipment ............................................................................................................... 6
Parts Included in the ZIP Shutter (PN 37863) .......................................................................................................... 6
Assembly ................................................................................................................................................................. 7
Electrical Interconnect ............................................................................................................................................. 9
Operation ................................................................................................................................................ 9
Maintenance .......................................................................................................................................... 10
Check and Adjust Curtain Drive-Belt Tension ........................................................................................................ 10
Curtain Assembly Replacement ............................................................................................................................. 11
Troubleshooting ..................................................................................................................................... 12
Spare Parts and Accessories ................................................................................................................... 12
Specifications ......................................................................................................................................... 13
Specifications (Clear Aperture) .............................................................................................................................. 13
Definition of Terms ................................................................................................................................ 14
Warranty ............................................................................................................................................... 15
Index ...................................................................................................................................................... 15

4
Dymax ZIP™ Shutter User Guide
Introduction
Introduction to the User Guide
This guide describes how to assemble, use, and maintain the Dymax ZIP™ Shutter safely and efficiently.
Intended Audience
Dymax prepared this user guide for experienced process engineers, technicians, and manufacturing
personnel. If you are new to UV light curing and do not understand the instructions, contact Dymax
Application Engineering to answer your questions before using the equipment.
Where to Get Help
Additional resources are available to ensure a trouble-free experience with our products:
Detailed product information on www.dymax.com
Customer Support and Application Engineering teams available by phone and email in the United
States, Monday through Friday, from 8:00 a.m. to 5:30 p.m. Eastern Standard Time. You can also
email Dymax at info@dymax.com. See the back cover for worldwide contact information.
Dymax adhesive Product Data Sheets (PDS) on our website
Material Safety Data Sheets (MSDS) provided with shipments of Dymax adhesives.
Safety
WARNING! If you use a Dymax shutter without first reading and understanding the
information in this user guide, injury can result from exposure to high-intensity light. To
reduce the risk of injury, read and ensure you understand the information in this user guide
before assembling and operating a Dymax shutter in a UV flood lamp system.
General Safety Considerations
All users of Dymax equipment should read and understand this user guide before assembling and using
the equipment.
To learn about the safe handling and use of light-curable formulations, obtain and read the MSDS for each
product. Dymax includes an MSDS with each adhesive sold. In addition, fluid product MSDS can be
requested through our website.
Specific Safety Considerations
Dymax shutters are designed to maximize operator safety and minimize exposure to UV light. To use the
shutter safely, it must be set up and operated in accordance with the instructions in this user guide. Please
also read and understand the following safety considerations.
WARNINGS! To prevent eye injury, always wear protective goggles when working near a
UV light-curing system. Long-sleeved shirts or a lab coat are recommended to protect the arms
and use of UV opaque gloves will protect the hands from UV exposure.

5
Dymax ZIP™ Shutter User Guide
Product Overview
Description of the Dymax ZIP Shutter
The Dymax ZIP Shutter was developed as an auxiliary device to control the dose of curing energy directed
onto adhesives in a flood-lamp curing system. The Dymax ZIP Shutter is compatible with most Dymax ECand PC- series flood lamps. The shutter can be used as an integral part of the Dymax light shield and can
be used with other Dymax flood lamps (Blue Series) with the appropriate adapters.
Dymax flood lamps use a medium-pressure arc bulb as a source of curing energy. The bulb requires a few
minutes to warm up after ignition before it reaches a steady state and needs a few minutes to cool before
being able to re-ignite after being turned off. Repeatedly turning the power to the bulb off and on
negatively affects its lifetime. With a Dymax shutter installed, the flood lamp may stay on continuously.
Objects needing curing may be loaded and unloaded from underneath the shutter when it is closed
without exposing parts or operators to UV light. In addition, control of curing times can be achieved by
timed shutter operation.
Dymax flood lamp systems are used for a wide variety of applications where a relatively large area of
illumination is needed. These applications may be cured using one of two types of systems: the first is
with continuous illumination in conveyorized curing systems where the dose is defined by the conveyor
belt speed. The second type uses a free standing flood lamp where accurate timing is required. In the
second type, the shutter can ensure the proper dose.
System Components
Figure 1. ZIP Shutter (PN 37863) Components
Timer
Actuate Button
Mode Selector Rocker Switch
Connection for the Cable from the Reflector
Belt Tension Adjustment Screw
Foot Switch Connection
Adapter Plate

6
Dymax ZIP™ Shutter User Guide
Clear Aperture - The ZIP Shutter has a clear aperture; therefore there is no distraction of the
light flow when the shutter is open.
Timer - The operator sets the shutter’s "open time" using the timer. The digital potentiometer is
coupled with an electronic timer (inside the front panel) which in turn operates the gear-motor
located inside the front control panel. The shutter’s “open time" can be set from 1 to 99 seconds.
Actuate Button - Depressing the actuate button activates the gear-motor. The unit can also be
actuated by foot switch that plugs into the foot switch connection on top of the rear panel.
Mode Selector Rocker Switch - There are two operation modes available: manual and timed.
The mode selector rocker switch is used to select the mode of operation.
Mounting Plates/Adapter Plates - The ZIP Shutter includes two mounting plates for various
reflector housings. The first has a clear aperture of 5" x 5" and should be used with the 5000-EC
or PC Lamp. The second has a clear aperture of 8" x 8" for use with a 2000-EC or PC lamp.
Reflector Cable Connection - The power (24V) to the ZIP Shutter comes directly from the flood
lamp’s power supply, which is connected through this receptacle on top of the shutter’s rear
panel.
Belt Tension Adjustment Screw – Used to tighten the curtain drive belt.
Assembly and Setup
Unpacking and Inspecting Your Shipment
When your shutter arrives, inspect any boxes for damage and notify the shipper immediately of box
damage.
Open each box and check for equipment damage. If parts are damaged, notify the shipper and submit a
claim for the damaged parts. Contact Dymax so that new parts can be shipped to you immediately.
Check that the parts included in your order match those listed below. If parts are missing, contact your
local Dymax representative or Dymax Customer Support to resolve the problem.
Parts Included in the ZIP Shutter (PN 37863)
ZIP Shutter (1)
Mounting Plates for the EC or PC Series Flood Lamps (3)
Screws – 8-32 x 3/8" (4), 6-32 x 1/4" (2), 8-32 x 1/4" (Not Shown)
Top Fan Assembly for the 2000 Flood Lamp (5)
Hex Wrenches– 3/32", 5/64", & 1/8" (6)
Dymax ZIP Shutter User Guide (7)
Interconnect Cable, Shutter to Reflector (8)
Foot Switch (9)
Adapter Plug (Not Shown)

7
Dymax ZIP™ Shutter User Guide
Figure 2. ZIP Shutter Unpacking Diagram
Assembly
NOTE: Setup of the EC- or PC-series flood lamps are covered in the flood lamp user guides. Refer to
MAN007 – EC-Series Flood Lamp User Guide or MAN006 – PC-Series Flood Lamp User Guide.
5000-EC/PC Flood Lamp
1. Remove the Adapter Plate from the ZIP Shutter by removing the four 8-32 x ⅜" screws (Figure 3 & Figure 4).
Figure 3. ZIP Shutter
Figure 4. Adapter Plate Removed
2. Install the Adapter Plate on the base of the 5000-EC/PC Lamp Housing by removing the four 8-32 x ¼”
screws and attaching the plate to the Lamp Housing with four new 8-32 x ⅜" screws (Figure 5).
3. Install the Lamp Housing Assembly into the ZIP Shutter and attach it with four 8-32 x ⅜" screws
(Figure 6).
8-32 x ⅜" Screws

8
Dymax ZIP™ Shutter User Guide
Figure 5. ZIP Shutter with Adapter
Plate Installed
Figure 6. 5000-EC Flood Lamp
Assembly Installed on a ZIP Shutter
2000-EC/PC Flood Lamps
1. Remove the Adapter Plate from the ZIP Shutter by removing the four 8-32 x 3/8” screws (Figure 7).
Figure 7. ZIP Shutter
Figure 8. Adapter Plate Removed
2. Install the two Mounting Plates (Figure 9) on the base of the 2000 EC/PC Lamp Housing by removing
the four 6-32 x ½" screws and attaching the Mounting Plates to the Lamp Housing by reinstalling the
screws (Figure 10).
3. Install the assembly into the Shutter and attach it with four 8-32 x ⅜" screws.
Figure 9. Mounting
Plates
Figure 10. Bottom of
Lamp Housing with Plates
Installed
Figure 11. 2000-EC Lamp
Housing Assembly Installed
into ZIP Shutter
8-32 x ⅜" Screws

9
Dymax ZIP™ Shutter User Guide
Electrical Interconnect
Figure 12. ZIP Shutter Electrical Interconnect Diagram
1. Connect Shielded Cable (4) from J2 on rear of Power Supply (2) to J3 on rear of Reflector Housing (3).
2. Connect Cable (5) from J4 on rear of Reflector (3) to 8-Pin Connector on rear of Shutter (1).
3. Connect Plug (6) into J5 on rear of Reflector (3).
NOTE: Shutter will not operate unless Plug is installed.
4. Install Foot Switch to 4-Pin Connector on rear of Shutter (7).
5. Connect Power Cord to J1 on rear of Power Supply (2).
Dymax Flood Lamp Electrical Interconnect With Retrofit
To retrofit Shutters for use with older Dymax "Blue Series" Flood Lamps, please contact the Dymax
Application Engineering or Equipment Group.
Operation
1. Have the ZIP Shutter in the closed position.
2. Open the Access Door to the Workstation or Dymax
Light Shield and place the object to be cured on
the work surface (preferably in line with the center of the Shutter).
NOTE: The ZIP Shutter will close automatically if the Light Shield has an Interlock Kit (PN 41166)
installed and the Access Door is opened.
3. Adjust the distance from the bottom plane of the ZIP Shutter to the surface to be cured.
4. Close the Access Door.
5. Set the exposure (ZIP Shutter “Open Time") by adjusting +/- the Timer located next to the Actuate
Button on the Front Panel.
6. Open the ZIP Shutter using the most convenient method for you by using Push Actuator Button or
Foot Switch.

10
Dymax ZIP™ Shutter User Guide
NOTE: The ZIP Shutter will close automatically in the timed mode or it will stay open until you release
the Foot Switch or Actuate Button in the manual mode.
7. Close the ZIP Shutter to end the cycle.
Maintenance
Check and Adjust Curtain Drive-Belt Tension
Figure 13. Belt Tension Adjustment
Dymax recommends that the ZIP Shutter's Curtain Drive-Belt's tension be checked at least once every
three months. Follow the instructions below to check the Curtain Drive-Belt's tension.
1. Turn off and disconnect the Lamp Reflector Housing from the external AC source.
2. Remove the ZIP Shutter from the Flood Lamp Reflector Housing and place it on the bench, bottom-
side up.
3. Remove the screws that attach the ZIP Shutter's bottom panel.
4. Very lightly press in the center of the Curtain Drive Belt with a finger; the Belt should deflect no more
than ¼" to ⅜".
5. If deflection exceeds this value, tighten the Curtain Drive Belt by adjusting the Tension Screw in the
back of the ZIP Shutter.
NOTE: Make sure that both belts are tightened equally.
6. Replace the bottom cover and secure it with its screws.
7. Place the ZIP Shutter back on the Flood Lamp Reflector Housing and re-position it.
8. Reconnect the cables and plug the AC cord into wall socket.

11
Dymax ZIP™ Shutter User Guide
Curtain Assembly Replacement
Dymax recommends that you check the ZIP Shutter curtain for wear each time you change the lamp. If it
shows any signs of wear, replace it. Additional curtain assembly replacements can be purchased through
Dymax Customer Service.
CAUTION! SHARP EDGES! The edge of the stainless steel curtain is extremely
sharp. To prevent injuries, always wear gloves that are resistant to cuts when handling or
installing equipment. We recommend, at a minimum, CE Cut Level 5 gloves (included with
kit).
Figure 14. ZIP™ Curtain Assembly Diagram
1. Remove the Flood Lamp Reflector Assembly from the ZIP Shutter and flip the Shutter onto its top.
2. Remove the bottom cover of the ZIP Shutter to expose the inside Roller (7) and Belt Drive Motor.
Depending on which revision level your Shutter is, there will be either six screws or twenty six
screws.
3. Manually unroll the Curtain (1) until it reaches Front Limit Switch (8).
4. Loosen the Belt (6) tension by unscrewing the rear screws.
5. Remove the old Curtain (1) by removing the five screws (3) on the Roller (7) and loosening the two
Side Screws (4) on the Clamp Bar (5) and slide curtain off Belts (6).
6. Attach the new Curtain (1) to the Roller (7) and Roller Bar (2) with the 6-32 screw (3) previously
removed from the Roller.
7. Stretch the new Curtain (1) toward front of ZIP Shutter.
8. Slide the Clamp Bar (5) onto the Belt (6) where Curtain is fully outstretched. The Curtain should be
stretched short of front Limit Switch (8).
9. Tighten the end screws 4-40 (4).
10. Manually roll-up the Curtain until the Curtain reaches rear Limit Switch (8). If the Clamp Bar (5)
bows, loosen the screws (4) and allow the Clamp Bar to find its natural straightness and retighten.
11. Replace the ZIP Shutter's bottom cover.
12. Set-up the ZIP Shutter according to the ZIP Shutter directions. Tighten the Belt Tension (10) as
needed to improve Belt performance.
#
Description
1
Curtain
2
Roller Bar
3
Screws (5)
4
Side Screws (2)
5
Clamp Bar
6
Belts
7
Roller and Pulley
8
Limit Switch
9
Limit Switch Standoff
10
Belt Tension
11
Belt Drive Motor
11

12
Dymax ZIP™ Shutter User Guide
Troubleshooting
CAUTION: Only qualified maintenance personnel should attempt the following procedures.
Problem
Possible Cause
Testing
Corrective Action
The shutter curtain
does not open or
close smoothly
One of the tension
screws is not tight
enough
All functions of the ZIP
Shutter operate properly
Adjust the curtain tension.
The shutter’s motor
continuously runs
One of the Limit
Switches is not
engaging properly
All functions of the ZIP
Shutter operate properly
Adjust the micro-switch
activating blade.
The shutter will
not operate
No power at the
shutter
Verify the supply voltage being
delivered to the shutter. Test
the voltage at pins 1 & 2 of the
8-pin connector (24 VDC)
Check and replace wiring If light
source is operational and ZIP
Shutter is not. If a problem
occurs within the light source,
consult manual.
The plug (38317 or
38318) is not installed
in J5 of the reflector
housing
All functions of the ZIP
Shutter operate properly
Install the plug as described in
the installation instructions.
Spare Parts and Accessories
Item
Part Number
Replacement Parts
Clutch
39396
Stainless Steel Curtain Assembly
41097
Motor
39395
Relay
37789
Timer Board, 0-99 Seconds
40315
Cables, Foot Switches, & Plugs
Cable, Reflector Housing to Shutter, EC/PC Series
40879
Standard Foot Switch
36051
Foot Switch with Extended Cable
38992
Standard Adapter Plug
41068

13
Dymax ZIP™ Shutter User Guide
Specifications
Specifications
Property
Specification
Part Numbers
37863
ZIP Shutter for EC- and PC-Series Flood Lamps
Operating Voltage
24 VDC (Supplied by the Dymax EC or PC Power Supply)
Exposure Time
Digital Setting - From 1 to 99 Seconds (1 second increments)
Aperture
8" x 8" [20.3 cm x 20.3 cm]
Operation Modes
Timed/Manual
Accuracy &
Repeatability
For settings below 30 seconds (± 1 second)
For settings above 30 seconds (± 2 seconds)
Dimensions
12.5" x 12.9" x 3.8" [31.8 cm x 32.8 cm x 9.7 cm]
Weight
5.8 lbs [2.6 kg]
Figure 15. ZIP Shutter Dimensions

14
Dymax ZIP™ Shutter User Guide
Definition of Terms
UV-Curing Light Source - a reflector housing and a power supply furnished with an appropriate bulb
(burner) for generating light energy of required spectra and intensity.
Flood Lamp System - a set of components arranged to generate, collect, condition and direct UV radiant
energy to perform curing of engineering adhesives, coatings, and inks in a safe and controlled process. It
includes a lamp housing and power supply and may also include a shutter, workstation, UV enclosure,
Dymax light shield, and accessories.
Lamp - light source (bulb or burner) generating Ultraviolet, Visible, or Infrared radiant energy from
burning matter stimulated by electrical power. A bulb or burner is usually placed into a reflector to
increase light source efficiency by collecting and directing radiant energy of selected spectra for a specific
curing process.
Intensity - a measure of light energy over the unit of surface area (usually at a specified working distance
from the bottom of the reflector housing) in W/cm2 or mW/cm2. For the UV portion of light, this measure
is often called in literature “irradiance”, i.e. radiant energy arriving at a point on a surface per unit area.
Brightness, also known as Luminance - description of energy in the visible region of the spectrum
(approximately from 400 to 700 nm) and recorded in photometric units. “Intensity” (see below) of visible
light energy is called luminance.
Luminance - luminous flux (energy of visible light) incident per unit area, and measured in Lx (lux) or
Lumen/cm2.
Ultraviolet (UV) - the invisible region of the spectrum just beyond the violet end of the visible region. UV
is divided into three spectral parts:
1. Ultraviolet A (UV-A) - UV of long wavelength from within approximately 400 to 320 nm of the spectral
band (4000 to 3200) - predominately produced by Dymax Flood Lamps.
2. Ultraviolet B (UV-B) - UV of medium wavelength from within approximately 320 to 280 nm - Dymax
Flood Lamps produce some amount of their energy within this bandwidth.
3. Ultraviolet C (UV-C) - UV of short wavelength below 280 nm (we say from 280 to 200 nm) – a large
amount of this energy is present in the sunlight.
Dose - is irradiance integrated over time, or Irradiance (W/cm
2
) x Time (s) = Dose (Joules/cm2). Note:
Watt is the power that gives rise to the production of energy at the rate of 1-joule (J) per second (s).
As irradiance can be a far more significant factor in the efficiency of curing adhesives and other UV curable
materials, the dose and spectral response can also be substantial contributors to the quality cure
performance.
OSHA 1910.145: “Regulation of Accident prevention Signs and Tags” defines the following headers as:
WARNING – is used when there is a hazardous situation that has some probability of severe
injury.
CAUTION - is used to indicate a hazardous situation that may result in minor or moderate injury.
NOTICE - is used to convey a message related directly or indirectly to the safety of personnel, or
protection of property.

15
Dymax ZIP™ Shutter User Guide
Warranty
From date of purchase, Dymax Corporation offers a one-year warranty against defects in material and
workmanship on all system components with proof of purchase and purchase date. Unauthorized repair,
modification, or improper use of equipment may void your warranty benefits. The use of aftermarket
replacement parts not supplied or approved by Dymax Corporation, will void any effective warranties and
may result in damage to the equipment.
IMPORTANT NOTE:
DYMAX CORPORATION RESERVES THE RIGHT TO INVALIDATE ANY WARRANTIES,
EXPRESSED OR IMPLIED, DUE TO ANY REPAIRS PERFORMED OR ATTEMPTED ON DYMAX EQUIPMENT
WITHOUT WRITTEN AUTHORIZATION FROM DYMAX. THOSE CORRECTIVE ACTIONS LISTED ABOVE ARE
LIMITED TO THIS AUTHORIZATION.
Index
Adjust Curtain Drive Belt Tension, 10
Assembly and Setup, 6
Contact Information, 4
Definition of Terms, 14
Glossary, 14
Help, 4
Maintenance, 10
Operation, 9
Parts Included, 6
Product Overview, 5
Safety, 4
Spare Parts and Accessories, 12
Specifications, 13
Support, 4
Troubleshooting, 12
Unpacking, 6
Warranty, 15
Zip Shutter Curtain Replacement, 11

© 2006-2018 Dymax Corporation. All rights reserved. All trademarks in this guide, except where noted, are the property of, or used under license by Dymax Corporation, U.S.A.
Please note that most dispensing and curing system applications are unique. Dymax does not warrant the fitness of the product for the intended application. Any warranty applicable to the product, its application and use is strictly
limited to that contained i n Dymax’s standard Conditions of Sale. Dymax recommends that any intended a pplication be evaluated and tested by the user to ensure that desired performance criteria are satisfied. Dymax is willing to
assist users in their performance testing and evaluation by offering equipment trial rental and leasing programs to assist in such testing and ev aluations. Data sheets are available for valve controllers or pressure pot s upon request.
PN 37771 MAN010DA 4/16/2018
Dymax Corporation
+1.860.482.1010 | info@dymax.com | www.dymax.com
Dymax Oligomers & Coatings
+1.860.626.7006 | info_oc@dymax.com | www.dymax-oc.com
Dymax Asia (H.K.) Limited
+852.2460.7038 | dymaxasia@dymax.com | www.dymax.com.cn
Dymax Europe GmbH
+49 (0) 611.962.7900 | info_de@dymax.com | www.dymax.de
Dymax UV Adhesives & Equipment (Shanghai) Co. Ltd.
+86.21.37285759 | dymaxasia@dymax.com | www.dymax.com.cn
Dymax Asia Pacific Pte. Ltd.
+65.6752.2887 | info_ap@dymax.com | www.dymax-ap.com
Dymax Engineering Adhesives Ireland Ltd.
+353 21.237.3016 | info_ie@dymax.com | www.dymax.ie
Dymax UV Adhesives & Equipment (Shenzhen) Co. Ltd.
+86.755.83485759 | dymaxasia@dymax.com | www.dymax.com.cn
Dymax Korea LLC
+82.2.784.3434 | info_kr@dymax.com | www.dymax.com/kr
 Loading...