

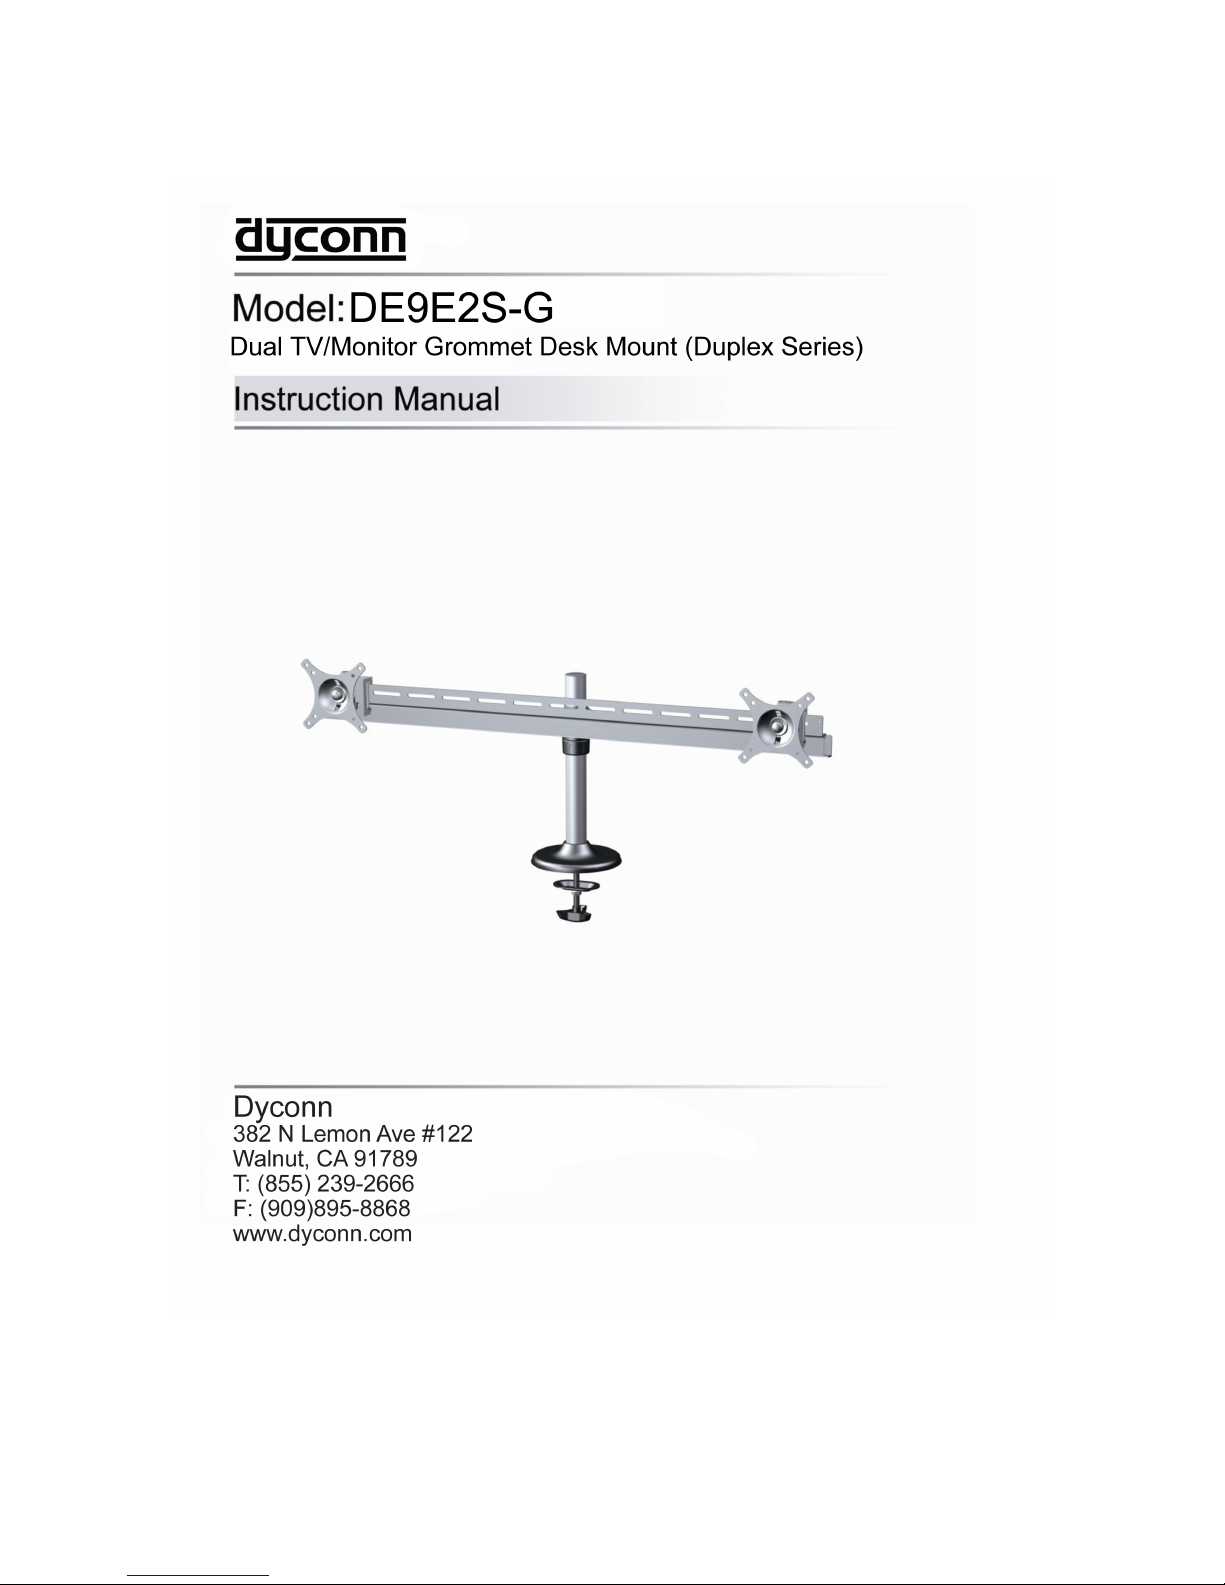
Dyconn Duplex Series, DE9E2S-G Instruction Manual

2
Dual TV/Monitor Grommet Desk Mount (Duplex Series)
Model: DE9E2S-G
Instruction Manual
Images may different from actual product
Disclaimer
It is Dyconn’s intention to have all the correct information represented within this manual.
Although we try our best, Dyconn makes no claim that the information comprised herein
covers all conditions or details in connection with installation or use of this product. Dyconn
assumes no responsibility for accuracy or adequacy of information comprised in this
document. The information comprised here is subject to change without notice or obligation
of any kind
• A warning alerts you to the possibilities of personal injury or damage to equipment
if you do not follow the corresponding instructions. It is the installer's responsibility
to make sure all components are properly assembled and installed using the
instructions manual provided.
• Using improper screws or screw size may damage your display. If spacers are
required, be sure to use correct size of screws. Proper screws will easily and
completely thread into the display mounting holes. Inadequate thread
engagement in the display may cause display to fall.
• It is installer’s responsibility to make sure the combined weight of all components
does not exceed weight capacity. Exceeding weight capacities can result in
severe personal injury or damage to equipment.
• Allowing any part of your component cables to be caught between movable parts
can result in serious personal injury or damage to equipment.
Read the following warning before installing
! Verify all parts are included. Do not install if the products or hardware is damage. Not
all hardware included will be used.
! Please contact a qualified installer.
! This product contain moving parts, Use with caution.
! Determine approximate location for mounting and keeping in mind the display size,
extension, height adjustment and pitch / roll requirements.
! This product contains small item, keep these items away from children
! Do not exceed the maximum weight capacity for this product. Exceeding the weight
capacity can result in serious personal injury or damage to equipment!
3
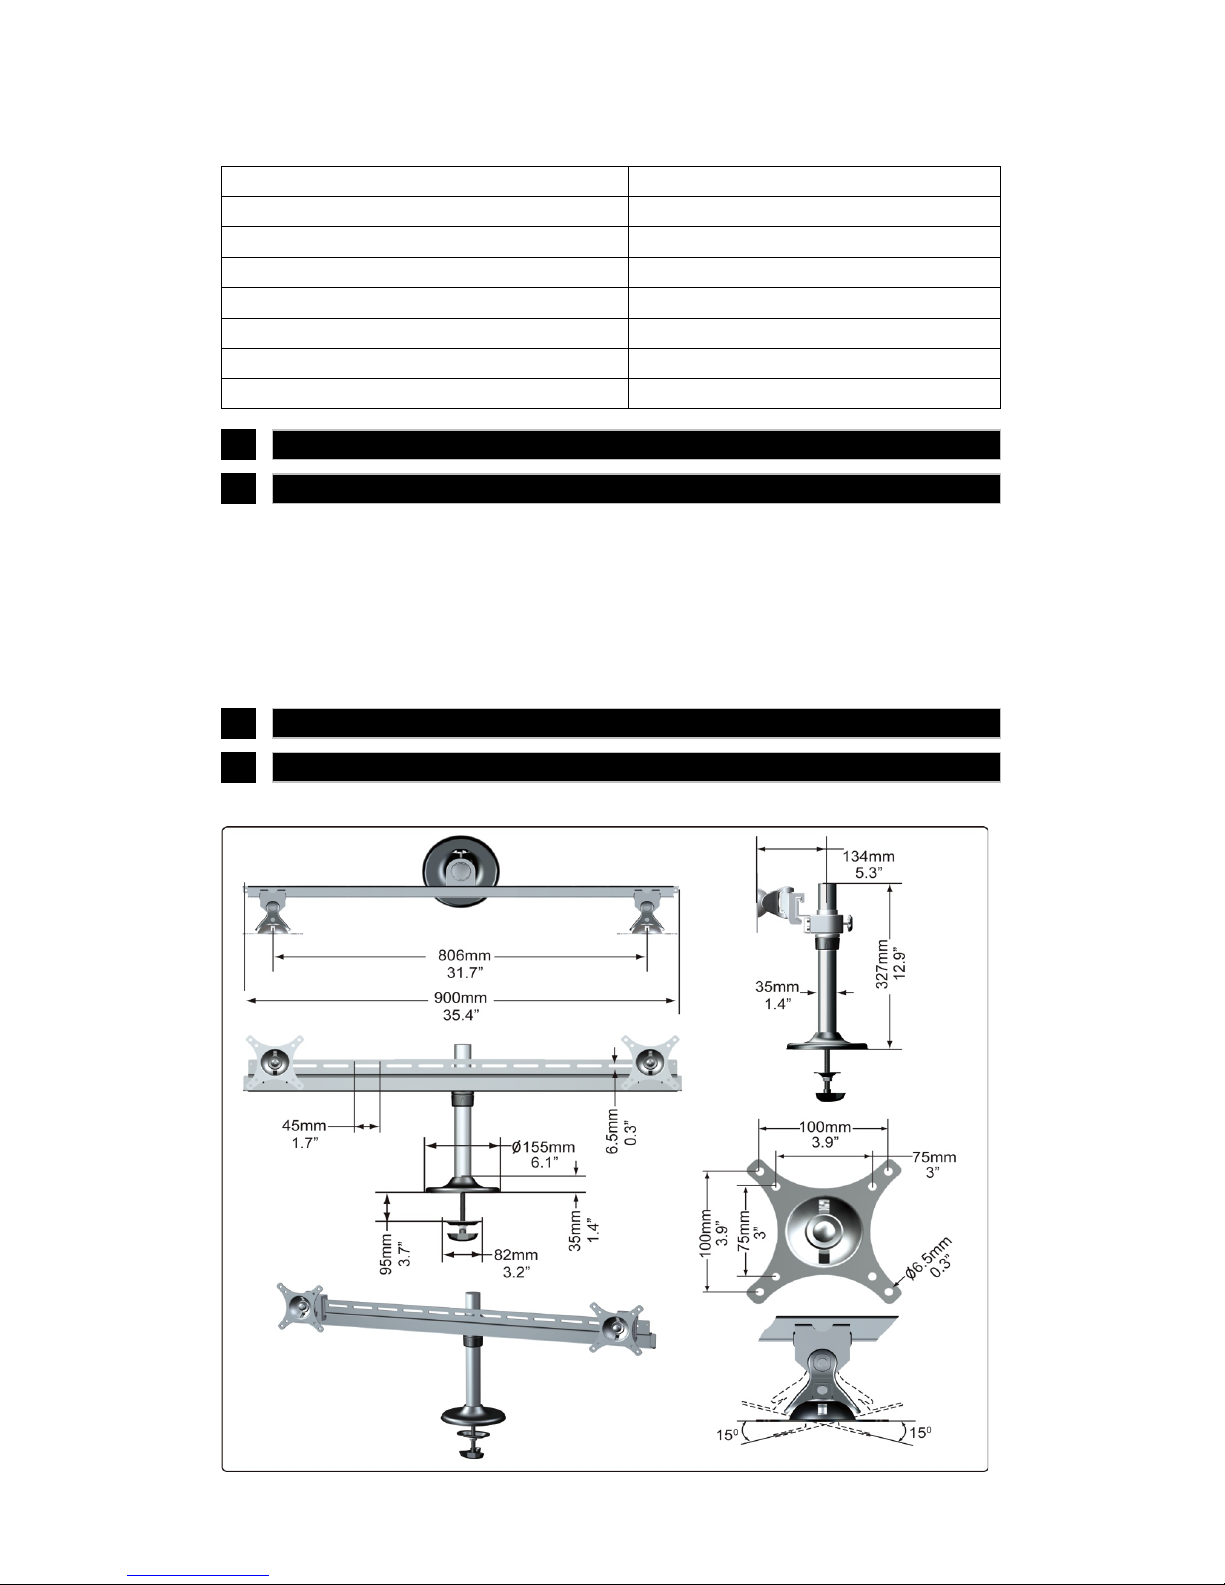
Specifications
Dual Monitor - 23.6” (600mm) 1Crossbar 14” (355mm) -19” (482mm)
Dual Monitor – 35.4” (900mm) 1Crossbar 20” (508mm) – 30” (762mm)
Triple Monitor - 35.4” (900mm) 1Crossbar 14” (355mm) -19” (482mm)
Quad Monitor - 23.6” (600mm) 2Crossbars 14” (355mm) -19” (482mm)
Quad Monitor – 35.4” (900mm) 2Crossbars 20” (508mm) – 30” (762mm)
Six Fold Monitor - 23.6” (600mm) 2Crossbars 14” (355mm) -19” (482mm)
Product Dimension
Each Monitor Weight Capacity
19.8(LBS) / 9(KG)
Suits Monitor Size
14”(355mm)-30”(762mm)
Distance from Pole (Closed)
5.3”(134mm)
Tilt adjustment
+/- 40 degree
Display Swing- Side to side
+/- 15 degree
Pivot
360 degree
Maximum Mounting Surface Thickness
3.7”(95mm)
VESA Compatibility
75x75mm and 100x100mm
Allowable Monitor Width vs. Horizontal Crossbar
Number of Monitors Monitor Width
Width refers to Monitor outer dimensions
Each Monitor supports a maximum weight of 19.8LBS (9KG)
4
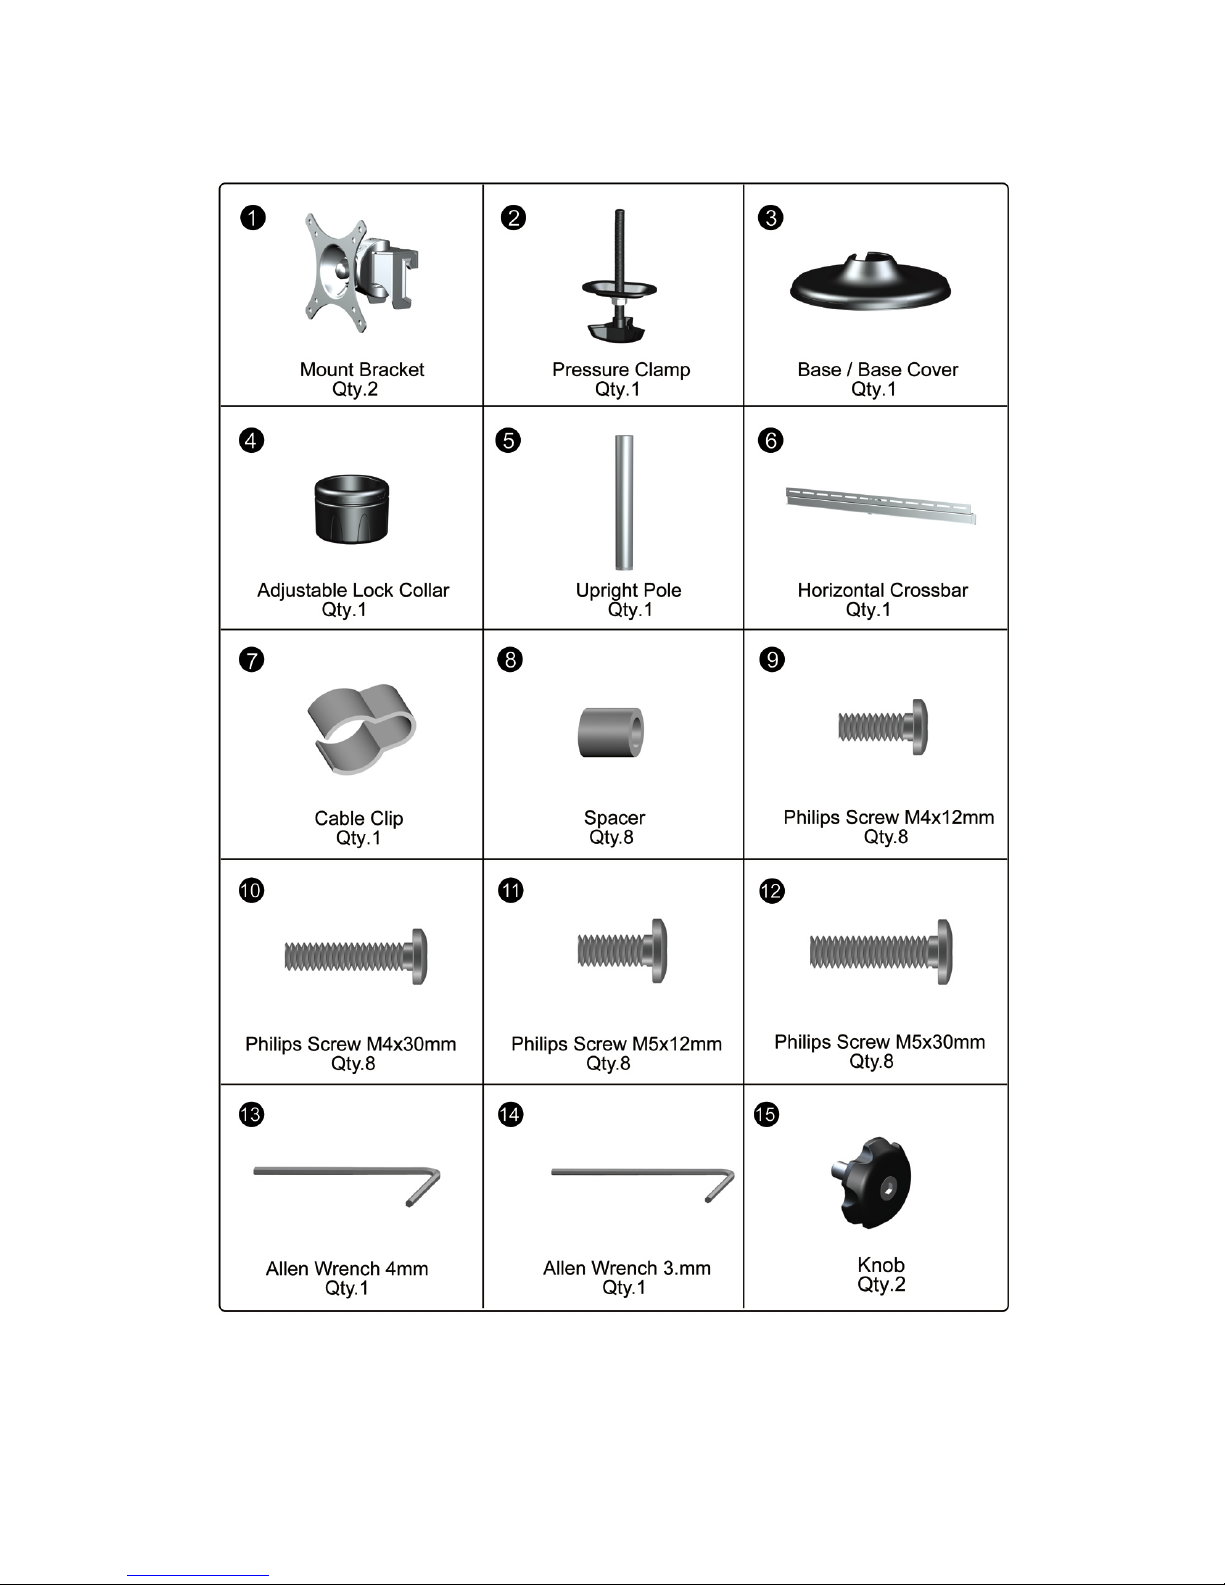
Supplied Parts
5
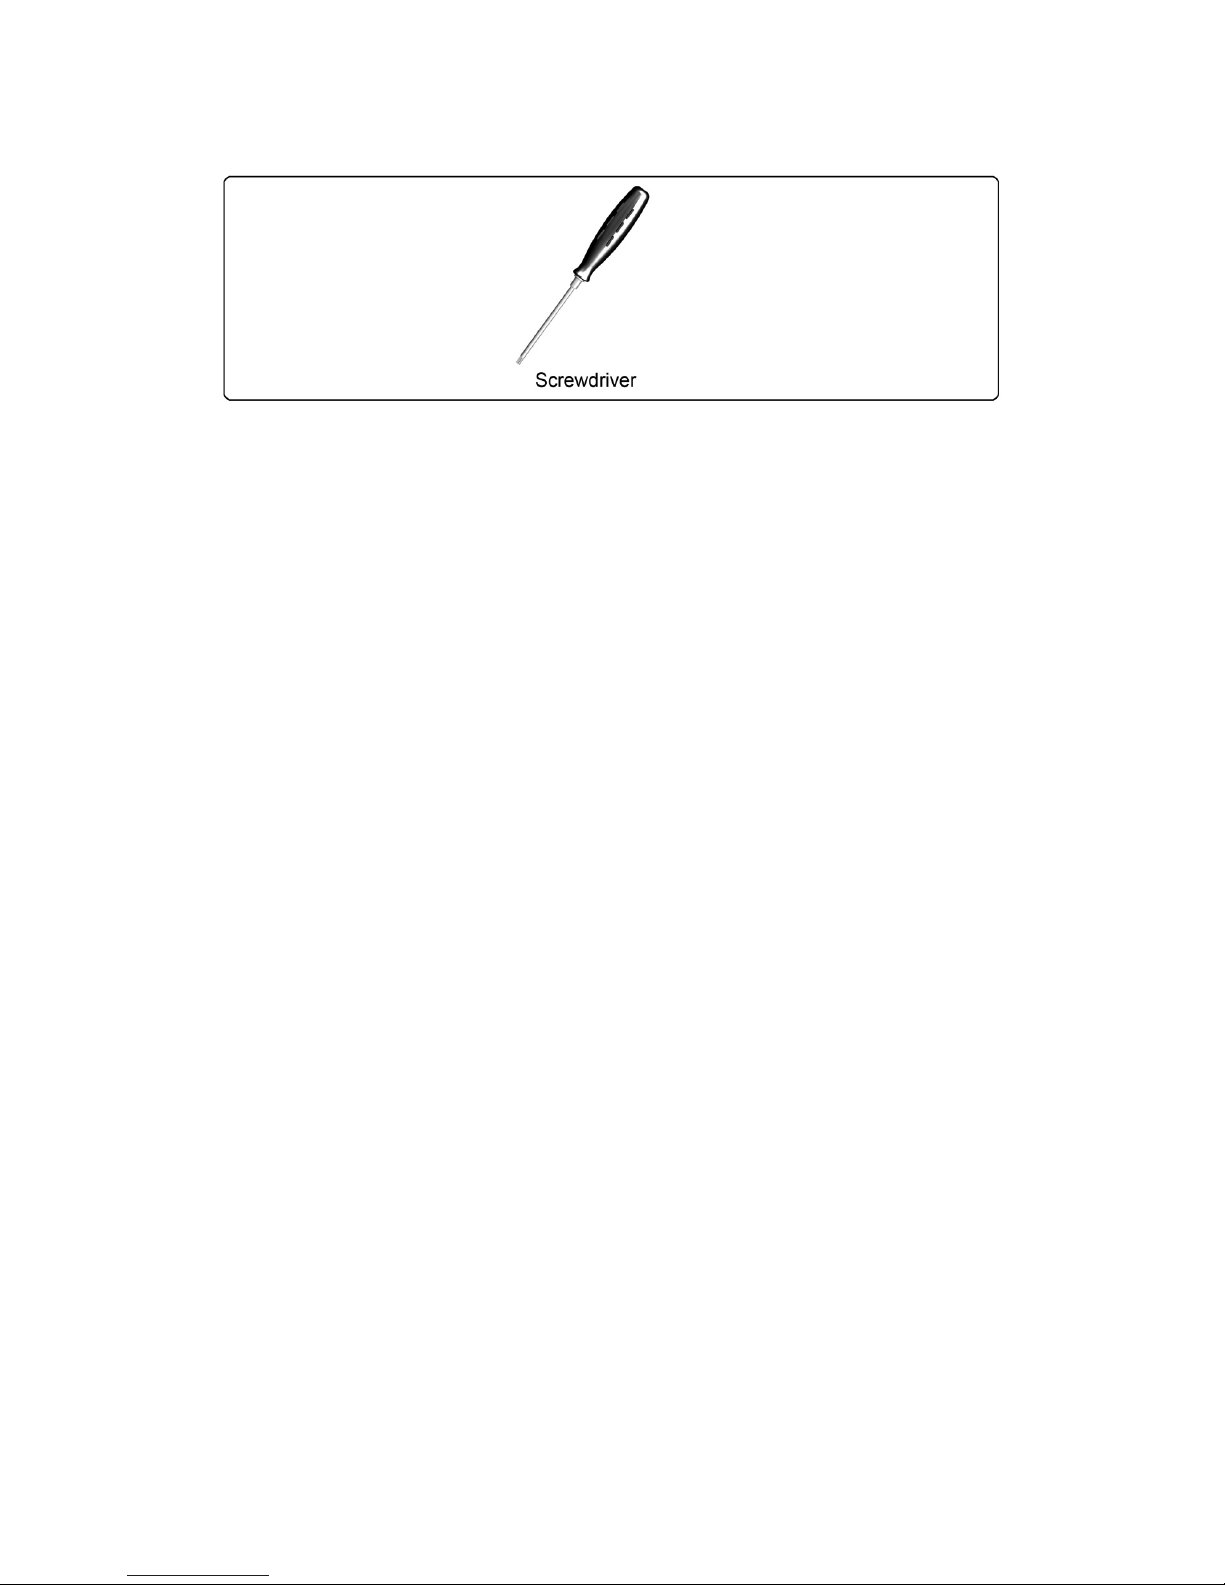
Required Tools
ASSEMBLY and INSTALLATION
INSPECT THE MOUNT BEFORE ASSEMBLY
1. Carefully inspect/verify that all components are present.
2. If the mount/components are damaged or missing, please contact the company/seller
of the product you purchased and report the issue.
Note: Read all assembly instructions before staring the installation process.

6
Figure 1-1
Step 【1】 Installation of Desk Clamp
Using improper screws or screw size may damage your display. If spacers are required,
be sure to use correct size of screws. Proper screws will easily and completely thread into
the display mounting holes. Inadequate thread engagement in the display may cause
display to fall.
Note: It is installer’s responsibility to make sure the desktop structure to which this
product is attached can support the combined weight of all components
Installation to Desk
1. Detach Base Cover and Base (3) as shown. (See Figure 1-1)
2. Place Base (3) on to mounting surface and secure using Pressure Clamp (2) as
shown (See Figure 1-2)
Figure 1-2
 Loading...