

Page 1
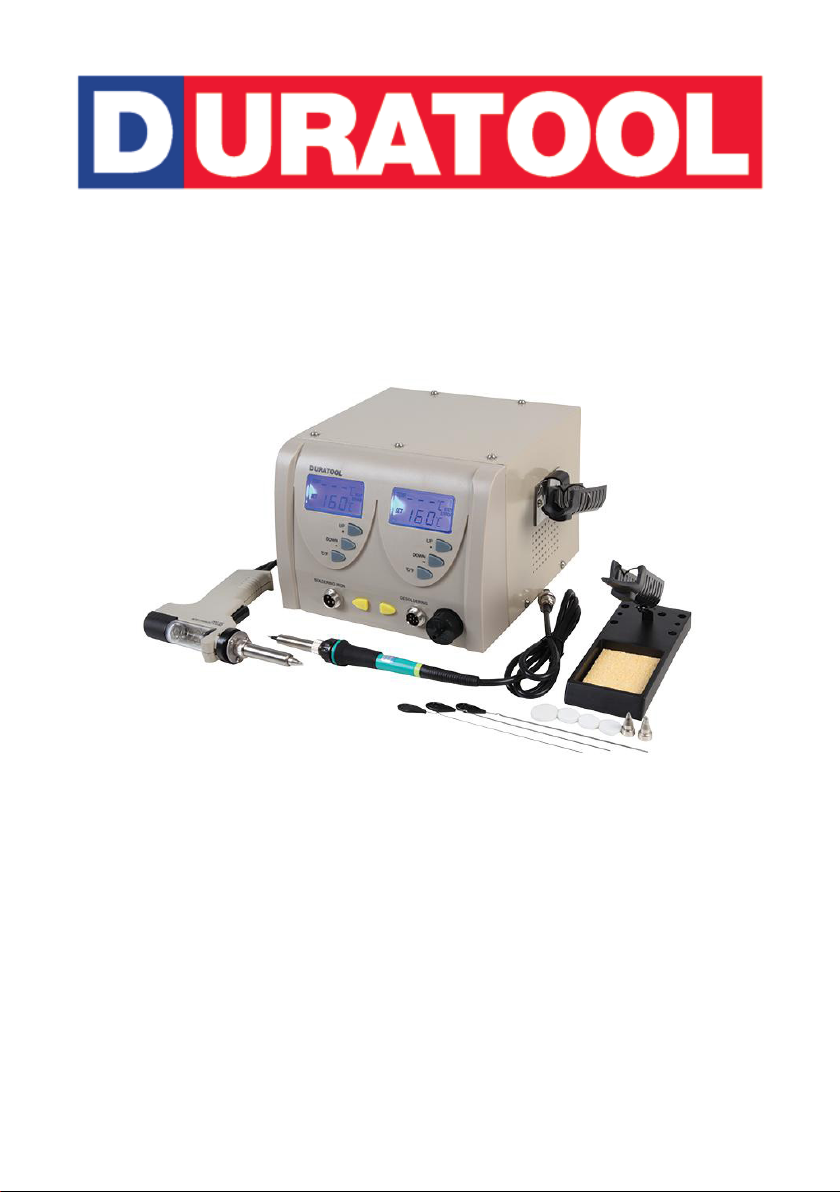
Model: D00674
80W Soldering & Rework Station
1
Page 2

Please read these instructions carefully before use and retain for future reference.
IMPORTANT SAFETY INFORMATION
When using electrical appliances basic safety precautions should always be
followed.
• Check that the voltage indicated on the rating plate corresponds with that of the
local network before connecting the appliance to the mains power supply.
• This appliance can be used by children aged from 8 years and above and persons
with reduced physical, sensory or mental capabilities or lack of experience and
knowledge if they have been given supervision or instruction concerning use of the
appliance in a safe way and understand the hazards involved.
• This appliance contained no user-serviceable parts. All repairs should only be
carried out by a qualied engineer. Improper repairs may place the user at risk of
harm.
• If the supply cord is damaged, it must be replaced by the manufacturer, its service
agent or similarly qualied persons in order to avoid a hazard.
• Do not leave the soldering station unattended, while it is powered on.
• Never touch the soldering tip or the surrounding metallic parts before the soldering
tip has cooled down completely.
• Turn off the power before connecting or disconnecting the desoldering gun or iron
to the control station.
• Ensure there is sufcient space and ventilation around the appliance to allow the
escape of heat and or fumes.
• Do not use the product near ammable items.
• Turn the power off when this product is not in use.
• The soldering irons must be placed in their holders when not in use.
• Before storage, turn the power off and allow the product to cool down to room
temperature.
• Do not use this product for anything else other than that for which it is designed.
• Children should be supervised to ensure that they do not play with the appliance.
• Do not use this appliance with wet hands.
• Do not expose the soldering station to rain or moisture.
• This appliance must be earthed.
WHAT’S INCLUDED?
• Control Station with desoldering gun holder
• Mains Lead
• Soldering Iron
• Desoldering Gun
• Iron Holder with tray for tip cleaning sponge
• User Manual
• Desolder tips
• Cleaning wires
• Filter pads
2
Page 3
OVERVIEW
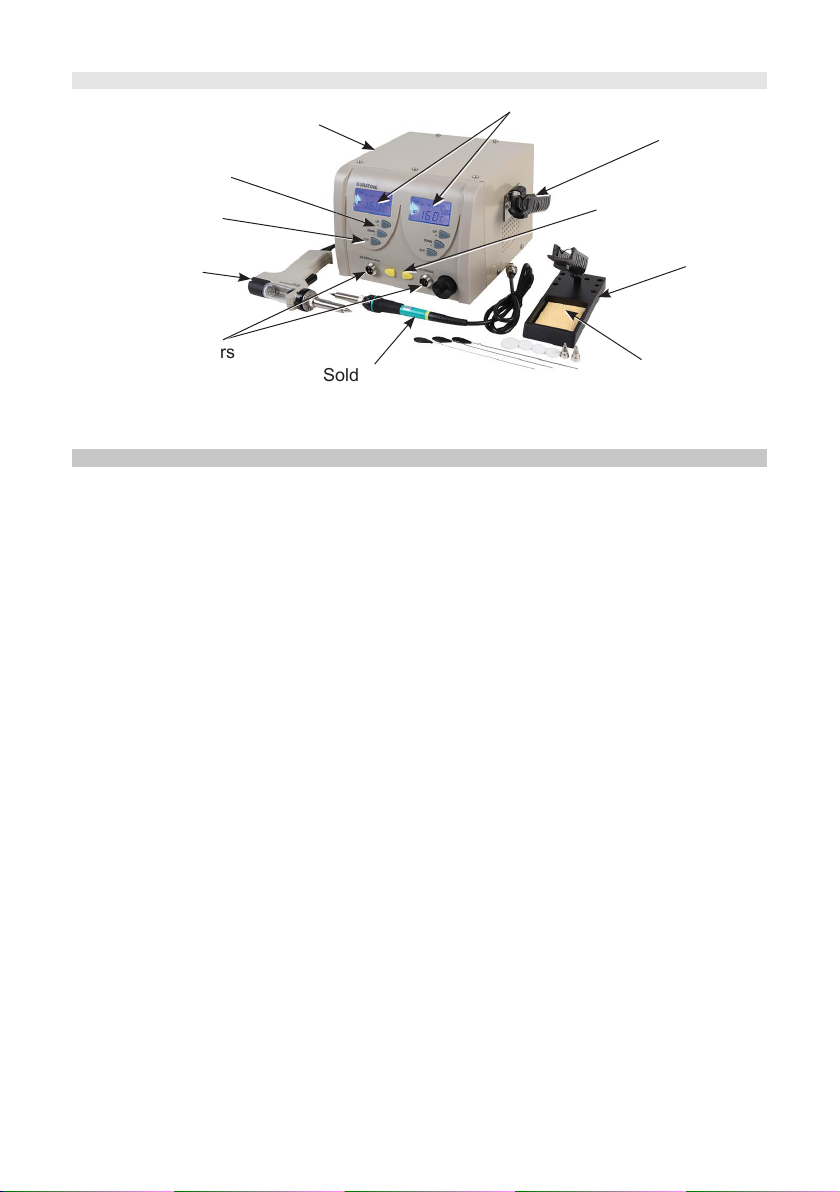
Temperature Controls
Soldering Station
Temperature Indicator
Gun/Iron
Holder
o
C / oF button
Desolder Gun
Power Switches
Gun/Iron
Holder
Gun/Iron
Connectors
Soldering Iron
Sponge
APPLICATION & OPERATION
Note: The rst time you use the soldering irons, they may smoke slightly as the heating
element dries out. This is normal and should only last for a few minutes.
ONLY USE FOR ELECTRICAL WORK - Acidic solder will damage the iron tip.
• Remove the four transit screws from the underside of the station.
• Connect the plug on the soldering iron lead to the left socket and the desolder gun
to the right socket on the front of the station and tighten the connector locking ring
nger tight.
• If the equipment is being used for the rst time check that a lter pad is inserted
inside the threaded socket then connect the vacuum pipe adaptor and tighten by
hand to form an air tight seal.
• Push the vacuum pipe fully onto the adaptor stub.
• Assemble the separate iron holder and place the soldering iron in the holder and
place the desolder gun in the holder mounted on the side of the station.
• Before using the soldering iron for the rst time, dampen the cleaning sponge and
place it in the tray on the base of the iron holder. Keep it damp during use.
• Connect the mains lead and plug into the mains supply and turn on the power
using the switch on the rear of the unit.
• The yellow buttons on the front panel switch the two parts of the unit on or off.
• The LCDs will illuminate when the switch is on and the display shows the
previously set temperature.
• Between use (or during breaks), always put the soldering irons in their holders.
• Lower the temperature during breaks as this extends the life of the tip.
• When any soldering work is done, adjust the temperature to 270oC or switch off
the power rst, clean the tip and tin with fresh solder to protect it from oxidation.
Note: Applicable to the soldering iron only - not the desolder gun.
3
Page 4
SOLDERING
Adjusting the temperature
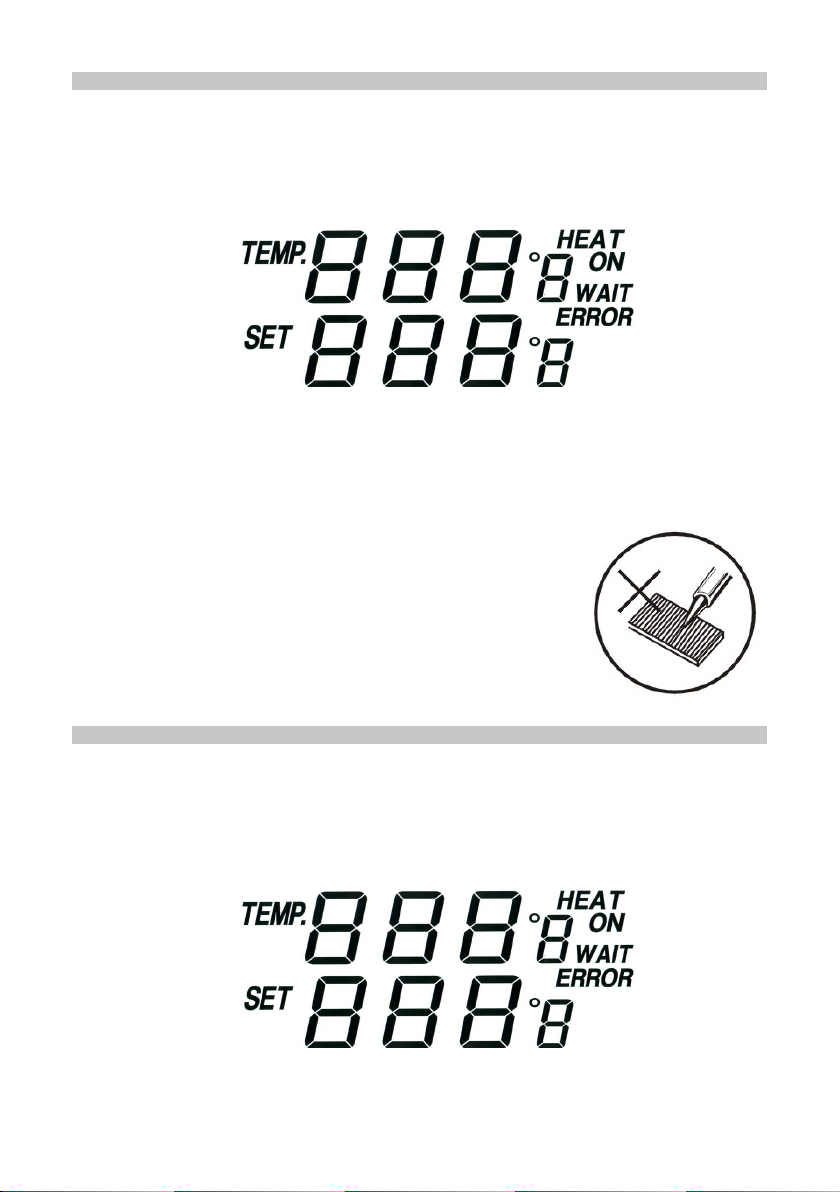
• Adjust the temperature for the iron by pressing the UP or DOWN buttons on the
left side of the station front panel.
• The lower gure is the required temperature, the upper gure shows the actual tip
temperature.
• While the iron is heating up to the required temperature “HEAT ON” displays on
the LCD.
• If the difference between the required temperature and that of the iron tip is greater
than 10° “WAIT” displays on the LCD.
• To change from °C to °F press “oC / oF” button. The display shows °C or °F after
the temperature gure.
• Never le down the tips or attempt to clean using
abrasives.
• If the tip is worn, replacement tips are available for this
station - see our website or catalogue.
DESOLDERING
Adjusting the temperature
• Adjust the temperature for the desolder gun by pressing the UP or DOWN buttons
on the right side of the station front panel.
• The lower display is the required temperature, the upper display shows the actual
tip temperature.
• While the iron is heating up to the required temperature “HEAT ON” displays on
the LCD.
4
Page 5
• If the difference between the required temperature and that of the iron tip is greater
than 10° “WAIT” displays on the LCD.
• To change from °C to °F press
o
C / oF button. The display shows °C or °F after
the temperature gure.
• When the desoldering tip reaches the desired temperature place over the solder
connection on the back of the PCB.
• When the solder melts, pull the trigger on the desoldering iron.
• The solder will be collected in the reservoir on the top of the iron.
• If the tip becomes blocked use the correct size cleaning wires (supplied) to clear
the blockage.
MAINTENANCE
Removing solder waste:
The reservoir must be emptied of solder waste regularly or the efciency of operation
will be impaired.
• Switch off the mains power and allow the desoldering gun to cool.
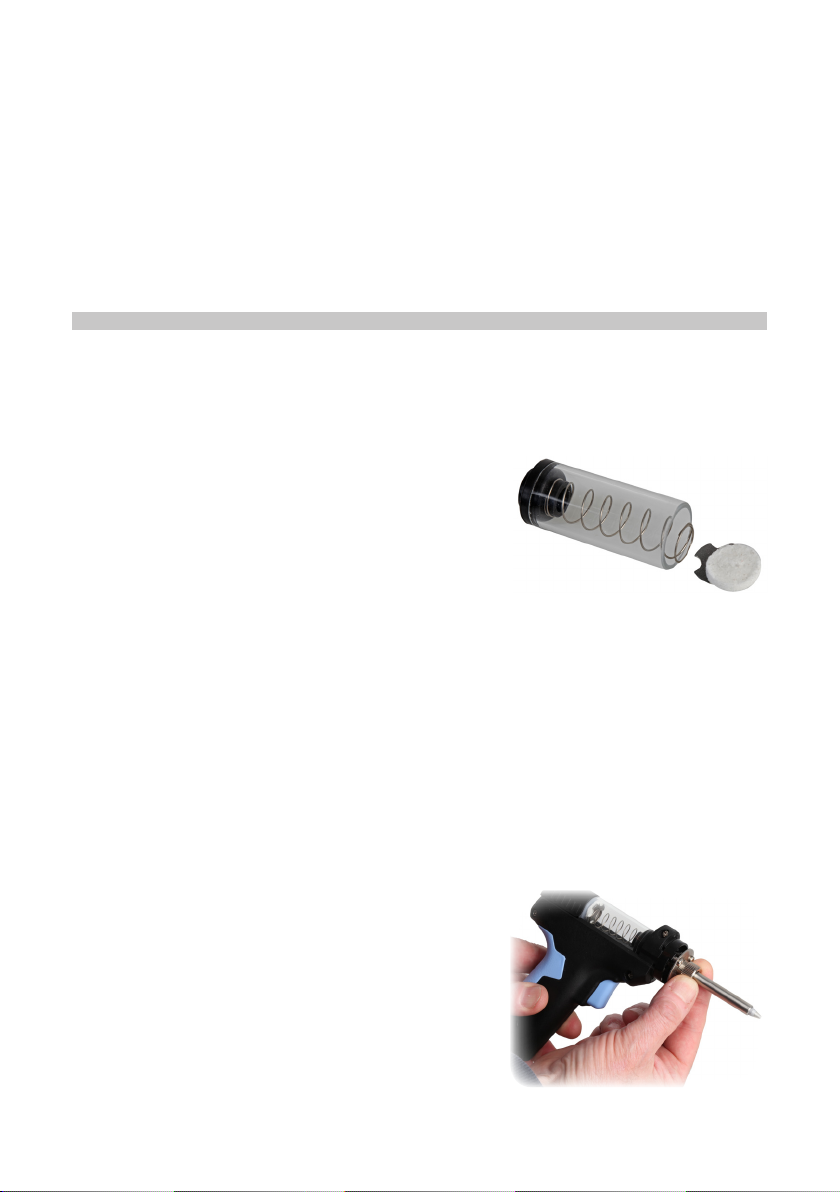
• Slide the rear cover clear from the reservoir.
• Lift out the reservoir while retaining the lter pad
and spring plate in position.
• Remove the lter pad and spring plate and empty
out the waste from the reservoir.
• Replace the spring plate and lter into the rear end of the tube and re-insert into
the gun ensuring the spring plate and lter are fully engaged inside the tube and
the front end is slotted into the gun fully.
• Press on the end of the rear cover and slide it back into position.
NOTE: a new lter pad can be tted during this process if the one in use is becoming
dirty or worn.
Replacing the desoldering tips:
• There are 3 different diameter tips supplied with this iron.
• Replacing the tip should only be done when the iron is switched off, unplugged
and allowed to cool.
Caution: Damage could occur if the iron is left powered on without the tip tted.
• Unscrew the knurled nut and remove the outer
tube retainer.
• Invert the tube and the tip will drop out.
• After removing the tip, blow out any oxide dust
that may have formed in the tip retaining area of
the iron.
Caution: Care should be taken to avoid getting dust in your eyes.
5
Page 6

• Slide a new tip down inside the retainer and ret
onto the gun.
• Replace and tighten the knurled nut (nger tight
only).
Caution: Do not over tighten the nut as the element could be damaged.
NOTE: The additional tips supplied are sealed with solder when new. When the
desoldering iron has reached operating temperature and the solder has melted, pull the
trigger on the gun to extract the solder into the waste collector.
SOLDERING IRON TIP REPLACEMENT
• Replacing the soldering iron tip should only be done when the iron is switched off
and at room temperature.
• The tip can be changed or replaced by unscrewing the knurled nut barrel.
Caution: Damage could occur if the iron is left on without the tip inserted.
• After removing the tip, blow out any remaining oxide dust that may have formed in
the tip retaining area of the barrel.
Warning: Care should be taken to avoid getting dust in your eyes.
• Replace the tip and tighten the knurled nut barrel assembly with your ngers.
• Pliers should only be used to tighten the nut if loosening occurs when the iron is
hot.
• Do not over tighten the nut as the element could be damaged.
CLEANING
• Cleaning should only be done when the power is switched off and the irons are
at room temperature. Use a damp cloth and a small amount of liquid detergent if
necessary.
• Never submerse the desoldering gun, iron or control station in liquid or allow any
liquid to enter the case.
• Do not use any chemicals, abrasives or solvents that could damage the
desoldering gun, interconnecting leads and pipe, soldering iron or the control
station.
• If the vacuum efciency seems to be reducing, pull off the vacuum pipe from the
control unit and unscrew the adaptor. Do not lose the sealing washer from inside
the adapter. Pull out the lter pad from inside the connector on the control unit and
examine for blockage. Replace with a new one if required (supplied).
6
Page 7
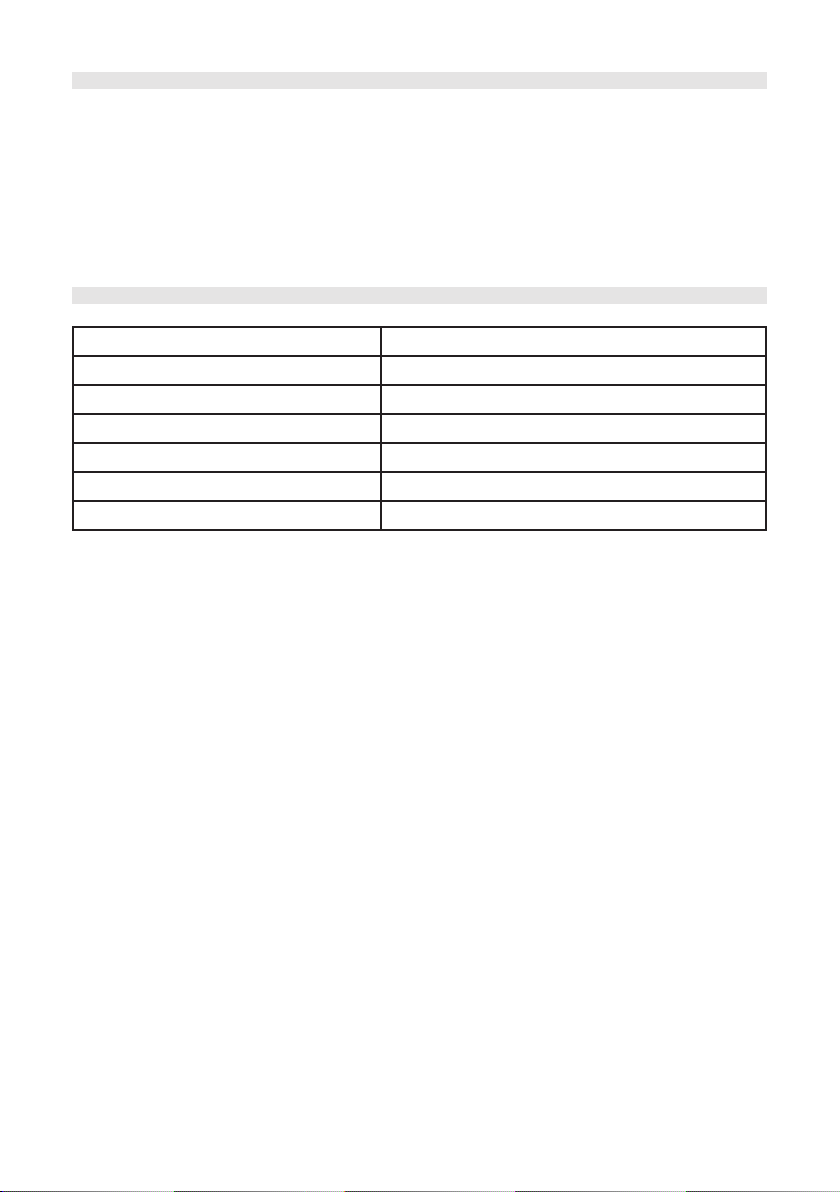
TROUBLESHOOTING
• “ERROR” is displayed - A loose connection - check
connection of the iron to the station.
• Tip will not reach set temperature - Defective heating element
• Solder will not wet the tip - Tip temperature is too high.
Tip is badly oxidized and requires cleaning.
SPECIFICATIONS
Input Voltage 220-240V~50Hz
Power Consumption - Desoldering 80W
Power Consumption - Soldering 60W
Output Voltage 24V AC
Temperature Range 160-480°C
Vacuum Pressure 60mm HG
Weight 5.67kg
7
Page 8
INFORMATION ON WASTE DISPOSAL FOR CONSUMERS OF ELECTRICAL &
ELECTRONIC EQUIPMENT.
When this product has reached the end of its life it must be treated as Waste
Electrical & Electronics Equipment (WEEE). Any WEEE marked products must
not be mixed with general household waste, but kept separate for the treatment,
recovery and recycling of the materials used. Contact your local authority for details
of recycling schemes in your area.
Made in China. PR2 9PP
8
Man Rev 1.0
 Loading...