

Duomo Vent Check User Manual
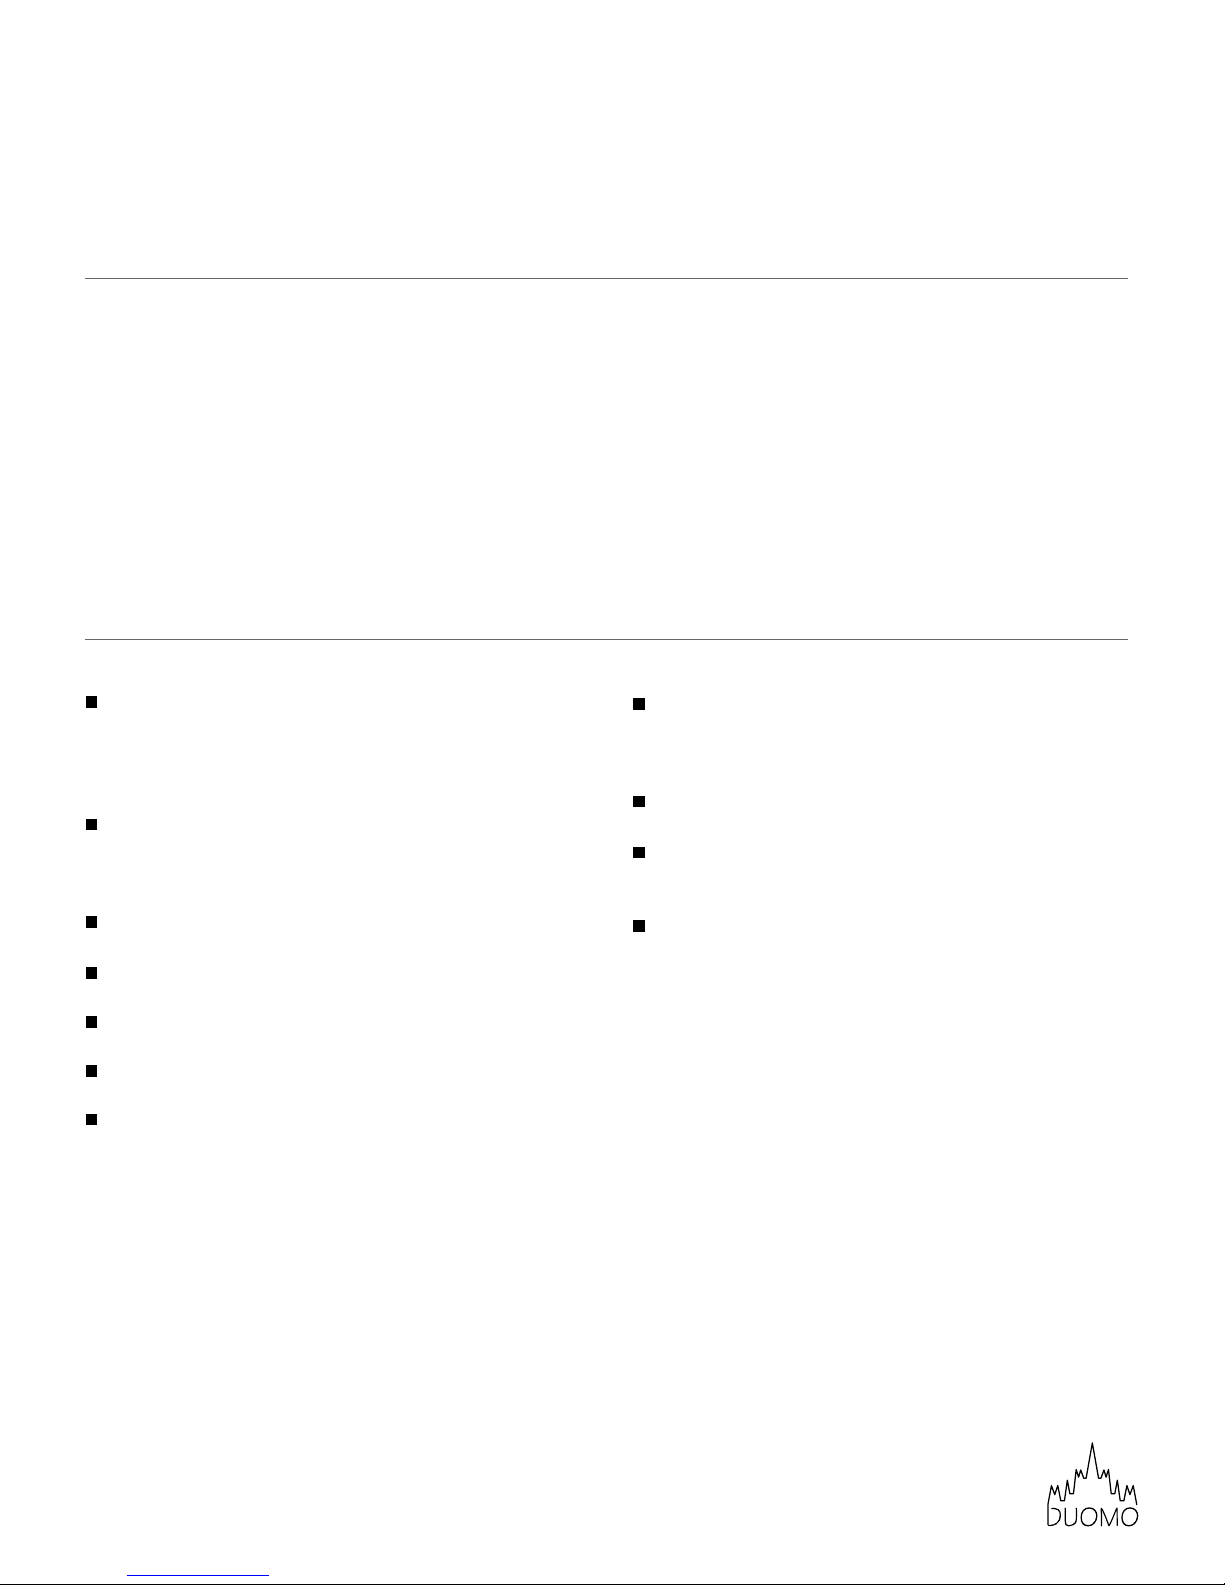
Keypad (Fig.1)
3
56
4
21
A
A
B
B
C
C
C
C
B
B
A
A
C
C
B
B
A
A
A
BC
C
B
A
CB
A
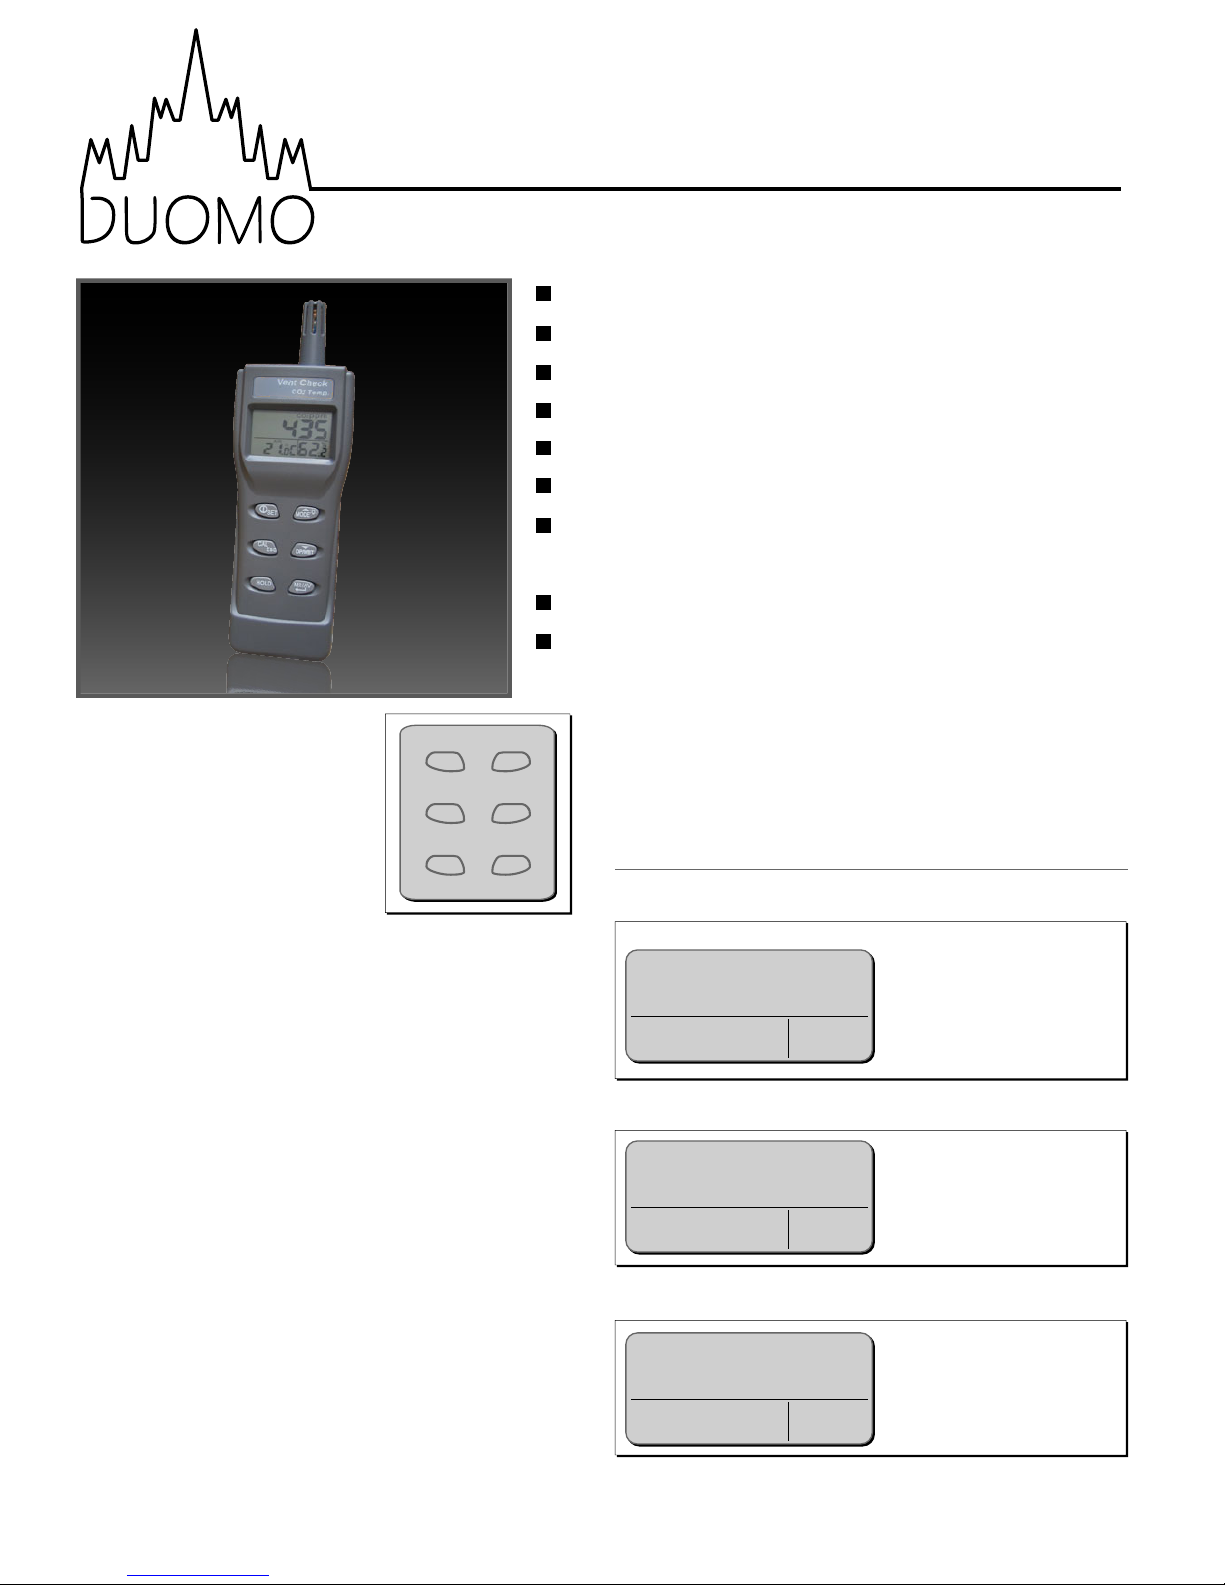
Vent Check
Operation
Display
Press button 1 to turn the meter
on and off.
After a 30 second warm-up the
meter is ready to use and will
display the normal operating
screen (Fig.2).
Pressing button 4 will c ycle through current air
temperature.
Pressing button 6 will cycle through minimum CO
2,
maximum CO
2, Time Weighted Average ( TWA -
weighted average of CO
2 in the past 8 hours) and Short
Time Exposure Limit (STEL - weighted average of CO
2 in
the past 15 minutes) readings since power on.
Pressing button 5 will hold all current readings except
TWA and STEL.
Pressing and holding button 2 for more than a second
will turn the backlight on and off.
The unit will turn off automatically after 20 minutes of
inactivity.To override this function, turn the unit off then
restart it by holding buttons 1 and 5 together.
The meter will take a new reading every second. When
the operating conditions change, the unit will respond
in 30 seconds for CO
2.
When batter y supply is low, 'Lob' will be displayed.
Change the batteries or connect the DC adaptor.
NOTE: Do not hold the meter close to the face as
exhalation can affect CO
2 readings.
Normal Operation (Fig.2)
Menu Mode - Top Level (Fig. 3)
Menu Mode - Lower Level (Fig. 4)
A =CO
2 reading in ppm
B = Temperature
C = N/A
A = Menu name
B = N/A
C = Menu level (e.g.P 1.0)
A = Current value
B = Current menu name
C = Menu level (e.g.P 1.1)
Dual display of CO2 and temperature
Stable NDIR sensor for CO
2 detection
Statistics of weighted averages
BS8494 compliant (from 10 - 60 ºC)
Backlight for working in dark areas
Audible CO
2 warning alarm
Easy manual fresh air correction on CO
2
and humidity
PC connection via USB interface
With hard case and power adaptor
w: www.duomo.co.uk - e: sales@duomo.co.uk - t: 01905 797989 - f: 01905 774296 | © Duomo (UK) Ltd. 2007
Troubleshooting
Specification
Can't power on
Press button 1 for more than 0.3 seconds and try
again. Check whether batteries are in good contact
and correct polarity is observed.
Fixed readings
Check whether data hold function was activated.
Slow response
Check whether the air flow channels on the rear are
blocked.
Error messages
E01: CO
2 sensor damaged
E02:The value is under range
E03:The value is over range
E04:The original data error results in this error
E07: Voltage to measure CO
2. Replace batteries or
use an adaptor
E17: Retry CO
2 calibration
E31:Temperature sensor damaged
CO
2
Range of 0 - 9999ppm
(maximum alarm threshold 9900ppm)
Resolution of 2
ppm
Accuracy ± 75ppm ±5%
Temperature
Range of -10 - 60 ºC (14 - 140 ºF)
Resolution of 0.1 ºC (0.1 ºF)
Accuracy ± 0.6 ºC
Warm Up
30 seconds
Operating Ranges
From0~50ºC , 0 ~ 95% RH (avoid condensation)
Storage
From -20 ~ 60 ºC ,0 ~ 99% RH (avoid condensation)
Power
4 pcs AA batteries,DC Adaptor
Battery Life
> 10 hours (Alkaline)
Fresh Air Correction & Calibration
CO2 Fresh Air Correction
It is strongly suggested that the unit be corrected in a sunny, outdoor environment that is well ventilated.Do not correct
the unit in places crowded with people or close to areas with high CO
2 concentration such as ventilating outlets or
fireplaces.
To correct the unit for CO
2, place the meter in the calibration site and press and hold buttons 2 and 3 simultaneously.The
unit will flash continually for about 5 minutes,then return to normal operation.
To abort correction at any time, simply turn the meter off.
CAUTION: The meter is corrected at ambient air of around 400ppm. Do not correct the meter in an environment with an
unknown CO
2 concentration.Doing this could lead to inaccurate measurements.
Setup
To enter the setup mode (Fig. 3) press and hold button 1
for more than a second.
From here use buttons 2 (UP) and 4 (DOWN) to cycle
through the menu screens and button 6 to accesss the
selected menu screen (Fig.4).
Buttons 2 and 4 can then be used to alter the alarm
threshold on menu P 1.1 and the temperature scale on
menu P 3.1 (Fig.4).
Use button 6 to save the current setting and return to
the main menu screen (Fig.3).
Press button 3 at any time to exit the setup menu.
w: www.duomo.co.uk - e: sales@duomo.co.uk - t: 01905 797989 - f: 01905 774296 | © Duomo (UK) Ltd. 2007
 Loading...