

Portable Evaporative Air Cooler
User Manual
Read and save these instructions before use
Model No.: DL-60 E (Electronic)
Model No.: DL-80 E (Electronic)
Model No.: DL-60 T (Mechanics)
Model No.: DL-80 T (Mechanics)
_______________________________________________________________________________
IMPORTANT SAFETY INFORMATION: Please carefully read this manual before attempting to
install or use this air cooler. For your safety, comply with all safety instructions and warning
contained in this owner's manual to prevent personal injury or property damage.

Contents
Introduction ............................................................................................. 1
Product Benefits...................................................................................... 1
Important Safety Information .................................................................. 1
Product Graphics...................................................................................... 3
The Control Panel ..................................................................................... 3
Product Specifications............................................................................... 4
Electrical wiring diagram............................................................................5
Before Using Your Evaporative Cooler....................................................... 6
Assembly Instructions ............................................................................ 6
Operating Instructions ............................................................................ 9
Maintenance...........................................................................................11
Troubleshooting ......................................................................................12

1
Introduction
Thank you for purchasing this Air Cooler, the world leader in home appliances and home comfort
products.
This owner’s manual provides specific operating instructions for your evaporative cooler. Use the
Air Cooler only as instructed in this owner’s manual.
Product Benefits
Designed to cool larger areas such as warehouses, factories, patios, athletic fields and more
High-efficiency, rigid cooling pads hold more water
Air vents with cooling pads on 3 sides of the unit for more cooling power
Can connect directly to a standard garden hose for continuous water supply
Powerful motor results in more powerful airflow, faster evaporation and cooler air
Eco-friendly evaporative cooling system cools the air by the natural process of evaporating
water with no Freon or harmful chemicals
Adds moisture to dry environments and eliminates airborne dust particles
Covers up to 650 square feet
Important Safety Information
These instructions are not meant to cover every possible condition and situation that may occur.
Please read all instructions before using this evaporative cooler. Failure to carefully read all
instructions may result in possible electric shock or fire hazard, and will void the manufacturer’s
warranty.
1. Use this evaporative cooler only as instructed in this owner’s manual. Other uses may cause
electric shock, injury or fire.
2. Close supervision is required if this cooler is used near children or pets.
3. To protect against electric shock, do not immerse this cooler or its plug and cord in water.
4. If the cooler is being transported or will not be in use, disconnect it from the power supply by
tightly gripping the plug and pulling it from the power outlet. Do not disconnect the power
supply by pulling on the evaporative cooler’s power cord.
5. Avoid contact with any of the evaporative cooler’s moving parts.
6. Place the evaporative cooler on a level surface.
7. This evaporative cooler is intended to fit into a matching receptacle. Under no circumstances
should the plug be altered in any way. An improper connection can result in electric shock.
8. If possible, avoid using extension cords with this evaporative cooler. If an extension cord is

2
absolutely necessary, do not use more than one extension cord to operate more than one
cooler.
9. Do not insert objects or allow fingers to enter into the cooler’s grills, as this may cause
electric shock or bodily injury. Do not block or tamper with the evaporative cooler while it is
in operation.
10. Do not run the power cord under mats or carpeting, and do not cover the power cord with
runners. Arrange the power cord away from room traffic and where it can be tripped over.
11. Do not operate this evaporative cooler in the presence of flammable substances or
explosives.
12. Do not place the cooler near an open flame or cooking/heating appliances.
13. This product is not intended for use in wet or damp areas.
14. If the evaporative cooler will not be in use, empty the tank of any remaining water.
15. Always fill the evaporative Cooler’s tank with fresh water. Using air fresheners, scented oils or
cleaners is not recommend and can cause damage to the unit’s internal parts.
16. Drain the evaporative Cooler’s tank and clean it at least once a week to prevent calcium
deposits and/or mold growth.
17. When using this evaporative Cooler in “Cool” mode, make sure the water tank is full or at
least above the minimum water level. Operating the Air Cooler in “Cool” mode without
sufficient water in the tank can cause damage to the water pump and will void the
manufacturer’s warranty.
18. To reduce the risk of fire or electric shock, do not use this fan with any solid-state speed
control device.
19. This appliance has a polarized plug (one blade is wider than the other). To reduce the risk of
electric shock, this plug is intended to fit in a polarized outlet only one way. If the plug does
not fit fully in the outlet, reverse the plug. If it still does not fit, contact a qualified electrician.
Do not attempt to defeat this safety feature.
20. If the cooler’s plug or power cord is damaged, do not attempt to repair the components
yourself. Please contact our customer service hotline or have the unit examined by an
authorized service provider

3
SAVE THESE INSTRUCTIONS
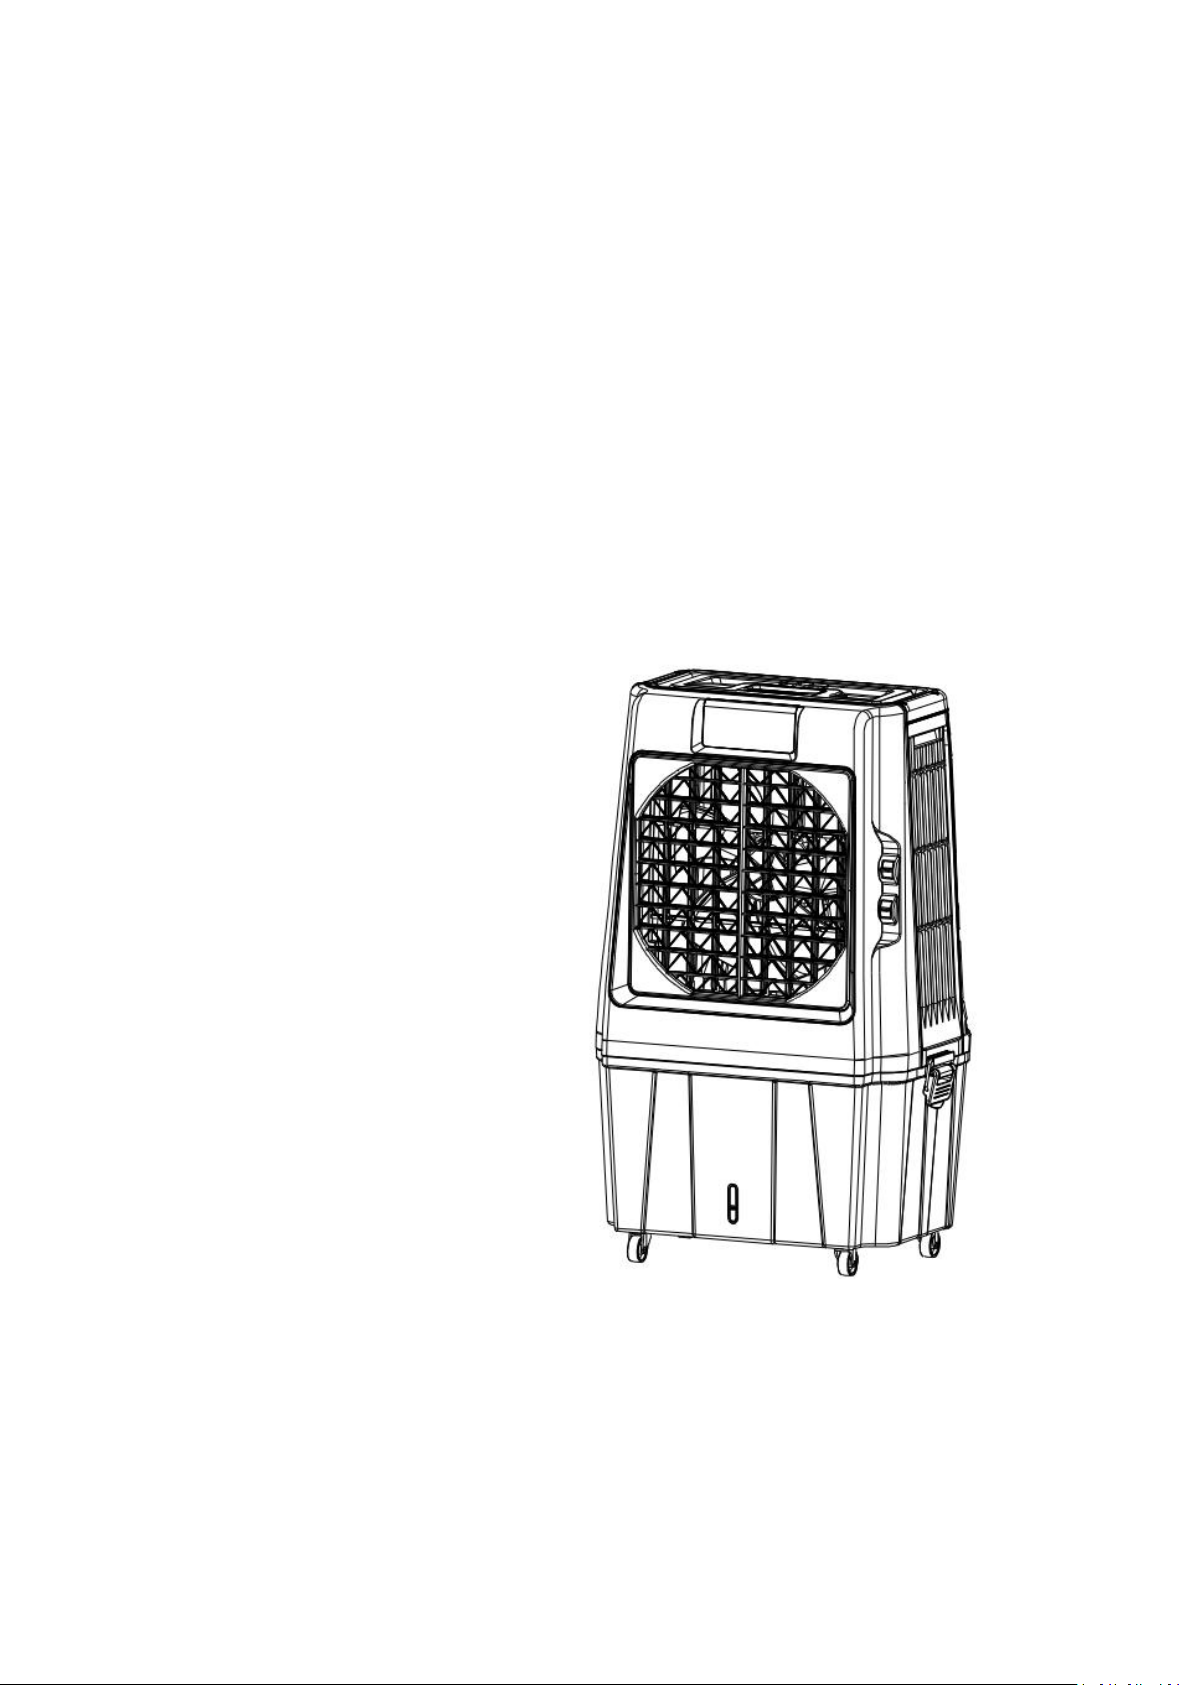
Product Graphics
The Control Panel
Electronic:DL-60 E/ DL-80 E

4
Machanics:DL-60 T / DL-80 T
Voltage/Frequency
110-120V/60Hz/1phase
Working Current
1.8A
Evaporation capacity
2.2gal/h
Max Air Flow
1353CFM
Power
0.27HP
Water Tank Max Capacity
15.9gallons
Product Size
26.4*17*42.2inches
Product Weight
45.4LB
Voltage/Frequency
110-120V/60Hz/1phase
Working Current
1.8A
Evaporation capacity
2.2gal/h
Max Air Flow
1353CFM
Power
0.27HP
Water Tank Max Capacity
21.2 gallons
Product Size
26.4*17*46.4inches
Product Weight
44.3 LB
Product Specifications
一、DL-60 E (Electronic)
二、
DL-80 E (Electronic)

5
三、
Model
DL -60T
Voltage/Frequency
110-120V/60Hz/1phase
Working Current
0.5A
Evaporation capacity
2.1 gal/h
Max Air Flow
1353CFM
Power
0.27HP
Water Tank Max Capacity
15.9 gallons
Product Size
26.4*17.0*42.2 inches
Product Weight
45.4 LB
Model
DL -80T
Voltage/Frequency
110-120V/60Hz/1phase
Working Current
1A
Evaporation capacity
2.2 gal/h
Max Air Flow
1353CFM
Power
0.27HP
Water Tank Max Capacity
21.1 gallons
Product Size
26.4*17.0*46.4 inches
Product Weight
44.3 LB
DL-60 T (Machanics)
四、
DL-80 T (Machanics)
Electrical wiring diagram
Electronic:DL-60 E/ DL-80 E

6
Machanics:DL-60 T / DL-80 T
Before Using Your Evaporative Cooler
This Air Cooler works as an evaporative cooler, humidifier and air cleaner in one. To achieve the
best cooling effect from your cooler, please follow these suggestions:
1. Unlike air conditioners, air coolers work best in areas with a fresh air supply. If using the unit
indoors, place it near an open window or leave the door to be opened. You can also open
another window or door on the opposite side of the room to create a "flow through" cooling
effect.
2. Turn on your air cooler before the ambient temperature reaches excessively high levels. Due
to the low operating costs of the unit, it is very cost effective to leave the cooler running for
extended periods.
3. Add cold water to the tank. Ice can also be added for an enhanced cooling effect. After

7
adjusting the Cooling dial, the unit's high-efficiency cooling pads will become damp. Air is
Installation direction
then drawn through the rear panel and covers the pads to release cool, clean air. Please note
that it may take a few minutes for the cooling pads to become fully saturated with water.
4. If the humidity level in your environment increases, this machine can also be used as a
cooling fan. Simply turn the unit on but do not adjust the cooling dial.
Assembly Instructions
1. Open the package, bring out the air cooler.
2. Add water: open the water-in box and fill water into the tank, please pay attention to the
water lever through the water lever window when you are filling water, also please notice below:
(1 )Do not splash water into the motor and surrounding areas to avoid damage to electrical
components
(2)Don not let water over the Max lever on the window; otherwise water will be spilled out
from the unit.
(3)Please use clear tap water.
3. Connect the power supply, enter the standby state, press the key to open, and set the wind
speed, swing air, refrigeration, timing function according to your need.
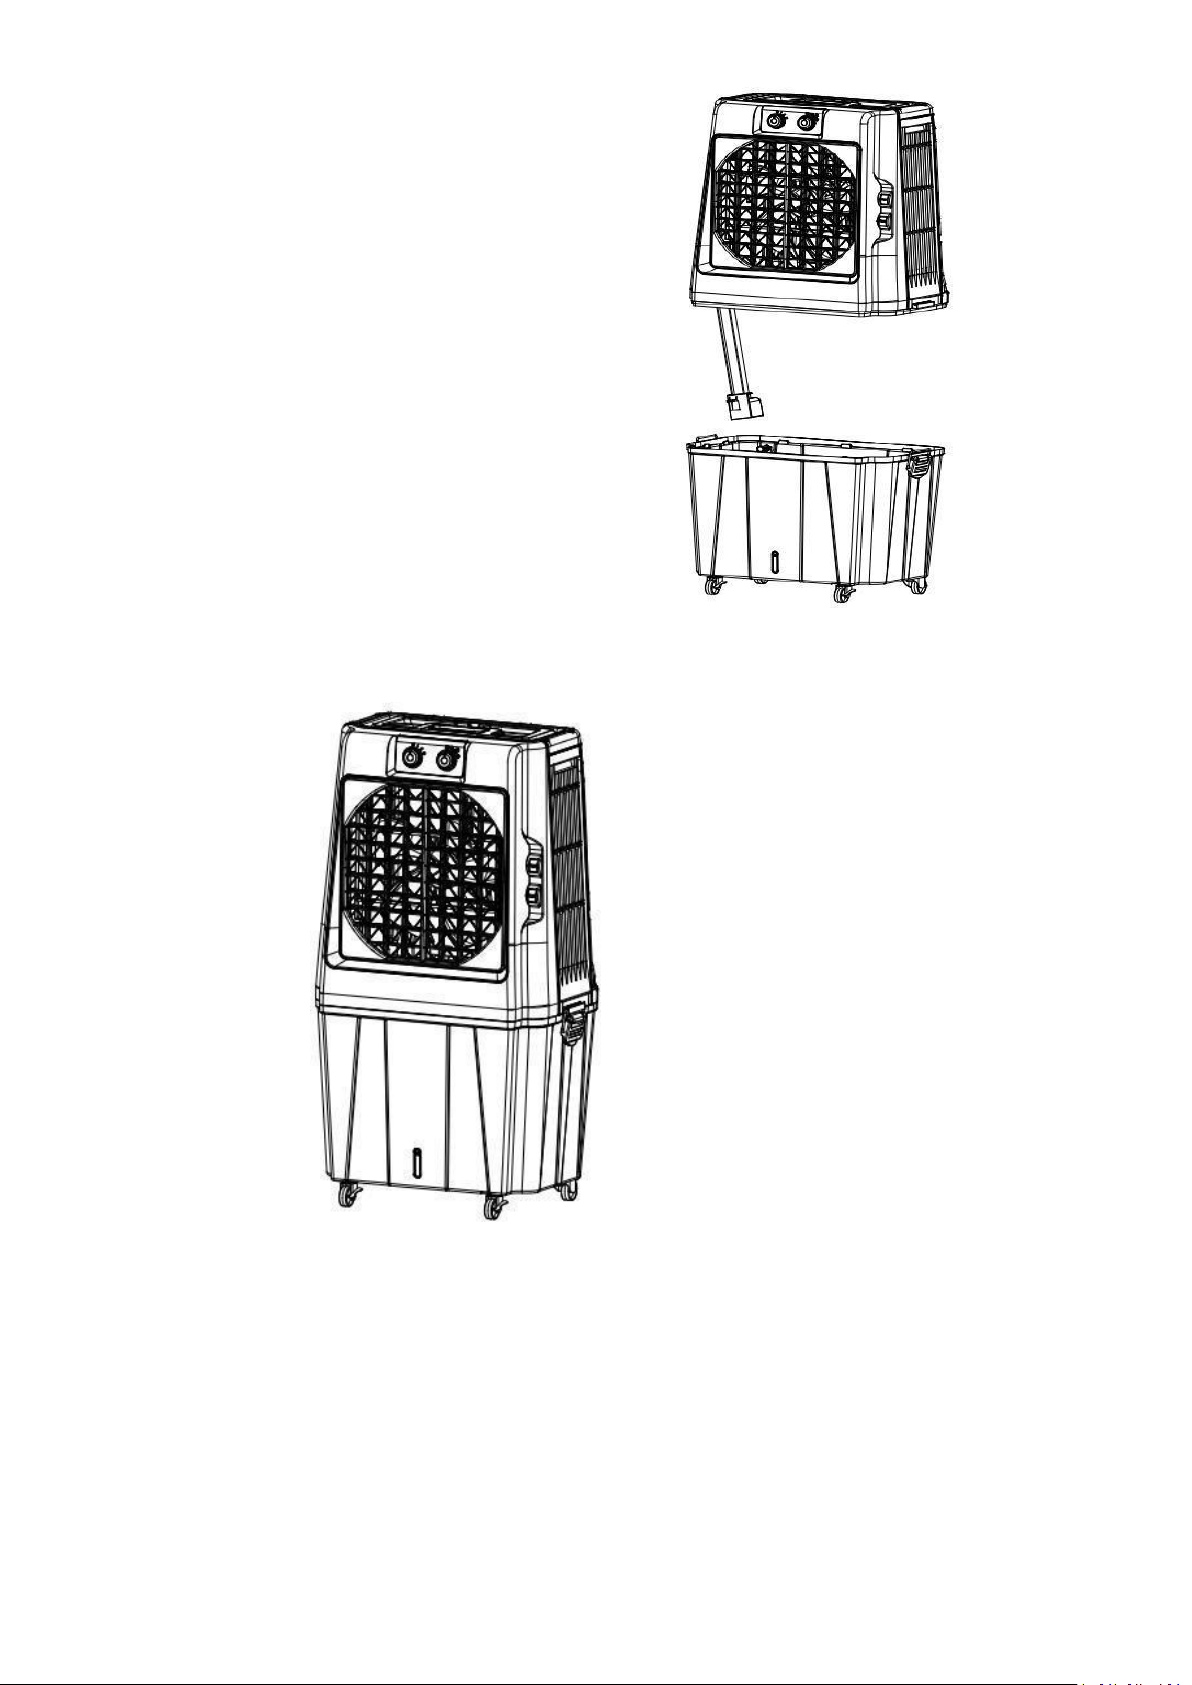
4. Installation diagram as blow.
Water tank and unit installation diagram
a. Front caster installation diagram
b.Back caster installation diagram

8
Installation direction
c.Water stop valve installation diagram
9
d.Unit installation diagram
e.Final installation diagram
Operating Instructions
Electronic:DL-60 E/ DL-80 E
Carefully remove all packaging materials and retain for future storage/use. Make sure there is no
residual foam left in any of the components.

10
Power supply 110V-120V/60Hz, plug in, machine boots into standby.
1. Air Speed Selection
Press" ", Speed display bar" “will light one bar, means one wind speed, and so
on, a total three speed. Each clicks on Control Panel, buzzer ring.
2. Swing Selection
Press" “Swing Function on, Vertical blade automatic circulation swing. One more click to
close. Each clicks on Control Panel, buzzer ring.
3. Timer Selection
Press" “Timer Function on, one Click, " " light on, Machine will turn off after 1 hour;
five click, " " light on, and so on, we can make it 12 hours the most. Each clicks on
Control Panel, buzzer ring.
4. Freeze Function
Press" “Freeze Function on. One more click to close. Each clicks on Control Panel, buzzer
ring.
5. Ionizer
Press" “Ionizer, Freeze Function on. One more click to close. Each clicks on Control Panel,
buzzer ring.
6. Power
Press" “Power on. One more clicks to Power off. Each clicks on Control Panel, buzzer ring.
Machanics:DL-60 T / DL-80 T
Carefully remove all packaging materials and retain for future storage/use. Make sure there is no
residual foam lift in any of the components.
Power supply 110V-120V/60Hz, plug in, machine boots into standby.
1. Air Speed Selection
1.1 The left knob rotates to the right, when the knob indicator points to "I" is the low air speed,
the knob indicator points to "II" for the middle air speed, and the knob indicator points to "III" for
the high airspeed.
1.2 The machine stops running when the left knob turns left and indicates to "0".
2. Function Selection
2.1 The right knob rotates to the right, when the knob indicator is pointed to" ",the

11
refrigeration is turned on;
When the knob indicator is pointing to " ", the left and right automatic circulation
pendulum is turned on, and the refrigeration stops;
When the knob indicator points to" ”the left and right automatic circulation swing air and
refrigeration are turned on at the same time
2.2 The right knob rotates to the right. When the knob indicator points to "OFF", all auxiliary
functions will stop working.
Maintenance
Regular cleaning and maintenance is an essential step in maintaining the longevity of your
evaporative cooler and ensuring that it operates free of defects. Maintain your evaporative cooler
by following these steps:
Always unplug the evaporative cooler from the power supply before servicing or cleaning.
Use a soft cloth and a mild soap and warm water solution to clean the unit’s exterior. Do not
use harsh cleaners, gasoline; paint thinner, benzene, etc., as these substances can damage
the evaporative cooler.
Thoroughly dry all of the cooler’s parts with a soft cloth before reconnecting the unit to the
power supply.
Empty the water tank after the evaporative cooler has been in use.
If the evaporative cooler will not be used for an extended period of time, place the unit back
in its original carton and keep it stored in a clean, dry place.
To clean the cooling pads of any debris or dust, remove the pads from the panels and rinse
them with clean water. Allow them to thoroughly air dry before placing them back into the
unit.

12
Troubleshooting
Problem
Possible Cause(s)
Possible Solution
There is no airflow.
The power cord is not plugged
in.
Check to make sure the plug is
plugged into an outlet.
The unit does not cool.
1. There is insufficient water
in the tank.
2. The unit is not in cooling
mode.
3. The pump is defective.
Check the water level in
the tank and make sure
there is enough water.
Turn the COOLING dial.
Contact customer service
if there is an issue with
the water pump.
The unit does not produce
sufficient cooling.
The cooling pad is not
sufficiently saturated with
water.
Allow the cooling pads to
become fully saturated with
water. This may take a few
minutes.
Water is coming out of the air
louvers.
The cooling pads may be
clogged with debris.
Clean the cooling pads by
rinsing them in water and
allowing them to thoroughly
dry. If the problem persists,
contact customer service.
 Loading...