

Dunarri THR3-24, THR4-48, THR3-36 Installation Instructions Manual
!
Installation Instructions
Dunarri Throttle w/Key Switch for electric scooters and ebikes
Model: THR3-24 / THR3-36 / THR4-48
Preparation
• Follow these instructions carefully. Incorrect connections could destroy the throttle
or cause the scooter to run wide open. For safety, place something under the
drive wheel so it cannot move.
• Make sure the scooter is off and unplug the battery pack connector.
!
Mount the pieces
1. Disconnect your old throttle from the ECM / controller and remove the wire from the enclosed area.
2. Unwrap the wire wraps holding the wires together.
3. Remove the old grip (if there is one) from the throttle side of the handlebars. It may require a lot of twisting and pulling to get it
off.
4. Once the grip is off, use an allen wrench to loosen the nut on the old throttle, then slide the throttle off the bar.
5. Now slide the new 5 LED Throttle on to the handlebar where the old throttle and grip were. It can be secured by tightening the
nut under it with a 3mm allen wrench.
6. Pull the new throttle’s wire back in to the enclosure where you removed the old one.
Making the connections
7. Your throttle shipped with a 6 pin male connector housing which is most commonly found on electric scooters and bikes. If your
controller uses one of this connector it should be a simple matter of sliding the pins in to the correct slots. The wires on your
new throttle are as follows:
red = throttle +5V
black = ground
white = throttle signal
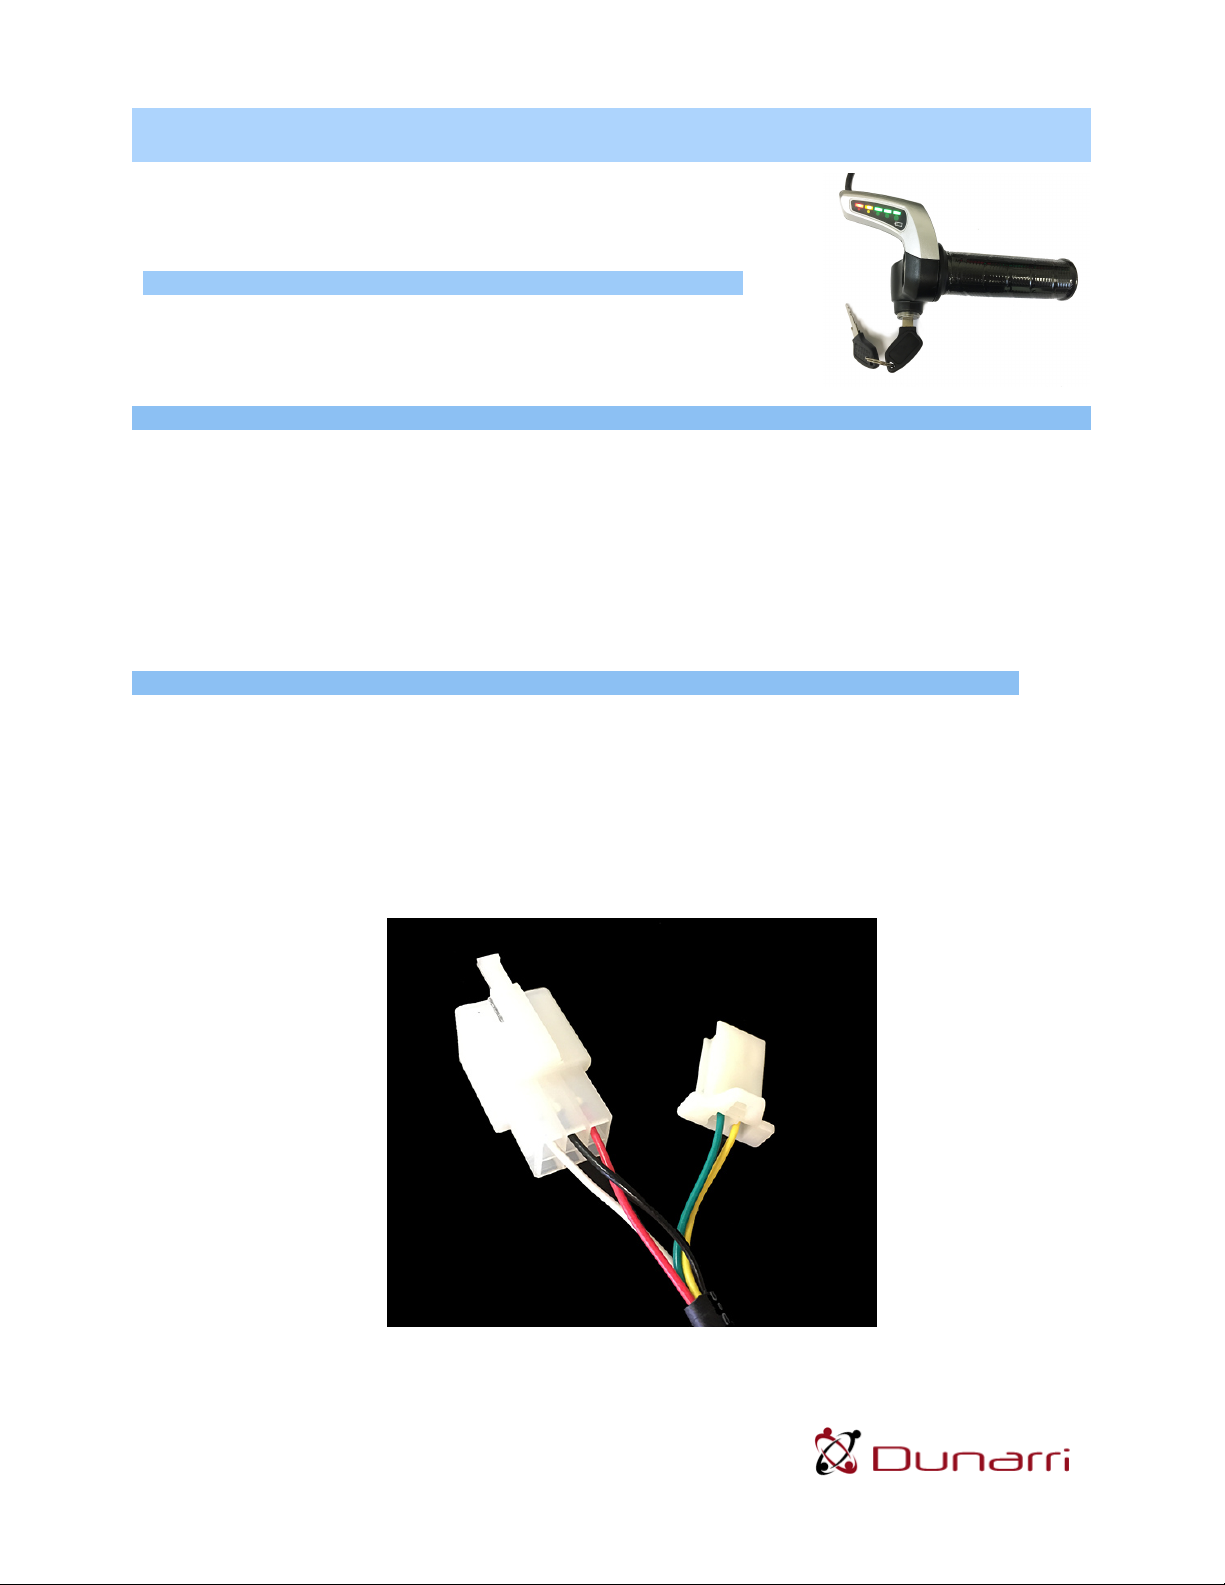
green = switch hot, connect to the power / lock pin from the controller that always has voltage
yellow = switch return, connect to the power / lock pin from the controller that turns it on
* If the lights on the throttle are always on even with the key removed, you have green and yellow hooked up backwards.
Here is an example :

!
8. We recommend hooking up just the throttle wires first and verifying that works before connecting the key switch. Once you
have the red, black, and white wires in their proper spots in the connector housing, plug the throttle in and plug the battery back
in and place something under the scooter to keep the drive wheel off the ground (if the throttle were hooked up incorrectly it
may go wide open). Switch it on and turn the throttle to make sure it is working properly. Note that the battery indicator lights
get their power from the key switch and will not light up yet.
9. If everything is working fine, now it’s time to connect the key switch. It uses the two remaining green and yellow wires on the
throttle. Before continuing, switch off the scooter and unplug the battery pack again.
10. Start by disconnecting your old On/Off Switch connector. You can just leave the old switch in your scooter or you could
repurpose it. Grab the smaller 2 slot white connector and insert the green and yellow wires in to the corresponding slots as
outlined in step 7.
11. Now plug this in to the power / lock connector from the controller and plug in the battery pack again. This time turning the key
on the throttle should turn on the scooter - the lights on the throttle should light up. Twisting the throttle should move the wheel.
If so you’re good to go!
12. Finally, you can install the matching grip on the other side of your handlebars. Removing the old grip will once again require a
lot of twisting and pulling, but once off getting the new one on isn’t as bad and you can use a rubber mallet to tap it in if you
have one. Also rewrap the wires using the wrap you removed in step 2.
If you have any questions or it’s not working as it should, give us a call 720-443-3231, we’re always here to help.
 Loading...