

DUAKNE 8751 User Guide

PLEASE READ
We are in no way responsible for the
contents of the manual. We do not guarantee
its accuracy and we do not make any claim
of copyright. The copyright remains the
property of their respective owners.
Visit the site to read the latest projector
news and reviews, read and comment on
projector specifications, download user
manuals and much more.
ENGLISH
FRANÇAIS
ESPAÑOL
NEDERLANDS
TECHNICAL
PORTGÊS
Liquid Crystal Projector
28A8751
USER'S MANUAL
Please read this user's manual thoroughly to ensure correct usage through understanding.


ENGLISH
Liquid Crystal Projector
USER'S MANUAL
USER'S MANUAL
ENGLISH-1
Thank you for purchasing this liquid crystal projector.
CONTENTS
CONTENTS
Page
FEATURES .......................................2
BEFORE USE ...................................2
Contents of Package ..............................2
Part Names.............................................3
Loading the Battery ................................4
INSTALLATION ................................5
Installation of the Projector and Screen
........5
Angle Adjustment ...................................5
Cabling ...................................................6
Power Connection ..................................7
Example of System Setup ......................7
Plug & Play.............................................7
OPERATIONS...................................8
Power ON ..................................................8
Power OFF
..............................................8
Basic Operation......................................9
Setup Menu ..........................................11
Input Menu............................................12
Image Menu..........................................13
Options Menu .......................................14
No Signal Menu....................................15
MAINTENANCE ..............................16
Lamp.....................................................16
Air Filter ................................................18
Other Maintenance...............................18
Page
TROUBLESHOOTING ....................19
OSD Message ......................................19
Indicators Message ..............................20
Symptom ..............................................21
SPECIFICATIONS...........................22
WARRANTY AND AFTER-SERVICE
......23
.......................................................................................
TABLES
Table 1. Installation Reference.................5
Table 2. Cabling .......................................6
Table 3. Basic Operations ........................9
Table 4. Setup Menu ..............................11
Table 5. Input Menu................................12
Table 6. Image Menu..............................13
Table 7. Options Menu ...........................14
Table 8. No Signal Menu........................15
Table 9. OSD Message ..........................19
Table 10. Indicator Message ..................20
Table 11. Symptom ................................21
Table 12. Specifications .........................22
.......................................................................................
For "TECHNICAL" and "REGULATORY
NOTICE", see the end of this manual.
• The information in this manual is subject to change without notice.
• The manufacturer assumes no responsibility for any errors that may appear in this manual
• The reproduction, transmission or use of this document or contents is not permitted without
express written authority.
TRADEMARK ACKNOWLEDGMENT : PS/2, VGA and XGA are registered trademarks of
International Business Machines Corporation. Apple, Mac and ADB are registered trademarks of
Apple Computer, Inc. VESA and SVGA are trademarks of the Video Electronics Standard
Association. Windows is a registered trademark of Microsoft Corporation. Carefully observe the
trademarks and registered trademarks of all companies, even when not mentioned.
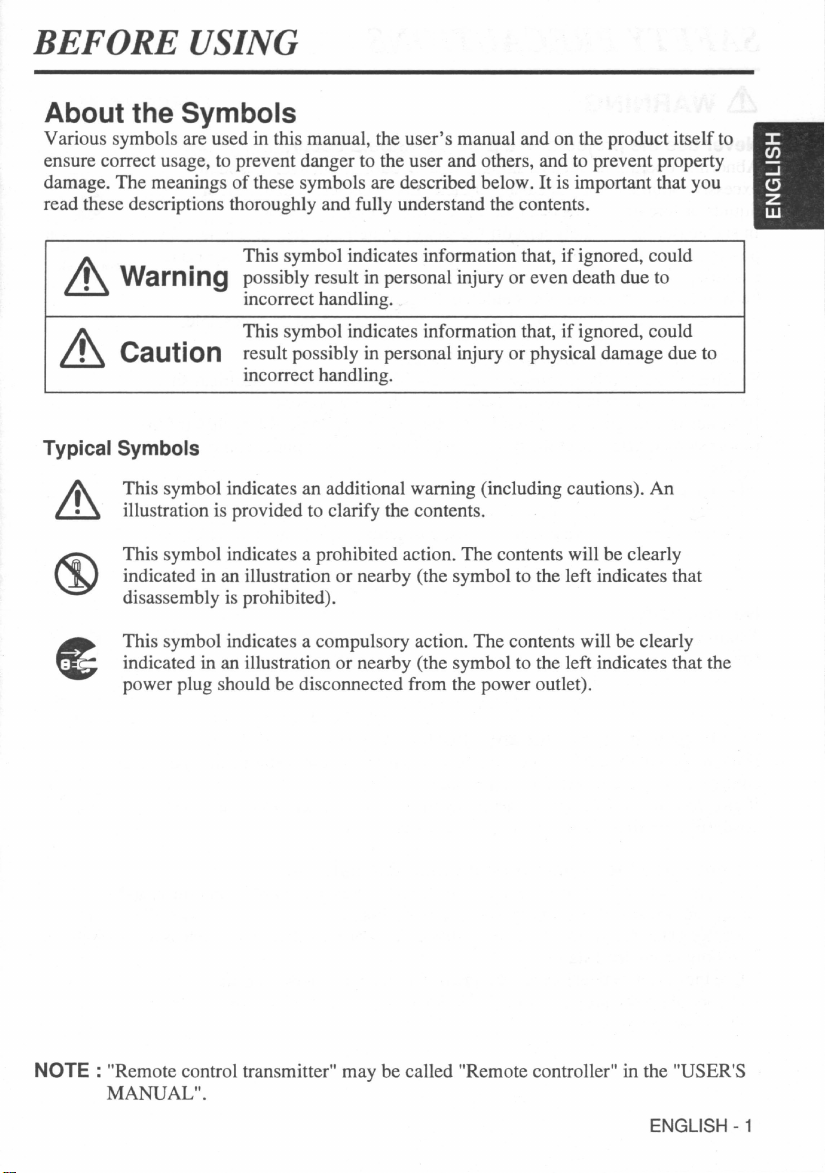
NOTE
WARNING • Please read the accompanying manual “SAFETY
INSTRUCTIONS” and this “USER'S MANUAL” thoroughly to ensure correct
usage through understanding. After reading, store this instruction manual in a
safe place for future reference.
ENGLISH-2
FEATURES
FEATURES
This liquid crystal projector is used to project various computer signals as well as NTSC / PAL /
SECAM video signals onto a screen. Little space is required for installation and large images can
easily be realized.
Outstanding Brightness
The UHB lamp and high-efficiency optical system assure a high level of brightness.
Partial Magnification Function
Interesting parts of images can be magnified for closer viewing.
Distortion Correction Function
Distortion-free images are quickly available.
Extra-low Noise Function
Acoustic noise level from the unit can be reduced.
BEFORE USE
BEFORE USE
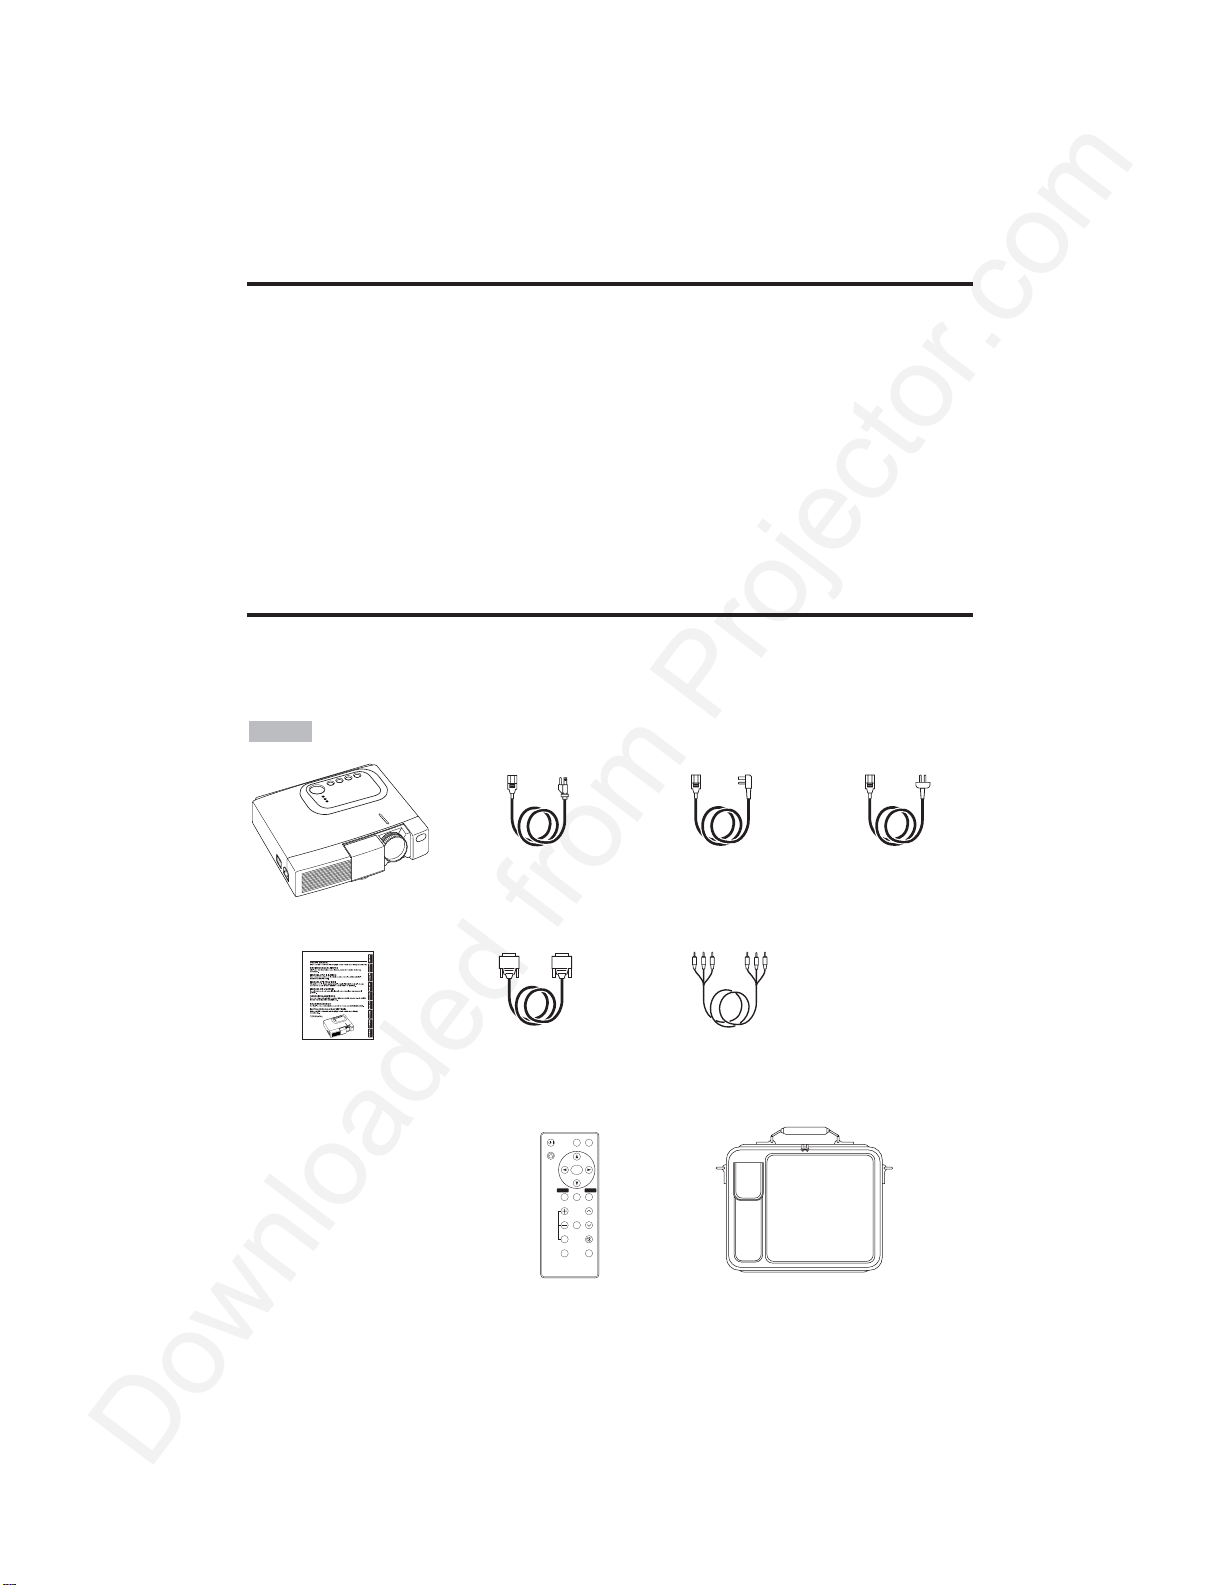
Contents of package
Make sure all of the following items are included in the package. If anything is missing, please
contact your dealer.
• Keep the original packing material for future reshipment.
NOTE
Projector
Power Cord
(UK Type)
Power Cord
(Europe Type)
RGB Cable
Component
Video Cable
(with green lead)
Remote Controller
containing Battery
Carrying Bag
User’s Manual
(this manual)
VIDEO
STANDBY/ON
RGB
KEYSTONE
MENU
SELECT
MENU RESET
POSITION
MAGNIFY
FREEZE
VOLUME
MUTE
OFF
AUTO
BLANK
ENGLISH-3
BBEEFFOORREEUUSSEE((ccoonnttiinnuueedd)
)
ENGLISH
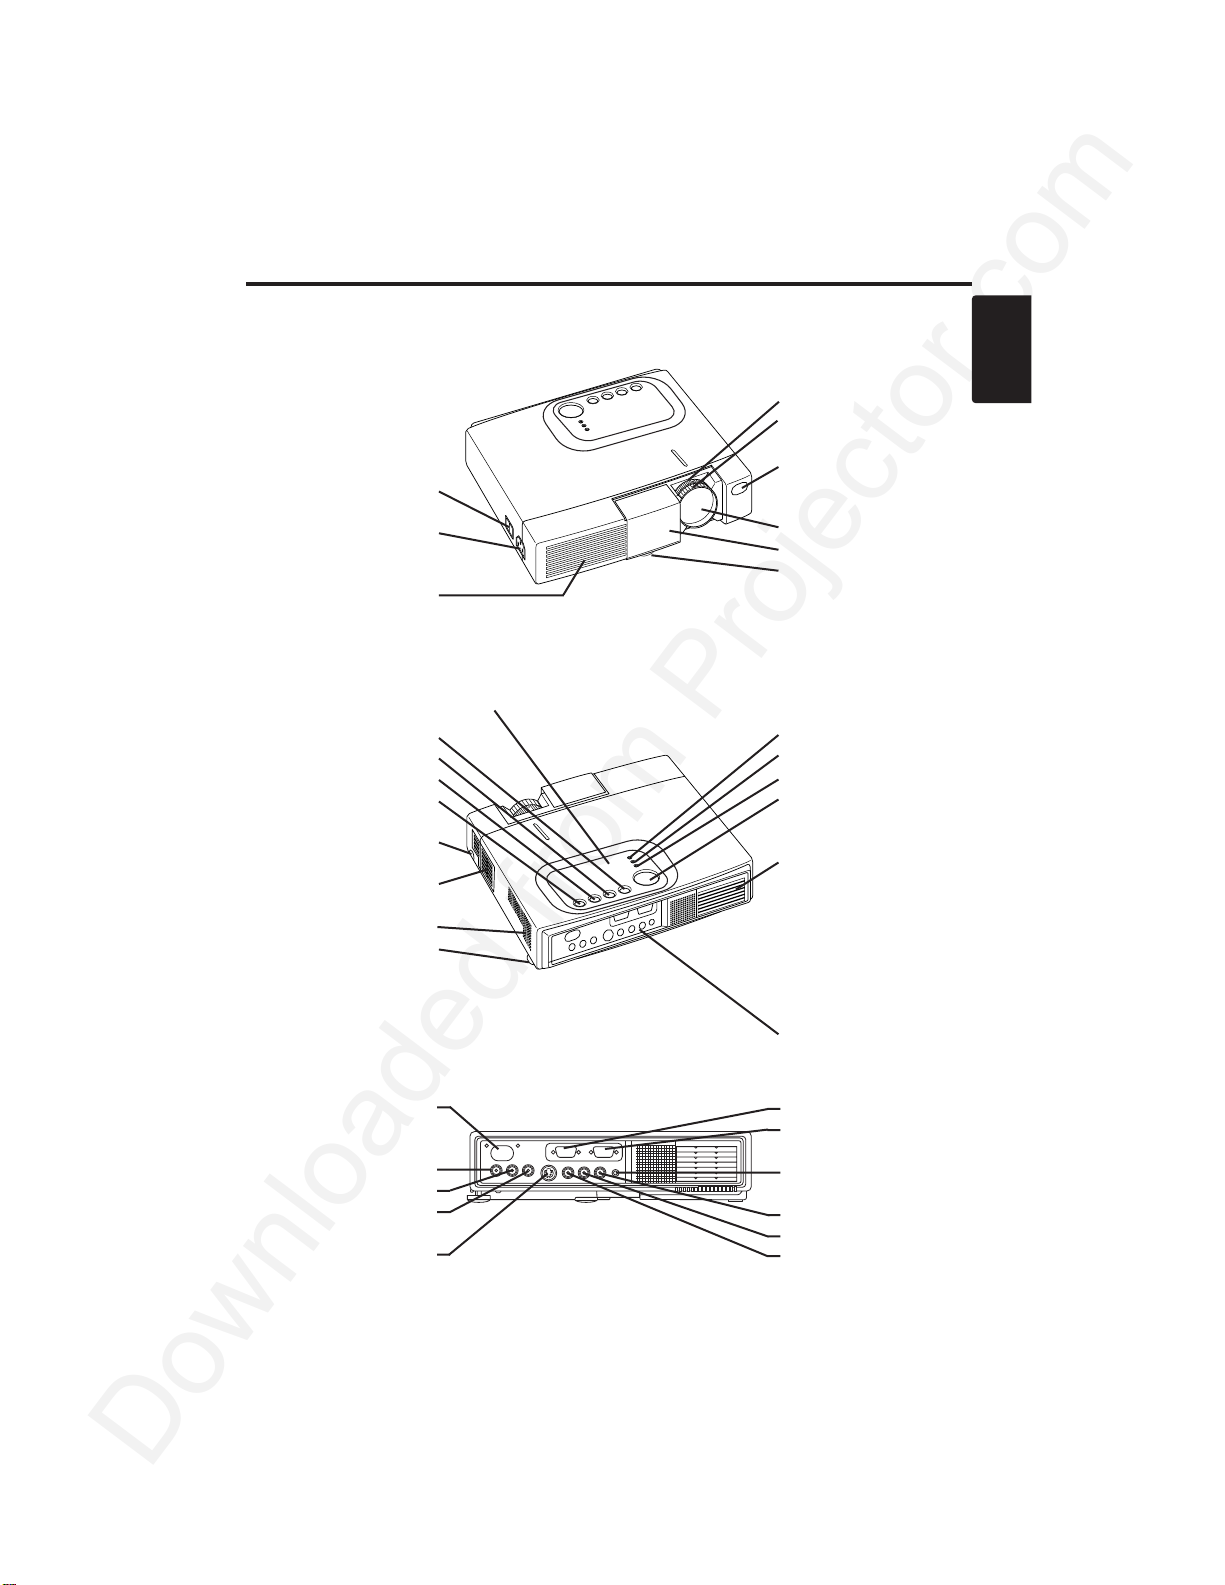
Part Names
Power Switch
AC Inlet
(to the Power Cord)
Ventilation Openings
(Intake)
Zoom Knob
Focus Ring
Remote Control Sensor
Lens
Slide Lens Door
Foot Adjuster
Front / Left View
RESET Button
KEYSTONE Button
INPUT Button
STANDBY/ON Button
Foot Adjuster Button
Air Filter and Intake
(for the Cooling Fan)
Speaker
Rear Foot Adjuster
LAMP Indicator
TEMP Indicator
POWER Indicator
MENU Button
Ventilation Openings
(Exhaust)
Rear / Right View
Terminal Panel
(Refer below)
Remote Control Sensor
COMPONENT
Y Terminal
C
B/PB Terminal
C
R/PR Terminal
S-VIDEO Terminal
RGB Terminal
CONTROL Terminal
AUDIO Terminal
AUDIO
R Terminal
L Terminal
VIDEO Terminal
Terminal Panel
Control Panel (Refer to P.8 "OPERATIONS")
ENGLISH-4
BBEEFFOORREEUUSSEE((ccoonnttiinnuueedd)
)
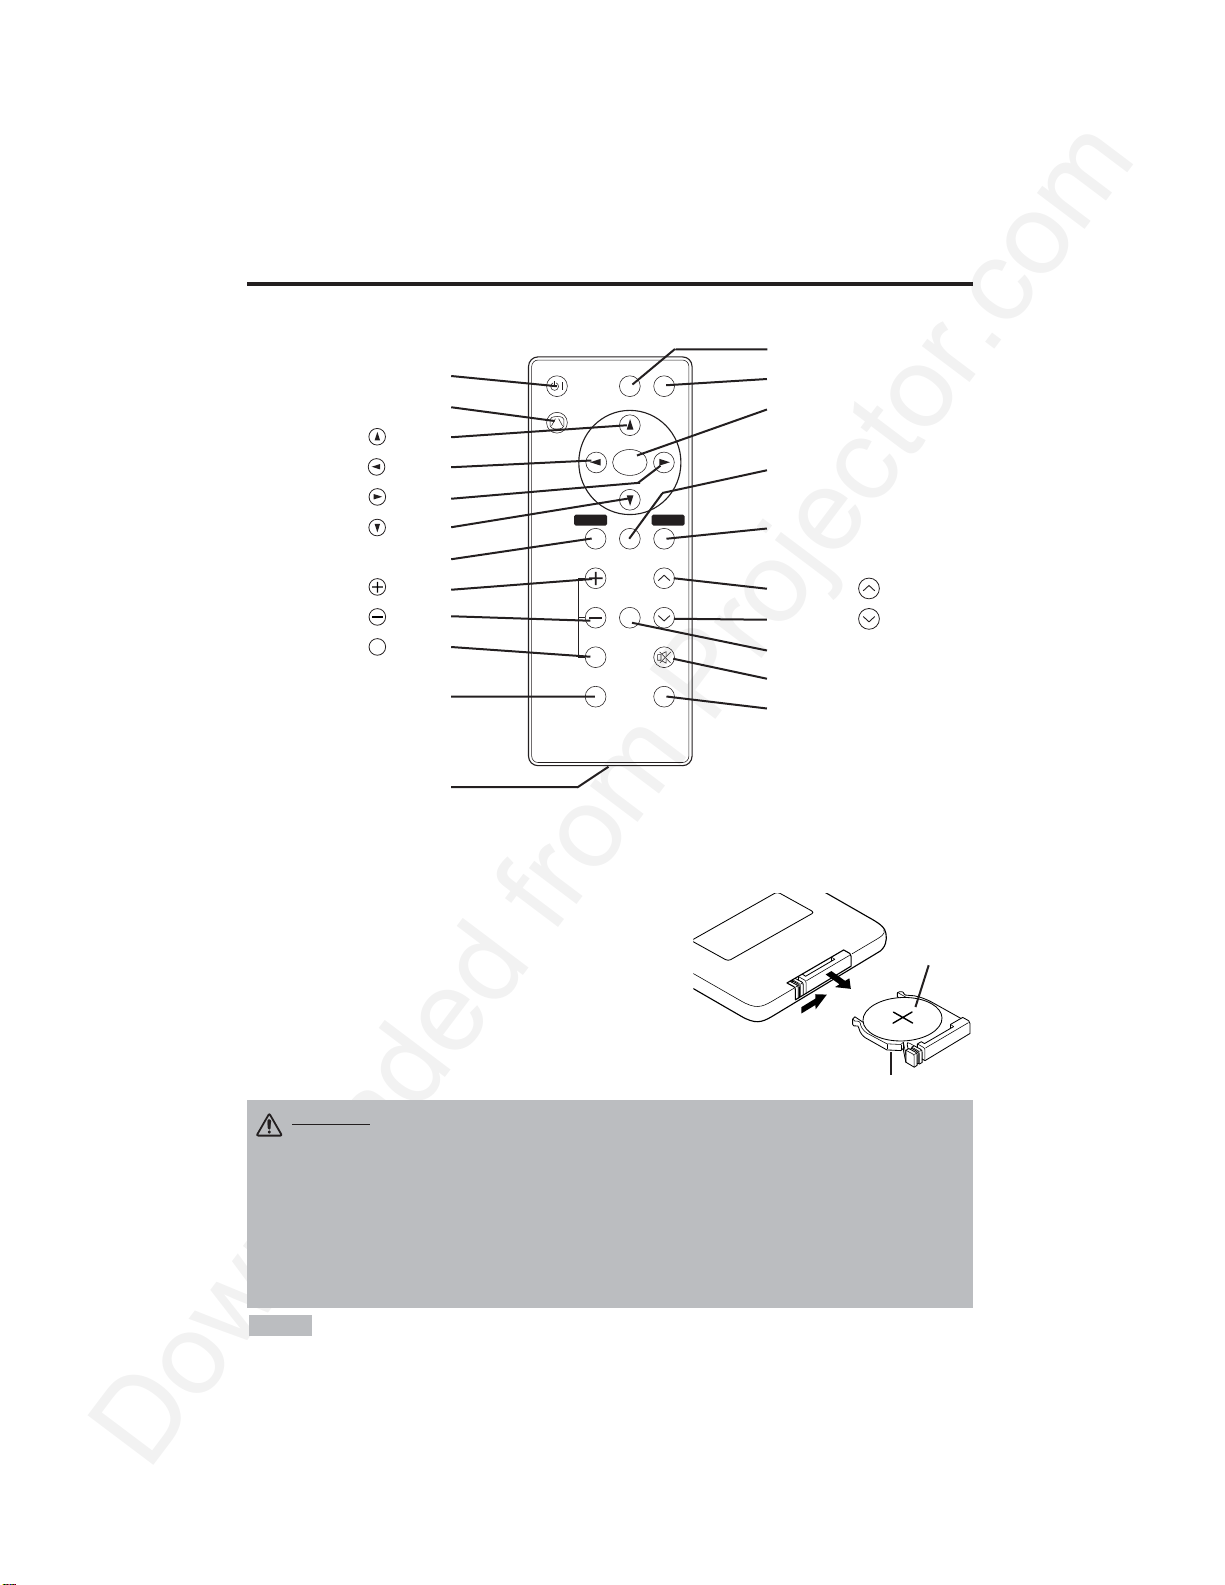
Part Names (continued)
STANDBY/ON
STANDBY/ON Button
KEYSTONE Button
Button
Button
Button
Button
MENU Button
MAGNIFY Button
MAGNIFY Button
MAGNIFY Button
AUTO Button
Battery Holder
OFF
VIDEO Button
RGB Button
MENU SELECT Button
POSITION Button
RESET Button
VOLUME Button
VOLUME Button
FREEZE Button
MUTE Button
BLANK Button
Remote Controller
Loading the Batteries
First Loading:
In original packing, the battery is installed in the battery holder of
the remote controller with protection film(the transparent film some
of which is inside the battery folder). Pull out the protection film to
load the battery.
Replacing:
1. See the reverse side of the remote controller.
2. Pinch the groove and pull out battery holder as the drawing right.
3. Remove the worn battery.
4. Install the new battery with “+” side facing.
5. Push in and click the battery holder.
Pull out
“+” side
Battery Holder
(Refer to Page.8 "OPERATIONS")
Replace the batteries when remote control transmitter operation becomes difficult.
NOTE
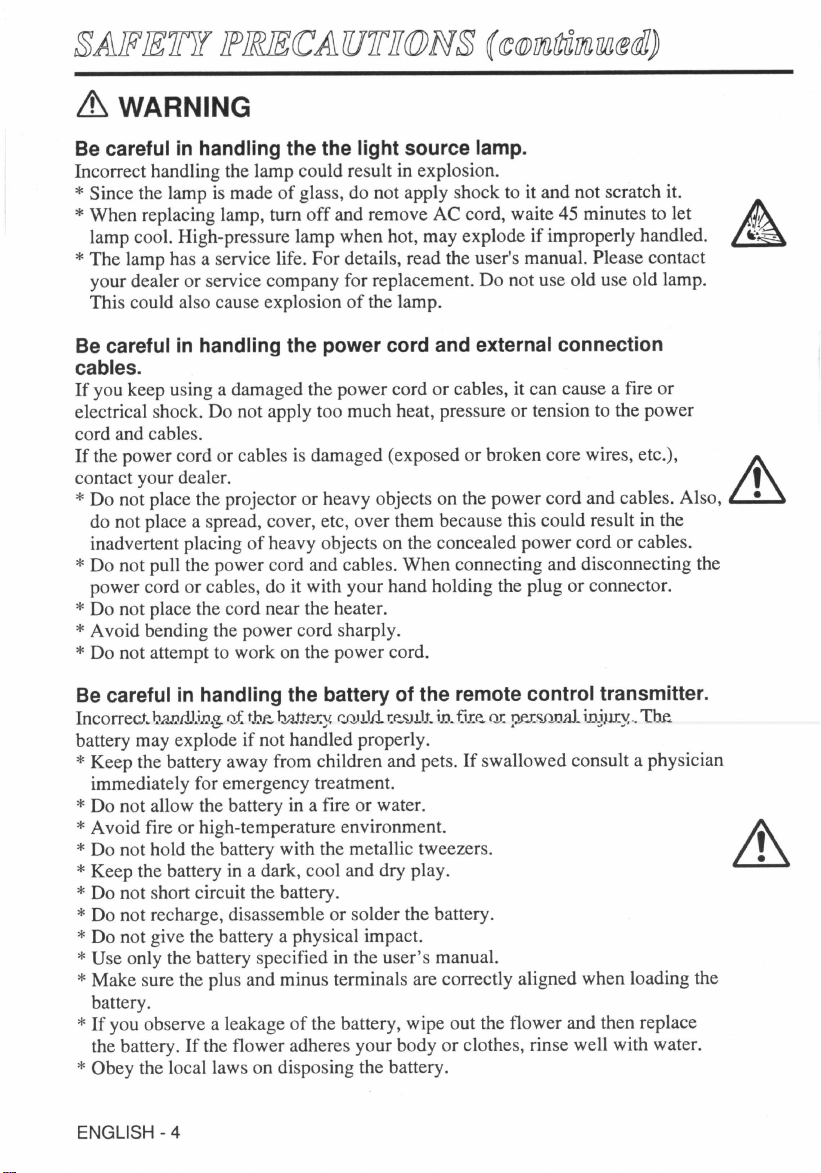
CAUTION •
Incorrect handling of the battery could result in fire or personal injury.The
battery may explode if not handled properly. Be careful in handling the battery
according to instructions of accompaning manual "SAFETY INSTRUCTIONS"and this
manual.
• Use the 3V micro lithium battery type no.CR2025 only.
• When loading the battery, make sure the plus and minus terminals are correctly oriented as
indicated in the remote controller.
• When you dispose the battery, you should obey the law in the relative area or country.
• Keep the battery away from children and pets.
• When not to be used for an extended period, remove the battery from the remote controller.
KEYSTONE
VIDEO
MENU
SELECT
RGB
MENU RESET
POSITION
MAGNIFY
FREEZE
OFF
AUTO
VOLUME
MUTE
BLANK
 Loading...