

D.T.Systems H2O 1820 PLUS, H2O 1830 PLUS, H2O 1850 PLUS Owner's Manual
• H2O 1810 PLUS
• H2O 1820 PLUS
• H2O 1830 PLUS
• H2O 1850 PLUS
H2O 1800
PLUS
Series
with SmartLED
Owner’s Manual
2
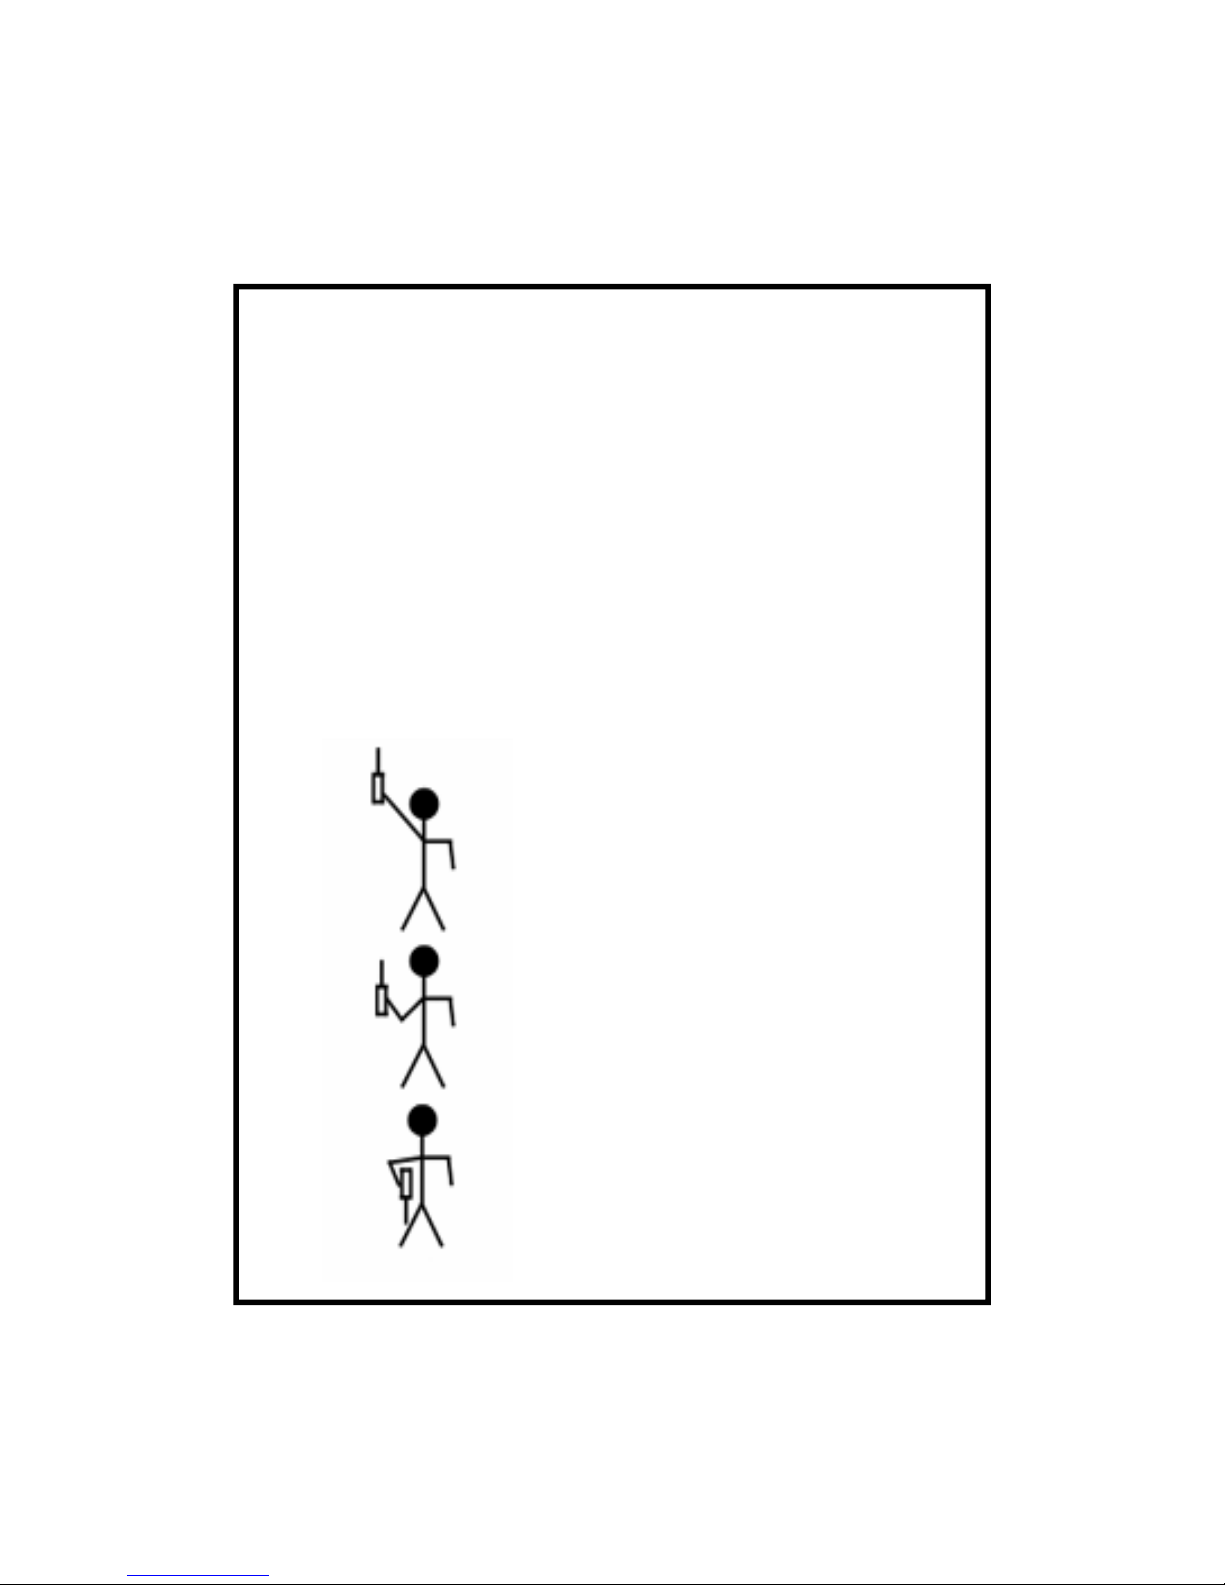
NOTICE!
According to how you use your
transmitter, the transmitting range
might be much different.
You will have more range if you use
your transmitter apart from your
body as follows:
Maximum
Typical Range
Minimum Range

3
TABLE OF CONTENTS
• Table of Contents ....................................... 3
• Introduction ................................................ 4
• Package Contents ...................................... 5
• Model Features .......................................... 5
• Parts & Functions ....................................... 6
• SmartLED................................................... 11
• Charging the Batteries................................ 12
• Turning ON and OFF.................................. 13
• Testing ....................................................... 14
• Programming the Collar.............................. 16
• Properly Fitting the Collar ........................... 17
• Setting the Intensity Level .......................... 18
• Maintenance............................................... 20
• Important Safety Notes............................... 21
• Warranty..................................................... 22
• FCC/IC/CE Compliance.............................. 23
• Contact Information.................................... 24

4
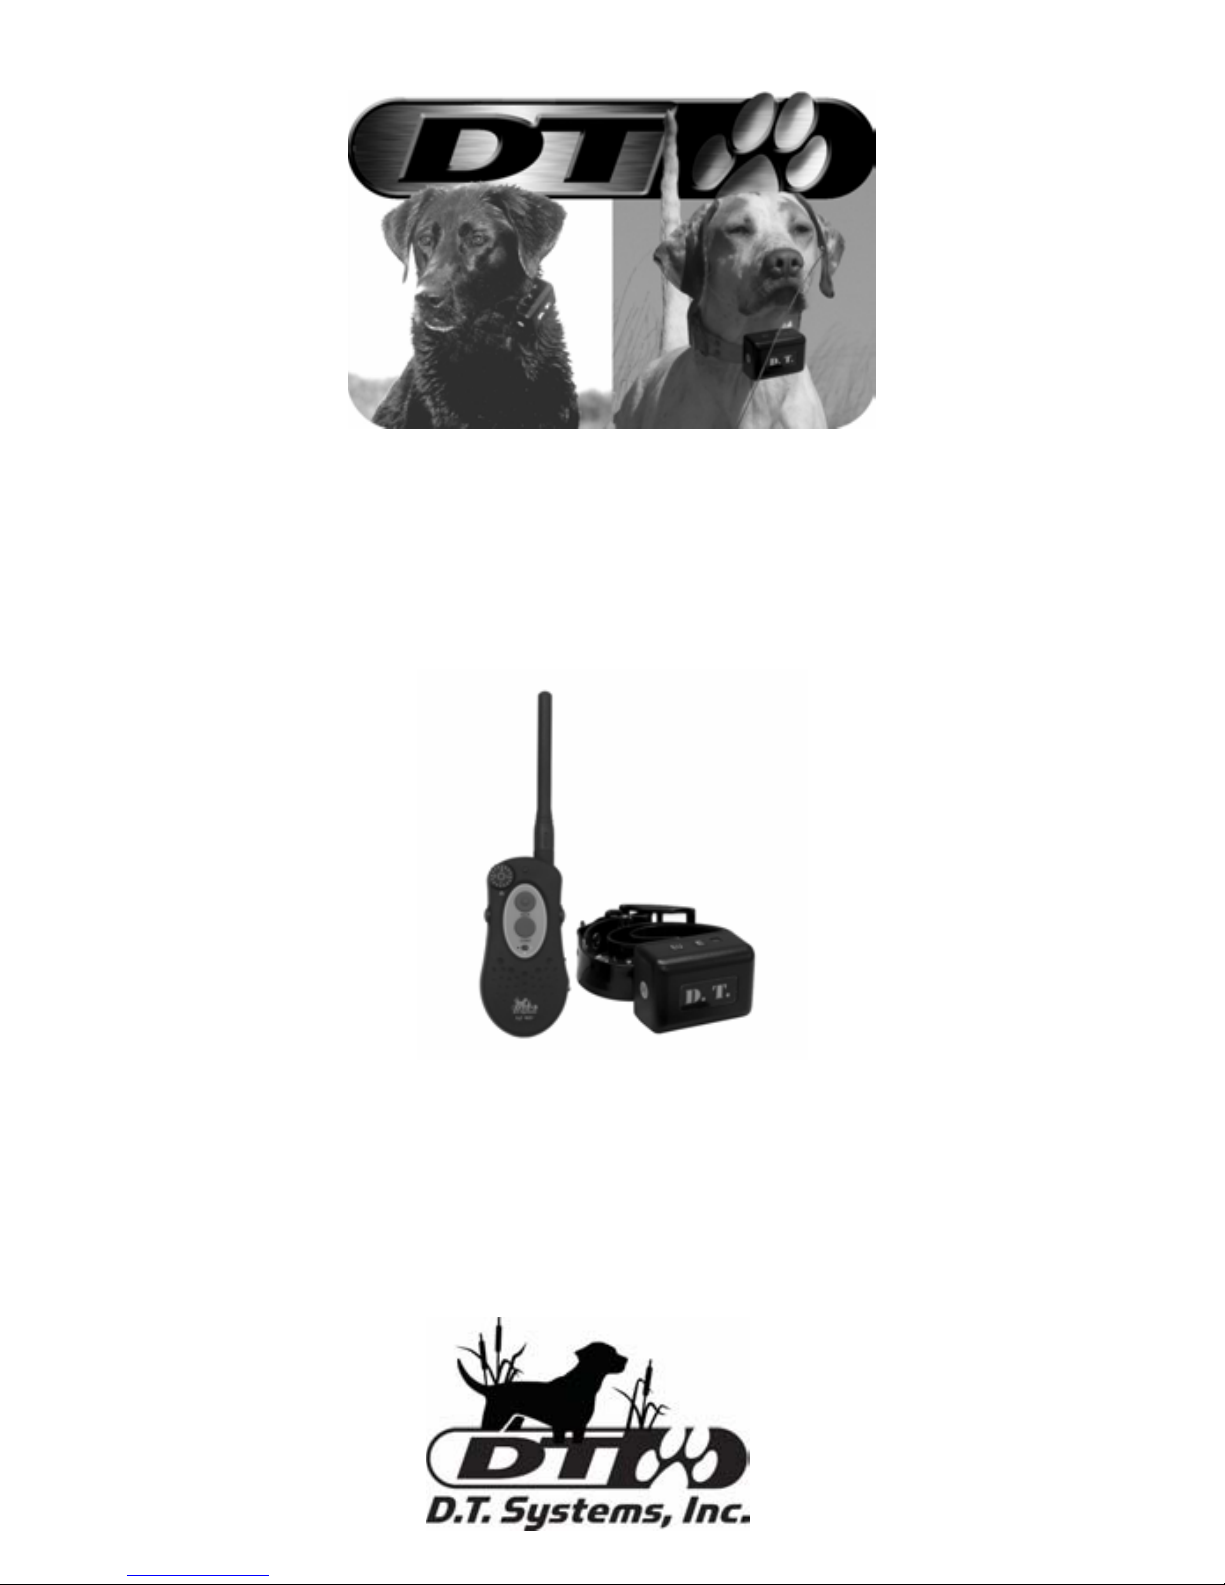
Congratulations and thank you for purchasing our H2O
PLUS Series
TM
Remote Training Collar with “Add-On”
capability, the perfect remote trainer for hunting, basic
obedience, and professional training. The collar’s
Maxx-Range™ Internal Antenna System, the
industry’s only internally woven antenna in the collar,
gives this unit up to a one mile range. The H
2
O PLUS
series collars feature sixteen levels of intensity easily
selected by one hand for maximum control and
safety. All models include Momentary “Nick” and
Continuous stimulations. Certain models also feature
Vibration, Jump & Rise stimulations, or a Beeper with
Locate, Run & Point mode, and Point Only mode. The
collar and transmitter are both rechargeable and 100%
waterproof (the transmitter FLOATS on water!). This
system also features our SmartLED light that lets you
know when charging is complete and how much
charge is left during use. The H
2
O PLUS Series Dog
Training Collar is durable, safe, and very humane
when used correctly. The automatic safety shut-off
feature stops the stimulation after 8 seconds to
prevent accidental or prolonged stimulation. Thanks
again for choosing D.T. Systems to help bring out the
best in your best friend!
INTRODUCTION
IMPORTANT NOTE:
Please read this owner’s manual in its entirety before
operating this unit. Should you have any questions
about our collars or their operation please contact
our Customer Service department (see back page for
address and phone number information).

5
PACKAGE CONTENTS
• Transmitter with Antenna and Lanyard
• Collar Receiver
• Rechargeable NiMH Batteries for both the Collar and
Transmitter (already installed)
• Battery Charger
• Splitter Cable for simultaneous charging
• Test Light
• Owner’s and Training Manuals
• Carrying Case
• Digital Technology
• Up to one mile range
• Expandable* with H
2
O Add-On collars (sold separately)
• SmartLED charging and battery life status indicator
• Rechargeable, waterproof collar and transmitter
• No-Slip/Soft-Grip transmitter FLOATS on water!
• 16 intensity levels of ‘Nick’ and Continuous Stimulations
• MAXX-Range™ Internal Antenna System
• Gentle Touch System™ Extra Mild Stimulation
• Built in safety shut-off system
• Vibration (H
2
O 1820 PLUS only)
• Jump and Rise Stimulations (H
2
O 1830 PLUS only)
• Beeper - Locate, Run & Point mode, Point Only mode
audible from 450 yd. (H
2
O 1850 PLUS only)
* H2O 1850 PLUS can expand to a 2-dog model. All other H2O PLUS
models can expand up to a 3-dog model.
MODEL FEATURES
6
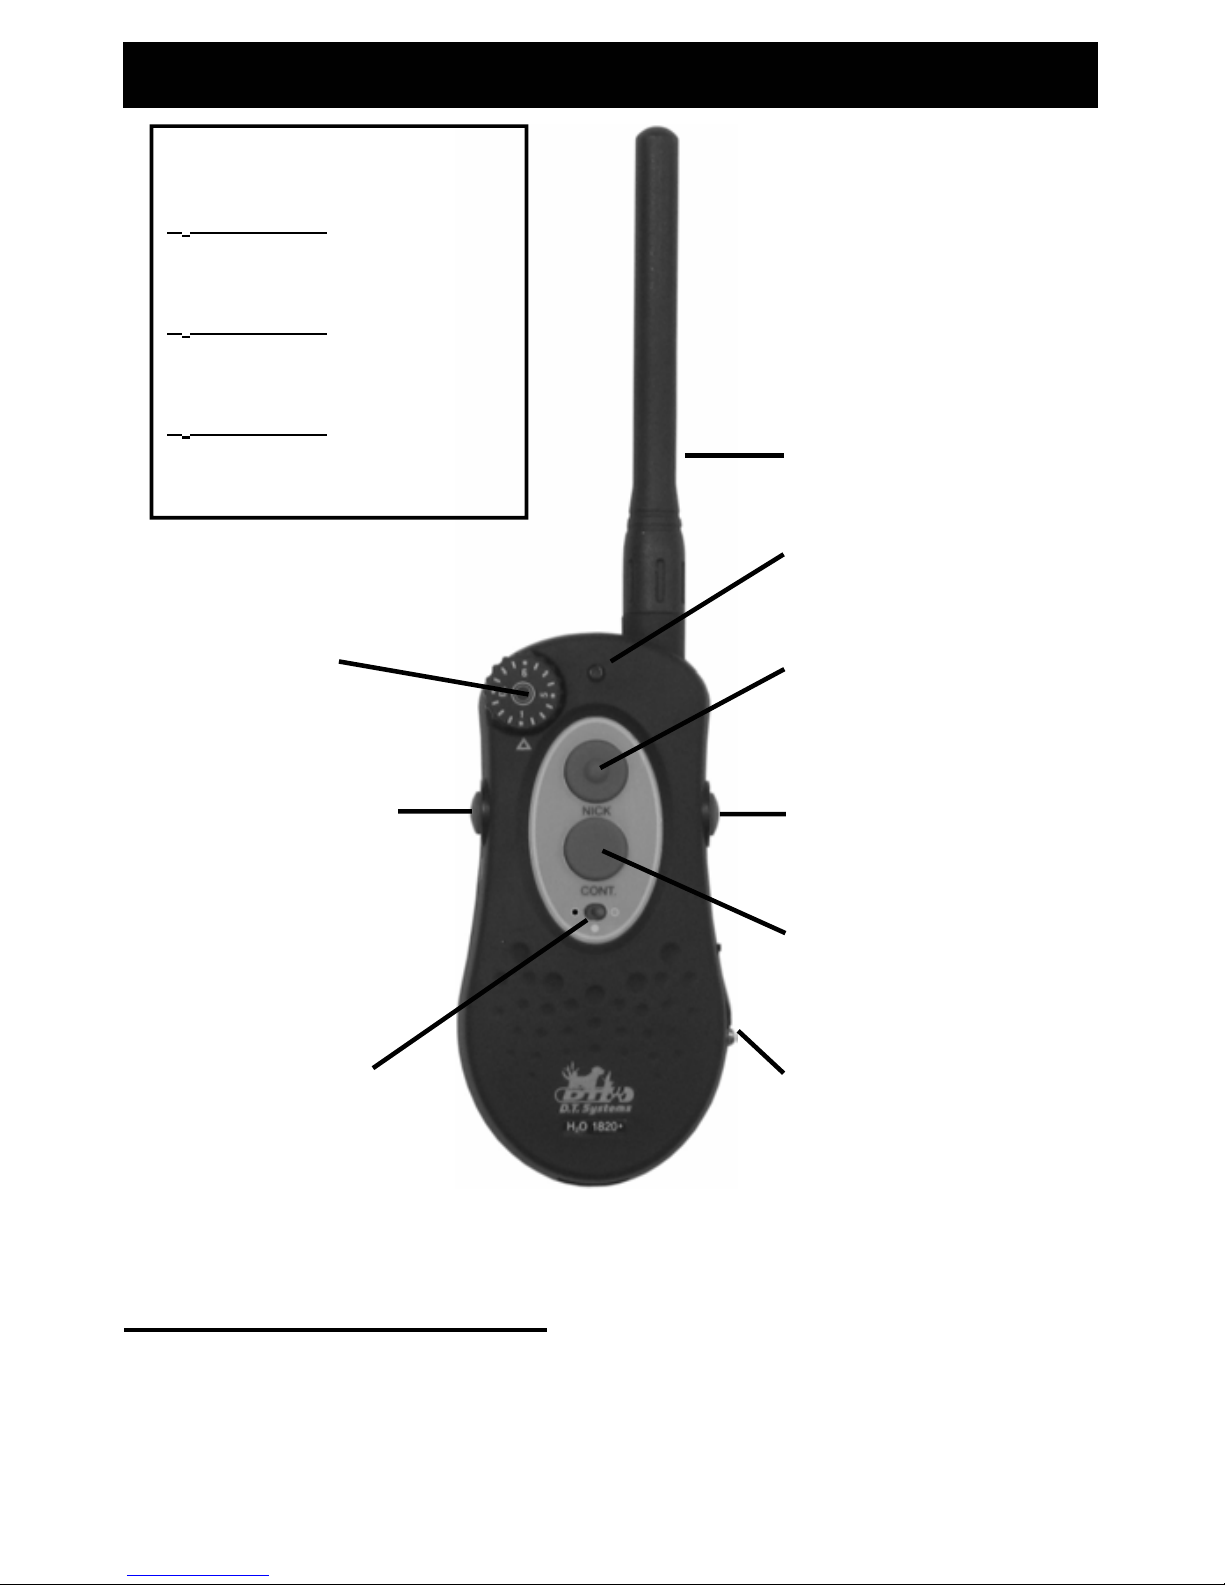
Transmitter
PARTS & FUNCTIONS
Button #2*
(Function varies
according to model)
Battery
Charging
Receptacle
Collar Selecting
Switch
Intensity Dial
SmartLED Indicator
Light
Momentary ‘Nick’
Stimulation Button
Continuous
Stimulation Button
Button #1*
(Function varies
according to model)
*The H2O 1810 PLUS will not
have the #1 or #2 buttons.
H2O 1820 PLUS
Button #1 - Vibration
Button #2 - Vibration + Stimulation
H2O 1830 PLUS
Button #1 - Jump Stimulation
Button #2 - Rise Stimulation
H2O 1850 PLUS
Button #1 - Locate
Button #2 - Run/Point mode (Run
& Point, Point Only)
Antenna
Transmitter Antenna - Always check that the
Antenna is securely fastened to the transmitter before
each use. Hand tighten only. Use caution when
attaching Antenna as over-tightening may cause
damage to the Antenna or antenna mount.

7
Intensity Selection Dial - The
intensity selection dial can be set from
level 1 to level 16 to find the exact
stimulation level for your dog (see
page 18).
Transmitter Indicator Light - When pressing any of
the Transmitter buttons, the SmartLED lights green if
there is 51% to 100% charge remaining, lights red if
there is 21% to 50% charge remaining, or flashes
rapidly if the battery needs charging. When the
charger is plugged into the Transmitter, the SmartLED
lights red while charging and turns green when
charging is complete.
PARTS & FUNCTIONS
‘Nick’/Continuous Stimulation Buttons - Pressing
the upper button (‘NICK’) makes the collar emit a
Momentary (or ‘Nick’) Stimulation. Pressing the lower
button (‘CONT’) emits a Continuous Stimulation as
long as the button is being pressed (up to an 8 second
safety cutoff). All H
2
O PLUS series models have
these buttons.
Collar Selecting Switch
- Switching between collar
units can be controlled by toggling the Collar Selecting
Switch to the desired unit.
Buttons #1 & #2 (H
2
O 1820 PLUS only) - Pressing
the Vibration Button (#1) makes the collar vibrate only.
Pressing the V+S Button (#2) makes the collar vibrate
first and adds simultaneous Continuous Stimulation to
the Vibration after a 1/2 second delay.

8
PARTS & FUNCTIONS
Buttons #1 & #2 (H2O 1830 PLUS only) - Pressing
the Jump Button (#1) makes the collar give a ‘Jump’
Stimulation, making the intensity level instantly “jump”
to a user-programmed intensity level (see page 19).
Pressing the Rise Button (#2) makes the collar give a
stimulation that gradually increases in intensity level
the longer the Rise Button is pressed.
Buttons #1 & #2 (H
2
O 1850 PLUS only) - Pressing
the Locate Button (#1) makes the Beeper Horn emit a
loud beep. Pressing the Run/Point Button (#2) activates the Run & Point mode on the Collar Receiver.
Pressing the button again changes the mode to the
Point Only mode. Pressing the Locate Button cancels
the Run/Point modes.
Battery Charging Receptacles - The battery
charging receptacles are located on the side of the
Transmitter and on the side of the Collar Receiver
facing the dog’s neck. After charging, always close
the jack with the rubber plug to prevent foreign
particles from getting inside the unit.
NOTE
The unit is still waterproof even if water gets into the charging receptacle. However, if water should get in, we recommend rinsing out the charging receptacle and allowing it to
dry, especially after use in salt water. This will prevent premature corrosion in the metal pins inside that make contact
with the charger plug.
 Loading...