

DTG Revelation II User Manual
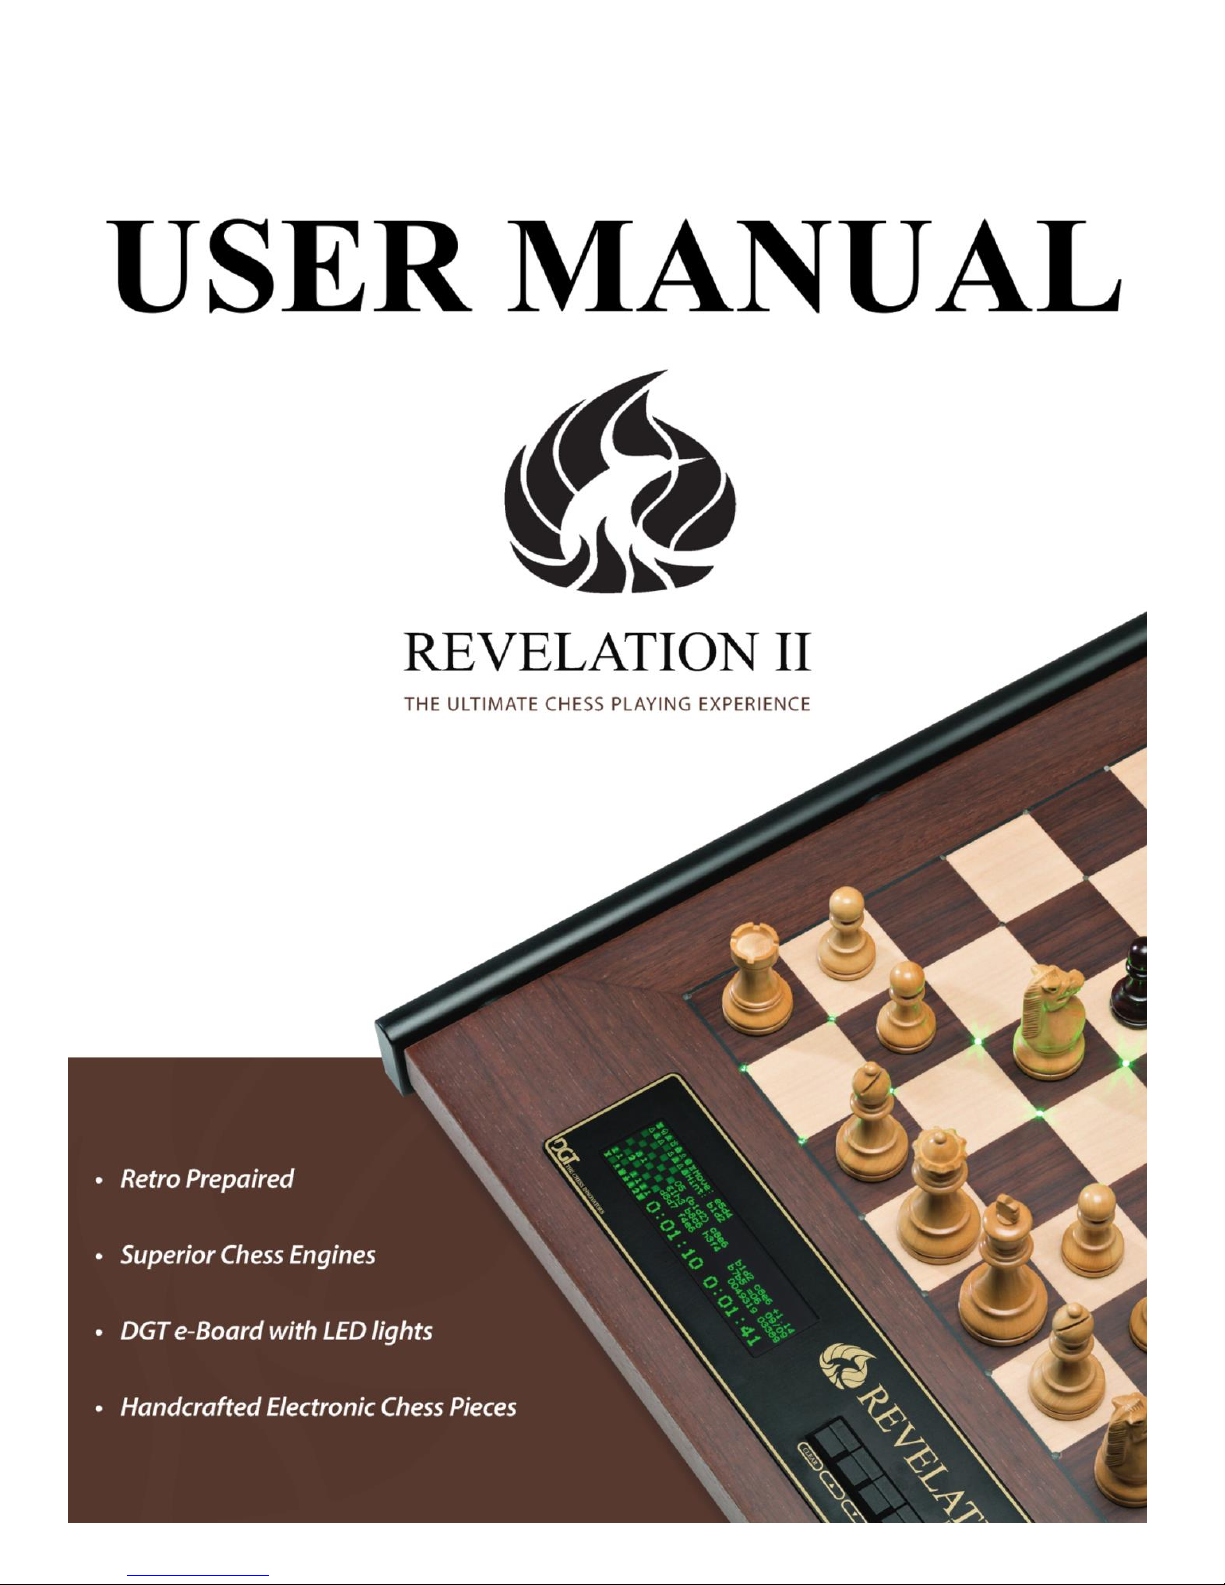

Manual Revelation II
3
Table of Contents.
Introduction ............................................................................................................................ 4
Contents of the box ....................................................................................................................... 5
Handling and Maintenance ........................................................................................................... 5
Quality ........................................................................................................................................... 5
Modes of usage ............................................................................................................................. 5
Quick Start .............................................................................................................................. 6
General .......................................................................................................................................... 6
Starting up the system .................................................................................................................. 6
Powering down the system ........................................................................................................... 7
Moving the pieces ......................................................................................................................... 7
LED information ............................................................................................................................ 7
Taking back the pieces .................................................................................................................. 8
Information and settings .......................................................................................................... 9
The display .................................................................................................................................. 10
Menu pages ................................................................................................................................. 11
Basic Options ......................................................................................................................... 11
Basic option: ‘NEW GAME’ .......................................................................................................... 11
Basic option: ‘SETUP BOARD’ ...................................................................................................... 11
Basic option: ‘TAKE BACK’ ........................................................................................................... 12
Basic option: ‘LEVEL’ ................................................................................................................... 12
Basic option: ‘ANALYZE’ .............................................................................................................. 13
Basic option: ‘OPTIONS’ .............................................................................................................. 13
Extended Options .................................................................................................................. 14
Extended Option: ‘SAVE GAME’ .................................................................................................. 14
Extended Option: ‘SHOW GAME’ ................................................................................................ 14
Extended Option: ‘SAVE CURRENT’ ............................................................................................. 14
Extended Option: ‘CHANGE LEVEL’ ............................................................................................. 15
Extended Option: ‘ALL MOVES’ ................................................................................................... 15
Extended Option: ‘SAVE LEVELS’ ................................................................................................. 15
Extended Option: ‘SOUND’ ......................................................................................................... 15
Extended Option: ‘REVERSE BOARD’ .......................................................................................... 16
Extended Option: ‘ENGINE’ ......................................................................................................... 16
Extended Option: ‘ENGINE SPEED’ .............................................................................................. 16
Extended Option: ‘ENGINE OPTIONS’ ......................................................................................... 17
Extended Option: ‘EXTRA BOOK’ ................................................................................................ 18
Extended Option: ‘SELECT BOOK’ ............................................................................................... 18
Extended Option: ‘LANGUAGE’ ................................................................................................... 18
Extended Option: ‘SELECT VERSION’ .......................................................................................... 19
Extended Option: ‘EXTRA’ ........................................................................................................... 19
Extended Option: ‘BLUETOOTH STATUS’ .................................................................................... 19
Extended Option: ‘NAME AND SERIAL NUMBER’ ....................................................................... 20
Revelation UCI Server ............................................................................................................ 21
Introduction to Revelation UCI Server ........................................................................................ 21
Appendix 1 ............................................................................................................................ 23
Setting up a Bluetooth connection in Windows 7 en 8 .............................................................. 23
Windows 8 .................................................................................................................................. 23
Windows 7 .................................................................................................................................. 25
Appendix 2 ............................................................................................................................ 28
Use the Revelation II to play against human opponents on the internet ................................... 28
Installing the driver (RabbitPlugin) ............................................................................................. 28
Warranty conditions .............................................................................................................. 33
Specifications ........................................................................................................................ 34
Manual Revelation II
4
Introduction
Dear chess computer friend,
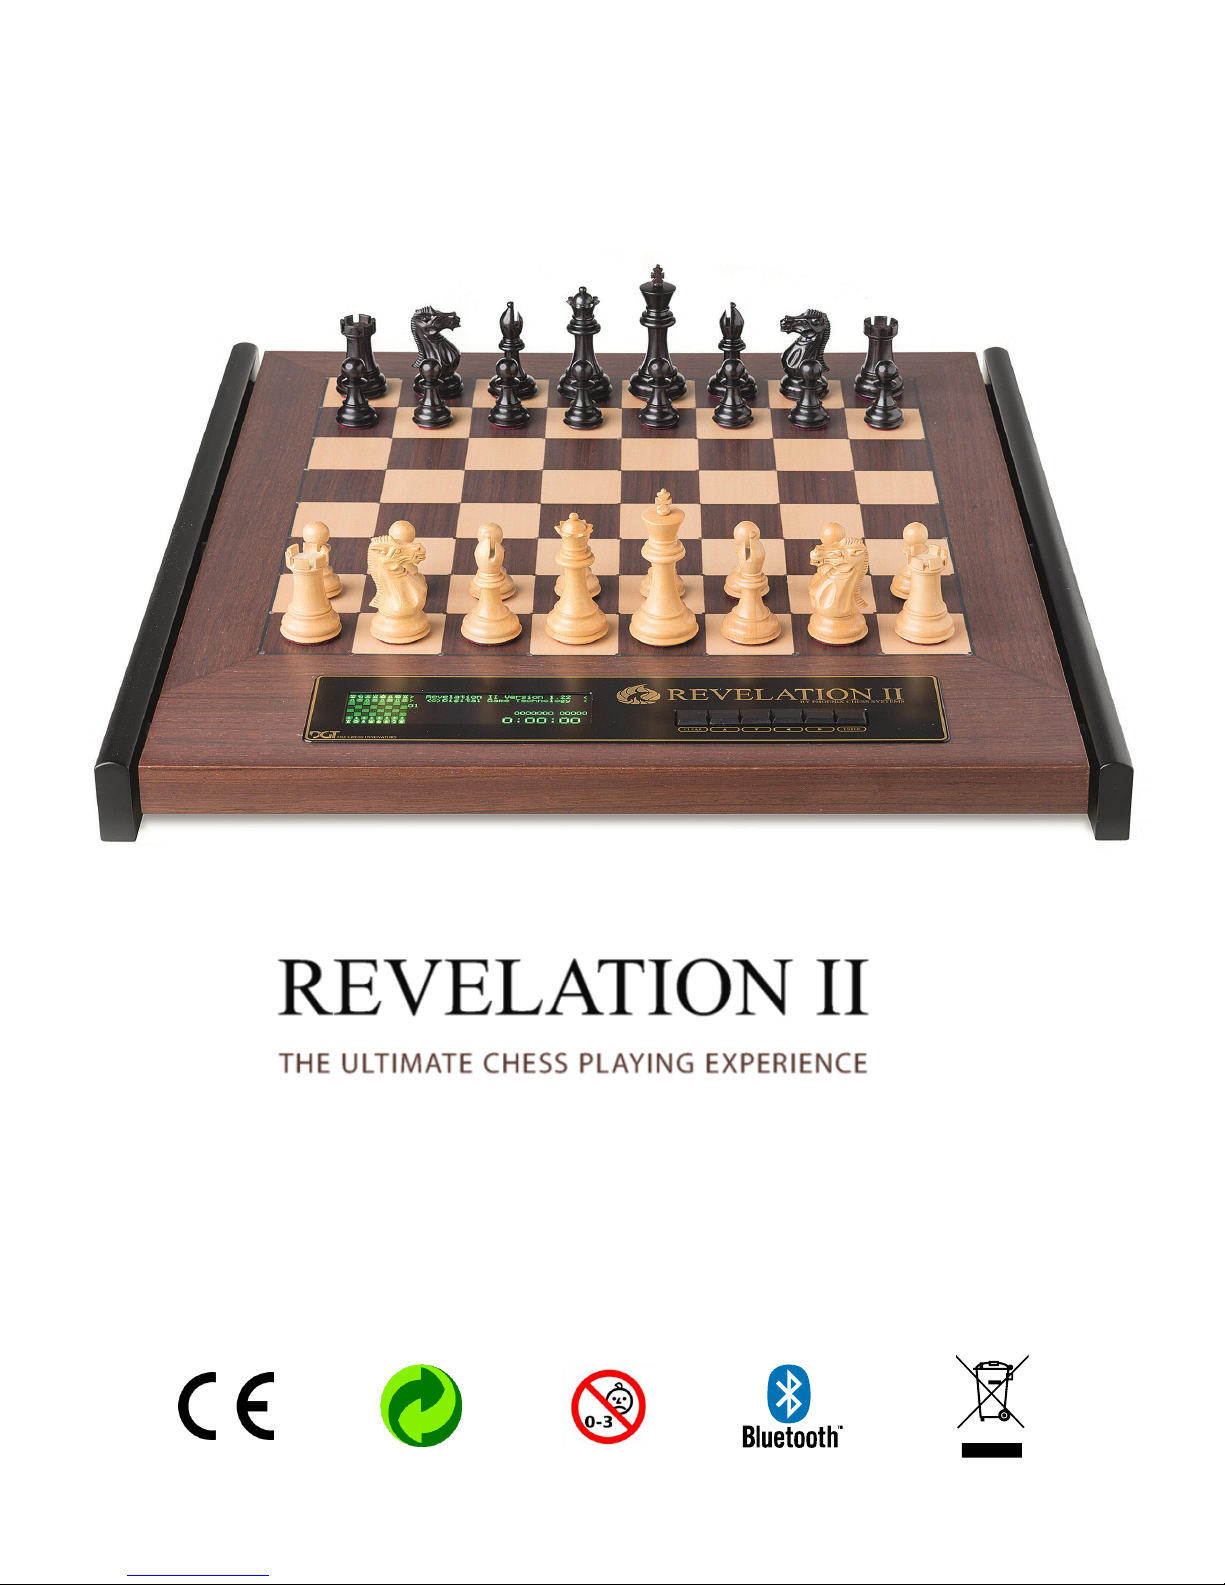
Congratulations with your purchase of one of the most sophisticated chess computer systems in the
world. Revelation II is a state of the art chess computer made in traditional wooden style and
designed for your ultimate chess playing experience.
Revelation II is developed and produced by a joint venture of Phoenix Chess Systems and Digital
Game Technology in the Netherlands. The wooden board is made in Spain by the famous chess board
manufacturer Rechapados Ferrer and is equipped with individual piece recognition and inlaid LED
lights to indicate the computer moves.
Multiple super strong commercial and freeware chess engines are included giving you great diversity
in computerized chess play at ELO levels up to 2800 and above. Benefit from future engine releases,
freeware engines, firmware updates and our full warranty service by registering your product on the
Revelation II website www.revelationII.com.
Revelation II lets you play against the world’s strongest chess engines including many World
Champions. In addition it has many other features that will greatly enhance your chess playing
experience:
- Analyze your games with the aid of famous world class chess engines
- World Champions from the past: Emulate 1980’s and 1990’s Retro Engines (optional)
- Play against internet opponents on web based internet chess platforms
- Broadcast your own games live via the internet
Thanks for choosing Revelation II. We wish you many challenging and fun filled hours of chess!

Manual Revelation II
5
Contents of the box
In the box you will find these items:
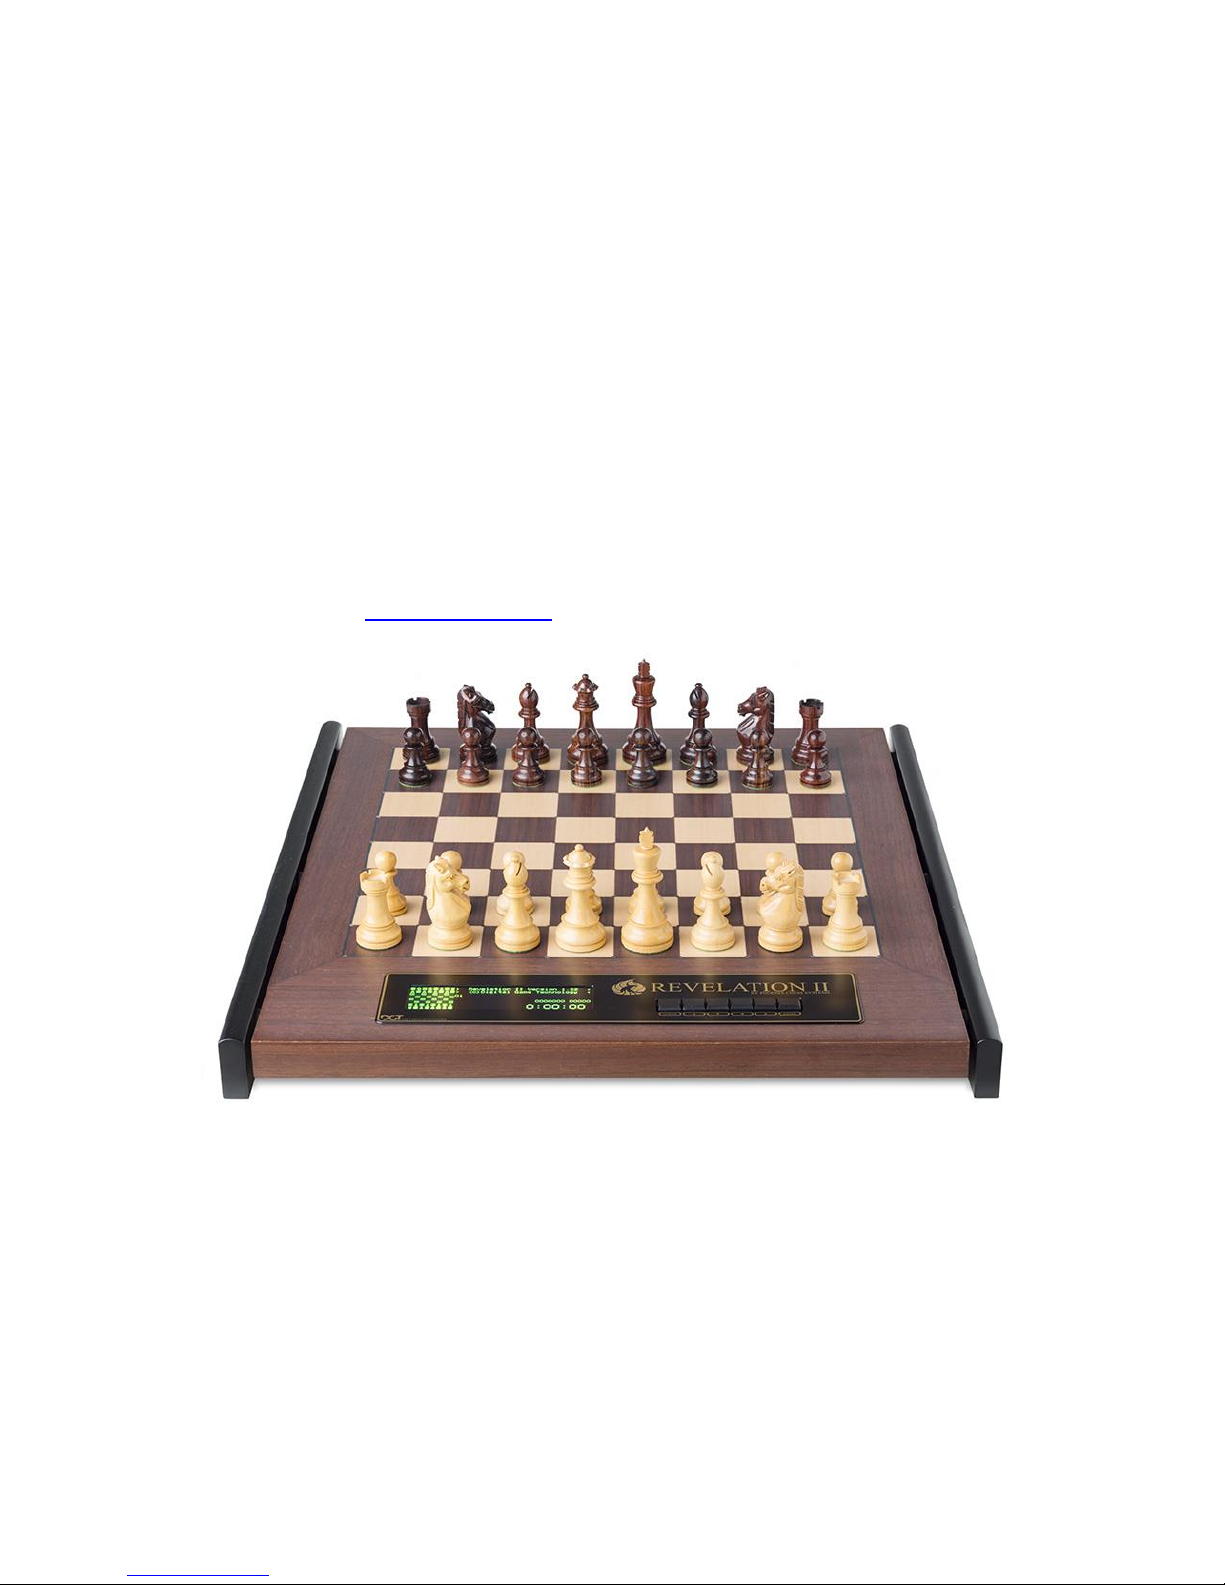
The Revelation II chess computer
A power adapter
A custom made canvas bag with a protection cloth bag for the board
A set of 34 electronic DGT chess pieces including two queens for each color
The Revelation II manual
Handling and Maintenance
To ensure optimal functioning please keep away from large (plasma) televisions, electrical power
devices, electrical signals and metal objects when the system is in operation as it may interfere with
the sensor board. If the Revelation II is having problems with the piece recognition please check that
the table does not have a large metallic base or consists of large metallic elements.
Leaving the board and pieces exposed to daylight for longer periods of time may cause discoloration
of the board, particularly underneath the pieces. After use please store the board and pieces in the
supplied protection cloth bag and preferably in the canvas storage bag as well. The cloth bag protects
the Revelation II board itself and protects against the Velcro fasteners to stop them from damaging
the side stands and board surface.
We advise to use a clean and dry microfiber cloth to clean Revelation II. Avoid aggressive cleaning
solutions and only use cleaning solutions which are suited for lacquered wood surfaces. Cleaning of
the metallic front plate and the display should be done with cleaning solutions designed for
television screens or laptop screens.
Quality
This unique product is made from different materials all specifically selected to obtain the highest
quality. The board and side stands are (partially) handmade from natural wood or veneer and may
show small imperfections. The wooden chess pieces are handmade and may slightly differ in model
from advertised images and can also contains small imperfections. These imperfections are part of
the material handling and manufacturing process and as such cannot be avoided completely.
Modes of usage
The Revelation II is a versatile chess product and has some different usages:
1. Normal usage: The Revelation II starts up in normal play mode. In this mode you can play
against engines that are standard included in the Revelation II. This is also the strongest
playing mode as the native onboard engines can reach high ELO levels up to 2800;
2. DGT Bluetooth e-Board usage: The Revelation II starts up in a mode where the Revelation II
behaves like a DGT Bluetooth e-Board. For this usage you should install the drivers on your
(Windows) PC. This mode starts after holding KEY UP just before the right LED below square
H1 lights up until the system is completely started.
3. Emulation usage: If you acquired this additional feature you can play against emulations of
the world championship winners during the 80's and 90's of the past century. A separate
manual can be downloaded for this on www.revelationII.com. This mode starts after holding
KEY DOWN just before the right below square H1 lights up until the system is completely
started.
Manual Revelation II
6
Quick Start
General
Making moves on Revelation II is done by moving the chess pieces on the sensor board. The LEDs
indicate the move made by the computer by lighting up squares. To operate Revelation II there are 6
keys. With the menu system on the display you can control all functions of Revelation II with the 6
keys. Revelation II has a permanent memory that can save most user data even if the system is
switched off. Different sounds can indicate different events. The sound can also be switched off.
Revelation II is supplied with a customized canvas bag to store Revelation II, the chess pieces and the
power supply. A cloth bag is included for extra protection of the Revelation II itself.
Starting up the system
Power is provided by a regulated 12 Volts power adapter. It is strongly recommended to only use the
provided adapter. For power outlets that are used in almost all countries there is a pin converter
present. The adapter accepts mains voltages from 110 – 240 Volts.
Revelation II will start up automatically when the power connector is inserted. The system shows all
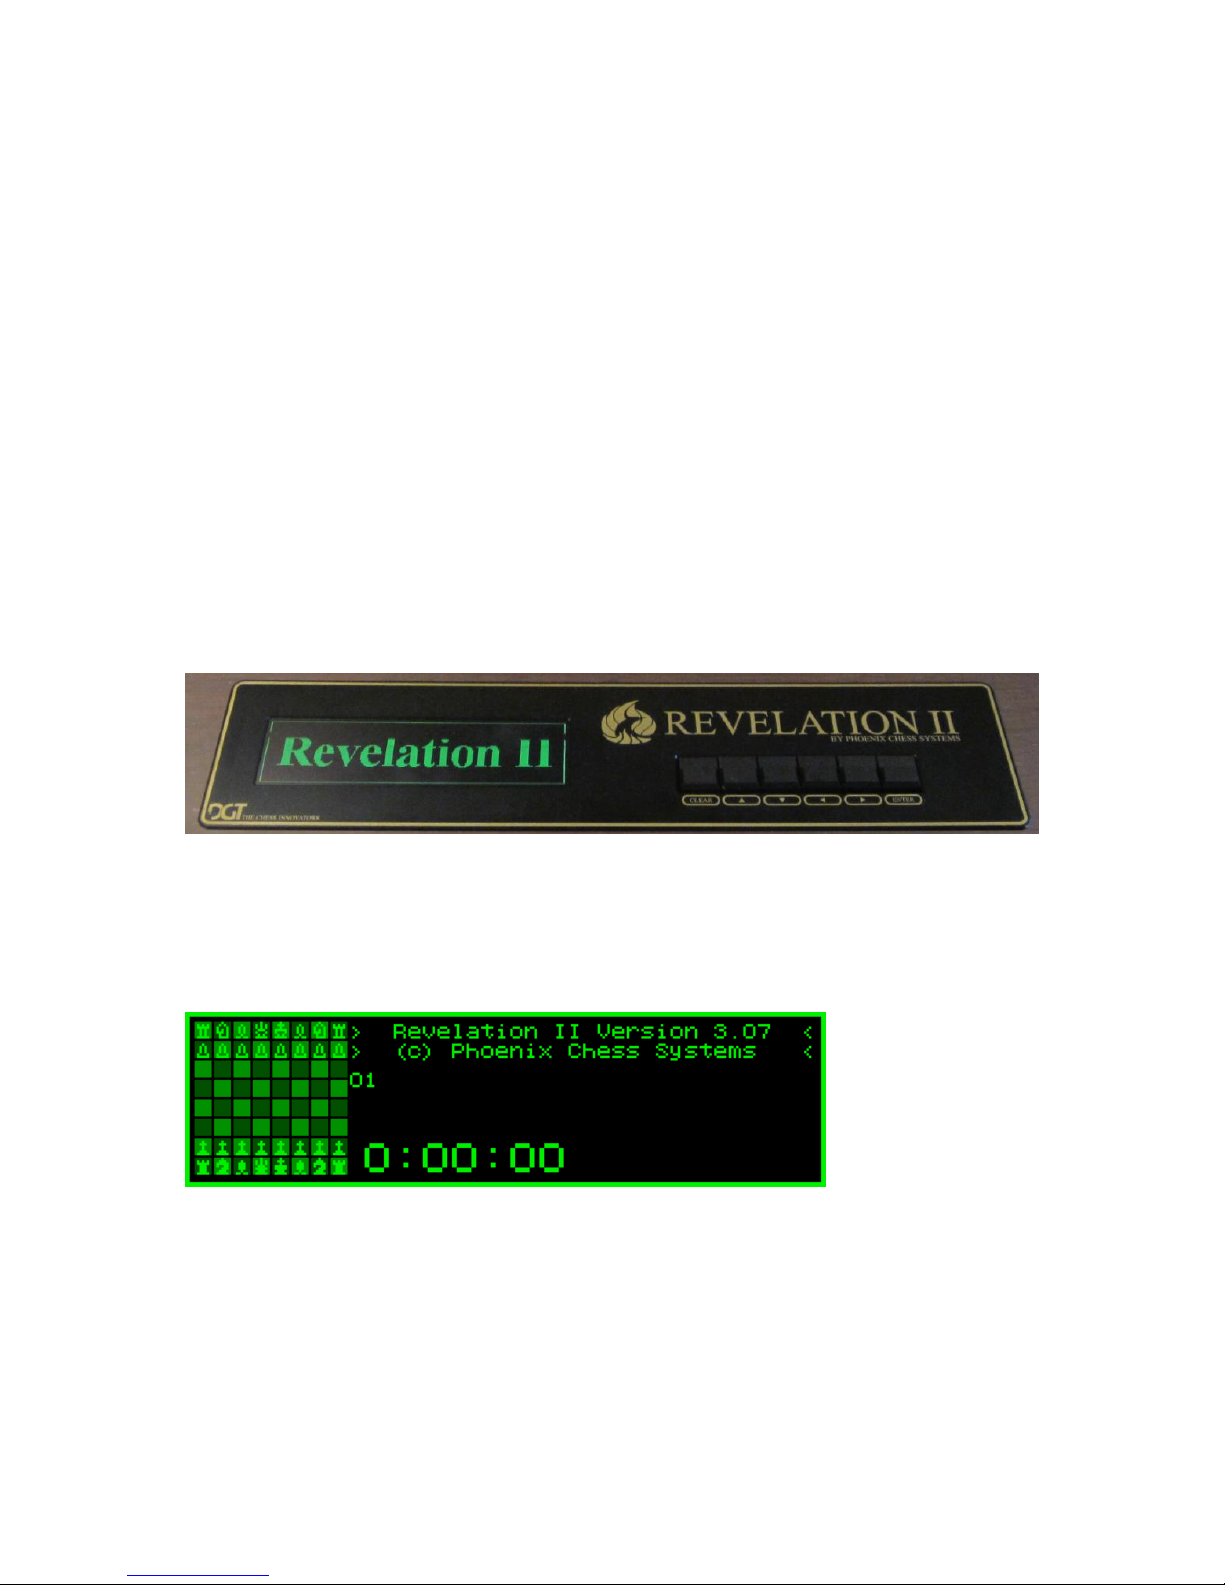
81 LEDs very shortly in sequence as a test and will then show the Revelation II splash screen.
Revelation II then will show the lower line of LEDs to indicate different stages of starting. The LED
right below square h1 indicates that the system has started in a correct manner.
Revelation II will then show you the starting screen for game playing.
The version number may be different after an update of the software.
After placing the chess pieces in the starting position (as indicated on the miniature board in the
display) you can immediately make your first move and start playing.

Manual Revelation II
7
Powering down the system
You can switch off Revelation II by pressing CL and ENT simultaneously holding these two keys for 2 3 seconds after which the system will shut down to standby. The display is dimmed, and the LED left
below square A1 indicates that the system has shut down.
Revelation II will start up again from this situation if you hold ENTER during 1 -2 seconds.
If you press CLEAR and ENTER during 2 seconds and the LED in the bottom left corner is the only one
that lights up, then you can safely disconnect the power connector.
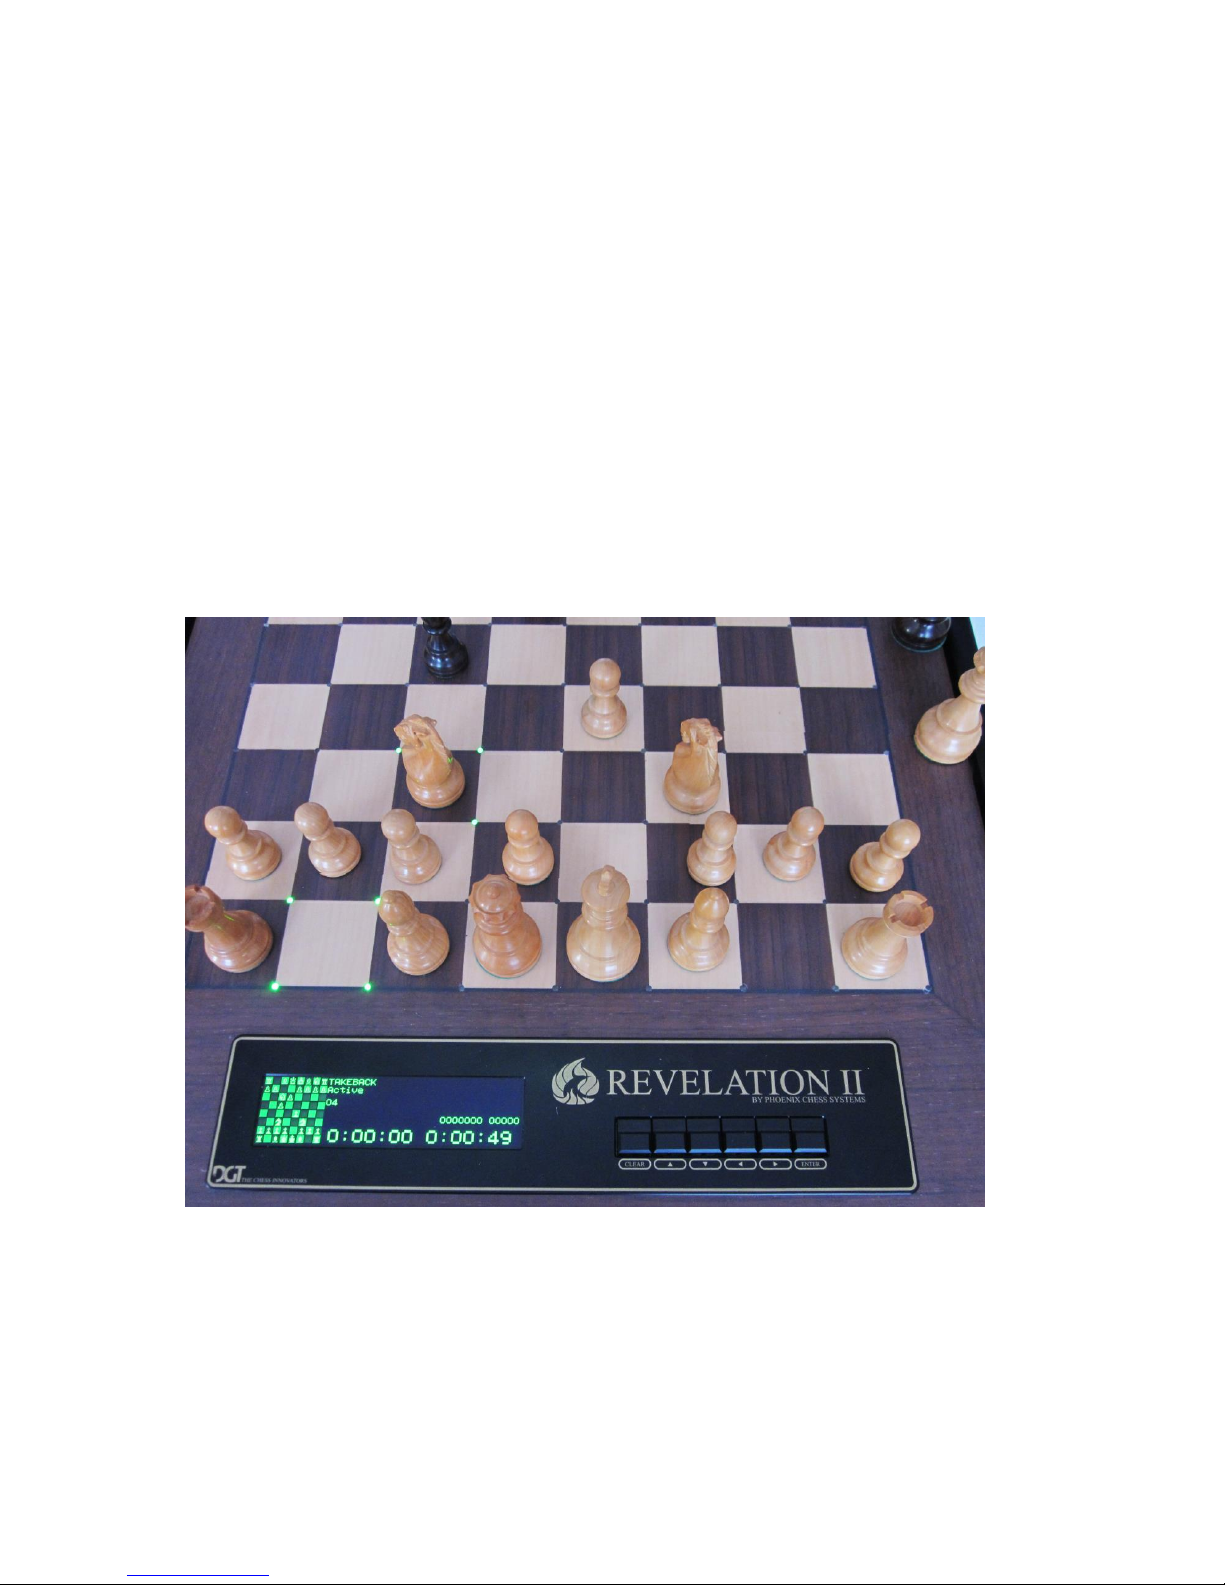
Moving the pieces
The board contains the DGT piece recognition technology. This means that the Revelation II 'knows'
which piece is on which square.
LED information
The LEDS can make different patterns around one or more squares, the table below explains these
patterns.
4 corners of a square flashing quickly
A piece is expected on this square, move or place
the correct piece to that square. The display will
indicate which piece should be placed
4 corners of 2 squares flashing quickly
The piece that is standing on one of the flashing
squares should be moved to the other flashing
square
2 occupied squares flash; one quicker than
the other
The piece on the slower flashing square is
captured by the other
2 Opposite corners of a square flash
alternating in a cross like pattern
A piece is occupying this square but a piece of an
incorrect nature is placed
If sound is enabled you can hear the following sounds:
short beep
The computer makes a move
short beep
The user plays a legal move
short double beep like “di-dah”
The users plays an illegal move
short double beep like “dah-di”
The user plays the expected move
It is not required, that you actually move the piece of the opponent before making your next move.
You can move the pieces of the opponent at any moment that is convenient to you. The lights on the
board will keep blinking until all pieces are on their expected (destination) squares. You may check
this by comparing the actual position on the board with the position on the display.
Of course you can only make your next move after the opponent has decided which move to make.
In other words you cannot play more than one move at the time.
To become acquainted with the Revelation II chess computer you can play some games without
changing any settings. The standard engine is chosen and the computer will use 15 seconds average
thinking time per move.
Please take care to place the pieces accurately on the squares; the sensor board may not recognize a
piece if it is partly outside a square. If an illegal move is played Revelation II will not execute the
move but will show the fast LED pattern to indicate the move should be taken back.
Manual Revelation II
8
Capturing pieces can be performed in different ways, but it is advised to first remove the piece you
are capturing and then perform your move. If Revelation II captures one of your pieces you can use
the same method. If handling the pieces is done in the wrong sequence or too fast for Revelation II to
'understand' what the player is intending then place all the pieces as indicated in the display. From
this position you can continue your play.
Remember that the display shows the position that the engine has calculated. If you did not move all
pieces correctly there may be differences between the position in the display and the position on the
actual board. If you see LED patterns that you cannot explain please match the real board with the
internal board as shown in the display.
Taking back the pieces
Revelation II allows you to take back moves, but only after the computer has made its move. First
await the computers move then place the piece that the computer wants to move on the destination
square. Then put it back on its source square. The display will then indicate TAKEBACK Active.
This picture shows that Nc3 can be taken back to b1.
The LEDs in the board will now indicate your last move; you can then put your piece on the original
square. Next the LEDs will indicate the previous move made by the computer that you can then take
back and so on.
The last piece you take back should be your own. Then press the CLEAR button. The display will show
“TAKEBACK Not Active” and you can play your next move.
If you decide not to take back your own move as the last action, then you should press ENTER to
indicate that the computer should make the next move.
Manual Revelation II
9
You can also activate TAKE BACK in the menu structure, see “Basic option: ‘TAKE BACK’” on page 12
for more detail.
Information and settings
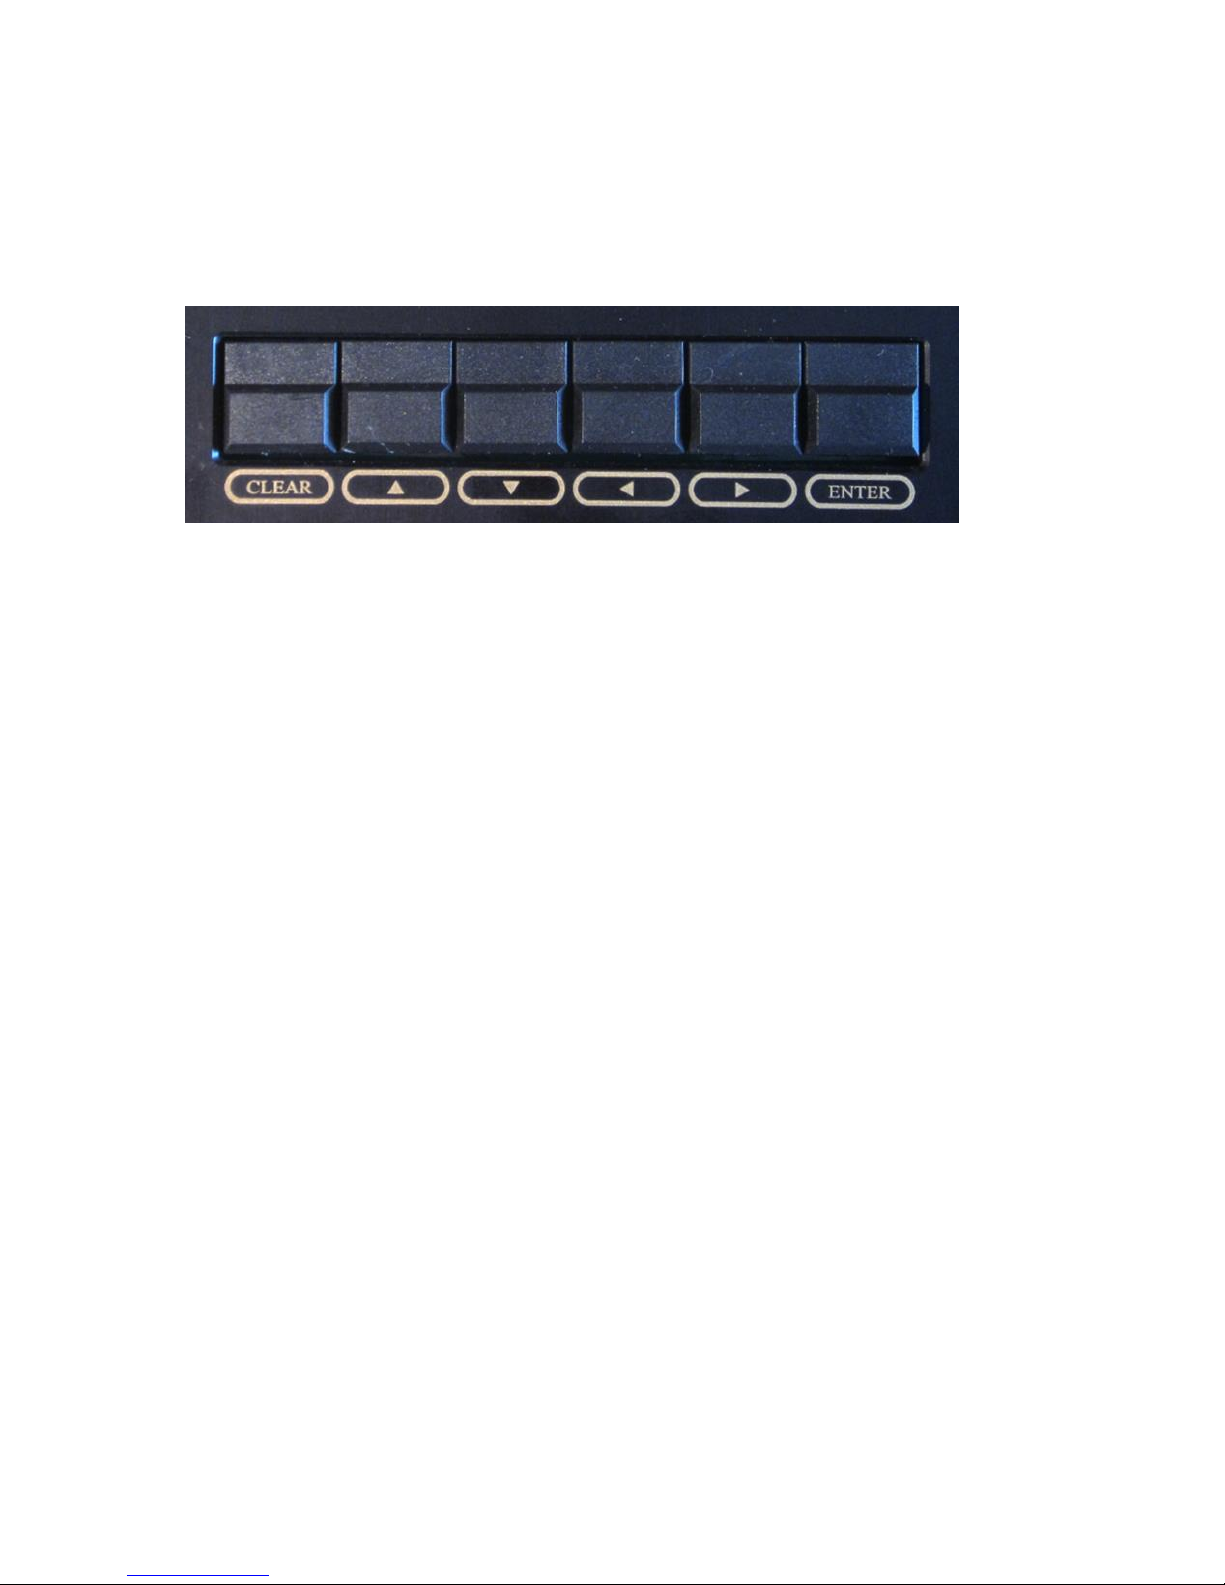
There are 6 keys on the front panel. From left to right they are called CLEAR, UP, DOWN, LEFT, RIGHT
and ENTER.
The keys react after 0.1 second, do not push and release them too quickly. If you press and hold one
of the keys you will get a repeating function. After holding a key for 3 seconds the rate of repeat will
increase.
The UP and DOWN keys will select another menu item.
In general RIGHT is for a “Yes” or “True” and LEFT is for a “No” or a “False”.
The LEFT and RIGHT keys are not circular; when you see “true” or “yes” you can only use LEFT to
change the option into “no” or “false”.
In playing modus with the information screen visible (the last move is shown) you can force the
computer to start calculating the next move for the side whose turn it is to play. This means that the
computer also can calculate the next move for the human player. This is done by pressing the ENTER
button once. When you press ENTER again the best move, calculated until then, will be indicated.
When the computer is calculating its next move, you can press ENTER to force the Revelation II to
move immediately. It will play the move that is evaluated as the best at that moment.
Manual Revelation II
10
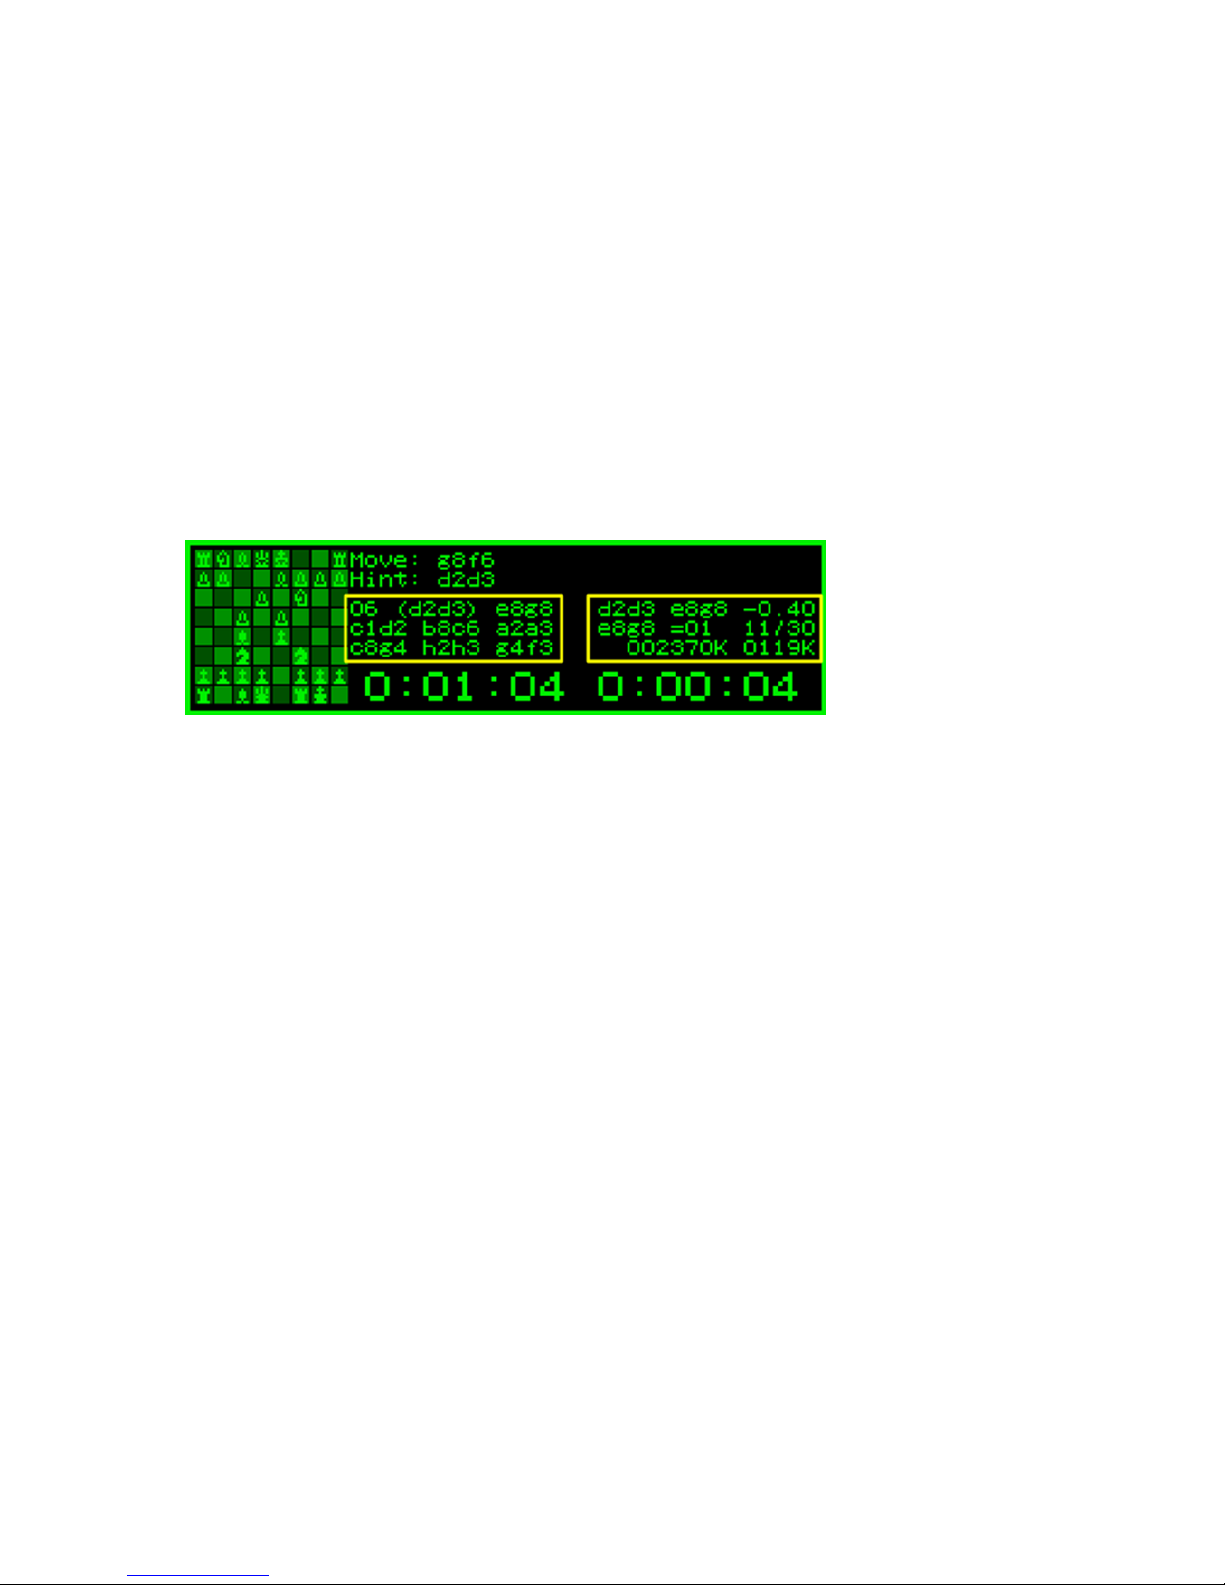
The display
The left side of the display shows a chess board with the position of the pieces that is used by the
computers chess engine. When the physical chess pieces are not moved correctly the position on the
display may not be the same as the position on the Revelation II board. Blinking LEDS on the board
will indicate the differences.
In the display the solid, light chess pieces represent the white chess pieces on the board and the
open, darker pieces in the display represent the black pieces on the board.
The first two top lines display general information, in below picture the first line indicates the move
by the computer. The second line shows a hint for the player. You can switch off this hint information
if you wish. (See Extended Option: ‘ENGINE OPTIONS’ on page 17 of this manual)
Lines 3, 4 and 5 give information about the engine in 2 blocks (left and right).
The left block shows the current variation under investigation. In brackets is shown the expected
move by the human player followed by the moves calculated by the computer.
In the right hand block the best move for the current evaluation is shown (calculation in progress). In
this example the computer calculates the evaluation is -0.40 (1 pawn equivalent = 1.00). This means
the computer values the position favorable for the human. (a negative value means a disadvantage
for the computer).
The next line of the right block shows the move that is now under investigation (e8g8) and that this is
the first move investigated in depth 11. The number 11 is the depth in half plies which were
completely investigated. The number 30 indicates that the engine has also searched 30 half plies
deep for specific positions (mostly capturing variations).
In chess computer terminology: the engine has evaluated 11 half plies brute force, and 30 half plies
selectively.
The 3rd line of the right hand block shows the total number of evaluated variations / nodes and the
evaluated variations / nodes per second. If a K is added it means the number is in multiples of 1,000
nodes. So 2370K means 2 million 370 thousand positions searched in total. Same applies to M for
multiples of 1,000,000 nodes. The smaller number 0119K signifies the average number of
investigated positions per second.
You can hide the information about the engine by pressing LEFT or RIGHT. The display does not show
relevant thinking information then so you can play without seeing what the computer is calculating.
The large digits at the bottom of the display show the elapsed thinking time for the player with the
White pieces on the left and the elapsed thinking time for the player with the Black pieces on the
right. These digits will always count up.
Manual Revelation II
11
Menu pages
Revelation II has a circular menu which is divided in two parts. The first menu pages are the basic
options. They are used most frequently. By enabling Options you can extend to all menu pages
enabling you to set extend options.
By default the extended options are not enabled. You can enable them by using the last Basic Option:
“OPTIONS” and set this to “Yes”.
With UP and DOWN you can jump through the menu pages where you can use the basic options and,
if enabled, the extended options. In effect the first menu page is the information display itself so if
you walk through the options with UP or DOWN, at the end you will again arrive at the information
display.
Basic Options
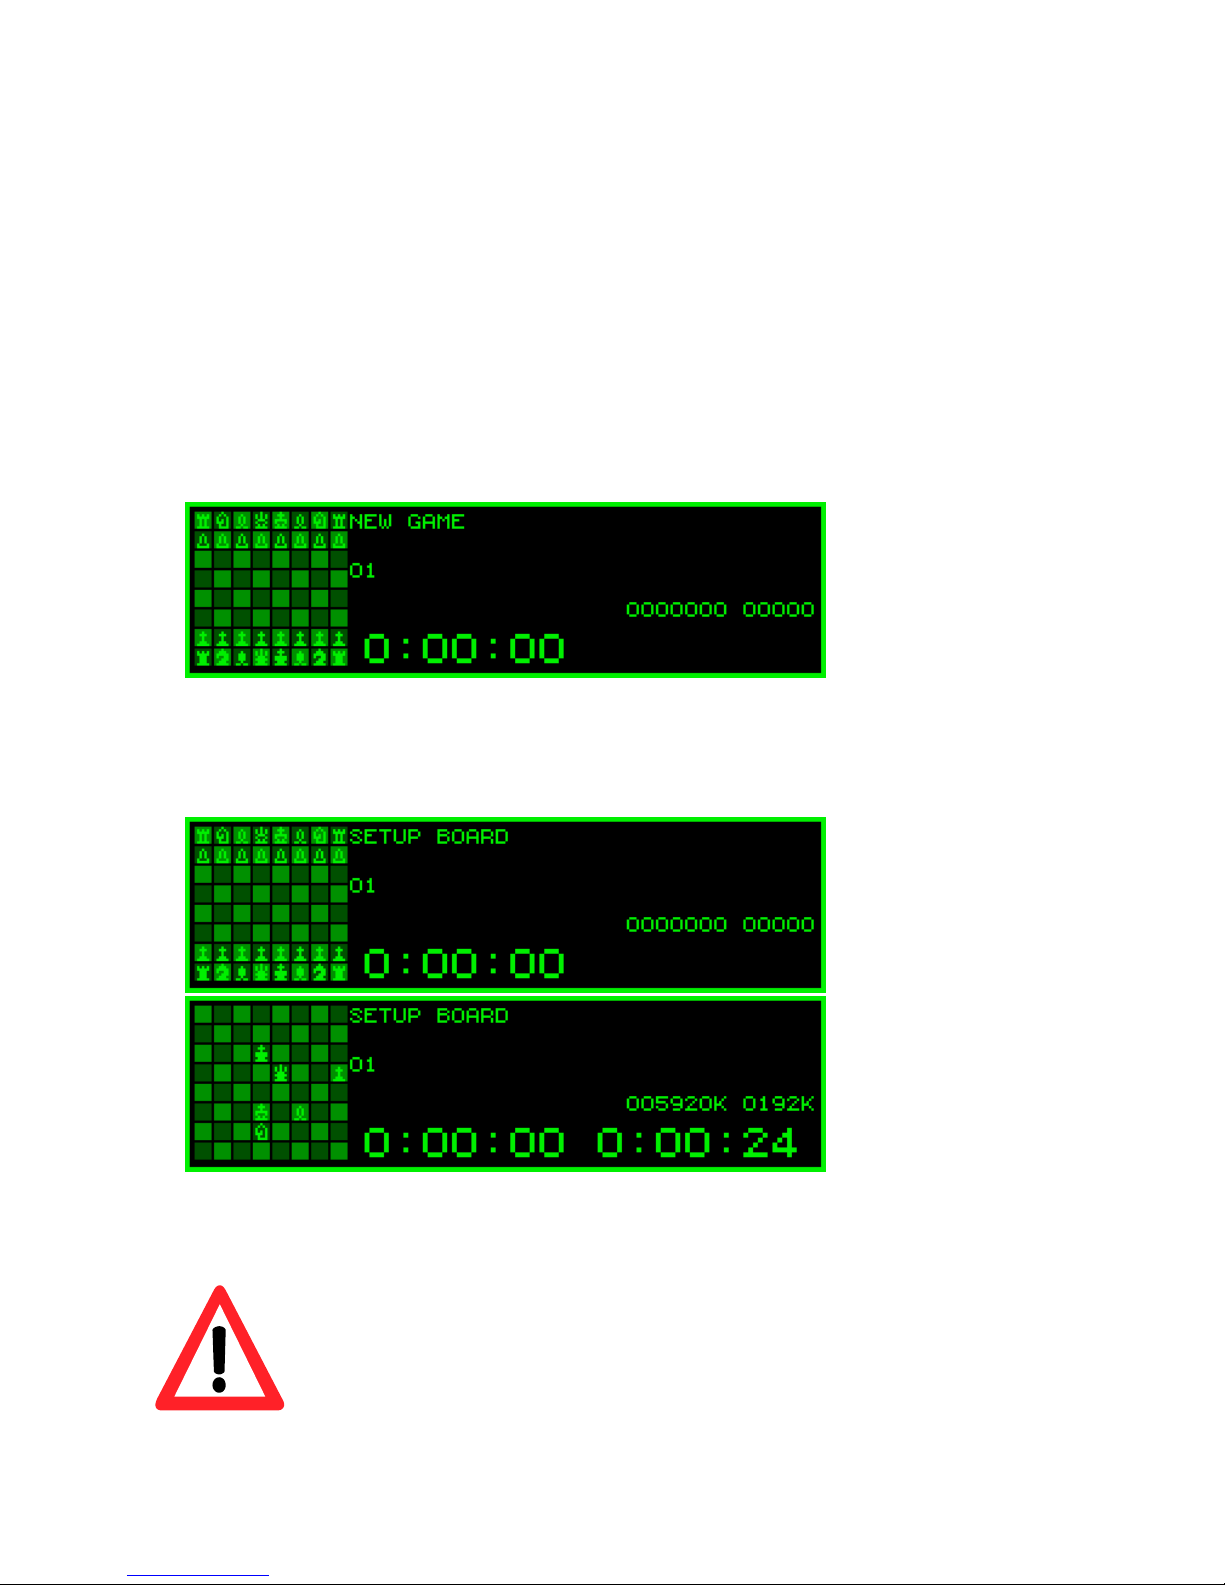
Basic option: ‘NEW GAME’
By pressing ENTER in this menu you will force a new game. The board on the display will show the
(normal) starting position. You have to set up your pieces in accordance with situation in the display.
Pressing CLEAR will take you back to the playing mode of the current game.
Basic option: ‘SETUP BOARD’
In this mode you can set up a new position on the board with the pieces. After pressing the ENTER
button Revelation II will scan the board and the board will recognize the position and nature of the
pieces.
The color of the piece that is last recognized by the board is the color that must make
the first move after leaving setup. Because in most cases the last piece that is
recognized is a black piece you have to lift a white piece and put it back before you
press CLEAR. The display will show the name of the last piece that is lifted, and will
light up all squares that have an identical piece on it. If done correctly you can make
the first move with white.
 Loading...